CADILLAC FLEETWOOD 1994 Owners Manual
Manufacturer: CADILLAC, Model Year: 1994, Model line: FLEETWOOD, Model: CADILLAC FLEETWOOD 1994Pages: 398, PDF Size: 19.19 MB
Page 161 of 398
I
OFF
Nothing is on, but air will flow through your Cadillac if the the car is
moving. The air flow will be felt through the heater ducts.
ECON
Use this in cold or cool weather to save fuel. It won’t cool or remove
humidity from the air. However, the system will try to keep the air at the
chosen temperature.
If it’s so warm outside that you need to cool the air, use the next choice.
I AUTO
With this setting the system automatically controls the temperature, air
distribution and fan speeds. In cold conditions the the fan well not come
on until the system senses that the engine has started to warm up. This
prevents cold air from blowing on you and your occupants.
I
I FAN
The fan speed is controlled automatically if you have the Electronic
Climate Control set
on “AUTO.” However, if you want the fan to run at a
lower speed, push the lower portion of the fan switch.
If you want the blower to run at a fixed higher speed, push the upper
portion of the fan switch until you see
“HI” on the display.
If you want the fan to run at a fixed low speed, push the switch until “LO”
is shown on the display.
If you want the fan speed to be automatic but you like the fan to be
higher or lower than the
“AUTO” settings, just push the switch until
either
“HI AUTO” or “AUTO LO” is displayed.
If the Fahrenheit (F’) or Celsius (C”) symbol begins to flash, or flashes
when you turn
on the ignition, it indicates an electrical problem with your
148
G
I
1
q: LI
Page 162 of 398
c air conditioning system. The flashing will continue for about two minutes.
It means you should have your system serviced.
DeJi-oster
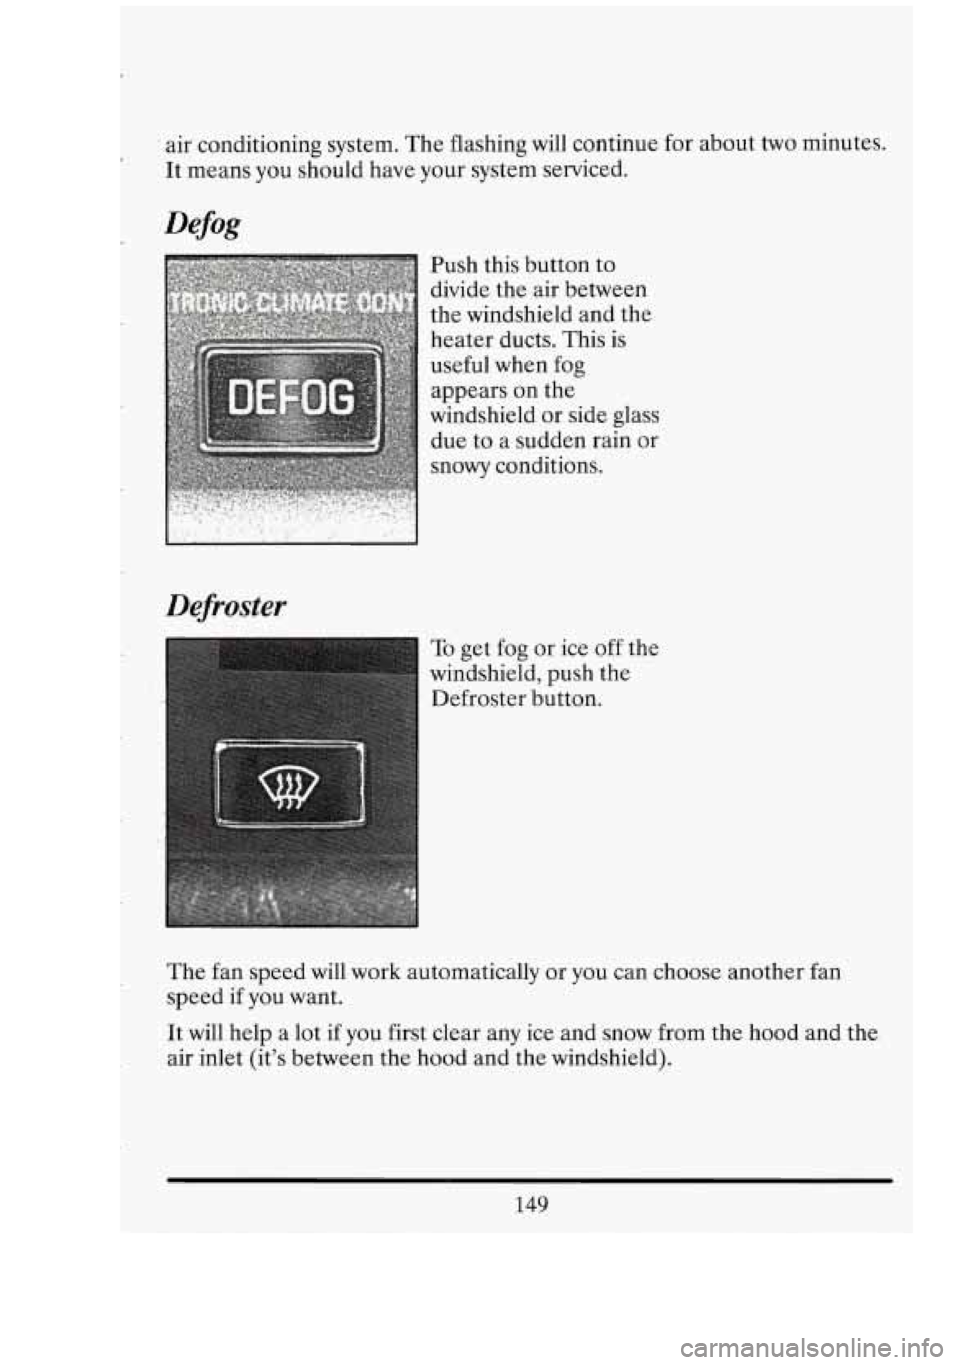
Push this button to
divide the air between
the windshield and the
heater ducts. This is
useful when fog appears on the
windshield or side glass
due to a sudden rain or
snowy conditions.
To get fog or ice off the
windshield, push the
~ Defroster button.
The fan speed will work automatically or you can choose another fan
speed if you want.
It will help a lot if you first clear any ice and snow from the hood and the
air inlet (it’s between the hood and the windshield).
149
Page 163 of 398
I
Electronic Solar Sensor
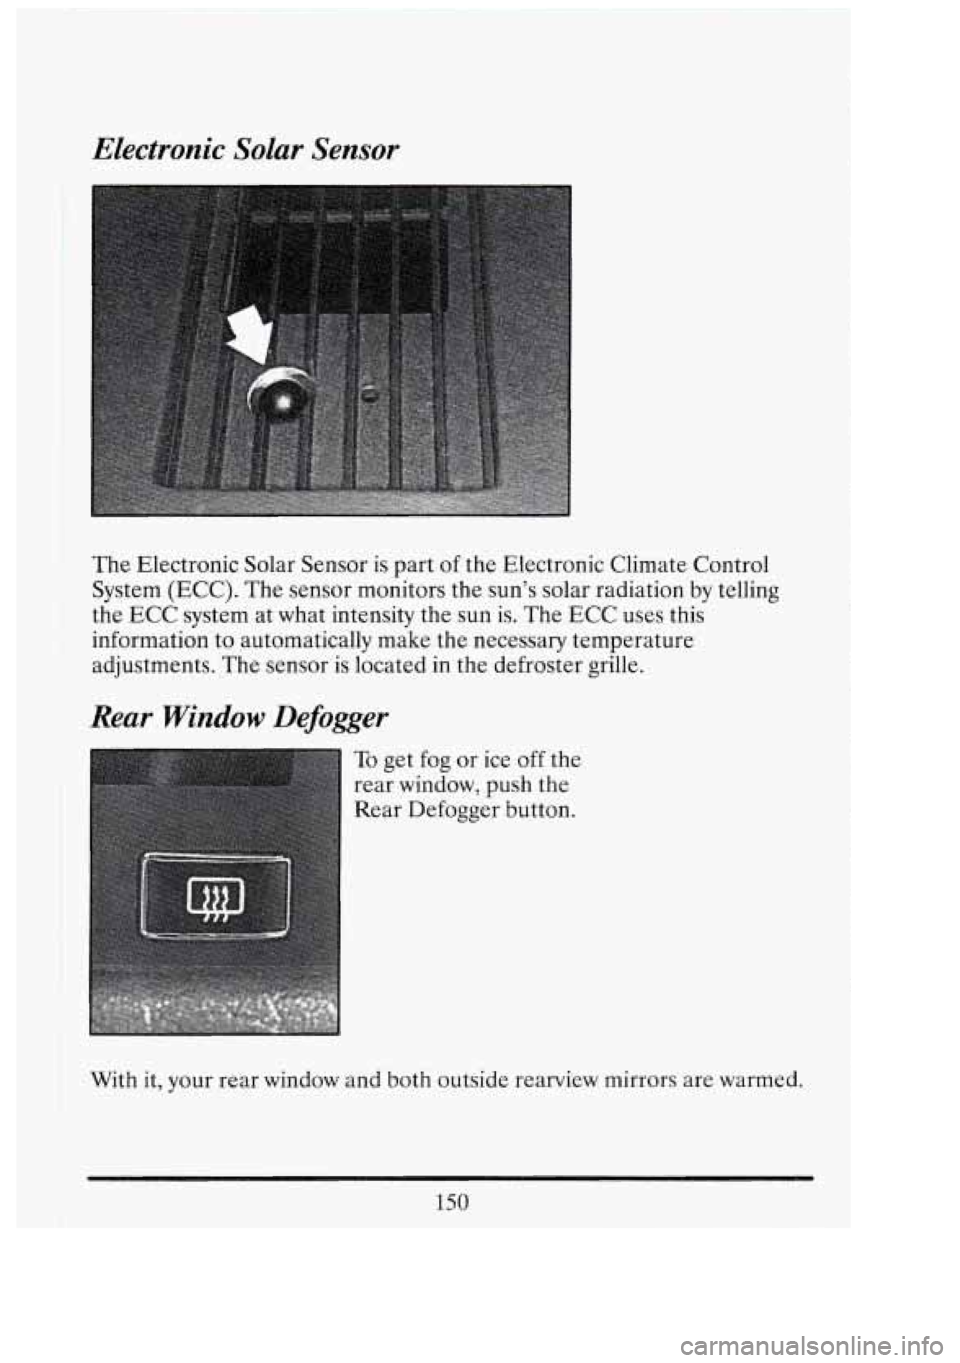
The Electronic Solar Sensor is part of the Electronic Climate Control
System (ECC). The sensor monitors the sun's solar radiation
by telling
information to automatically make the necessary temperature
adjustments. The sensor is located
in the defroster grille.
I the ECC system at what intensity the sun is. The ECC uses this
Rear Window Defogger
To get fog or ice off the
rear window, push the
Rear Defogger button.
With it,
your rear window and both outside rearview mirrors are warmed.
ni
CTI
'L1 I
150
Page 164 of 398
To turn it off, push the button again. After 10 minutes, it will go off by
itself.
To make it go longer, just push the button again.
NOTICE:
Scraping the inside of your rear window could cut and damage
the heater. Your warranty would not cover this damage. And
don’t put decals there; you might have to scrape them
off.
SOUND SYSTEMS
Your Delco sound system has been designed to operate easily and give
years
of listening pleasure. You will get the most enjoyment out of it if
you acquaint yourself with it first. Find out what your Delco system can
do and how to operate all its controls, to be sure you’re getting the most
out of the advanced engineering that went into it.
Be aware that hearing damage from loud noise is almost undetectable
until it is too late. Your hearing can adapt to higher volumes of sound.
Sound that seems normal can be loud and harmful to your hearing. Take
precautions by adjusting the volume control on your radio to a safe sound
level before your hearing adapts to it.
To help avoid hearing loss or damage:
Adjust the volume control to the lowest setting.
Increase volume slowly until you hear comfortably and clearly.
Page 165 of 398
I I
NOTICE:
Before you add any sound equipment to pour vehicle -- like a
. tape player, CB radio, mobile telephone or two-way radio -- be
sure you can add what you want.
If you can, it's very important
to do it properly. Added sound equipment may interfere with the
operation
of your vehicle's engine, Delco@ radio or other
systems, and even damage them. And, your vehicle's systems
may interfere with the operation
of sound equipment that has
been added improperly.
So, before adding sound equipment, check with your dealer and
be sure to check Federal'rules covering mobile radio and
telephone units.
FM Stereo
FM stereo will give you the best sound. But FM signals will reach only
about
10 to 40 miles (16 to 65 km). And, tall buildings or hills can
interfere with
FM signals, causing the popping, crackling, or a momentary
hissing sound.
AM
The range for most AM stations is greater than for FM, especially at
night. The longer range, however, can cause stations to interfere with
each other.
AM can pick up noise from things like storms and power
lines.
Try reducing the treble to reduce this noise if you ever get it.
Speed Sensitive Volume
Your Delco radio automatically adjusts the volume level to compensate
for road and wind noise as you are driving.
Dolby@
This feature automatically removes noise on Dolby encoded tapes (no
button is required).
*Dolby@ is a registered trademark of Dolby Laboratories.
152
Dl
fl
El
Page 166 of 398
AM Stereo
This means the belco’ system can receive C-QUAM@ stereo broadcasts.
Many AM stations around the country use C-QUAM@ to produce stereo,
though some do not. (C-QUAM@ is a registered trademark
of Motorola,
Inc.)
If your Delco@ system can get C-QUAM@, your “ST” light will
come on when you’re receiving it.
This means that your sound system can produce quality
AM sound
comparable to
FM stereo. AMAX@ reduces noise without reducing the
high frequencies you need for the best sound. In addition to improved
sound quality,
AMAX@ includes more stations on the AM band. You
don’t have to do anything in your radio because
AMAX@ is automatic.
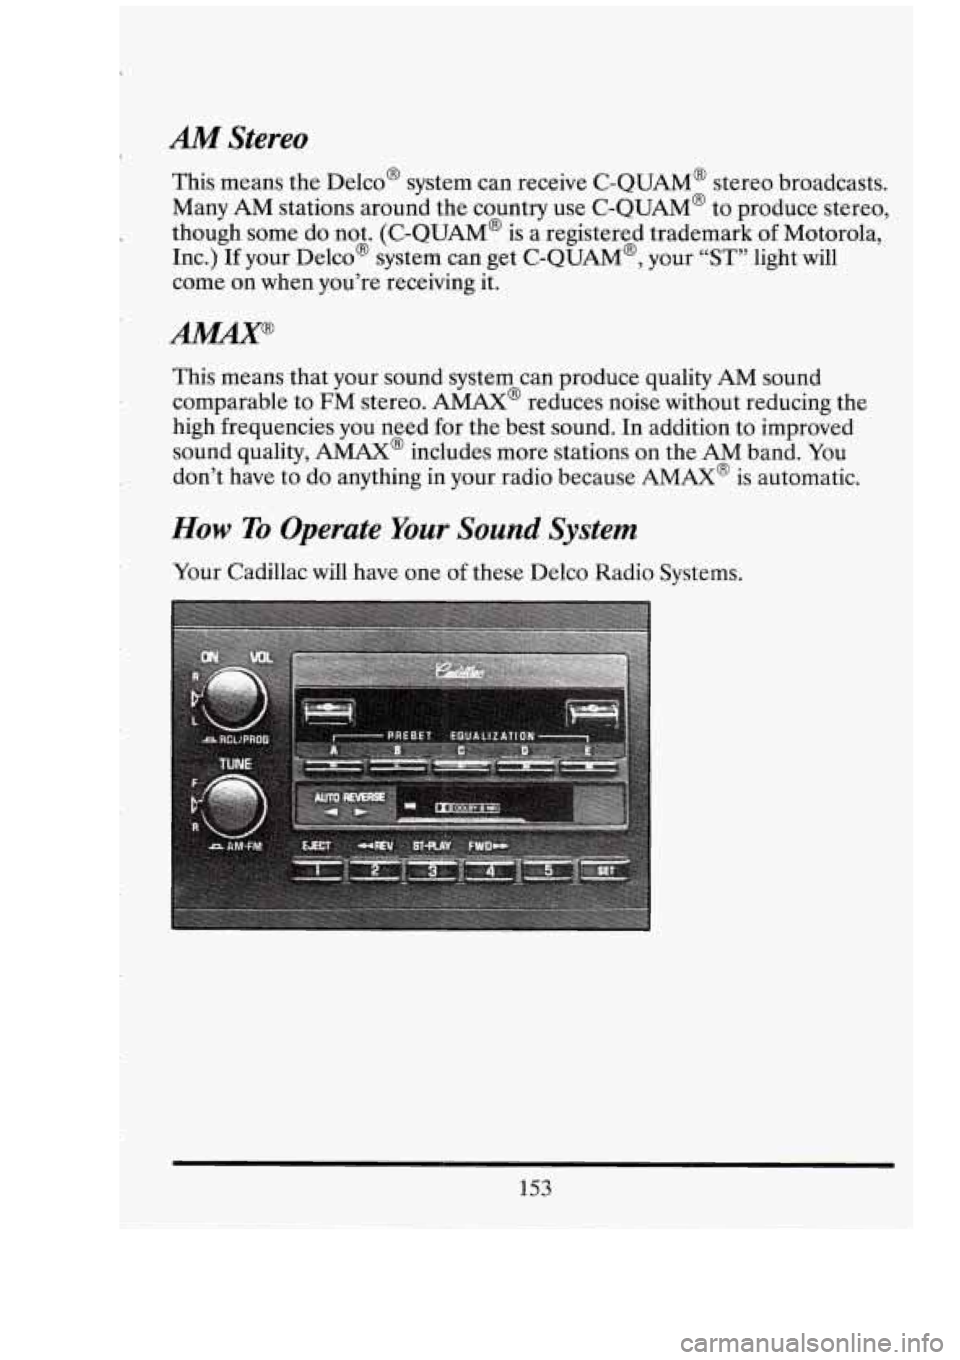
How To Operate Your Sound System
Your Cadillac will have one of these Delco Radio Systems.
153
Page 167 of 398
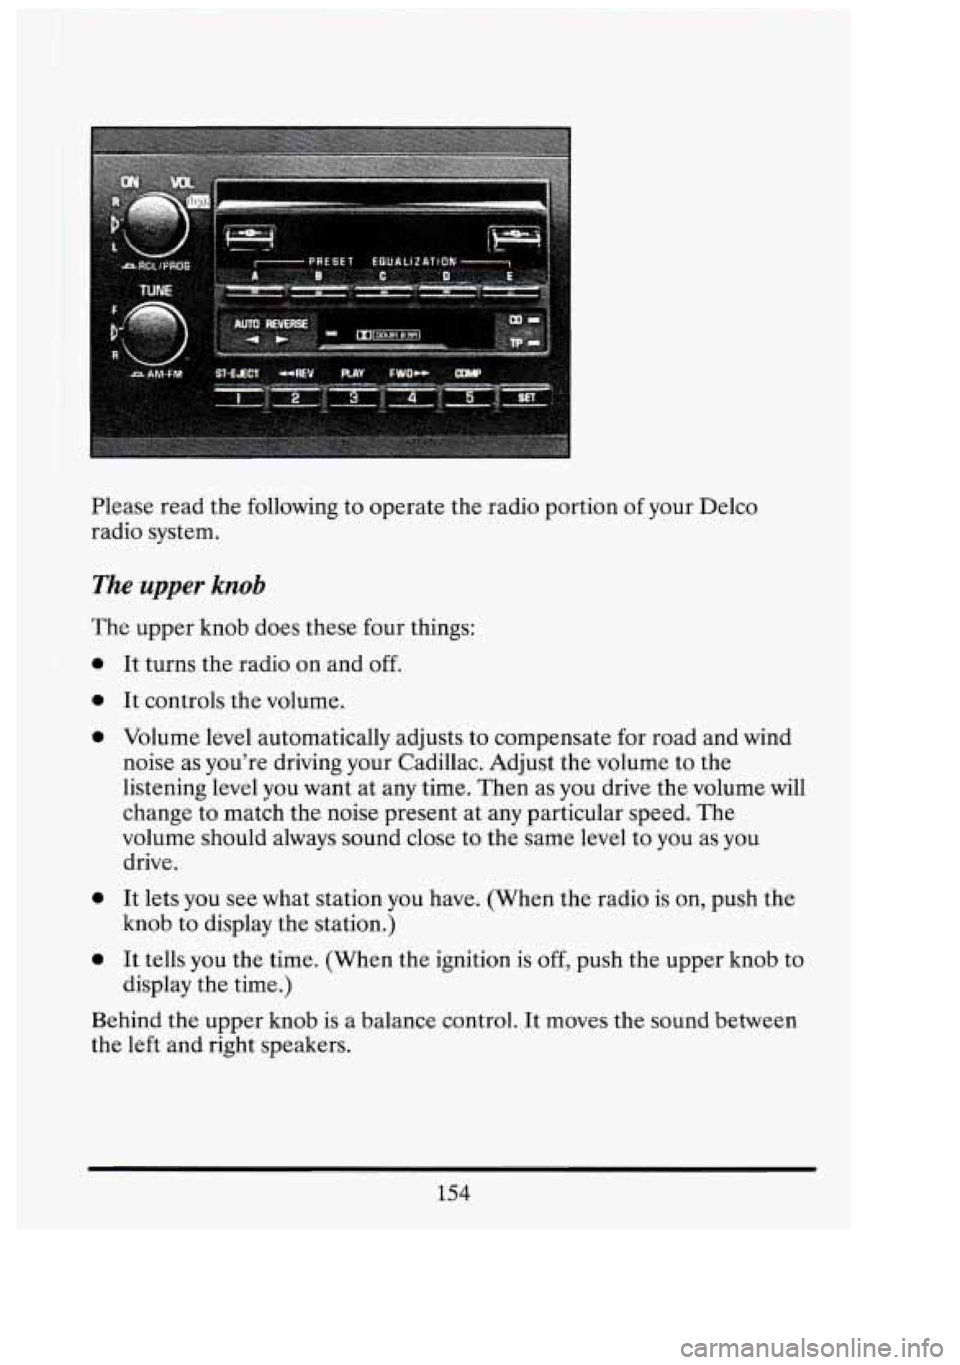
Please read the following to operate the radio portion of your Delco
radio system.
The upper knob
The upper knob does these four things:
0
0
0
0
0
It turns the radio on and off.
It controls the volume.
Volume level automatically adjusts to compensate for road and wind
noise as you're driving your Cadillac. Adjust the volume to the
listening level you want at any time. Then as you drive the volume will
change to match the noise present at any particular speed. The
volume should always sound close to the same level to you as
you
drive.
It lets you see what station you have. (When the radio is on, push the
knob to display the station.)
It tells you the time. (When the ignition is
off, push the upper knob to
display the time.)
Behind the upper knob is a balance control. It moves the sound between
the left and right speakers.
154
n
r
Ll
I s
UI
D'
i
-
d
Page 168 of 398
The lower knob
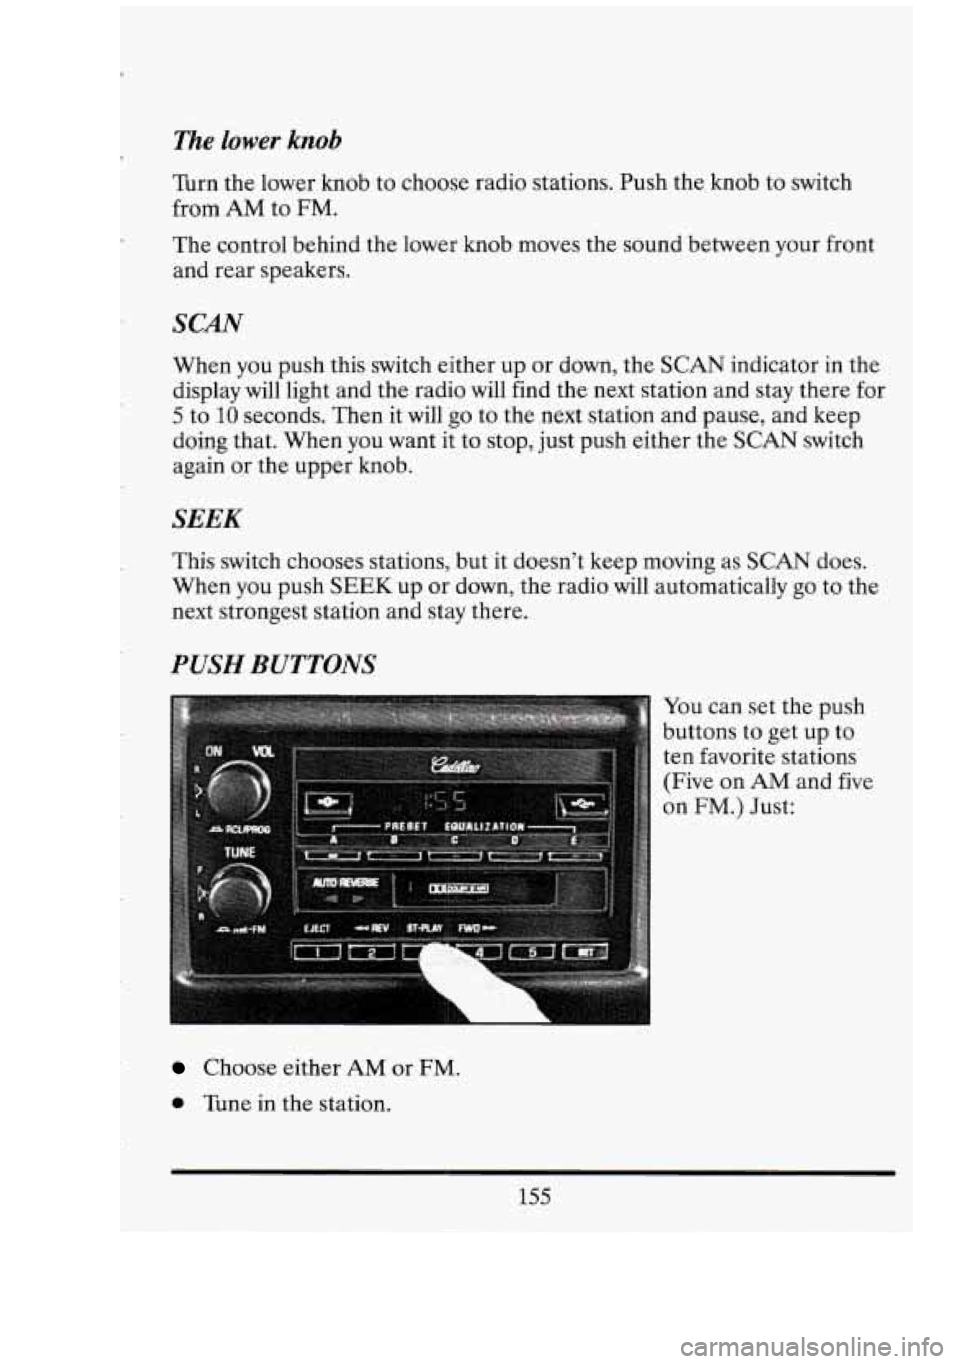
Turn the lower knob to choose radio stations. Push the knob to switch
from
AM to FM.
The control behind the lower knob moves the sound between your front
and rear speakers.
SCAN
When you push this switch either up or down, the SCAN indicator in the
display will light and the radio will find the next station and stay there for
5 to 10 seconds. Then it will go to the next station and pause, and keep
doing that. When you want it to stop, just push either the
SCAN switch
again or the upper knob.
SEEK
This switch chooses stations, but it doesn’t keep moving as SCAN does.
When you push
SEEK up or down, the radio will automatically go to the
next strongest station and stay there.
WSH BUTTONS
You can set the push
buttons to get up to
ten favorite stations
(Five on
AM and five
on
FM.) Just:
Choose either AM or FM.
0 Tune in the station.
155
Page 169 of 398
I Push the SET button.
Within
.5 seconds, push one of the five push buttons.
Repeat these steps for each of the five push buttons.
PRESET EQUALrZATION
The Preset Equalization buttons let you adjust the tone, to sound just the
way you want it. Each individual auto-equalization button (A through E)
contains a separate equalization adjustment feature.
When your vehicle
is new, the auto-equalization is already preset with
Preset A having more bass and treble tone than mid-range tone. Preset
B
has more bass than treble and mid-range tone. Preset C has an overall flat
response in sound. Preset
D has more treble than bass and mid-range,
and Preset
E has more mid-range sound than bass and treble. These
preset settings can be modified individually for
AM, FM, cassette or
CD play.
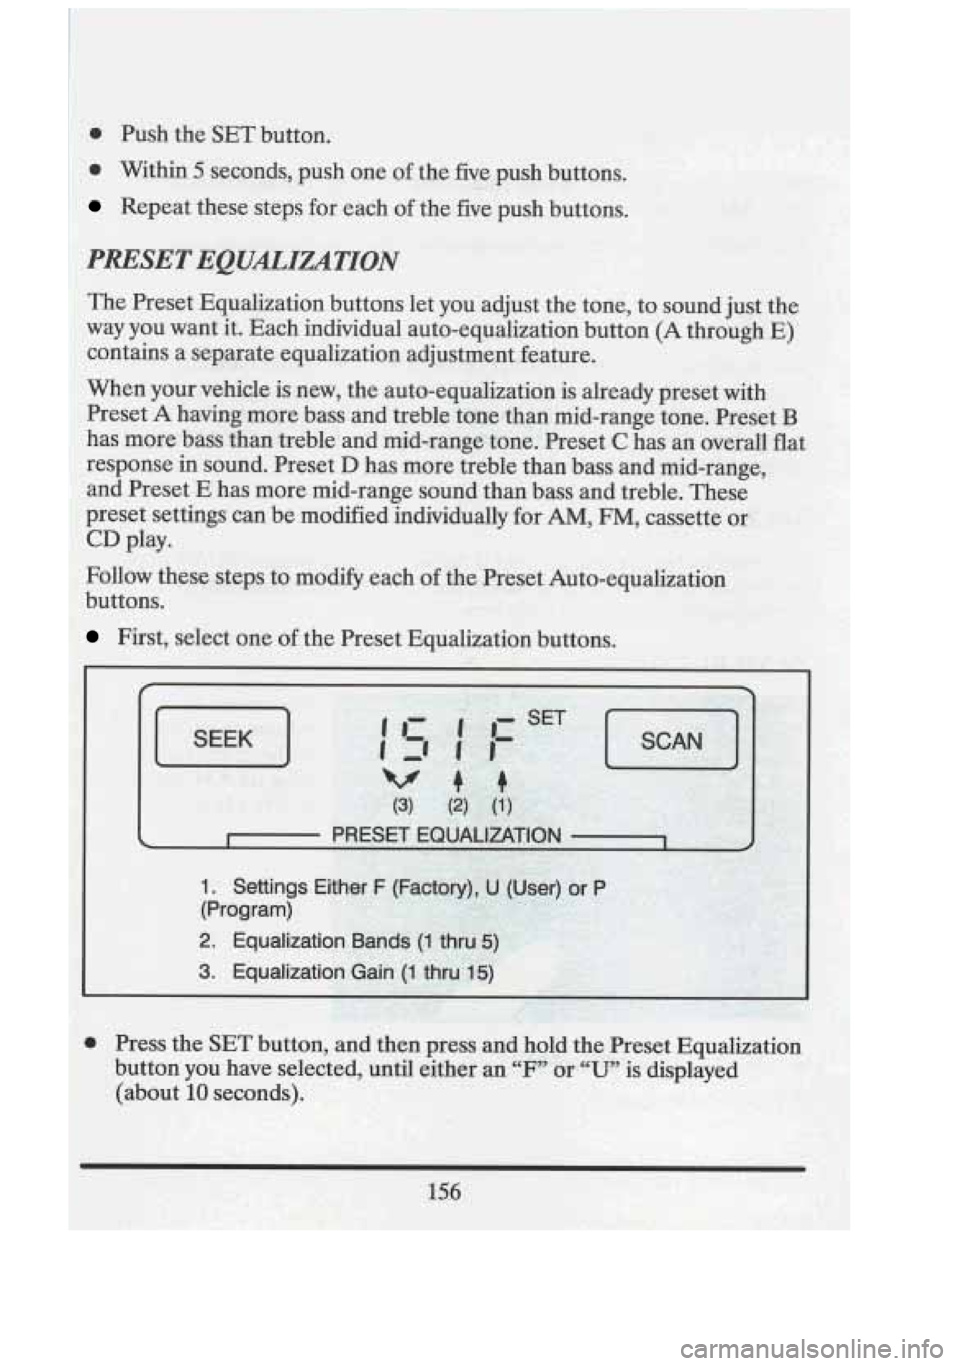
Follow these steps to modify each
of the Preset Auto-equalization
buttons.
. ,\%:. .. . . ,! - ;, .: ,,; !:;;? ;.y=K&> .I.‘!.;,*’ .:. ~ -4 6°K; -..L,.l __ .. , s+.qb+‘’ ,:Li;%j :&;% ,:
First, seTect’one oft e Preset Equ
, . .. 9- : , -;.;I< f?,;., ;,x 7 ..f& * -q$; ;’{ :!&i”Y,.
2. Equalization Band
3. Equalization Gain (1 thru 15) I
- i’ &:i ,; -4% @ -. 1.. - --.. ,tu:. J
0 Press the SET button’, and then press and hold the Preset Equalization I
I
button you have selected, until either an “F” or “U” is displayed
(about
10 seconds).
Page 170 of 398
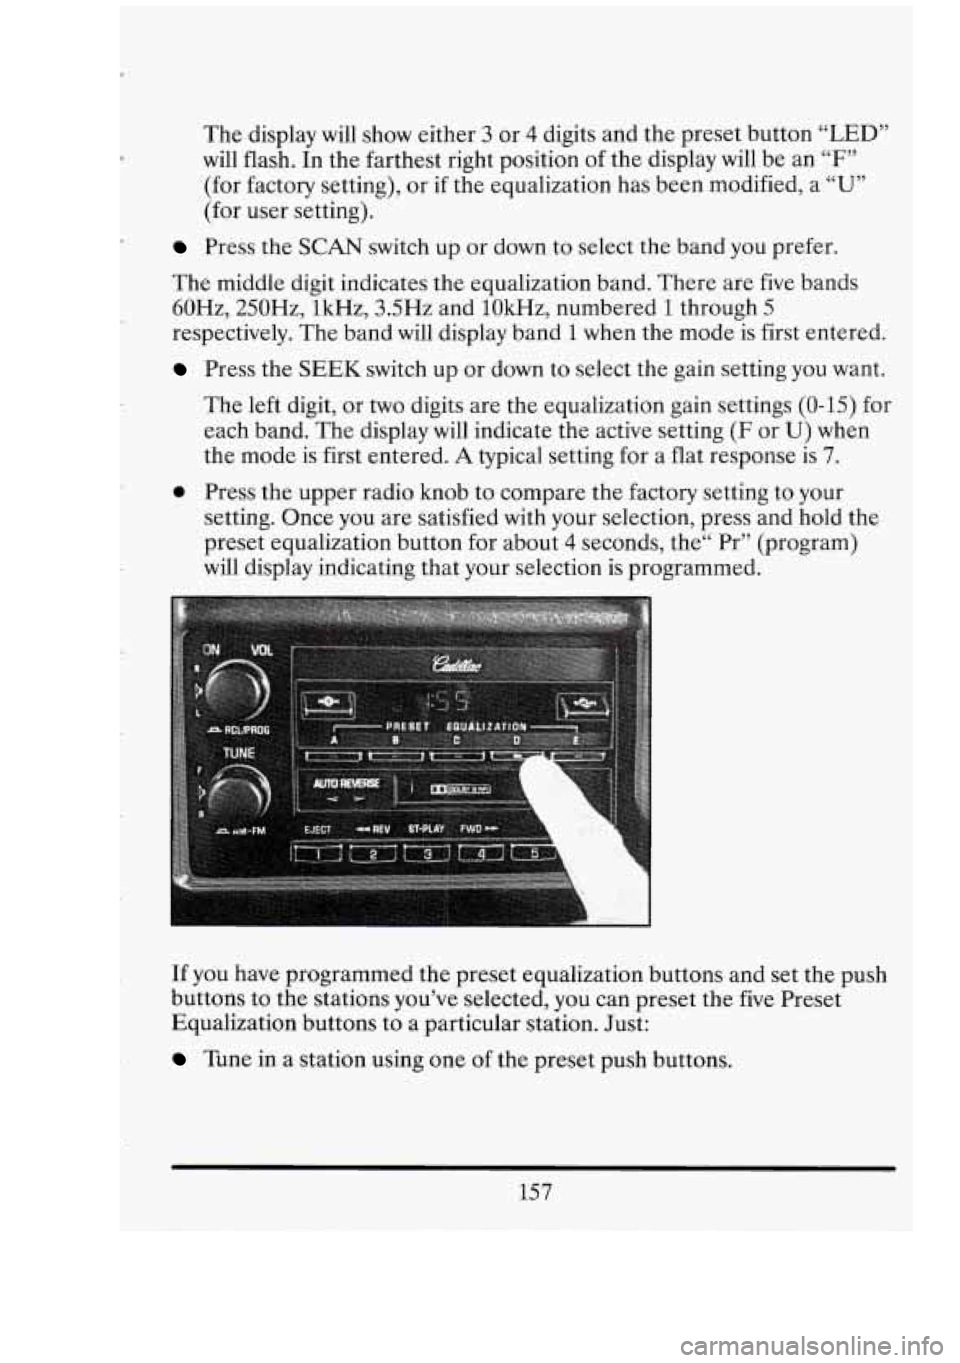
The display will show either 3 or 4 digits and the preset button “LED”
will flash. In the farthest right position of the display will be an “F”
(for factory setting), or if the equalization has been modified, a “U”
(for user setting).
Press the SCAN switch up or down to select the band you prefer.
The middle digit indicates the equalization band. There are five bands
60Hz, 250Hz, lkHz, 3.5Hz and lOkHz, numbered
1 through 5
respectively. The band will display band 1 when the mode is first entered.
Press the SEEK switch up or down to select the gain setting you want.
The left digit, or
two digits are the equalization gain settings (0-15) for
each band. The display
will indicate the active setting (F or U) when
the mode is first entered.
A typical setting for a flat response is 7.
0 Press the upper radio knob to compare the factory setting to your
setting. Once you are satisfied with your selection, press and hold the
preset equalization button for about
4 seconds, the“ Pr” (program)
will display indicating that your selection is programmed.
If you have programmed the preset equalization buttons and set the push
buttons to the stations you’ve selected, you can preset the five Preset
Equalization buttons to a particular station. Just:
Tune in a station using one of the preset push buttons.
157