CADILLAC FLEETWOOD 1994 Owners Manual
Manufacturer: CADILLAC, Model Year: 1994, Model line: FLEETWOOD, Model: CADILLAC FLEETWOOD 1994Pages: 398, PDF Size: 19.19 MB
Page 171 of 398
0 Push one of the Preset Equalization buttons (A thru E) until you like
0 Push the SET button.
4 Push the same Preset Equalization button you've selected.
the sound.
0 Push
the preset push button again to set the Preset Equalization tone.
Now each time you push that push button, the Preset Equalization is set
in memory for that station.
For Example:
Suppose you like classical music with a flat sounding tone. The station has
already been preset to push button
3. Since the flat response is on button
C, you would just:
Push the preset push button 3.
Push the tone control button C.
Now, push the SET button.
Push the tone control button C again.
~ Push the Preset push button 3 again and your Preset Equalization is
set in memory.
Now every time you push the preset push button
3, the Preset
Equalization tone is programmed to that preset push button. Tuning to
the station already preset to
3 using the knob, or Seek or Scan, the tone
control will automatically change to
C. The Preset Equalization button
will light when it is programmed to a particular push button or when
manually
pushed in.
Your Cassette Tape Player
Your cassette tape player works best with tapes that are 30 to 45 minutes
long on each side. Tapes longer than that are
so thin that they may not
work well in this player.
158
o/
Page 172 of 398
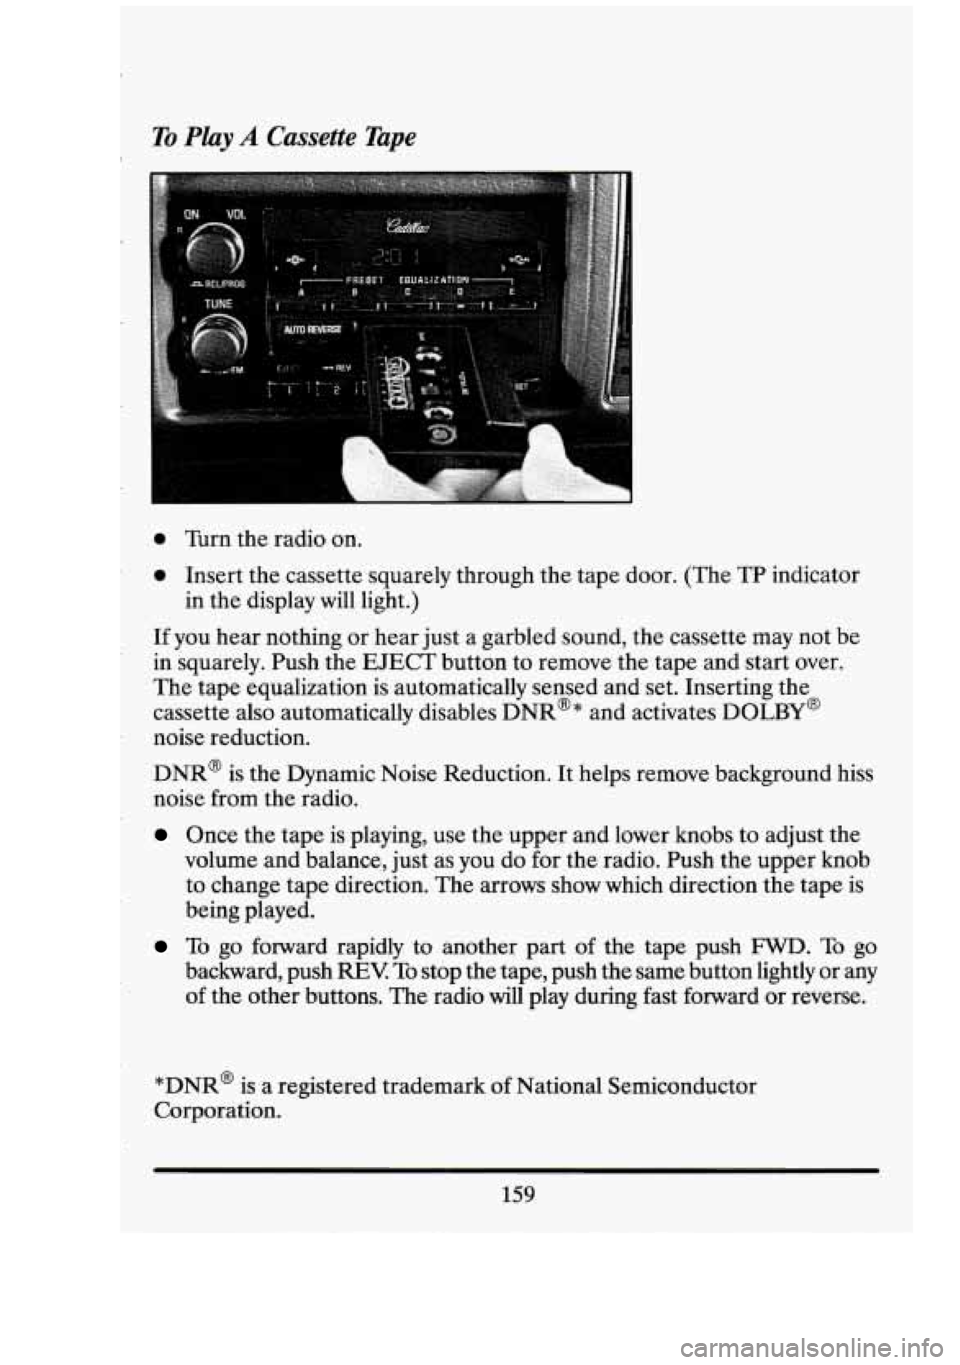
To Play A Cassette Tape I.
0 Turn the radio on.
0 Insert the cassette squarely through the tape door. (The TP indicator
If you hear nothing or hear just a garbled sound, the cassette may not be
in squarely. Push the EJECT button to remove the tape and start over.
The tape equalization is automatically sensed and set. Inserting the
cassette also automatically disables DNR@* and activates DOLBY@
noise reduction.
DNR@ is the Dynamic Noise Reduction. It helps remove background hiss
noise from the radio.
Once the tape is playing, use the upper and lower knobs to adjust the
volume and balance, just
as you do for the radio. Push the upper knob
to change tape direction. The arrows show which direction the tape is
being played.
in
the display will light.)
To go forward rapidly to another part of the tape push FWD. To go
backward, push
REV To stop the tape, push the same button lightly or any
of the other buttons. The radio will play during fast forward or reverse.
*DNR@ is a registered trademark
of National Semiconductor
Corporation.
159
Page 173 of 398
I I
To go from one side of the tape to the other, push in the upper knob
on your radio. To remove the tape, push EJECT The tape can be
ejected when the ignition is turned off.
SCAN
Push the SCAN button up to jump quickly to the next selection or down
to return to the beginning of the selection you just heard. The tape will
play
for approximately 15 seconds to sample a selection before going on
to the next selection.
To stop the SCAN function, just press it up or down
again or the upper knob.
If the selection is at the end of the tape, the tape
will reverse directions and begin playing at a normal speed.
SEEK
Push the SEEK button up to quickly go to the beginning of the next
selection. Push the SEEK button down to go back to the beginning
of the
selection you are listening to.
During the SCAN and SEEK functions the radio will not play.
STPUY (Stop-Play)
Press ST-PLAY to switch back to the radio without ejecting the tape. In
ST-PLAY function only the tuning
knob can be used for selecting stations.
To Eject A Tape
To remove the tape once it is stopped, push EJECT
lThe Delco Cassette And Compact Disc Music System
This optional sound system combines an AMEM stereo radio with a
cassette tape player and a compact disc player in a single unit.
To operate the radio and cassette tape player portion of this.music
system, please read the beginning
of this section, “How To Operate Your
Sound System” and
“Your Cassette Tape Player”.
160
3
RI
[7/
clj
El
I
I
Page 174 of 398
To Play the Disc Player
Before you begin, please note: don’t use the mini-discs that are called
“singles”. They won’t eject. Use full-size compact discs only.
Turn the radio on.
Insert a disc (label side up) partway into the slot. The player will pull it in.
Wait a few seconds and the disc will play.
The DNR@ will be disabled and
the display will show Track
“1 TRK CD” for about 5 seconds, then “CD”
will show in the display.
If the disc comes back out, check to see if
0 The disc is upside down.
0 The disc is dirty, scratched, or wet.
0 There’s too much moisture in the air. (If there is, wait about one hour
and try again).
RCL JPROG (RecallJProgram)
Press once to see which track is being played. (It also allows for disc
programming.)
Within 5 seconds press it a second time to see how long the disc has
been playing.
0 Press it a third time to see the time of day.
To Program Packs
You can program up to 10 tracks for your listening pleasure.
1. Press the RCL/PROG knob. “CD” and “TRACK” will light in the
2. Within 5 seconds, turn the lower TUNE knob to the track you want to
3. Press the SET button and the track number will stop flashing. This
display.
This also allows you to program disc track playback.
hear first. The track number will flash.
indicates that the track is programmed.
4. Repeat steps 2 and 3 to program up to 9 more tracks.
161
Page 175 of 398
5. Press the RCLPROG knob a second time to begin playing the first
To cancel the programming mode press RCWPROG and press
SET If
‘‘ALI? is showing on the display, allow 10 seconds to pass. You can also
cancel the programming mode by ejecting the disc.
programmed
track.
SEEK
Push this switch up or down to go to the beginning of the next or previous
track. At least
8 seconds must have played for the SEEK function to find
the start of the current track.
SCAN
Push this switch up or down to sample about 15 seconds of the beginning
of each track. Press it again or the upper knob to stop the SCAN
function.
Note:
If you are in the Program mode, it is possible to modify the
playback order
by using the TUNE knob. If you need to review the
playback order use either the
SEEK or SCAN switch. This review can be
stopped by pushing
the SCAN switch.
REV (Reverse)
Push and hold REV to return rapidly to a favorite passage. Release it to
play the passage.
The elapsed time will be displayed to show the reverse
progress of the CD.
FWD (Fast Forward)
Press and hold FWD to advance quickly within a track. Release it to
resume playing. Elapsed time
will be displayed to show the forward
progress of the CD.
ST-EJECT (Stop-Eject)
Press ST-EJECT. The disc or tape will stop without ejecting it and the
radio will start to play. Press it again and the disc or tape
will eject.
162
I
Page 176 of 398
PLAY
Press PLAY to restart the disc or tape. It will begin playing at the point
where it had stopped.
If the CD and cassette tape are inserted at the
same time, pressing the play button will switch between
CD and the Tape.
COMP (Compression)
Pressing COMP makes soft and loud passages more nearly equal in
volume. For example, playing classical or jazz music with very quiet and
very loud passages in the same tune. The COMP display will light as long
as COMP is on.
Setting The Clock
Turn the ignition and radio on. Then:
To Set the Hour:
Press SET, and within 5 seconds,
0 Press and hold SEEK up or down. When the clock gets to the correct
hour, let go.
To Set the Minutes:
Press SET, and within 5 seconds,
Press and hold SCAN up or down. When the clock gets to the correct
minute,
let go.
Your clock is set.
Care of Your Cassette Tape Player
A tape player that is not cleaned regularly can cause reduced sound
quality, ruined cassettes, or
a damaged mechanism. Cassette tapes should
be stored in their cases away from contaminants, direct sunlight, and
extreme heat.
If they aren’t, they may not operate properly or cause
failure
of the tape player.
Your tape player should be cleaned regularly each month or after
every
15 hours of use. If you notice a reduction in sound quality, try a known
163
Page 177 of 398
good cassette to see if the tape or the tape player is at fault. If this other
cassette has
no improvement in sound quality, clean the tape player.
Clean your tape player with a wiping-action, non-abrasive cleaning
cassette, and follow the directions provided with it.
Cassettes are subject to wear and the sound quality may degrade over
time. Always make sure that the cassette tape is
in good condition before
you have your tape player serviced.
Care of Your Compact Discs
Handle discs carefully. Store them in their original cases or other
protective cases and away from direct sunlight and dust.
If the surface of
a disc is soiled, dampen a clean, soft cloth in a mild, neutral detergent
solution and clean it, wiping from the center to the edge.
Be sure never to touch the signal surface when handling discs. Pick up
discs by grasping the outer edges or the edge
of the hole and the outer
edge.
Power Antenna Mast Care
Your power antenna will look its best and work well if it’s cleaned from
time to time.
To Clean the Antenna Mast:
1. Turn on the ignition and radio to raise the antenna to full mast
extension.
2. Dampen a clean cloth with mineral spirits or equivalent solvent.
3. Wipe cloth over the mast sections, removing any dirt.
4. Wipe dry with clean cloth before retracting.
5. Make the antenna go up and down by turning the radio or ignition on
and
off.
6. Then repeat if necessary. I II
01
I
31
n, I
E
164
Page 178 of 398
NOTICE:
Don’t lubricate the power antenna. Lubrication could damage
it.
NOTICE:
Before entering an automatic car wash, turn off your radio to
make the power antenna
go down. This will prevent the mast
from possibly getting damaged.
If the antenna does not go down
when you turn the radio off,
it may be damaged or need to be
cleaned. In either case, lower the antenna by hand by carefully
pressing the antenna down.
If the mast portion of your antenna
is damaged, you can easily replace it.
See your dealer for a replacement kit and follow the instructions in the
kit.
165
Page 179 of 398
.
YOUR DRIVIlNG AND THE ROAD
Here you’ll find information about driving on different kinds of roads and
in varying weather conditions. We’ve also included many other useful tips
on driving.
DEFENSZFE DMNG
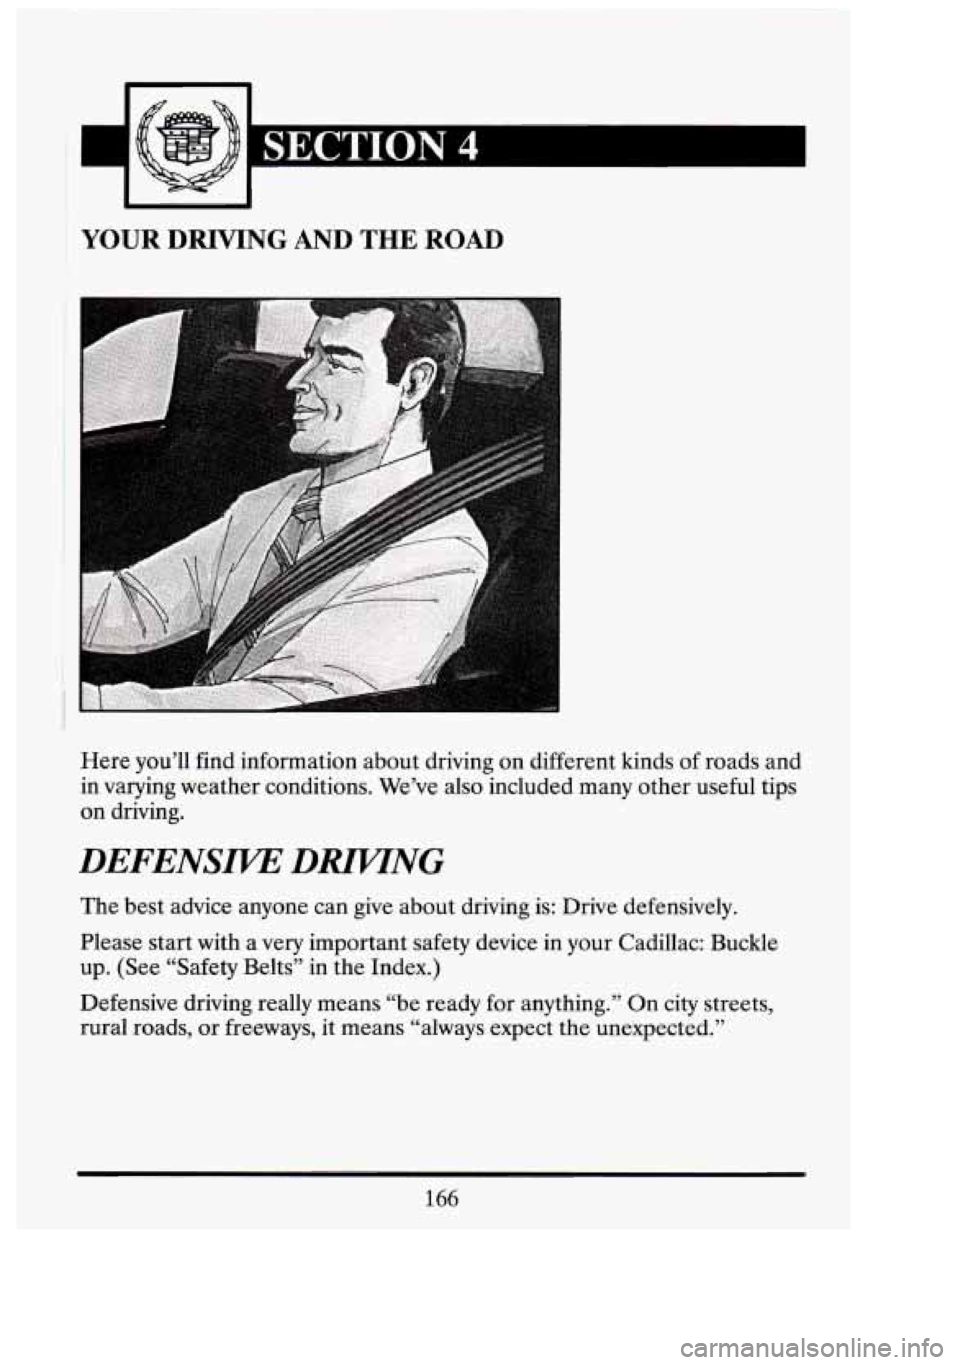
The best advice anyone can give about driving is: Drive defensively.
Please start with a
very important safety device in your Cadillac: Buckle
up. (See “Safety Belts”
in the Index.)
Defensive driving really means “be ready for anything.” On city streets,
rural roads,
or freeways, it means “always expect the unexpected.”
166
L
7
If,
Page 180 of 398
0 How much alcohol is in the drink.
a The drinker's body weight.
* The amount of food that is consumed before and during drinking.
The length of time it has taken the drinker to consume the alcohol.