CHEVROLET CAMARO 1994 4.G Owners Manual
Manufacturer: CHEVROLET, Model Year: 1994, Model line: CAMARO, Model: CHEVROLET CAMARO 1994 4.GPages: 292, PDF Size: 15.35 MB
Page 101 of 292
Downloaded from www.Manualslib.com manuals search engine NOTICE:
If you keep driving your vehicle with
this light on, after a while the emis-
sion controls won’t work as well,
your fuel economy won’t be as good
and your engine may not run as
smoothly. This could lead to costly
repairs not covered by your warranty. 80 I// //
~~
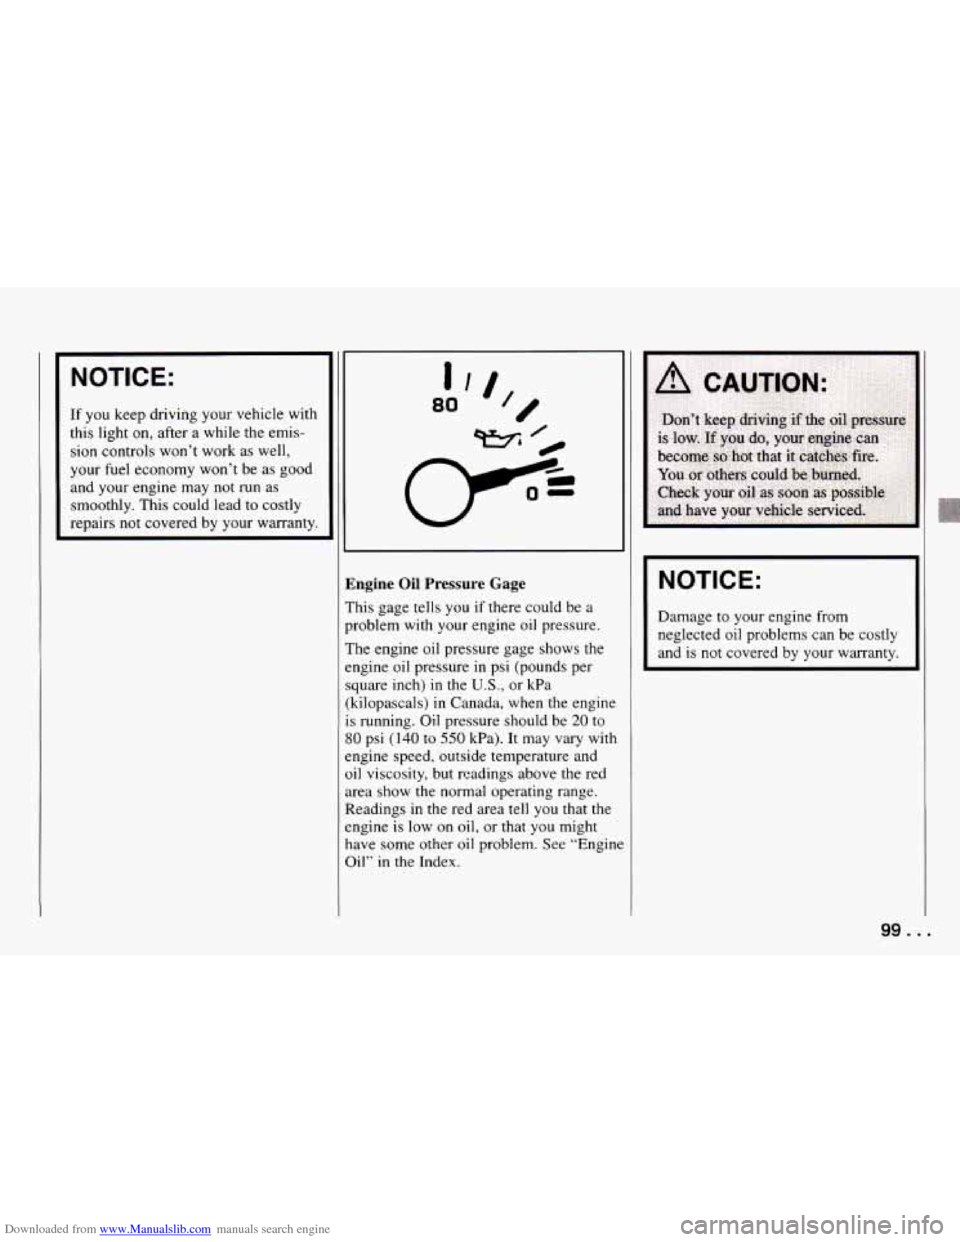
Engine Oil Pressure Gage
This gage tells you if there could be a
problem with your engine oil pressure.
The engine oil pressure gage shows the
engine oil pressure in psi (pounds per
square inch)
in the U.S., or kPa
(kilopascals) in Canada, when the engine
is running. Oil pressure should be
20 to
80 psi (140 to 550 kPa). It may vary with
engine speed, outside temperature and
oil viscosity, but readings above the red
area show the normal operating range.
Readings in the red area tell you that the
engine is low on oil, or that you might
have some other
oil problem. See “Engine
Oil”
in the Index.
~~~
NOTICE:
Damage to your engine from
neglected oil problems can be costly
and is not covered by your warranty.
99 ...
Page 102 of 292
Downloaded from www.Manualslib.com manuals search engine Features and Controls
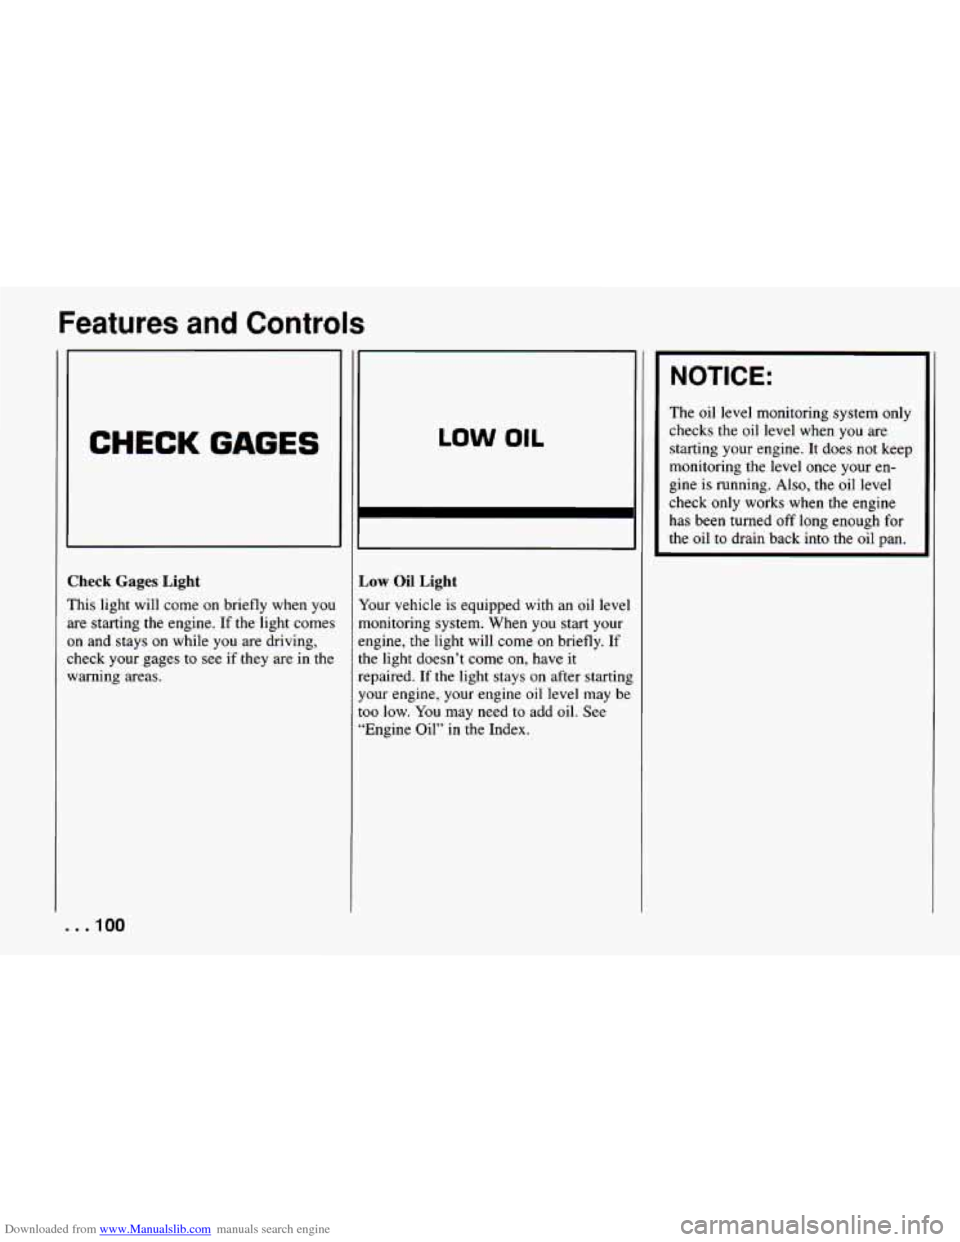
CHECK GAGES
Check Gages Light
This light will come on briefly when you
are starting the engine.
If the light comes
on and stays on while you are driving,
check your gages to see if they are in the
warning areas.
LOW OIL
,ow Oil Light
‘our vehicle is equipped with an oil level
lonitoring system. When you start your
ngine, the light will come
on briefly. If
le light doesn’t come on, have it
:paired. If the light stays on after starting
our engine, your engine oil level may be
10 low. You may need to add oil. See
Engine Oil” in the Index.
NOTICE:
The oil level monitoring system only
checks the oil level
when you are
starting your engine. It does not keep
monitoring the level once your en-
gine is running.
Also, the oil level
check only works when the engine
has been turned off long enough for
the oil to drain back into the oil pan.
. . .IO0
Page 103 of 292
Downloaded from www.Manualslib.com manuals search engine c
m
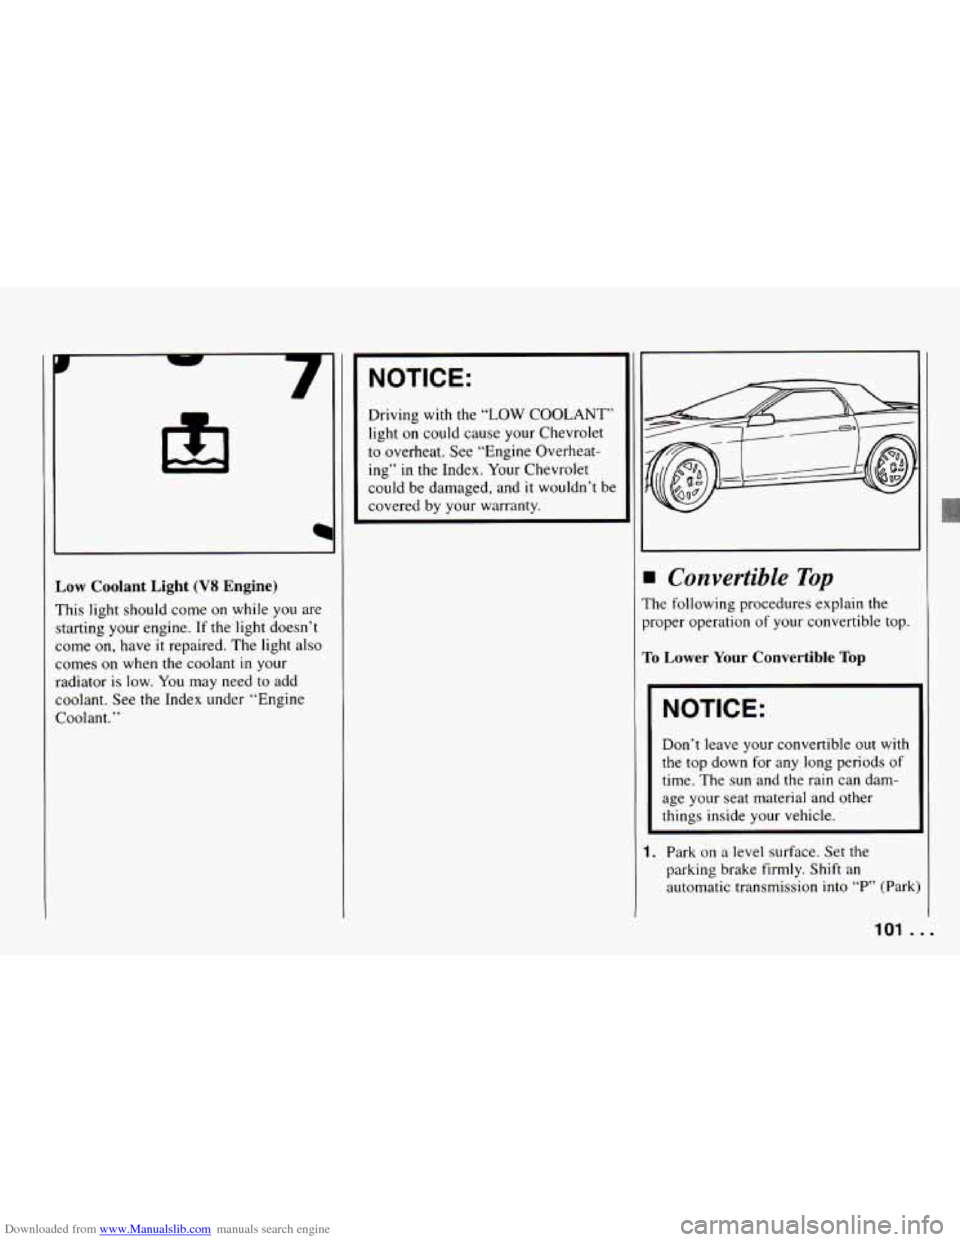
Low Coolant Light (VS Engine)
This light should come on while you are
starting your engine. If the light doesn’t
come on, have it repaired. The light
also
comes on when the coolant in your
radiator is
low. You may need to add
coolant. See the Index under “Engine
Coolant.”
NOTICE:
Driving with the “LOW COOLANT”
light on could cause your Chevrolet
to overheat. See “Engine Overheat-
ing”
in the Index. Your Chevrolet
could be damaged, and
it wouldn’t be
covered by your warranty.
Convertible Top
le following procedures explain the
3per operation of your convertible top.
I Lower Your Convertible Top
~~
NOTICE:
Don’t leave your convertible out with
the top down for any long periods of
time. The sun and the rain can dam-
age your seat material and other
things inside your vehicle.
Park on
a level surface. Set the
parking brake
firmly. Shift an
automatic transmission into “P” (Park)
101 ...
Page 104 of 292
Downloaded from www.Manualslib.com manuals search engine Features and Controls
or a manual transmission into “R”
(Reverse). The ignition must be in the
“ACC” or “Run” position. Lower bott
sun visors.
NOTICE:
Don‘t lower the top if it is damp or
wet. When
the top is down, trapped
water can cause stains, mildew and
damage to the inside of your vehicle.
Be sure
to dry off the top before you
lower it.
I NOTICE:
I
It is not recommended to lower the
top if the vehicle is out in cold
weather,
0°F (-18°C) or lower.
NOTICE:
Before lowering the convertible top
into
the storage area, be sure there
are
no objects in the way of the
folded, stored top. The weight
ofa
stored top on items in the storage
area will cause
the convertible top
back glass to break.
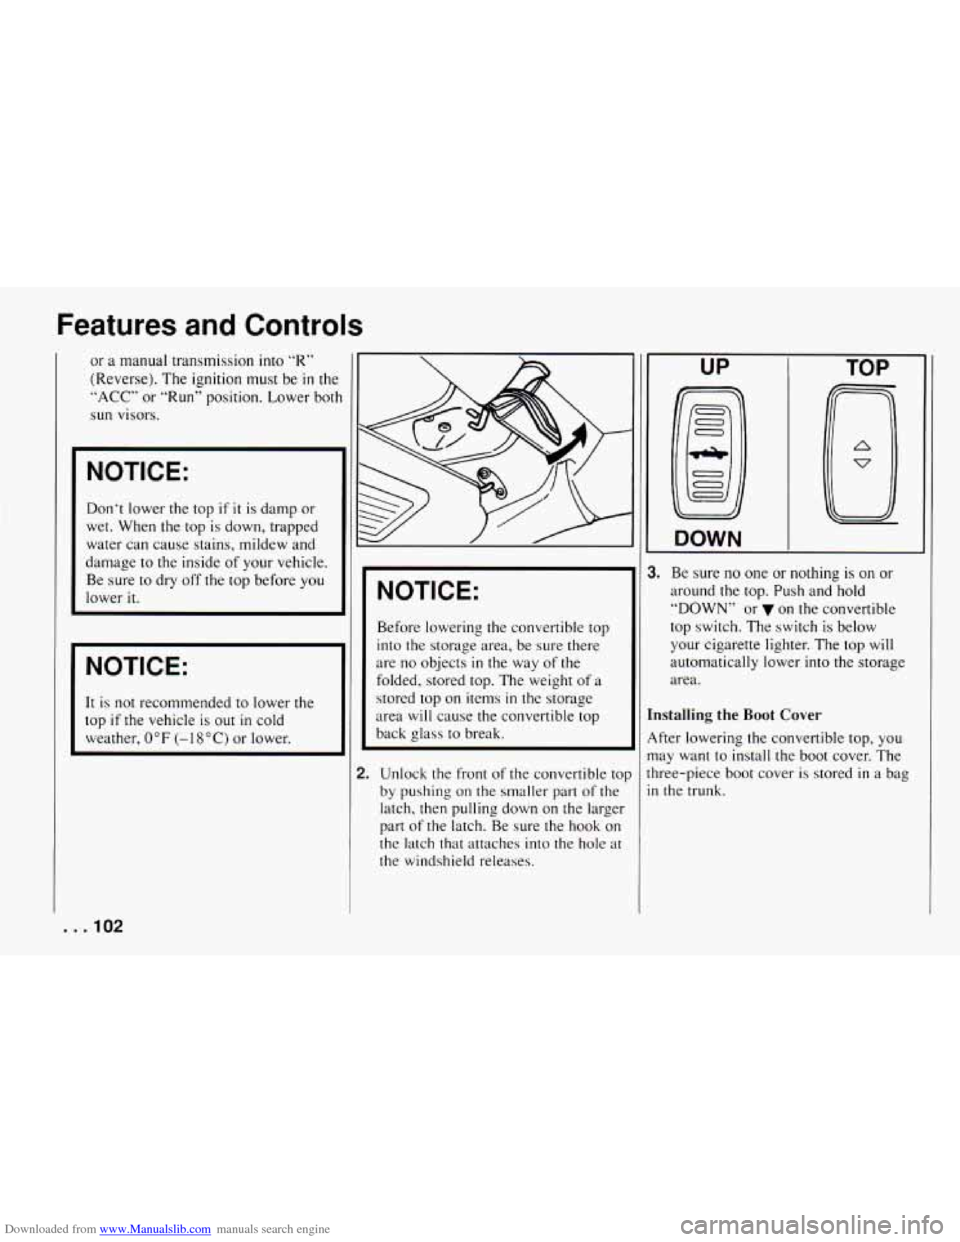
2. Unlock the front of the convertible to]
by pushing on
the smaller part of the
latch, then pulling down on the larger
part
of the latch. Be sure the hook on
the latch that attaches into the hole at
the windshield releases.
UP
DOWN
TOP
1. Be sure no one or nothing is on or
around the top. Push and hold
“DOWN” or on
the convertible
top switch. The switch is below
your cigarette lighter. The top will
automatically lower
into the storage
area.
mstalling the Boot Cover
4fter lowering the convertible top, you
nay want to install the boot cover. The
hree-piece boot cover
is stored in a bag
n the trunk.
. . .IO2
Page 105 of 292
Downloaded from www.Manualslib.com manuals search engine 1.
2.
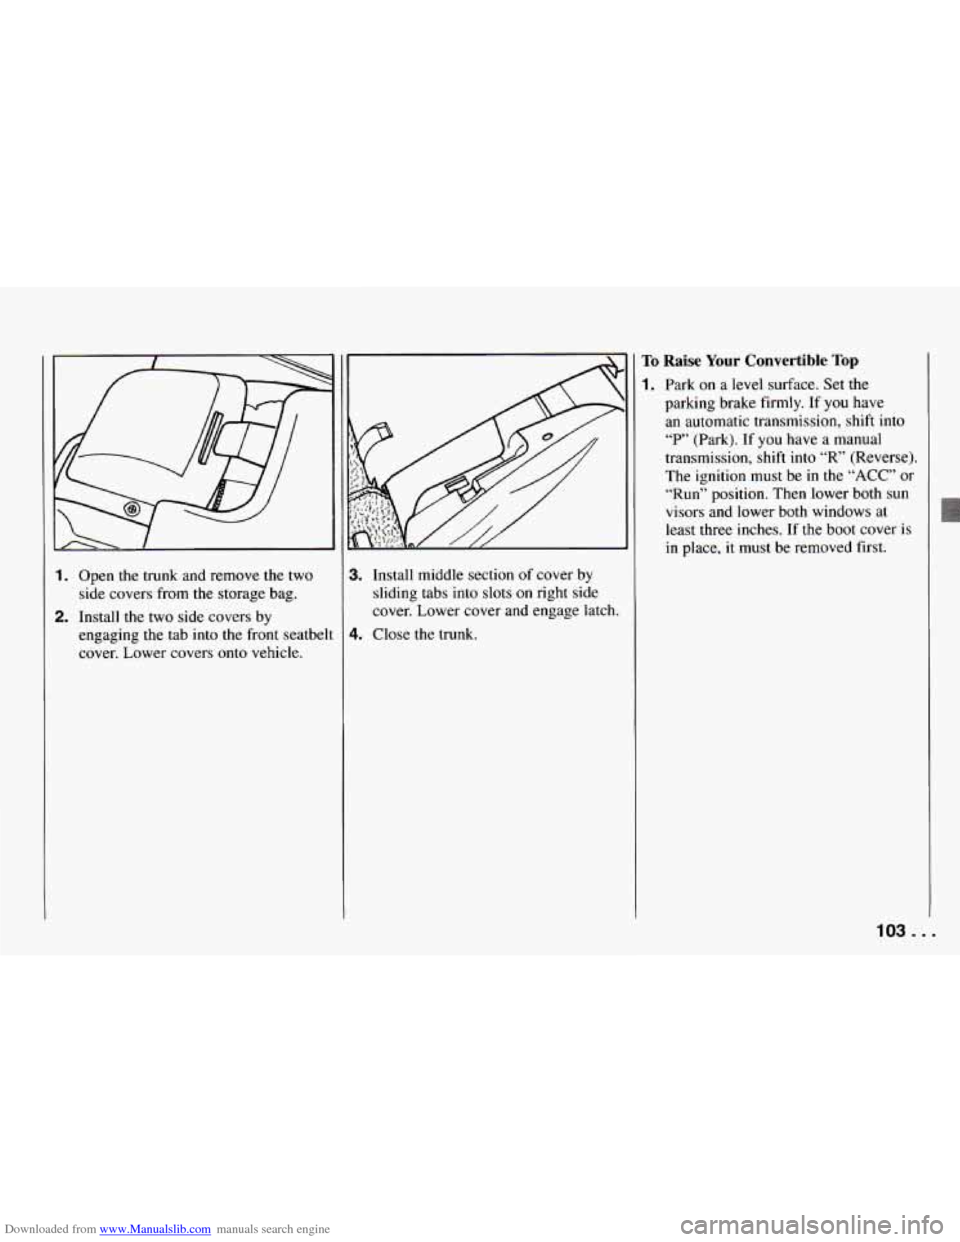
Open the trunk and remove the two
side covers from the storage bag.
Install the two side covers by
engaging the tab into the front seatbelt
cover. Lower covers onto vehicle. 3. Install middle section of cover by
sliding tabs into slots on right side
cover. Lower cover and engage latch.
4. Close the trunk.
To Raise Your Convertible Top
1. Park on a level surface. Set the
parking brake firmly. If
you have
an automatic transmission, shift into
“P’ (Park). If you have a manual
transmission, shift into
“R’ (Reverse).
The ignition must be in
the “ACC” or
“Run” position. Then lower both
sun
visors and lower both windows at
least three inches. If the boot cover
is
in place, it must be removed first.
103 ...
Page 106 of 292
Downloaded from www.Manualslib.com manuals search engine Features and Controls
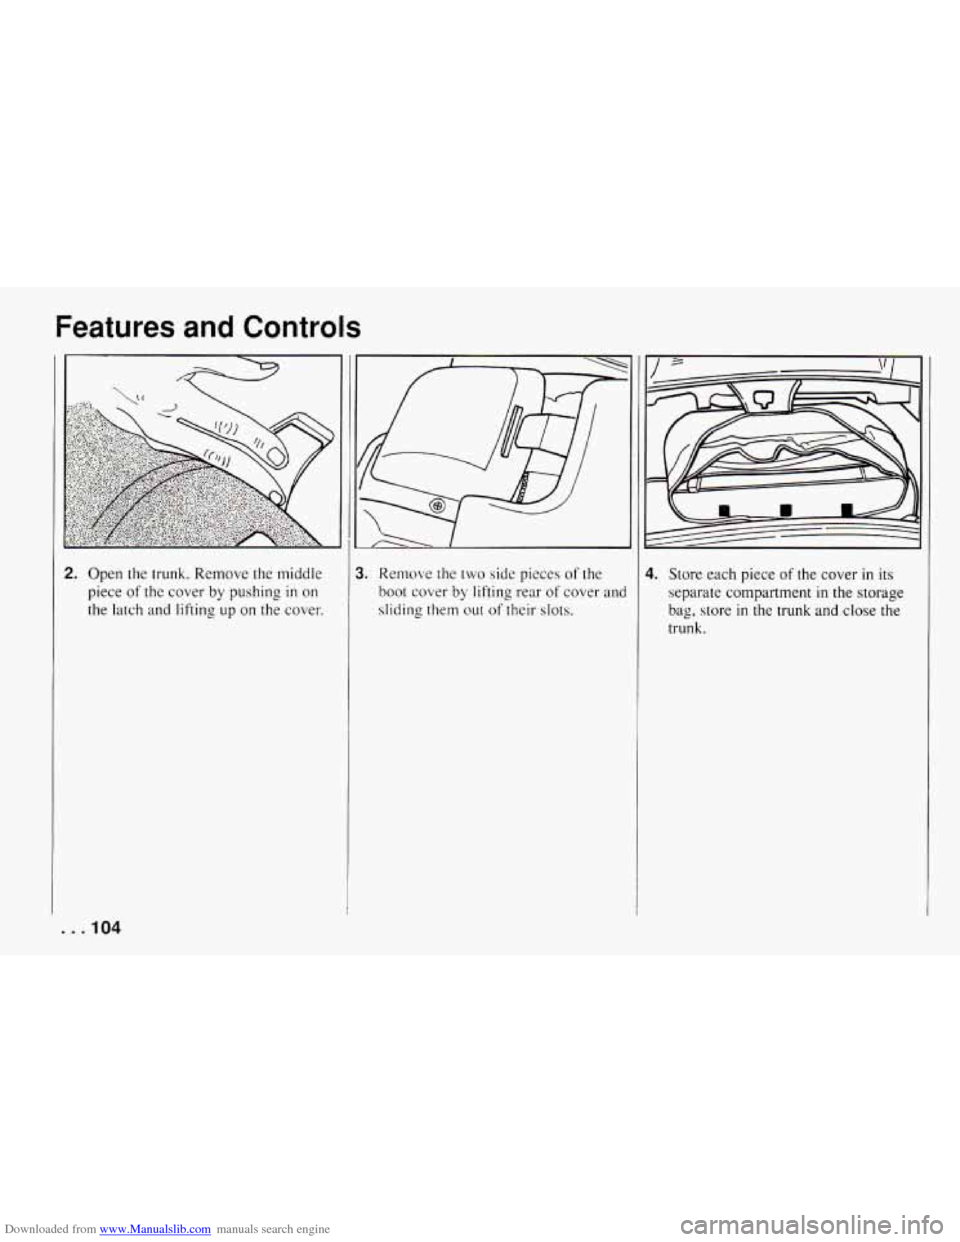
2. Open the trunk. Remove the middle
piece of
the cover by pushing in on
the latch and lifting up on the cover.
3. Remove the two side pieces of the
boot cover by lifting rear of cover and
sliding them out of their
slots.
4. Store each piece of the cover in its
separate compartment in the storage
bag, store in the trunk and close the
trunk.
. . .lo4
Page 107 of 292
Downloaded from www.Manualslib.com manuals search engine UP TOP
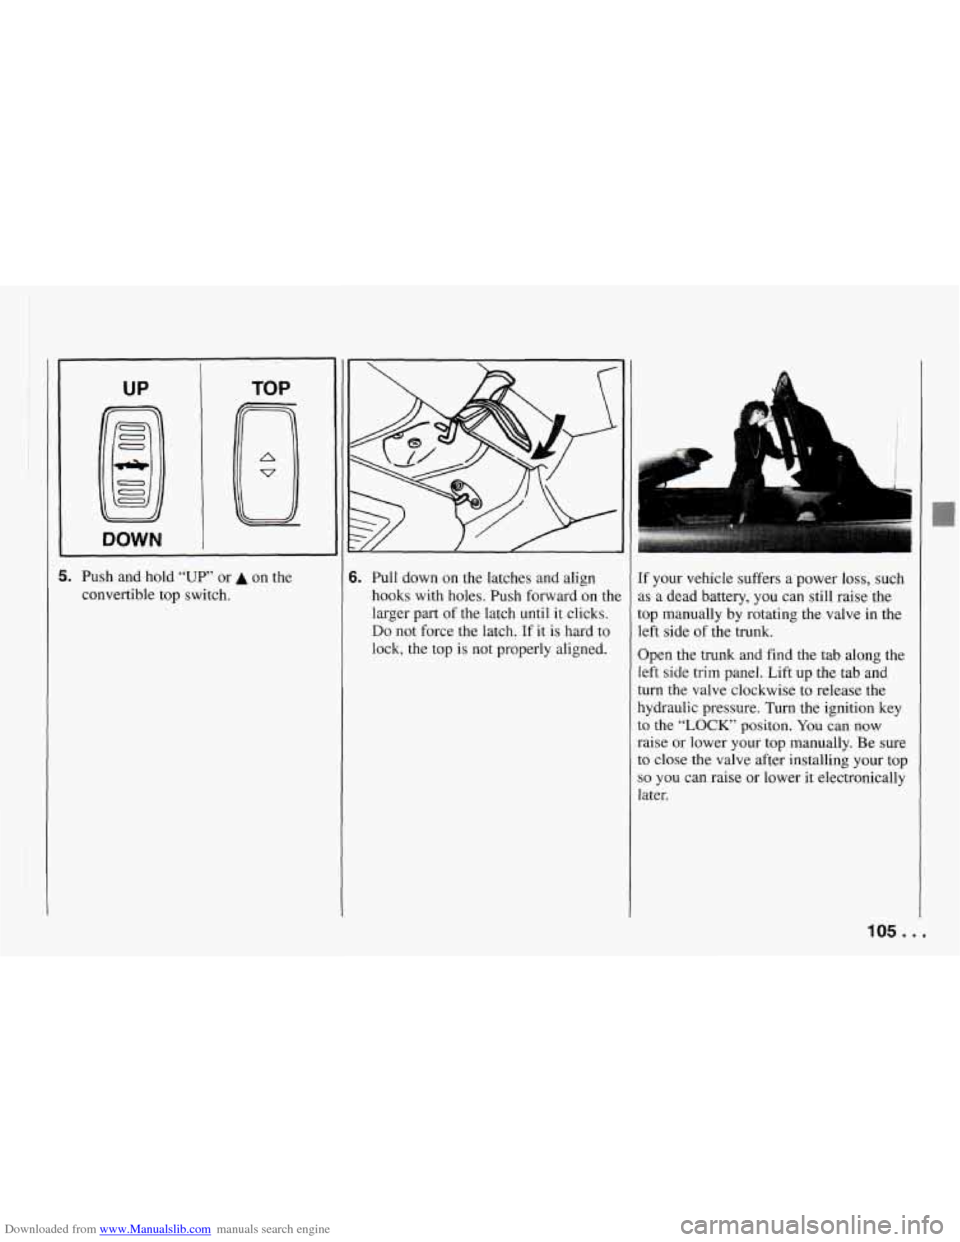
5. Push
and hold “UP” or A on the
convertible top switch. 6. Pull down on the latches and align
hooks with holes. Push forward on the
larger part
of the latch until it clicks.
Do not force the latch. If it is hard to
lock, the top is not properly aligned. If
your vehicle suffers a power
loss, such
as a dead battery, you can still raise the
top manually by rotating the valve in the
left side of the trunk.
Open the trunk and find the tab along the
left side trim panel. Lift up the tab and
turn the valve clockwise to release the
hydraulic pressure. Turn the ignition key
to the “LOCK’ positon. You can now
raise or lower your top manually. Be sure
to close the valve after installing your top
so you can raise or lower it electronically
Later.
105 ...
Page 108 of 292

Downloaded from www.Manualslib.com manuals search engine Notes
. . .IO6
Page 109 of 292
Downloaded from www.Manualslib.com manuals search engine In this part you’ll find out how to
)perate the comfort control
systems and audio systems
lffered with your Chevrolet
. Be
sure to read about the particular
system supplied with your
rehicle
.
Part 3
Comfort Controls & Audio
Systems
Comfort Controls ................................................ 108
Heatercontrols
............................................... 108
Heating ...................................................... 108
Bi-LevelHeating .............................................. 109
Ventilation
................................................... 109
Defogging and Defrosting Windows
............................... 109
Air Conditioner Controls
........................................ 110
Cooling ...................................................... 110
Rearwindow Defogger
......................................... 111
Audiosystems .................................................. 112
Flow-Through Ventilation System ................................. 111
Settingtheclock .............................................. 113
AMEM Stereo
with Cassette Tape Player ........................... 113
AM/FM Stereo with Compact Disc Player .......................... 116
Understanding Radio Reception .................................. 120
Care of Your Cassette Tape Player
................................. 120
Care of Your Compact Discs ..................................... 121
FixedMastAntenna
............................................ 121
107 ...
Page 110 of 292
Downloaded from www.Manualslib.com manuals search engine Comfort Controls and Audio Systems
E/
OFF
Comfort Controls
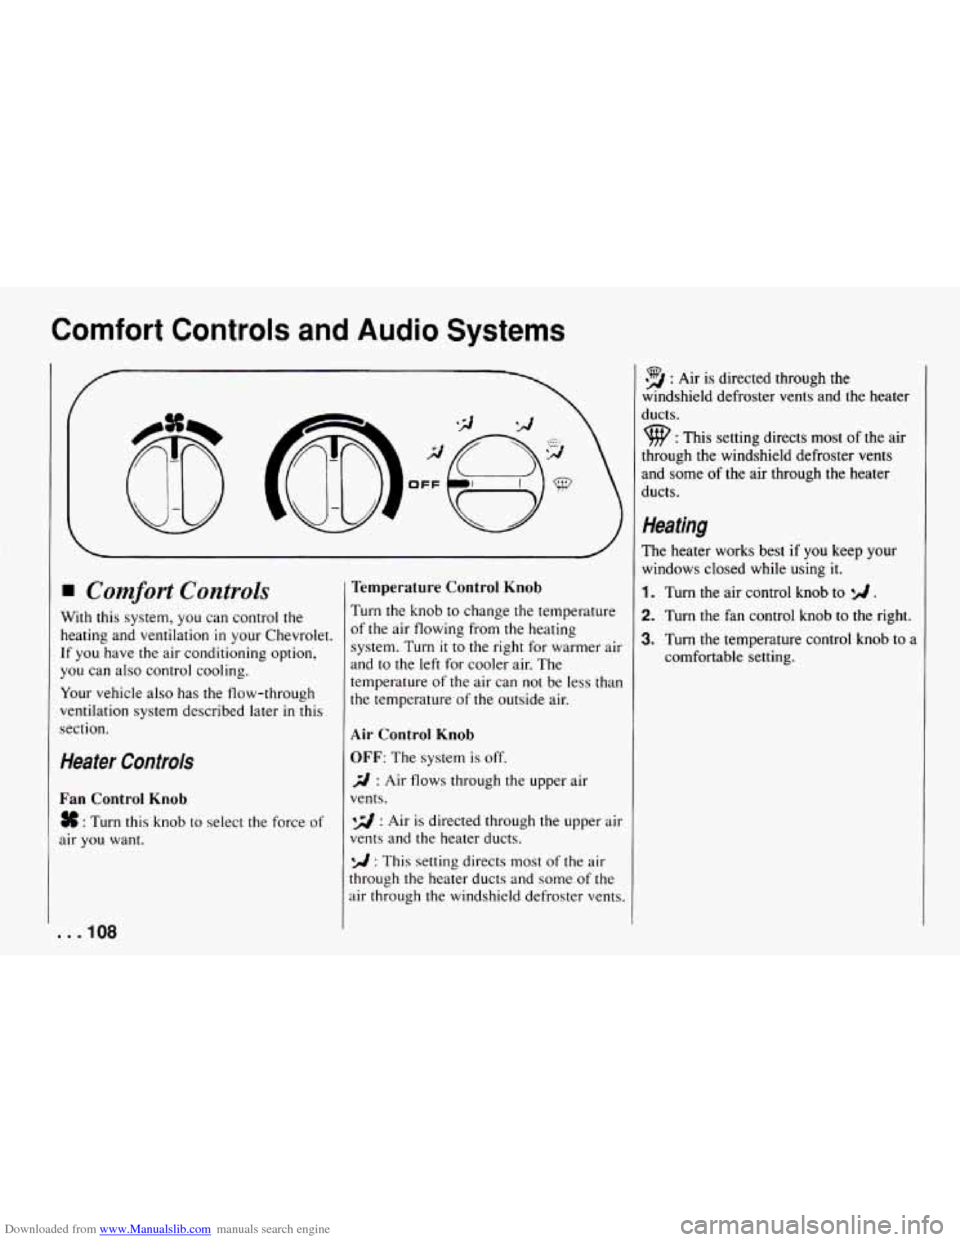
With this system, you can control the
heating and ventilation
in your Chevrolet.
If you have the air conditioning option,
you can also control cooling.
Your vehicle also has the flow-through
ventilation system described later
in this
section.
Heater Controls
Fan Control Knob
# : Turn this knob to select the force of
air you want.
. . ,108
Temperature Control Knob
Turn the knob to change the temperature
of the air flowing from the heating
system. Turn
it to the right for warmer air
and to the left for cooler air. The
temperature
of the air can not be less than
the temperature
of the outside air.
Air Control Knob
OFF: The system is off.
3 : Air flows through the upper air
vents.
*d : Air is directed through the upper air
vents and the heater ducts.
*A : This setting directs most of the air
through the heater ducts and some of the
air through the windshield defroster vents.
39 : Air is directed through the
windshield defroster vents and the heater
ducts.
9 : This setting directs most of the air
through the windshield defroster vents
and some
of the air through the heater
ducts.
Heating
The heater works best if you keep your
windows closed while using it.
1. Turn the air control knob to */I .
2. Turn the fan control knob to the right.
3. Turn the temperature control knob to a
comfortable setting.