CHEVROLET CAMARO 1994 4.G Manual Online
Manufacturer: CHEVROLET, Model Year: 1994, Model line: CAMARO, Model: CHEVROLET CAMARO 1994 4.GPages: 292, PDF Size: 15.35 MB
Page 81 of 292
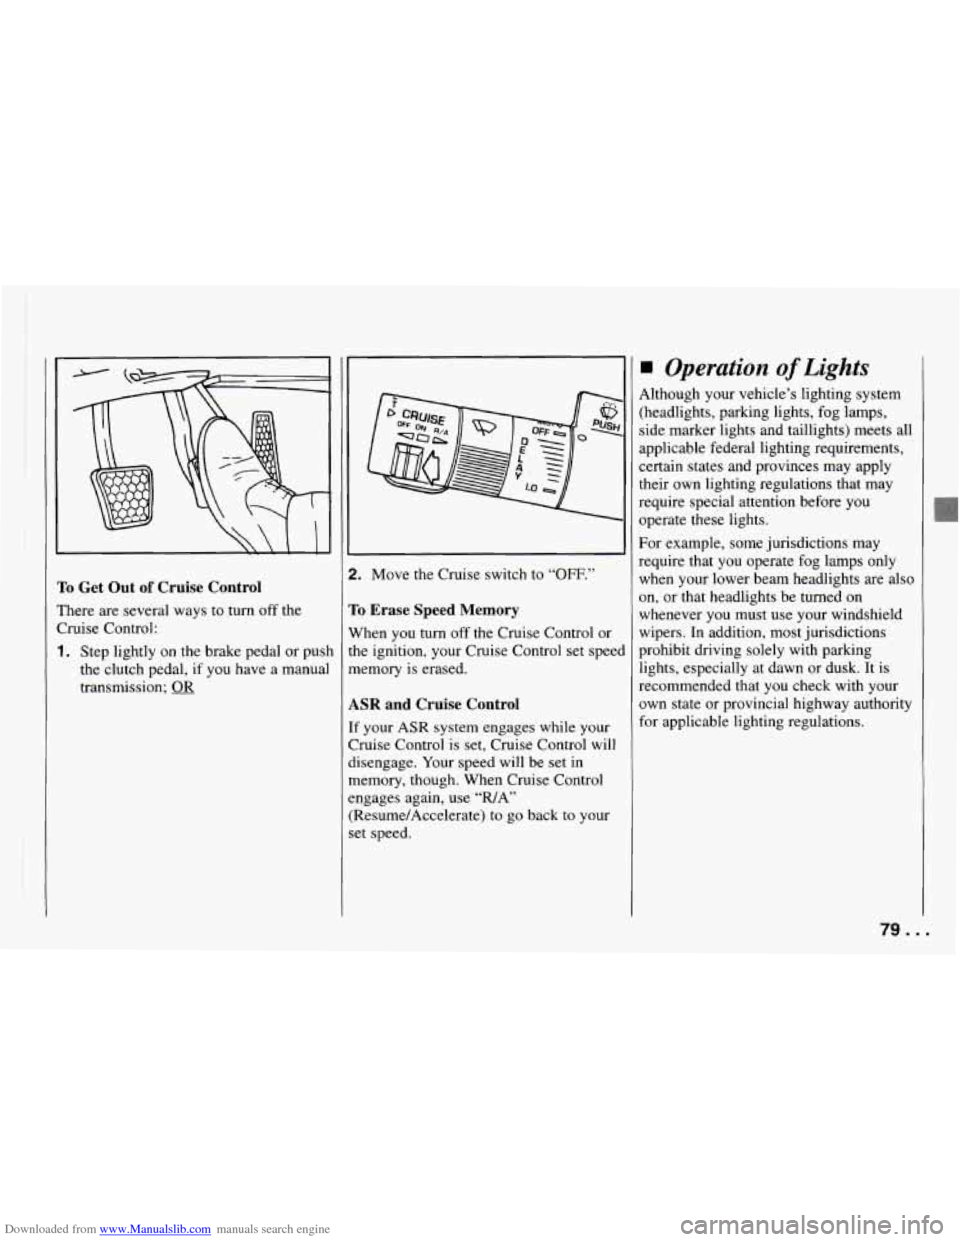
Downloaded from www.Manualslib.com manuals search engine To Get Out of Cruise Control
There are several ways to turn off the
Cruise Control:
1. Step lightly on the brake pedal or push
the clutch pedal, if you have a manual
transmission;
2. Move the Cruise switch to “OFF.”
To Erase Speed Memory
When you turn off the Cruise Control or
the ignition, your Cruise Control set speel
memory is erased.
ASR and Cruise Control
If your ASR system engages while your
Cruise Control is set, Cruise Control will
disengage. Your speed will be set in
memory, though. When Cruise Control
engages again, use “WAY’
(Resume/Accelerate) to
go back to your
set speed.
Operation of Lights
4lthough your vehicle’s lighting system
:headlights, parking lights, fog lamps,
side marker lights and taillights) meets all
ipplicable federal lighting requirements,
Zertain states and provinces may apply
:heir own lighting regulations that may
require special attention before you
>perate these lights.
For example, some jurisdictions may
require that you operate fog lamps only
when your lower beam headlights are also
m, or that headlights be turned on
whenever you must use your windshield
wipers. In addition, most jurisdictions
prohibit driving solely with parkmg
lights, especially at dawn or dusk. It is
recommended that you check with your
own state or provincial highway authority
for applicable lighting regulations.
/Y...
Page 82 of 292
Downloaded from www.Manualslib.com manuals search engine Features and Controls
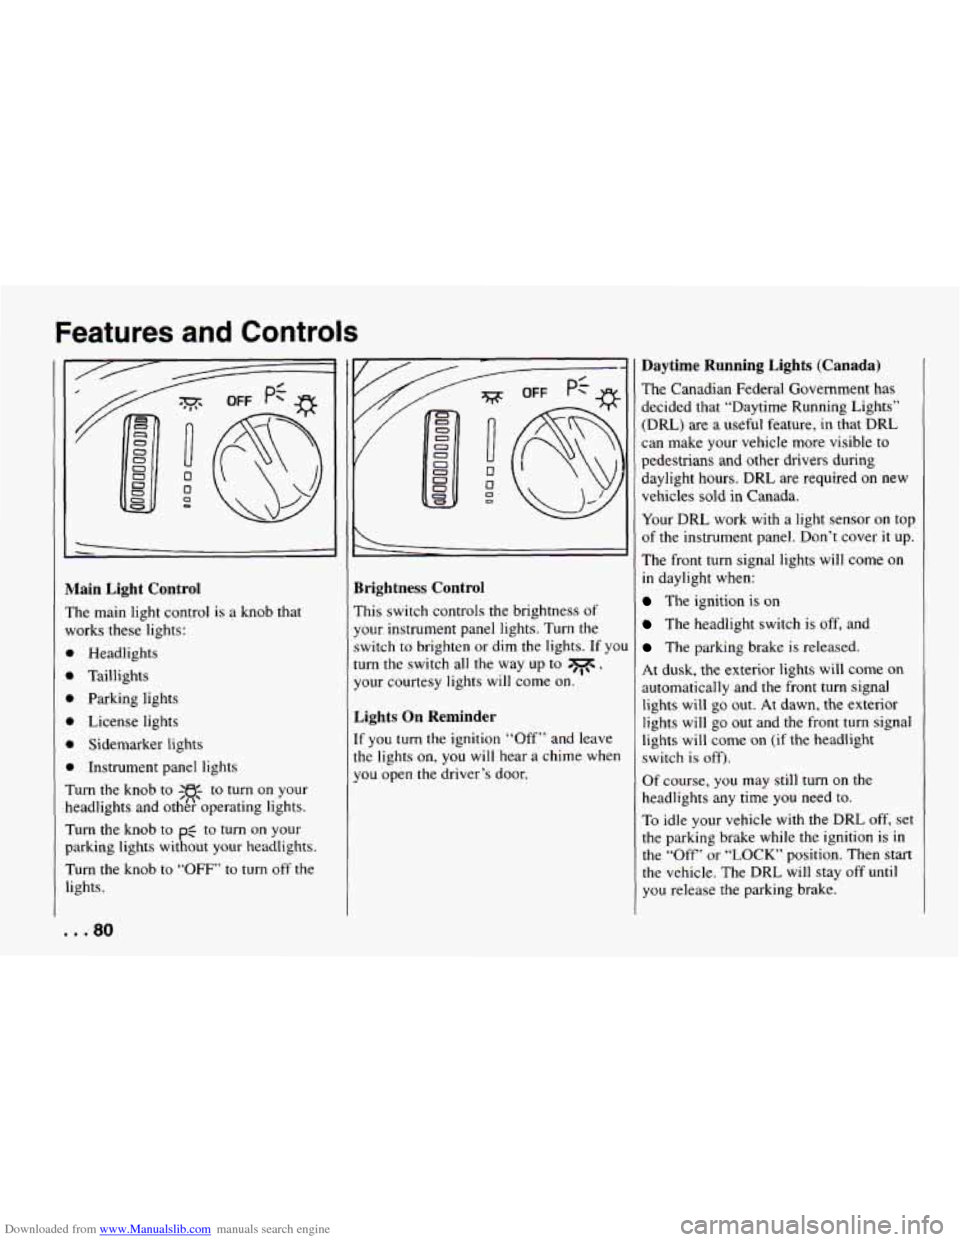
vlain Light Control
’he main light control is a knob that
vorks these lights:
b Headlights
b Taillights
Parking lights
b License lights
1 Sidemarker lights
b Instrument panel lights
rurn the knob to -w- to turn on your
leadlights and ot&?operating lights.
rurn the knob to
pg to turn on your
larking lights without your headlights.
rurn the knob to
“OFF’ to turn off the
ights.
Brightness Control
This switch controls the brightness of
your instrument panel lights. Turn the
switch to brighten or dim the lights. If yo1
turn the switch all the way up to
0w,
your courtesy lights will come on.
Lights On Reminder
If you turn the ignition “Off” and leave
the lights on, you will hear a chime when
you open the driver’s door.
Daytime Running Lights (Canada)
The Canadian Federal Government has
decided that “Daytime Running Lights”
(DRL) are
a useful feature, in that DRL
can make your vehicle more visible to
pedestrians and other drivers during
daylight hours.
DRL are required on new
vehicles sold in Canada.
Your DRL work with a light sensor on top
of the instrument panel. Don’t cover it up.
The front turn signal lights will come
on
in daylight when:
The ignition is on
The headlight switch is off, and
The parking brake is released.
At dusk, the exterior lights will come
on
automatically and the front turn signal
lights will go out. At dawn, the exterior
lights will go out and the front
turn signal
lights will come on (if the headlight
switch is off).
Of course,
you may still turn on the
headlights any time you need
to.
To idle your vehicle with the DRL off, set
the parking brake while the ignition is in
the
“Off” or “LOCK’ position. Then start
the vehicle. The DRL will stay
off until
you release the parking brake.
Page 83 of 292
Downloaded from www.Manualslib.com manuals search engine \
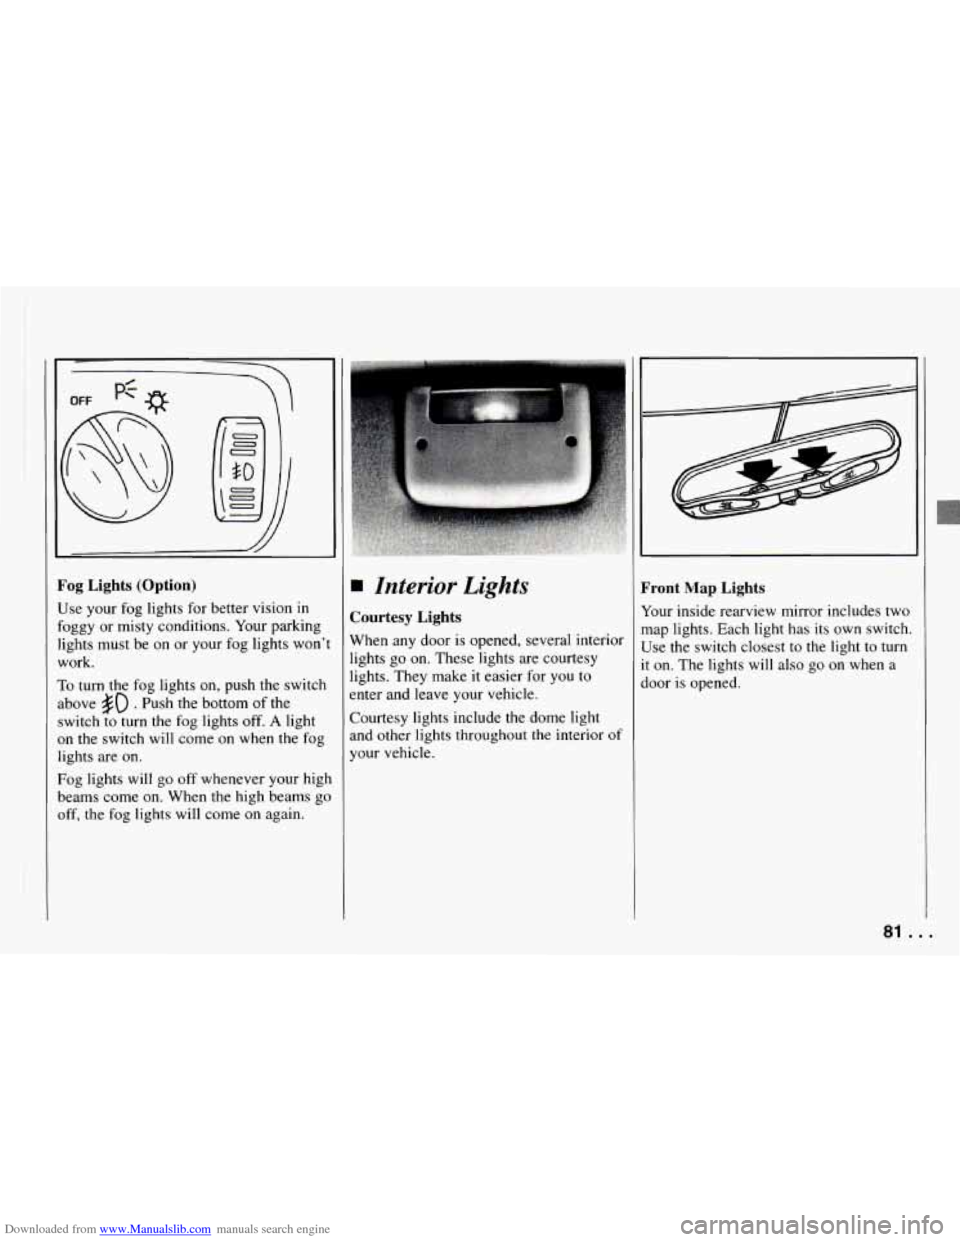
?og Lights (Option)
Jse your fog lights for better vision in
oggy or misty conditions. Your parking
ights must be on or your fog lights won7
work.
To turn the fog lights on, push the switch
tbove
$0 . Push the bottom of the
;witch to turn the fog lights off.
A light
In the switch will come on when the fog
ights are on.
Zog lights
will go off whenever your higl
>earns come
on. When the high beams gc
Iff, the fog lights will come on again.
I Interior Lights
ourtesy Lights
Then any door is opened, several interior
ghts go on. These lights are courtesy
ghts. They make it easier for you to
Iter and leave your vehicle.
ourtesy lights include the dome light
Id other lights throughout the interior of
)ur vehicle.
kont Map Lights
Tour inside rearview mirror includes two
nap lights. Each light has its own switch.
Jse the switch closest to the light to turn
t on. The lights will also go on when a
loor is opened.
81 ...
Page 84 of 292
Downloaded from www.Manualslib.com manuals search engine Features and Controls
Mirrors
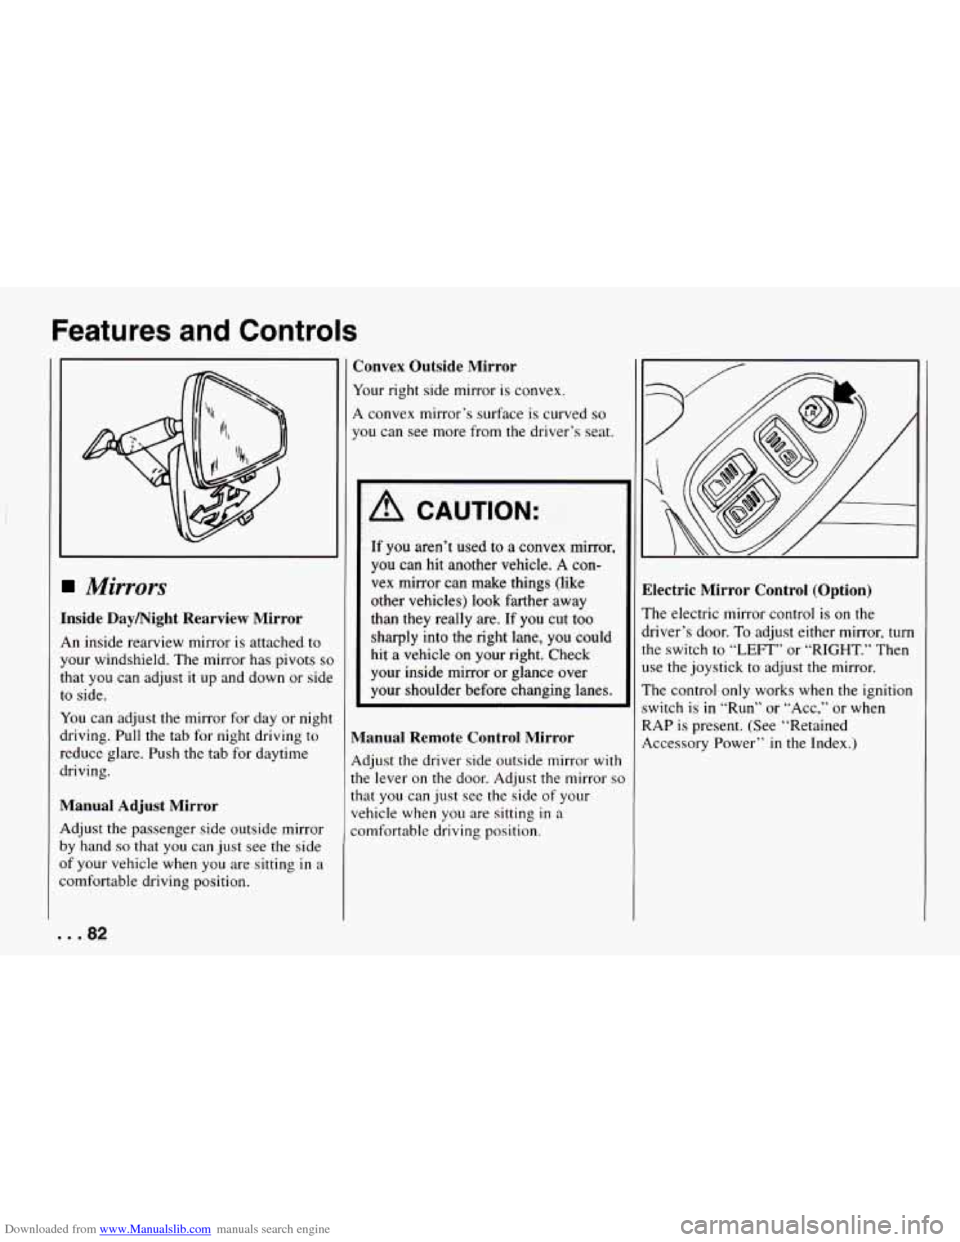
Inside Daymight Rearview Mirror
An inside rearview mirror is attached to
your windshield. The mirror has pivots
so
that you can adjust it up and down or side
to side.
You can adjust the mirror for day or night
driving.
Pull the tab for night driving to
reduce glare. Push the tab for daytime
driving.
Manual Adjust Mirror
Adjust the passenger side outside mirror
by hand so that you can just see the side
of your vehicle when you are sitting in a
comfortable driving position.
Convex Outside Mirror
Your right side mirror is convex.
A convex mirror’s surface is curved
so
you can see more from the driver’s seat.
L%, CAUTION:
If you aren’t used to a convex mi1
you can hit another vehicle. A cor
vex mirror can make things (like
other vehicles) look farther away
than they really are. If you cut toc
sharply into the right lane, you co
hit a vehicle on your right. Check
your inside mirror or glance over
your shoulder before changing lar
Manual Remote Control Mirror
Adjust the driver side outside mirror with
the lever on the door. Adjust the mirror
so
that you can just see the side of your
vehicle when you are sitting
in a
comfortable driving position.
Tor, 1
1
1-
1
uld (
t
1
les. 1
Electric Mirror Control (Option)
The electric mirror control is on the
iriver’s door.
To adjust either mirror, turn
he switch to
“LEFT” or “RIGHT.” Then
lse the joystick to adjust the mirror.
The control only works when the ignition
switch
is in “Run” or “Acc,” or when
RAP is present. (See “Retained
Accessory Power”
in the Index.)
... 82
Page 85 of 292
Downloaded from www.Manualslib.com manuals search engine Twin Lift-off Roof
Panels (OPTION)
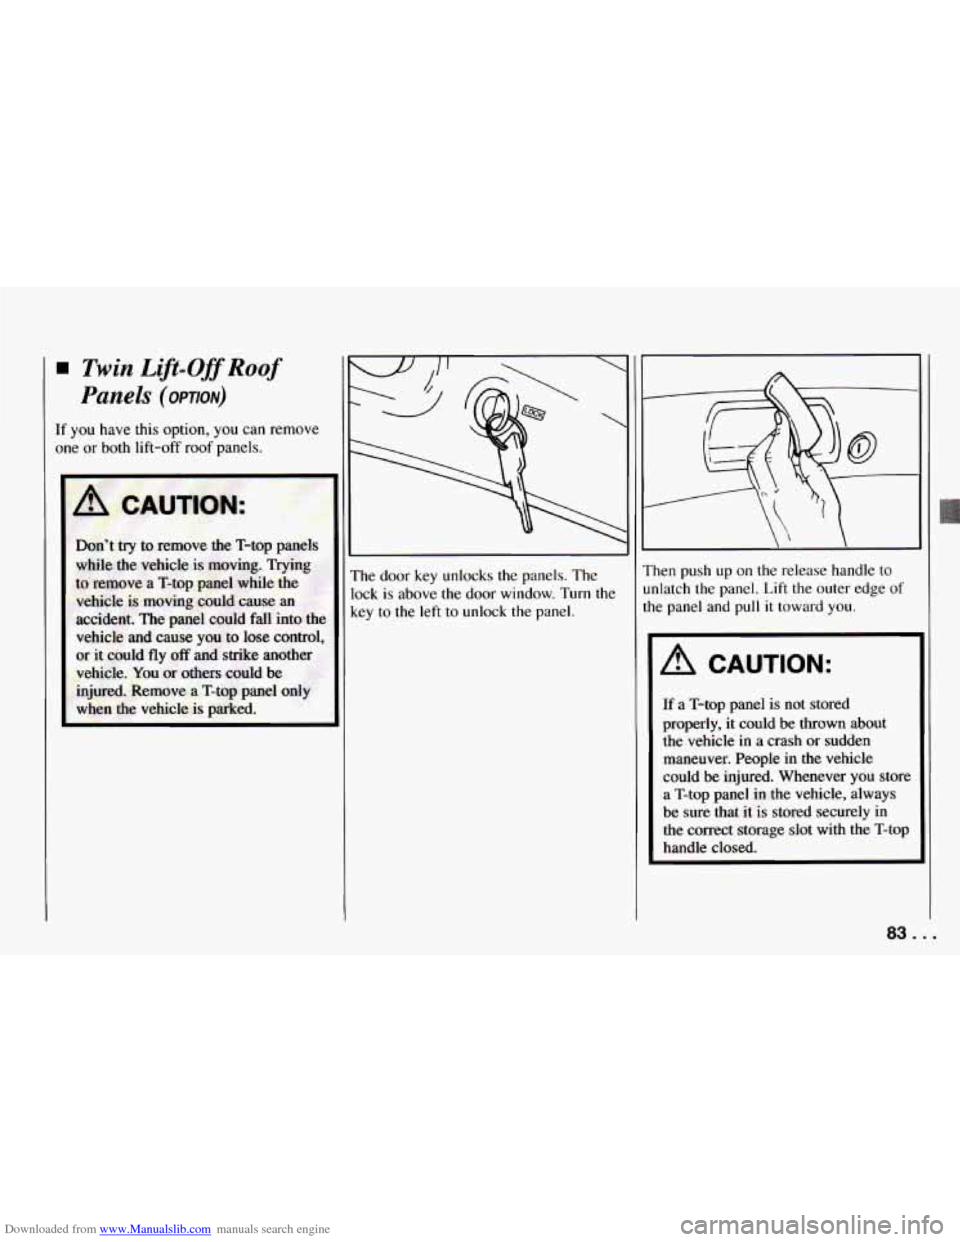
If you have this option, you can remove
one or both lift-off roof panels.
-~
The door key unlocks the panels. The
lock
is above the door window. Turn the
key to the left to unlock the panel. Then push
up on
the release handle to
unlatch the panel. Lift the outer edge
of
the panel and pull it toward you.
A CAUTION:
If a T-top panel is not stored
properly, it could be
thrown about
the vehicle
in a crash or sudden
maneuver. People
in the vehicle
could
be injured. Whenever you store
a
T-top panel in the vehicle, always
be sure that it is stored securely in
the correct storage slot with the T-top
handle closed.
83 .I
Page 86 of 292
Downloaded from www.Manualslib.com manuals search engine Features and Controls
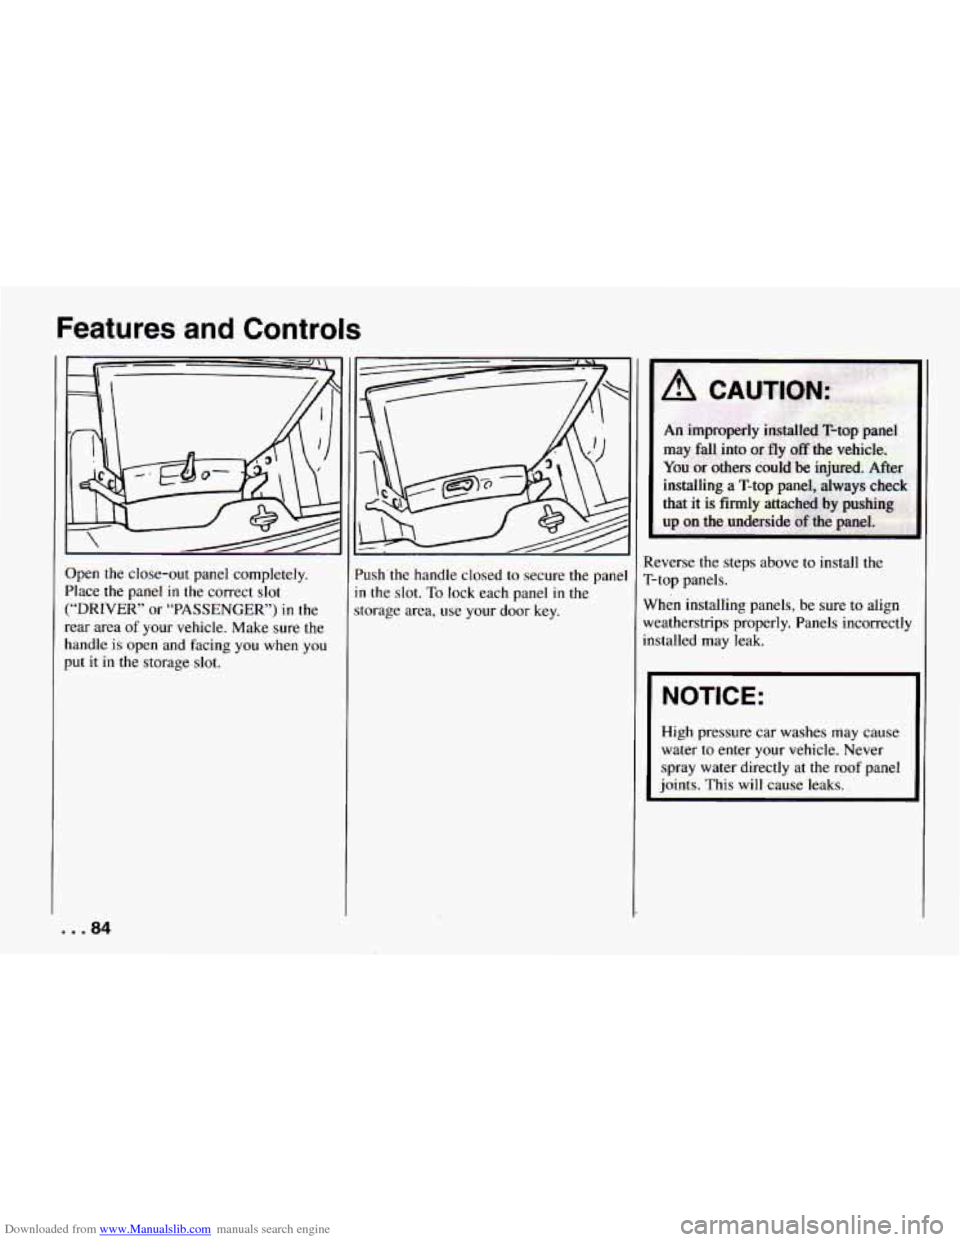
Open the close-out panel completely.
Place the panel
in the correct slot
(“DRIVER” or “PASSENGER’) in the
rear area
of your vehicle. Make sure the
handle
is open and facing you when you
put
it in the storage slot. ’ush’the
handle closed
to secure the pane
n the slot. To lock each panel in the
torage area, use your door key. Reverse the steps above
to install the
T-top panels.
When installing panels, be sure
to align
weatherstrips properly. Panels incorrectly
installed may leak.
I NOTICE:
High pressure car washes may cause
water to enter your vehicle. Never
spray water directly at the roof panel
joints.
This will cause leaks.
... 84
Page 87 of 292
Downloaded from www.Manualslib.com manuals search engine T-Top Sunshades
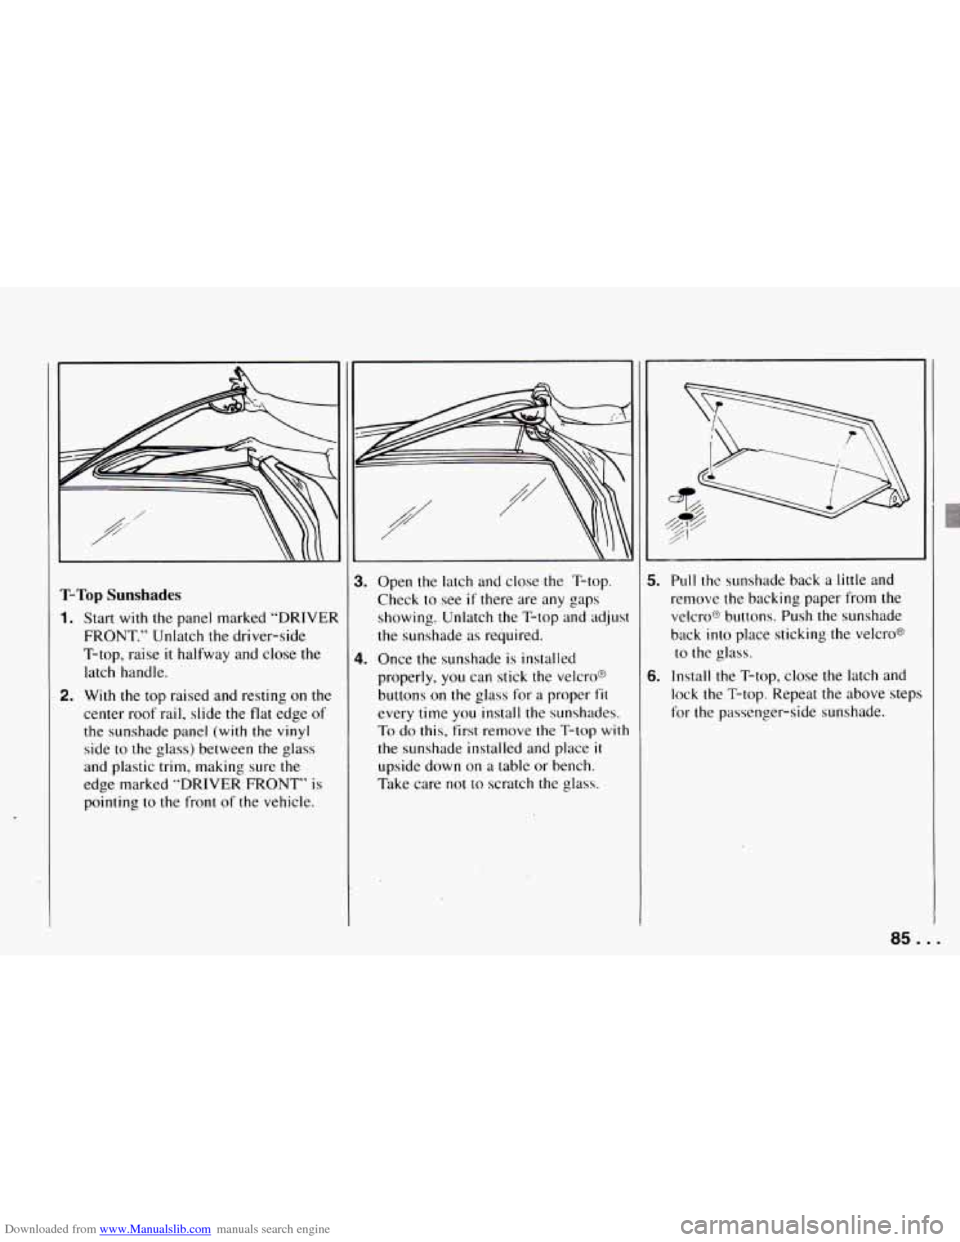
1. Start with the panel marked “DRIVER
FRONT.” Unlatch the driver-side
T-top, raise
it halfway and close the
latch handle.
2. With the top raised and resting on the
center roof rail, slide the flat edge of
the sunshade panel
(with the vinyl
side to the glass) between the glass
and plastic trim, making sure the
edge marked “DRIVER FRONT” is
pointing to the front
of the vehicle.
3. Open the latch and close the T-top.
Check to see
if there are any gaps
showing. Unlatch the T-top and adjust
the sunshade as required.
4. Once the sunshade is installed
properly, you can stick the Velcro@
buttons on the glass
for a proper fit
every time you install the sunshades.
To do this, first remove the T-top with
the sunshade installed and place it
upside down on a table or bench.
Tdke care not
to scratch the glass.
-
5. Pull the sunshade back a little and
remove the backing paper from the
Velcro@ buttons. Push the sunshade
back into place sticking the Velcro@
to the glass.
6. Install the T-top, close the latch and
lock the T-top. Repeat the above steps
for the passenger-side sunshade.
85.
Page 88 of 292
Downloaded from www.Manualslib.com manuals search engine Features and Controls
.:*:;r
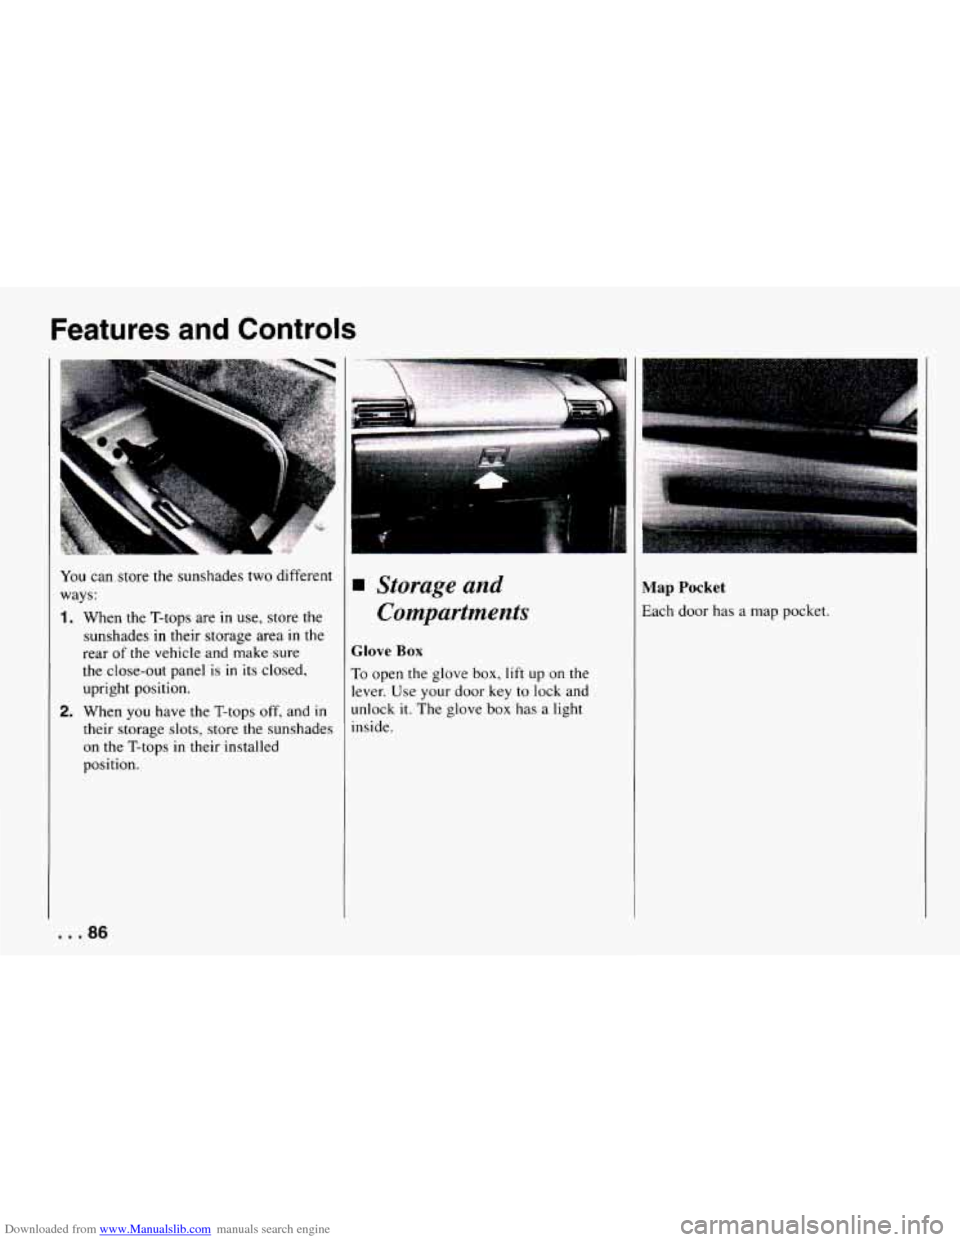
You can store the sunshades two different
ways:
1. When the T-tops are in use, store the
sunshades
in their storage area in the
rear
of the vehicle and make sure
the close-out panel
is in its closed,
upright position.
2. When you have the T-tops off, and in
their storage slots, store the sunshades
on the T-tops
in their installed
position.
Storage and
Compartments
Glove Box
To open the glove box, lift up on the
lever. Use your door key to lock
and
unlock it. The glove box has a light
inside.
Map Pocket
Each door has a map pocket.
... 86
Page 89 of 292
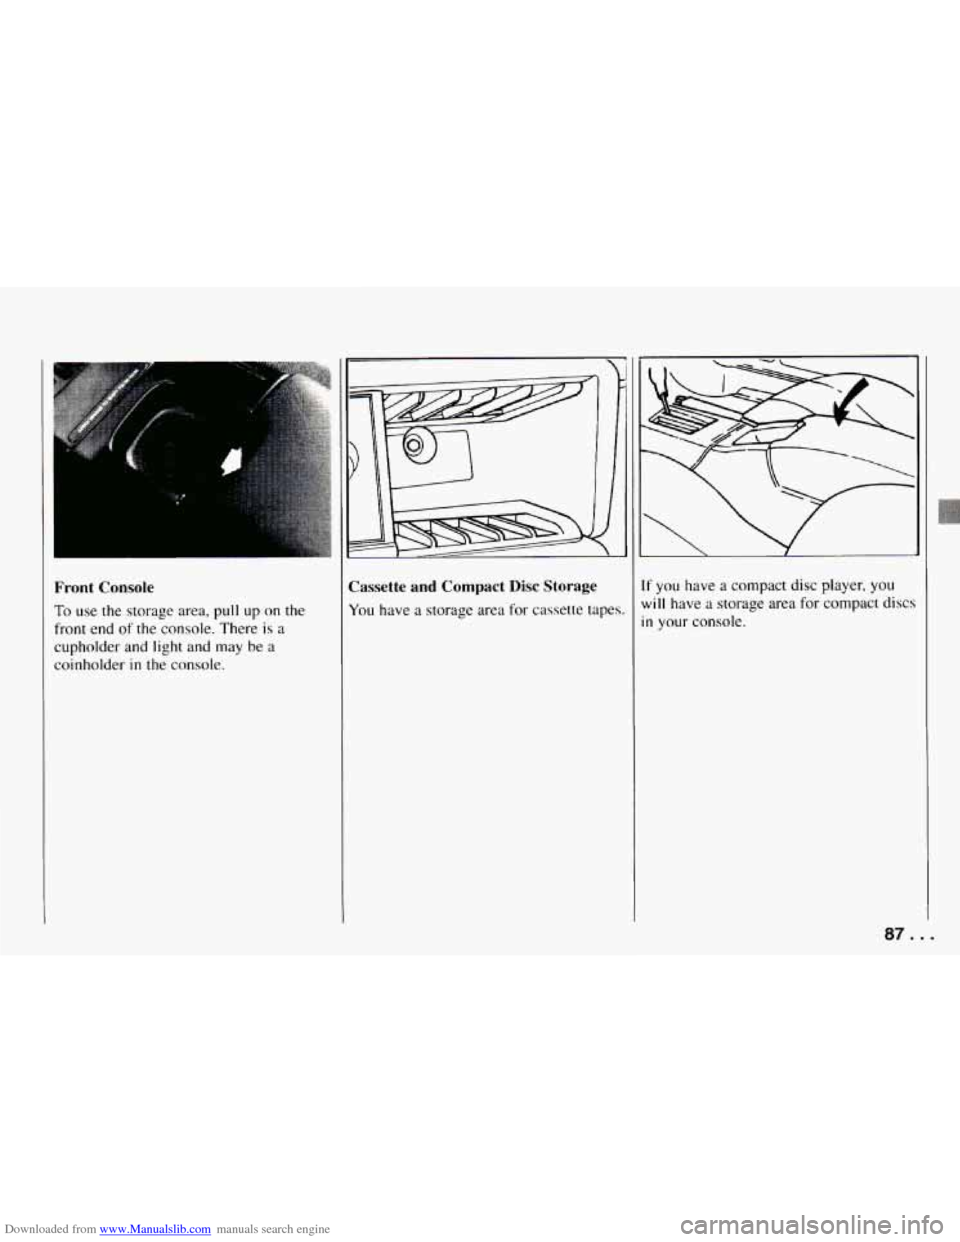
Downloaded from www.Manualslib.com manuals search engine Front Console
To use the storage area, pull up on the
front end
of the console. There is a
cupholder and light and may be a
coinholder in the console.
Cassette and Compact Disc Storage
You have a storage area for cassette tapes
If you have a compact disc player, you
will have a storage area for compact discs
in your console.
87 ...
Page 90 of 292
Downloaded from www.Manualslib.com manuals search engine Features and Controls
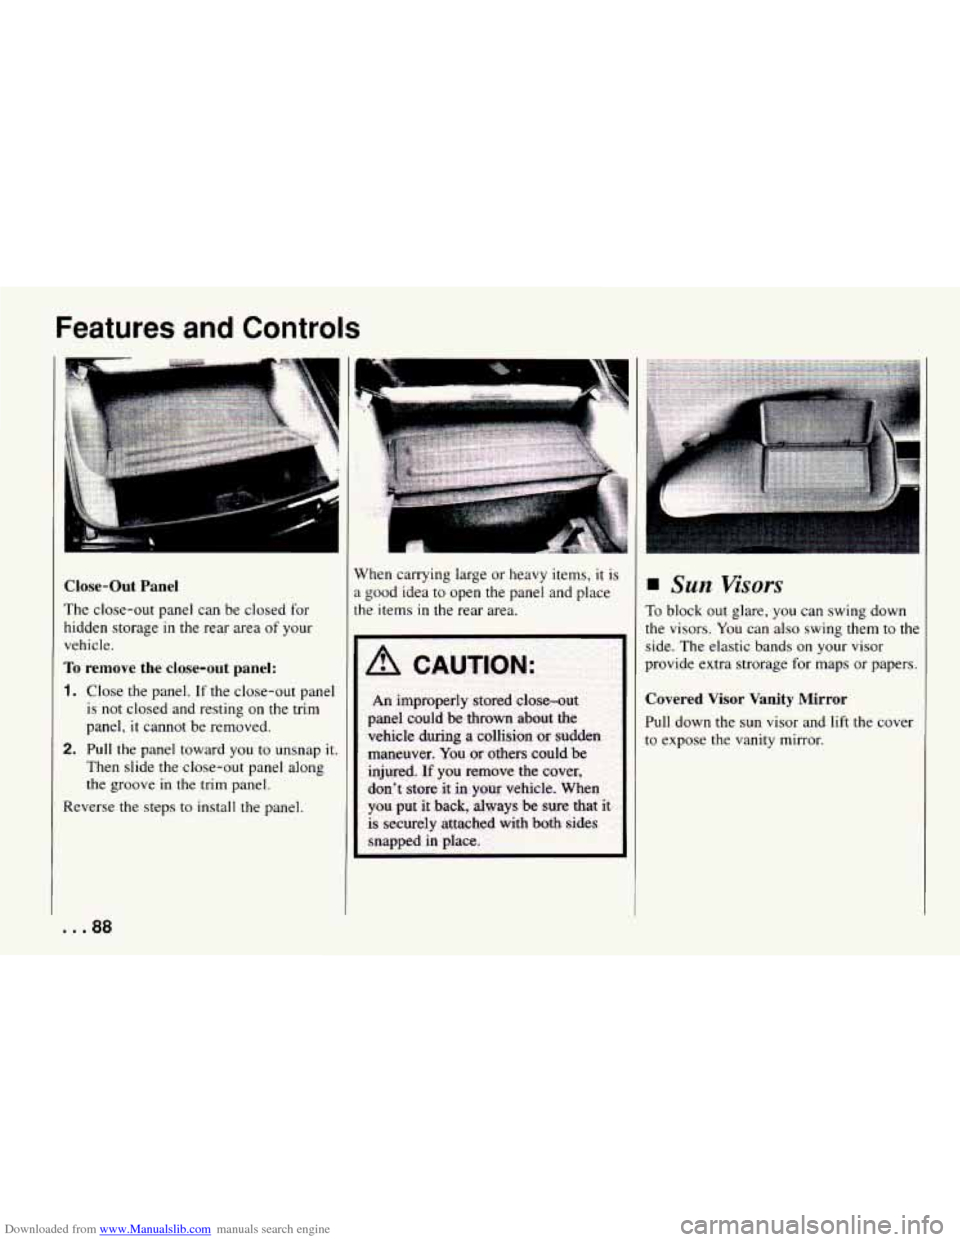
Close-Out Panel
The close-out panel can be closed for
hidden storage
in the rear area of your
vehicle.
To remove the close-out panel:
1. Close the panel. If the close-out panel
is not closed and resting on the trim
panel, it cannot be removed.
2. Pull the panel toward you to unsnap it.
Then slide the close-out panel along
the groove
in the trim panel.
Reverse the steps to install the panel.
a
When carrying large or heavy items, it is
a good idea to open the panel and place
the items
in the rear area.
Sun Visors
To block out glare, you can swing down
the visors. You can also swing them to the
side. The elastic bands on your visor
provide extra strorage for maps or papers.
Covered Visor Vanity Mirror
Pull down the sun visor and lift the cover
to expose the vanity mirror.
. ..%a