fuel type CHEVROLET CAVALIER 1984 1.G Owners Manual
[x] Cancel search | Manufacturer: CHEVROLET, Model Year: 1984, Model line: CAVALIER, Model: CHEVROLET CAVALIER 1984 1.GPages: 105, PDF Size: 24.23 MB
Page 29 of 105

Downloaded from www.Manualslib.com manuals search engine ....rr -~
II'!
I~ ,
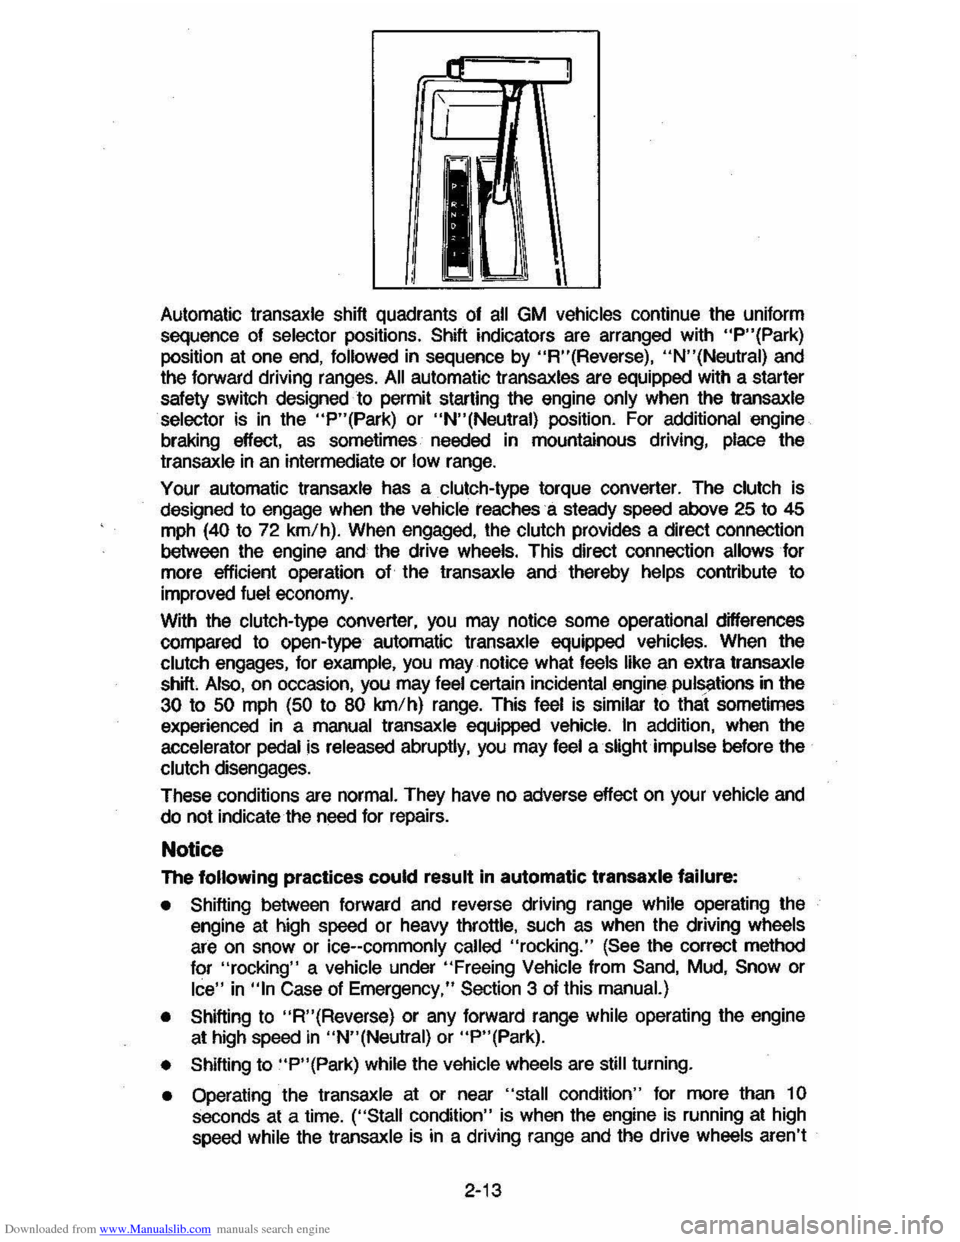
Automatic transaxle shift quadrants of all GM vehicles continue the uniform
sequence of
selector positions. Shift indicators are arranged with "P"(Park) position at one end, followed in sequence by "R"(Reverse), "N"(Neutral) and
the forward driving ranges. All automatic transaxles are equipped with a starter
safety switch designed to permit starting the engine
only when the transaxle selector is in the "P"(Park) or "N"(Neutral) position. For additional engine
braking eftect,
as sometimes needed in mountainous driving, place the
transaxle in an intermediate or low range.
Your automatic transaxle has a clutch-type torque converter. The clutch is
designed to engage when the
vehicle reaches a steady speed aibove 25 to 45 mph (40 to 72 km/h). When engaged, the clutch provides a direct connection
between the engine and the drive wheels. This direct connection allows for
more efticient operation of the transaxle and thereby
helps contribute to
improved
fuel economy.
With the clutch-type converter,
you may notice some operational differences
compared to open-type automatic transaxle equipped vehicles. When the
clutch engages, for example, you may notice what feels like an extra transaxle
shift Also, on occasion, you may feel certain incidental engine pulSi'tions in the
30 to 50 mph (50 to 80 km/h) range. This feel is similar to that sometimes
experienced in a manual transaxle equipped vehicle. In addition, when the
accelerator
pedal is released abruptly, you may feel a slight impulse before the
clutch disengages.
These conditions
are normal. They have no adverse effect on your vehicle and
do not indicate the need for repairs.
Notice
The following practices could result in automatic transaxle failure:
• Shifting between forward and reverse driving range while operating the
engine at high speed or heavy throttle, such as when the driving wheels
are on snow or ice--commonly called "rocking." (See the correct method
for
"rocking" a vehicle under "Freeing Vehicle from Sand, Mud, Snow or
Ice" in "In Case of Emergency," Section 3 of this manual.)
•
Shifting to "R"(Reverse) or any forward range while operating the engine
at high speed in "N"(Neutral) or "P"(Park).
•
Shifting to "P"(Park) while the vehicle wheels are still turning.
• Operating the transaxle at or near "stall condition" for more than 1 0 seconds at a time. ("Stall condition" is when the engine is running at high speed while the transaxle is in a driving range and the drive wheels aren't
2-13
Page 65 of 105

Downloaded from www.Manualslib.com manuals search engine 3. Install wheel and tire assembly and install hub cap by pushing or hitting
into place (the wheel can be mounted with hub cap in place). The hub cap
must be oriented by engaging the bump on the side of the hub cap
retention tab with the cutout on the side of the wheel pilot hole.
Compact Spare
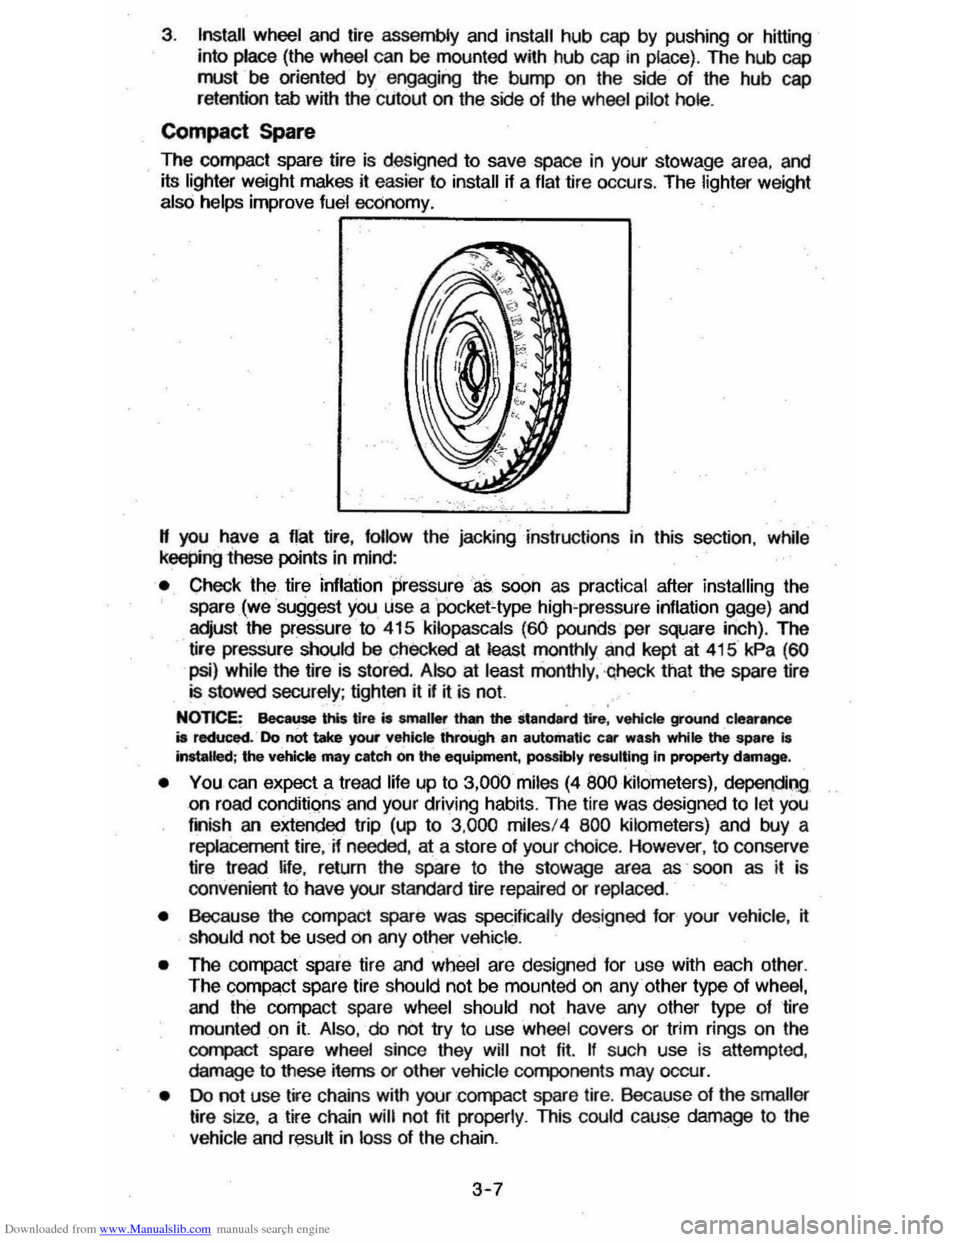
The compact spare tire is designed to save space in your stowage area, and
its lighter weight makes it easier to install if a flat tire occurs. The lighter weight also helps improve fuel economy. ~--~------~~
" you have a flat tire, follow the jacking Instructions in this section, while keepingihese points in mind:
• Check the tire inflaiionpressureas soon as practical after installing the
spare (we suggest you use a 'pocket-type high'pressure inflation gage) and
adjust the pressure to 415
kilopascals (60 pounds per square inch). The
tire pressure should be checked at least monthly and kept at 415 kPa (60
psi) while the tire is stored . Also at least monthly , ·qheck that the spare lire is stowed securely ; tighten it if ~ is not.
NOTICE: Bee ... this tire is smaller than the standard tire, vehicle ground clearance is reduced. Do not take your vehicle through an automatic car wash while ~ spare I. Installed; the vehicle may catch on the equipment, possibly resulting In property damag_.
• YOU can expect a tread life up to 3,000 miles (4 800 kilometers), dependiQg on road conditions and your driving habits. The tire was designed to let you
finish an extended trip (up to 3,000 miles/4 800 kilometers) and buy a replacement tire, -if needed, at a store of your choice. However, to conserve
tire tread ~fe, return the spare to the stowage area as' soon as it is
convenient to have your standard tire repaired or replaced.
• Because the compact spare was specnically designed for your vehicle , ~ should not be used on any other vehicle.
• The compact spare tire and wheel are designed for use with each other.
The compact spare tire should not be mounted on any other type of wheel, and the compact spare wheel should not have any other type of tire
mounted on it. Also, do not try to use wheel covers or trim rings on the
CQr1l>aCt spare whe el since they will not fit. If such use is attempted,
damage to tIlese items or other vehicle components may occur.
• Do not use tire chains with your :compact spare tire. Because of the smaller tire size, a tire chain will not fit properly. This could cause damage to the
vehicle and result in loss of the chain.
3-7
Page 74 of 105

Downloaded from www.Manualslib.com manuals search engine SECTION 5
SERVICE AND MAINTENANCE
Your authorized dealer has factory trained technicians and Genuine GM Parts
to service your vehicle properly_ For expert advice and quality service, see your authorized dealer.
CAUTION: As with any machine, take care when making any check, doing any maintenance, or making any repair, to avoid being injured. Some of the MATERIALS in this vehicle may also be hazardous if used, serviced, or handled improperly. Improper or incomplete service can affect the vehicle itself which may in turn result in personal
injury, or damage to the vehicle or its equipment. H you have ANY question about carrying out some service, have the work done by a skilled technician.
REPLACEMENT FASTENERS
During vehicle maintenance, any fasteners used to replace older ones must
have the same measurements and strength as those removed, whether metric or customary. (The numbers on the heads of rnetric bons and on the surfaces
of metric nuts show their strength. Customary bolts use radial lines to show
this,
while most customary nuts do not have strength markings.) Fasteners
taken from the vehicle should be saved for re-use in the same spot when
possible. Where a fastener cannot be used again, take care to choose a
replacement that matches the old one. For information and help, see your
authorized dealer.
CAUTION: This vehicle is primarily dimensioned In the metric system. Most fasteners
are metric and many are very close in dimension to well· known customary fasteners in the inch system. Mismatched or incorrect fasteners can result in damage to the vehicle or possibly personal injury.
MAINTENANCE SCHEDULE
For owner convenience, a separate folder ,has. bee" providef;1 with your vehicle which outlines the maintenance your vehicle requires. The Maintenance
Schedule folder is supplemented by this section of the Owner's Manual.
Read this publication for a full understanding of your vehicle's maintenance
needs.
If you need a replacement Maintenance Schedule, see your dealer or contact the . Consumer . Aelations Representative, . Chevrolet Central Office,
Chevrolet Motor Division, Warren, MichigarL4809ll-13t~2-550Q1 (In Canada, contact the Customer Services Representative, General MotorsoT---
Canada LId., Oshawa, Ontario, L1J 5Z6; 416/644-6624).
FUEL CAP
The fuel cap is located behind a hinged door on the right'rear fender. For your
convenience there
is a fuel cap hanger located on the filler door.
The
fuel tank filler cap has a "s£rew-on ratcheting type" feature.
• To remove -rotate cap counterclockwise to clear the inside of the filler
neck. This will allow any residual pressure to escape.
• To install - reverse this procedure and tighten cap securely until a
"ratcheting",
clicking sound is heard indicating cap is on properly.
5-1
Page 97 of 105

Downloaded from www.Manualslib.com manuals search engine GENERAL DATA
Vehicle Identification Number (VIN)
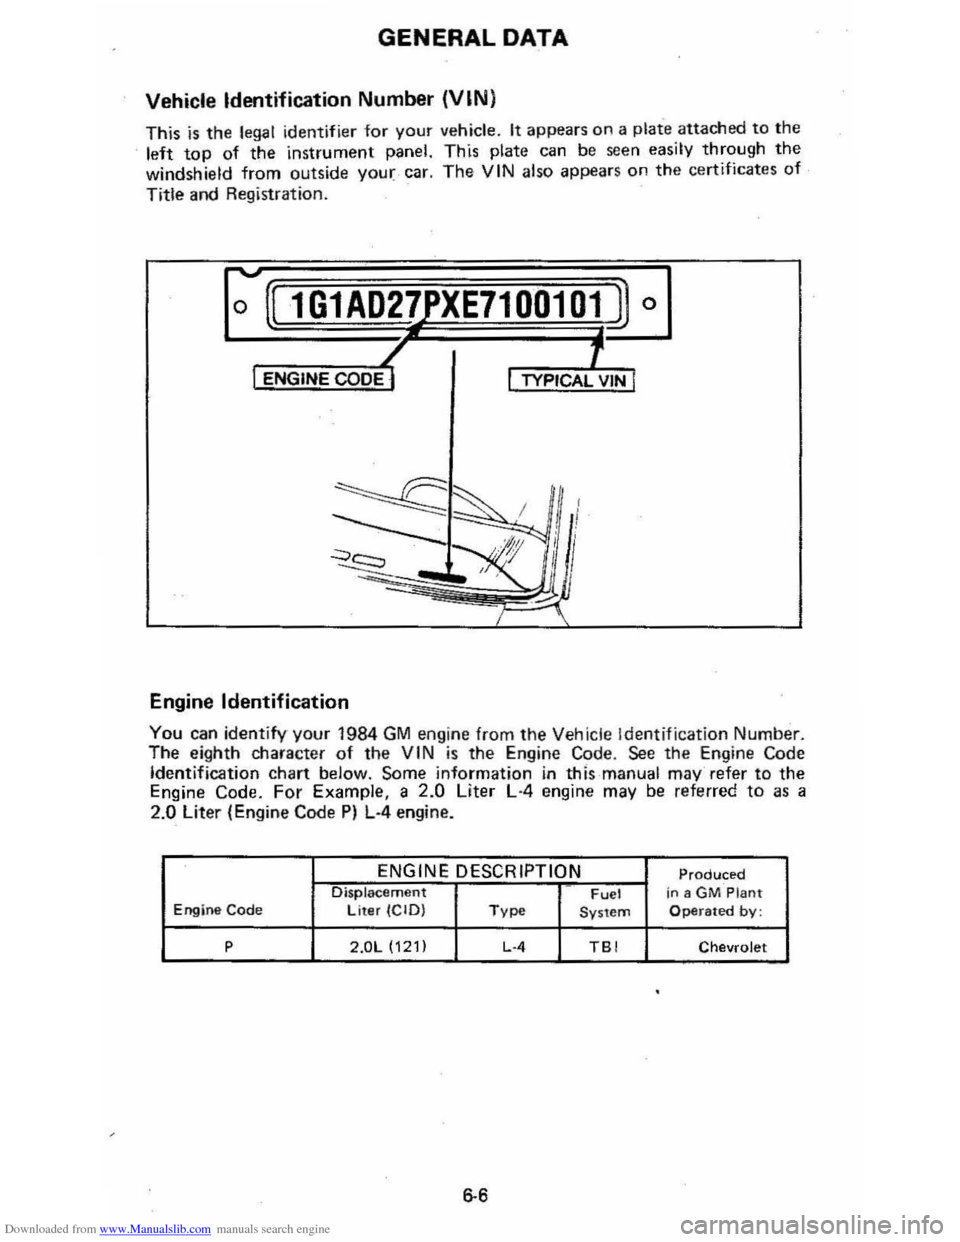
This is the legal identifier for your vehicle. It appears on a plate attached to the
left top of the instrument panel. This plate can be seen easily through the windshield from outside your car. The VIN also appear s on the certificat es of
Title and Registration.
o o
Engine Identification
You can identify your 1984 GM engine from the Vehicle Identification Number. The eighth character of the VIN is the Engine Code. See the Engine Code Identification chart below. Some information in this manual may refer to the Engine Code. For Example, a 2.0 liter L·4 engine may be referred to as a
2.0 Liter (Engine Code PI LA engine .
ENGINE DESCRIPTION Produced Displacement Fuel in 8 GM Plant Engine Code Liter (CIO) Type Sy stem Operated by:
p 2.0L (121) L-4 TBI Chevrolet
6-6