CHEVROLET CAVALIER 1994 1.G Service Manual
Manufacturer: CHEVROLET, Model Year: 1994, Model line: CAVALIER, Model: CHEVROLET CAVALIER 1994 1.GPages: 243, PDF Size: 15.06 MB
Page 41 of 243
Downloaded from www.Manualslib.com manuals search engine Seats & Restraint Systems
4 Safety Belt Eaeder
If the vehicle’s safety belt will fasten
around you, you should use it. The
automatic lap-shoulder belt has plenty
of extra length built in, so it will fasten
around almost all people.
But if a safety belt isn’t long enough to
fasten, your dealer will order you
an
extender. It’s free. When you go in to
order it, take the heaviest coat you will
wear,
so the extender will be long
enough for you. The extender will be
just for you, and just for the seat in your
vehicle that you choose. Don’t let
someone else use it, and use it only for
the seat
it is made to fit. To wear it, just
attach it to the regular safety belt.
Checking Your Restraint
Systems
Now and then, make sure all your belts,
buckles, latch plates, retractors,
anchorages and reminder systems are
working properly.
Look for any loose
parts
or damage. If you see anything
that might keep a restraint system from
doing its job, have it repaired.
Replacing Safety Belts AjFer
a Crash
If you’ve had a crash, do you need new
belts?
After
a very minor collision, nothing
may be necessary. But
if the belts were
stretched, as they would be
if worn
during a more severe crash, then you
need new belts.
If belts are cut or damaged, replace
them. Collision damage
also may mean
you will need to have safety belt or seat
parts repaired or replaced. New parts
and repairs may be necessary even
if the
belt wasn’t being used at the time of the
collision.
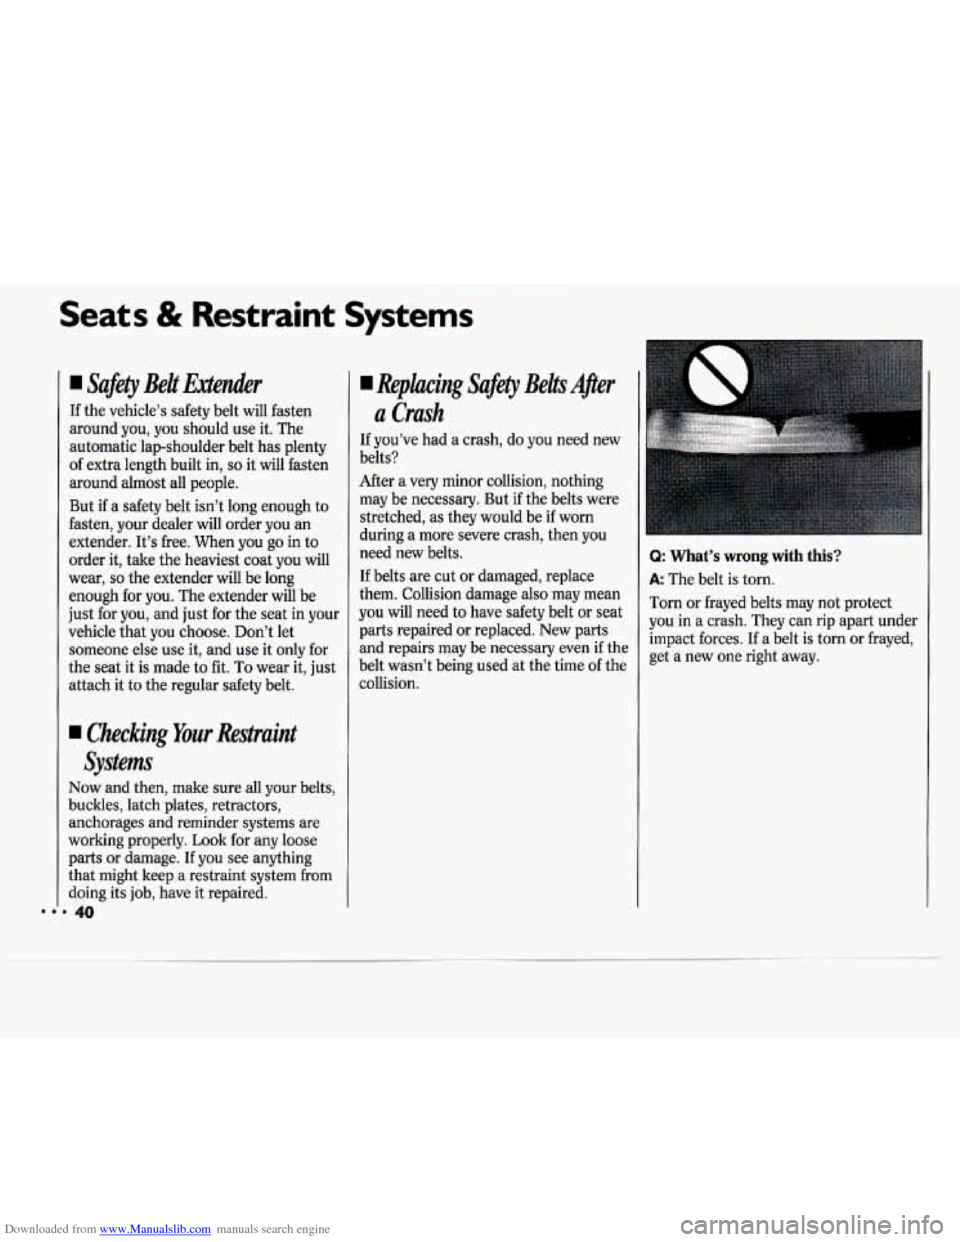
S
Q: What’s wrong with this?
A: The belt is torn.
Torn or frayed belts may not protect
you in a crash. They can rip apart under
impact forces. If a belt is torn or frayed,
get a new one right away.
Page 42 of 243
Downloaded from www.Manualslib.com manuals search engine Here you can learn about the
many standard and' optional
features on your Chevrolet. and information on starting. shifiing and
braking;
Also explained are the
instrument panel and the :warning
systems that tell you
if everything is
working properly-and what to do
if you have a problem .
........ ;\?
Keys ........................................................................\
.................................................... 42
Locks
........................................................................\
.................................................. 43
Glove
Box ........................................................................\
.......................................... 47
Ignition
50 .. ........................................................................\
...............................................
Starting Your Engine ........................................................................\
......................... 51
Engine Coolant Heater ........................................................................\
...................... 52
Automatic Transaxle
........................................................................\
......................... 53
Manual Transaxle ................................... i ................................................................. 56
Parking Brake .......................................................... 1 .................................................. 58
Shfiing into
Park ........................................................................\
............ ................. 58
Windows ..... ........................................................................\
...................................... 62
Turn Signal/Multifunction Lever ........................................................................\
...... 63
Headlights
............................................. ..I.. ................................................. .: ............ -65
Interior Lights ........................................................................\
.................................... 67
Windshield Wipers
........................................................................\
............................. 68
Windshield Washer
........................................................................\
......... .l ................. 69
Cruise Control ........................................................................\
................................... 70
Mirrors
........................................................................\
............................................... 72
Ashtrays and Lighter
........................................................................\
......................... 75
Sunroof ........................................................................\
.............................................. 75
Instrument Panel
........................................................................\
............................... 80
Warning Lights, Gages and Indicators ..................................................................... 84
Page 43 of 243
Downloaded from www.Manualslib.com manuals search engine Features & Controls
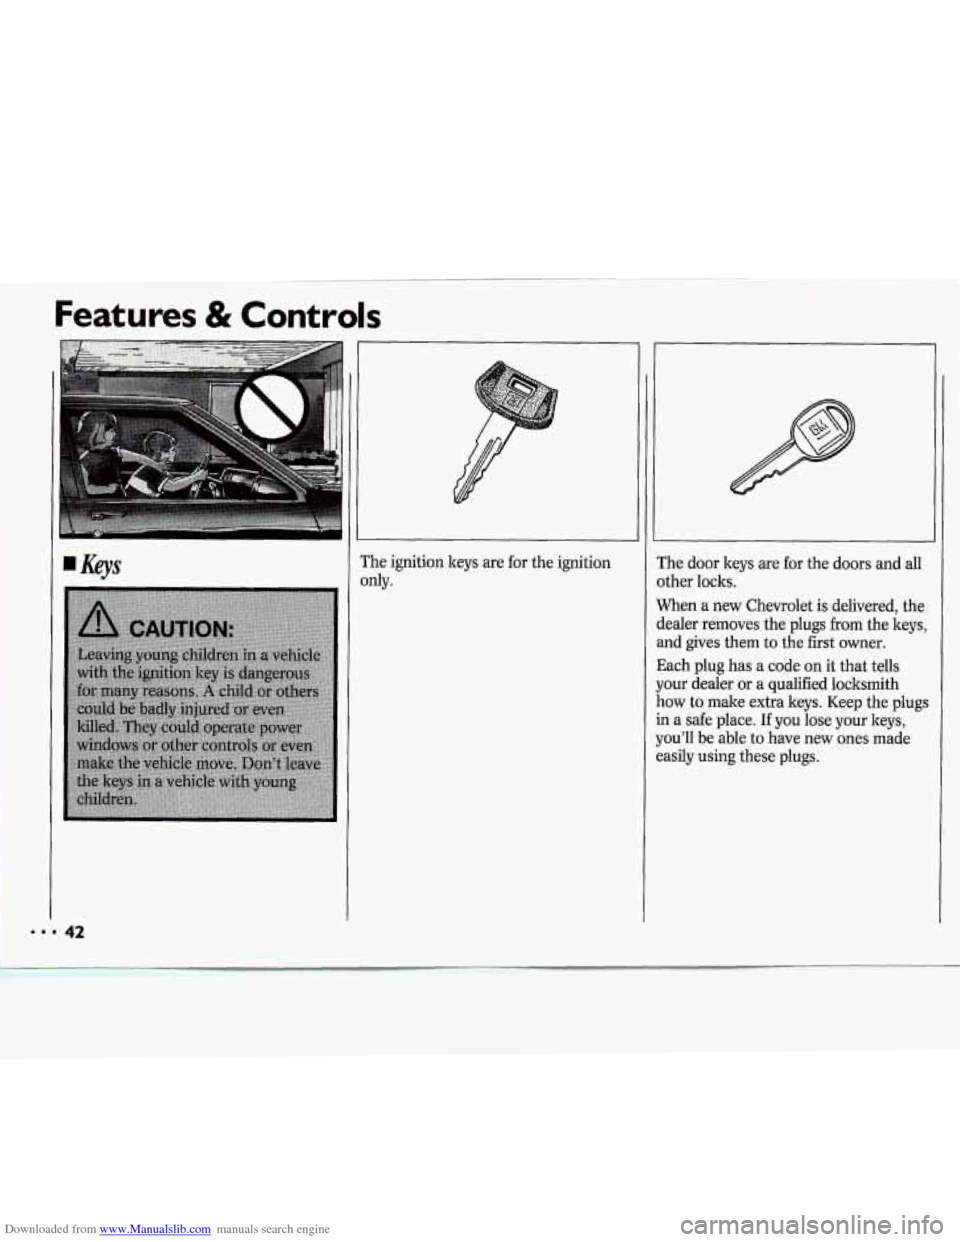
?he ignition keys are for the ignition
IdY.
:he door keys are for the doors and all
Ither locks.
Vhen a new Chevrolet is delivered, the
lealer removes the plugs
from the keys,
nd gives them to the first owner.
Iach plug has
a code on it that tells
our dealer or a qualified locksmith
.ow to male extra keys. Keep the plugs
I a safe place. If you lose your keys,
ou'll be able to have new ones made
asily using these plugs.
Page 44 of 243
Downloaded from www.Manualslib.com manuals search engine NOTICE:
Your Chevrolet has a number of new
features that can help prevent theft.
But you can have a lot
of trouble
getting into your vehicle if you ever
lock your keys inside.
You may even
have
to damage your vehicle to get
in.
So be sure you have extra keys. ~
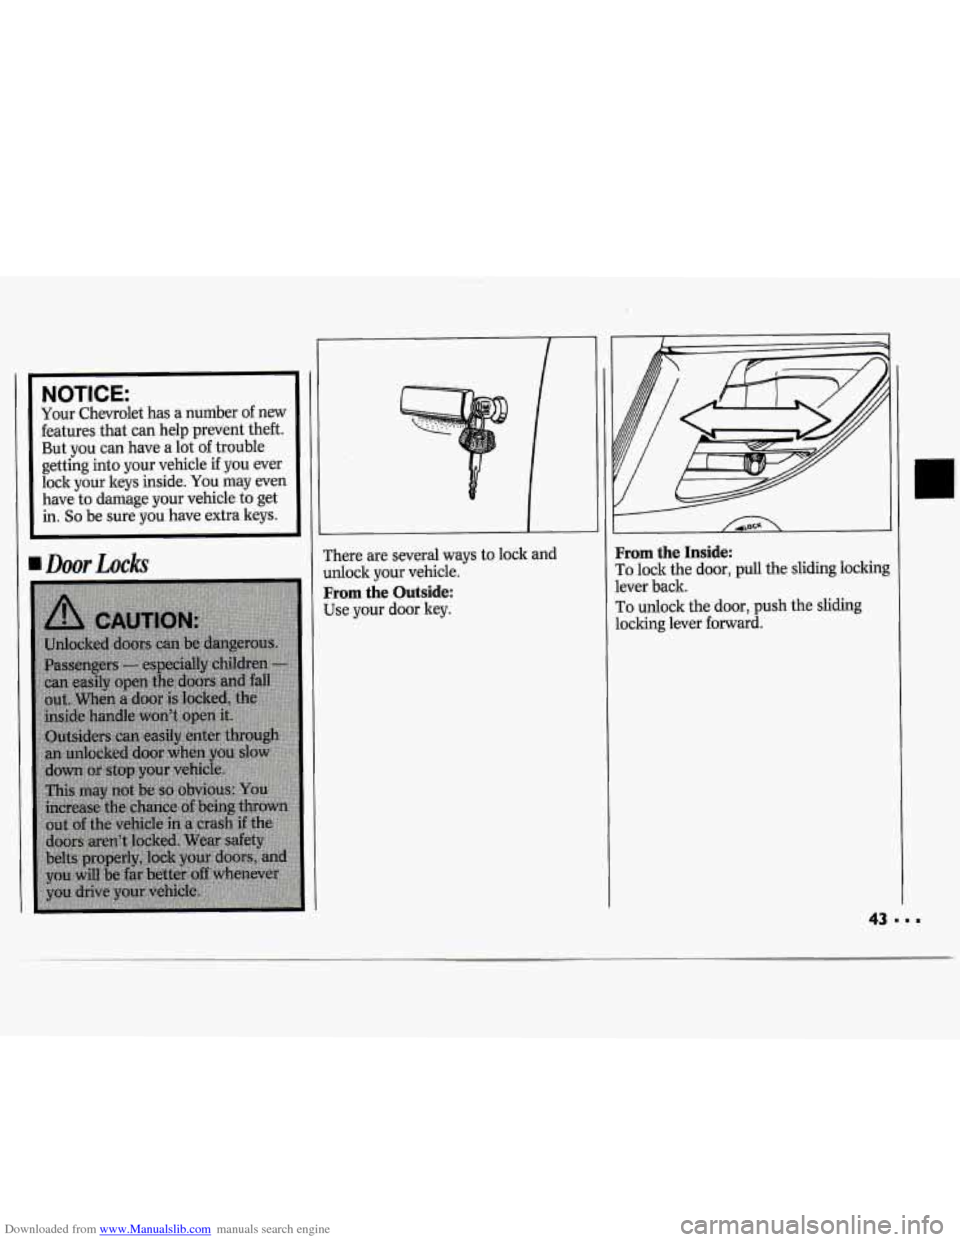
rhere are several ways to lock and
dock your vehicle.
From the Outside:
Use your door ley.
From the Inside:
To lock the door, pull the sliding lockin$
lever back.
To unlock the door, push the sliding
locking lever forward.
Page 45 of 243
Downloaded from www.Manualslib.com manuals search engine Power Door Locks
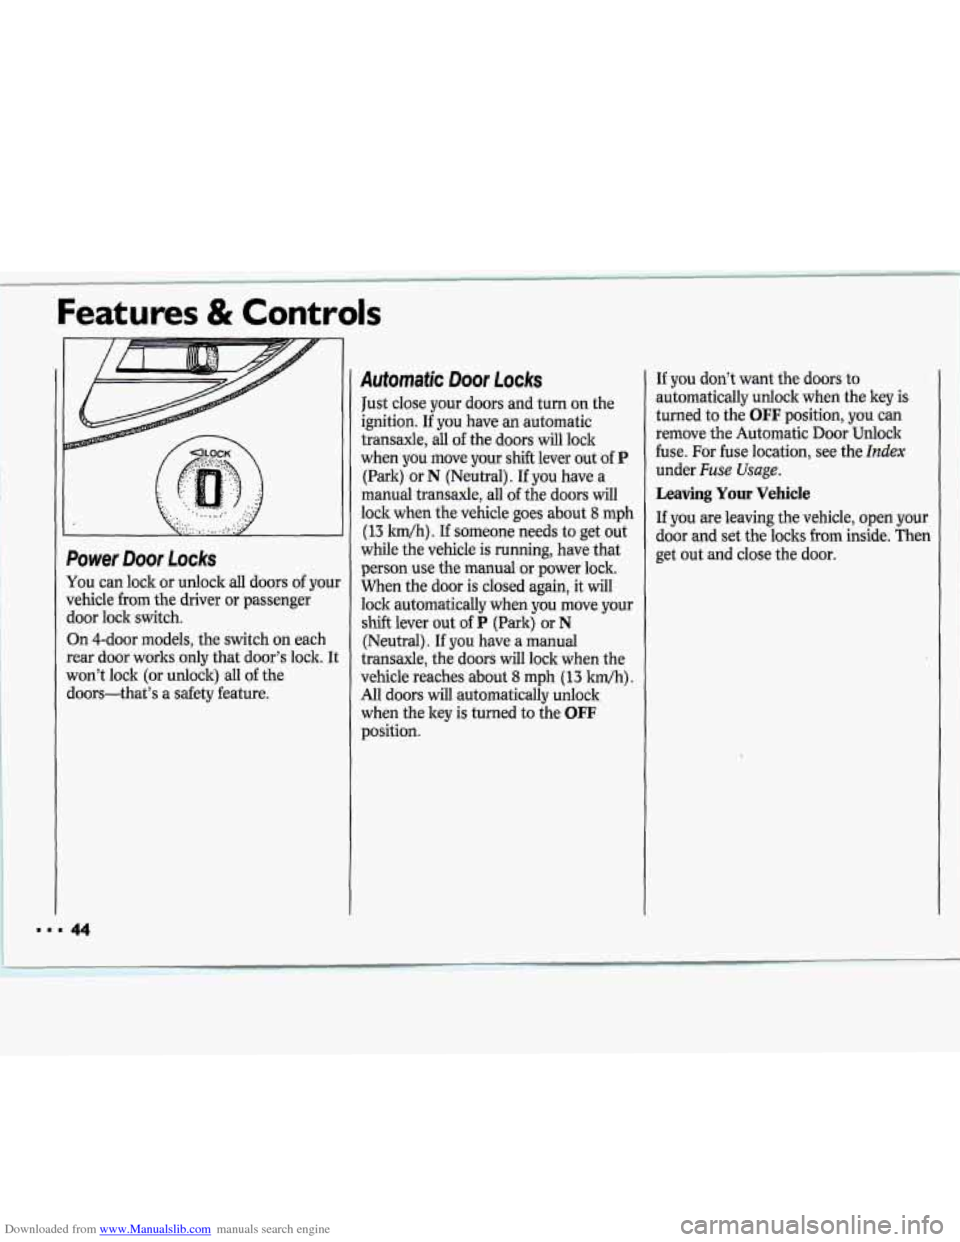
You can lock or unlock all doors of your
vehicle from the driver or passenger
door lock switch.
On 4-door models, the switch on each
rear door works only that door’s lock. It
won’t lock (or unlock) all of the
doors-that’s a safety feature.
www 44
Automatic Door Locks
Just close your doors and turn on the
ignition. If
you have an automatic
transaxle, all
of the doors will lock
when you move your shift lever out of
P
(Park) or N (Neutral). If you have a
manual transaxle, all of the doors will
lock when the vehicle goes about
8 mph
(13 ldh) . If someone needs to get out
while the vehicle is running, have that
person use the manual or power lock.
When the door is closed again,
it will
lock automatically when you move your
shift lever out
of P (Park) or N
(Neutral). If you have a manual
transaxle, the doors will lock when the
vehicle reaches about
8 mph (13 Mh).
All doors will automatically unlock
when the key is turned to the
OFF
position. If
you don’t want
the doors to
automatically unlock when the key
is
turned to the OFF position, you can
remove the Automatic Door Unlock
fuse. For fuse location, see the
Index
under Fuse Usage.
Leaving Your Vehicle
If you are leaving the vehicle, open your
door and set the locks from inside. Then
get out and close the door.
Page 46 of 243
Downloaded from www.Manualslib.com manuals search engine Features & Controls
Remote Trunk Release (OPTION)
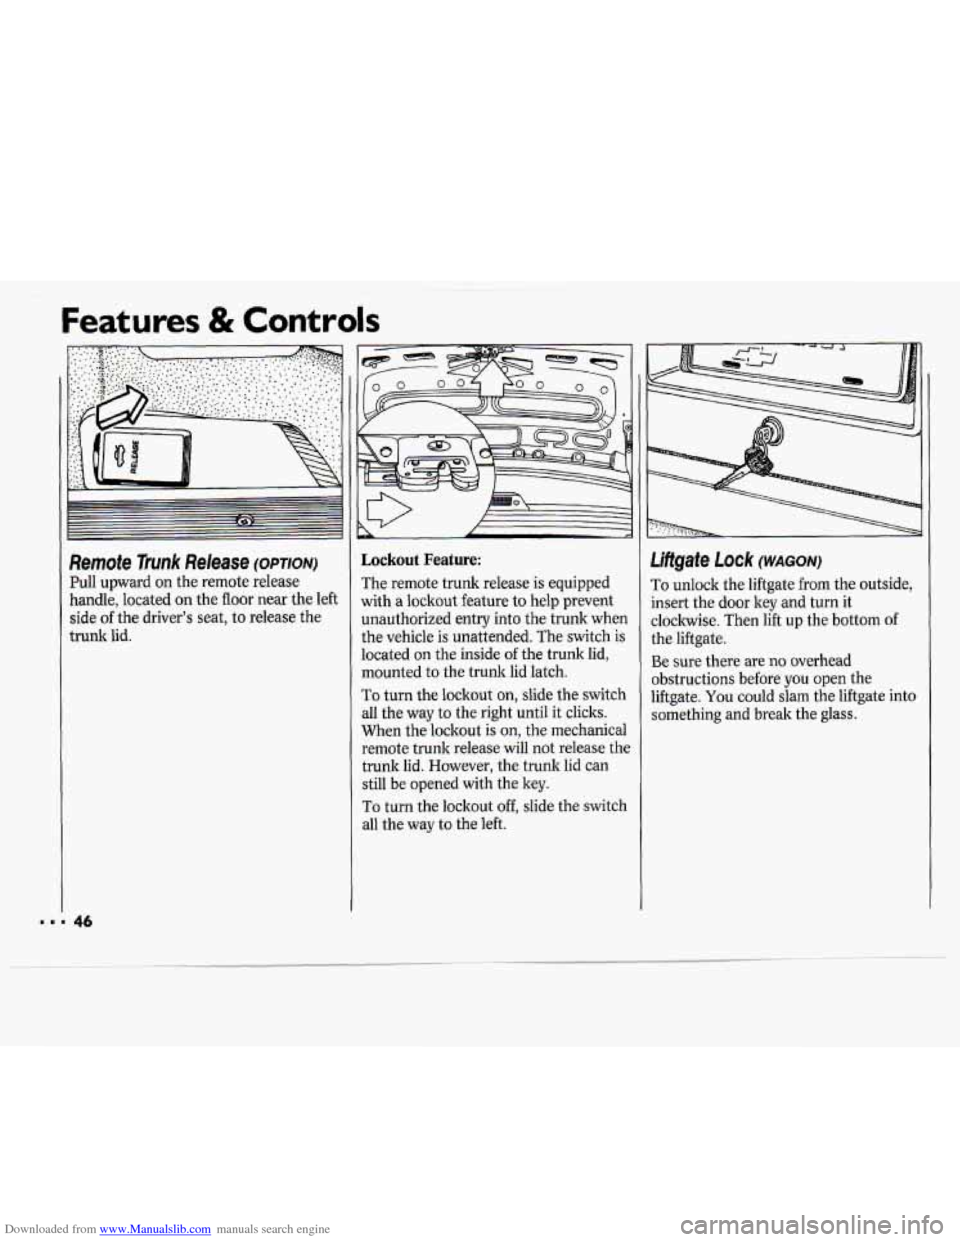
Pull upward on the remote release
handle, located on the floor near the left
side
of the driver’s seat, to release the
trunk lid.
Lockout Feature:
The remote trunk release is equipped
with
a lockout feature to help prevent
unauthorized entry into the trunk when
the vehicle is unattended. The switch
is
located on the inside of the trunk lid,
mounted to the trunk lid latch.
To turn the lockout on, slide the switch
all the way to the right until it clicks.
When the lockout is on, the mechanical
remote trunk release will not release the
trunk lid. However, the trunk lid can
still be opened with the key.
To turn the lockout off, slide the switch
all the way to the left.
Liftgate Lock (WAGON)
To unlock the liftgate from the outside,
insert the door
ley and turn it
clockwise. Then lift up the bottom of
the liftgate.
Be sure there are no overhead
obstructions before
you open the
liftgate.
You could slam the liftgate into
something and break the glass.
Page 47 of 243
Downloaded from www.Manualslib.com manuals search engine Remote Liltgate Release (WAGON)
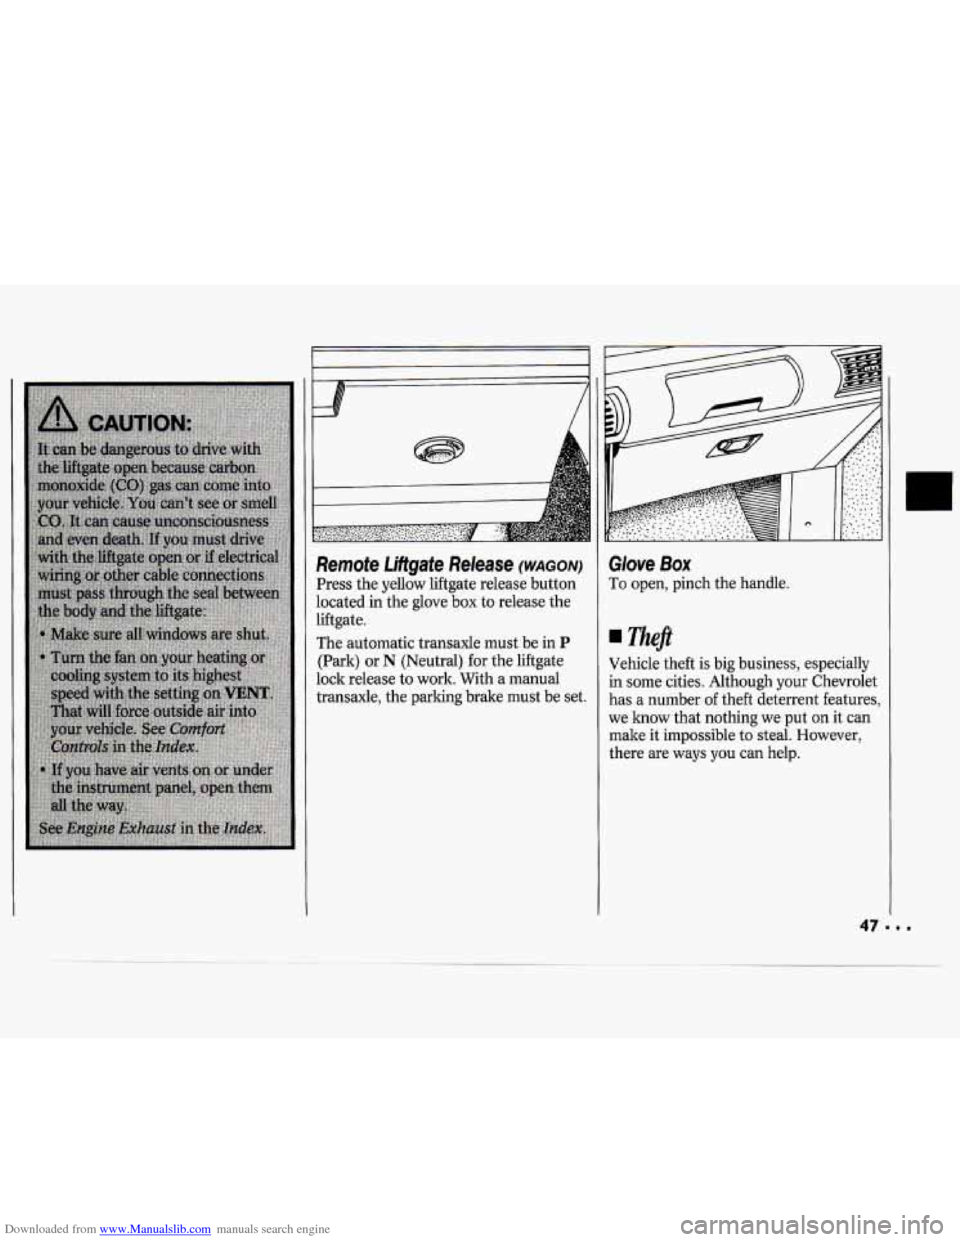
Press the yellow liftgate release button
located in the glove
box to release the
liftgate.
The automatic transaxle must be in
P
(Park) or N (Neutral) for the liftgate
lock release to work. With a manual
transaxle, the parking brake must be set.
Glove Box
To open, pinch the handle.
neft
Vehicle theft is big business, especially
in some cities. Although your Chevrolet
has a number
of theft deterrent features,
we know that nothing we put on it can
make it impossible to steal. However,
there are ways you can help.
Page 48 of 243
Downloaded from www.Manualslib.com manuals search engine Illuminated EntryExit System
When you lift the handle of either front
door, the lights inside your vehicle will
go on. (On the wagon, the rear
compartment light will not
go on when
the doors are opened.) These lights will
go
off after about 40 seconds, or when
the ignition is turned on.
For two minutes after you remove the
key from the ignition, the lights inside
your vehicle will stay on for about
15
seconds to provide an illuminated exit.
The illuminated entry/exit system is
deactivated when the dome light lever is
moved to the
OFF position.
I
Trunk Lock
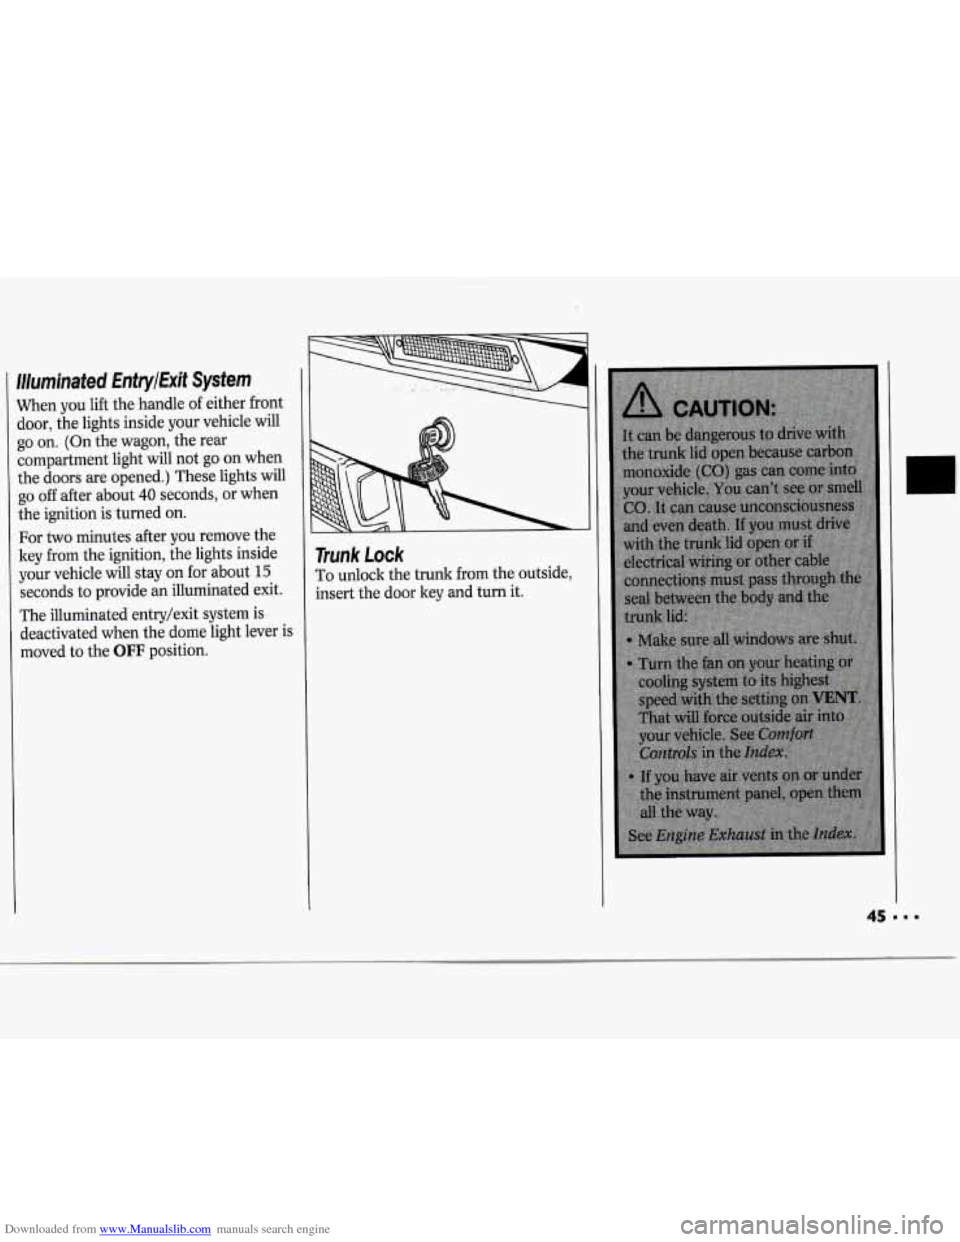
To unlock the trunk from the outside,
insert the door key and turn it.
45---
Page 49 of 243
Downloaded from www.Manualslib.com manuals search engine Features & Controls
Key in the rgnition
If you walk away from your vehicle with
the keys inside, it’s an easy target for
joy riders or professional thieves
- so
don’t do it.
When you park your Chevrolet and
open the driver’s door, you’ll hear a
chime reminding you to remove your
ley from the ignition and take it with
you. Always do this. Your steering
wheel will be locked, and
so will your
ignition. If you have an automatic
transaxle, taking your key out also locks
your transaxle. And remember to lock
the doors.
Parking at Night
Park in a lighted spot, close all windows
and lock your vehicle. Remember to keep
your valuables out
of sight. Put them in
a storage area, or take them with you.
Parking Lots
If you park in a lot where someone will
be watching your vehicle, it’s best to
lock it up and take your keys. But what
if you have to leave your ignition key?
What if you have to leave something
valuable in your vehicle?
Put your valuables in a storage area,
Lock all the doors except the driver’s.
Then take the door key with you.
like your
trunk or glove
box.
48
Page 50 of 243
Downloaded from www.Manualslib.com manuals search engine Convenience Net (OPTION)
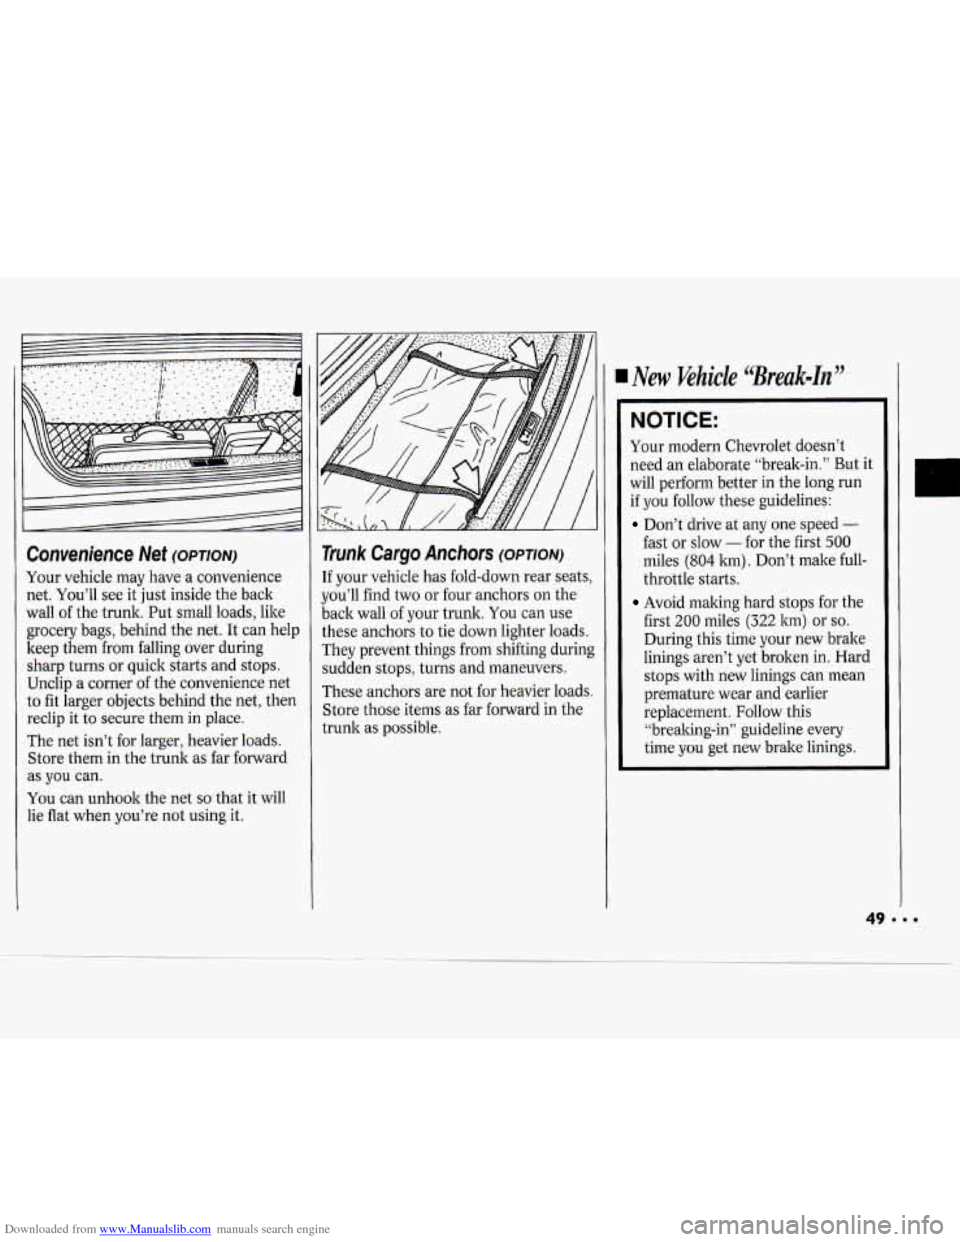
Your vehicle may have a convenience
net. You’ll see it just inside the back
wall of the trunk. Put small loads, like
grocery bags, behind the net. It can help
keep them
from falling over during
sharp turns or quick starts and stops.
Unclip a corner of the convenience net
to fit larger objects behind the net, then
reclip it to secure them in place.
The net isn’t for larger, heavier loads.
Store them in the trunk as far forward
as
you can.
You can unhook the net
so that it will
lie flat when you’re not using it.
Trunk Cargo Anchors (OPTION)
If your vehicle has fold-down rear seats,
you’ll find two or four anchors on the
back wall of your trunk.
You can use
these anchors to tie down lighter loads.
They prevent things from shifting during
sudden stops, turns and maneuvers.
These anchors are not for heavier loads.
Store those items as far forward in the
trunk as possible.
New Khicle ‘Break-in"
NOTICE:
Your modern Chevrolet doesn’t
need an elaborate “break-in.” But it
will perform better in the long run
if you follow these guidelines:
Don’t drive at any one speed -
fast or slow - for the fist 500
miles (804 km) . Don’t make full-
throttle starts.
Avoid making hard stops for the
first
200 miles (322 km) or so.
During this time your new brake
linings aren’t yet broken in. Hard
stops with new linings can mean
premature wear and earlier
replacement. Follow this
“brealring-in” guideline every
time you get new brake linings.