CHEVROLET CAVALIER 1995 3.G Manual PDF
Manufacturer: CHEVROLET, Model Year: 1995, Model line: CAVALIER, Model: CHEVROLET CAVALIER 1995 3.GPages: 340, PDF Size: 17.09 MB
Page 71 of 340
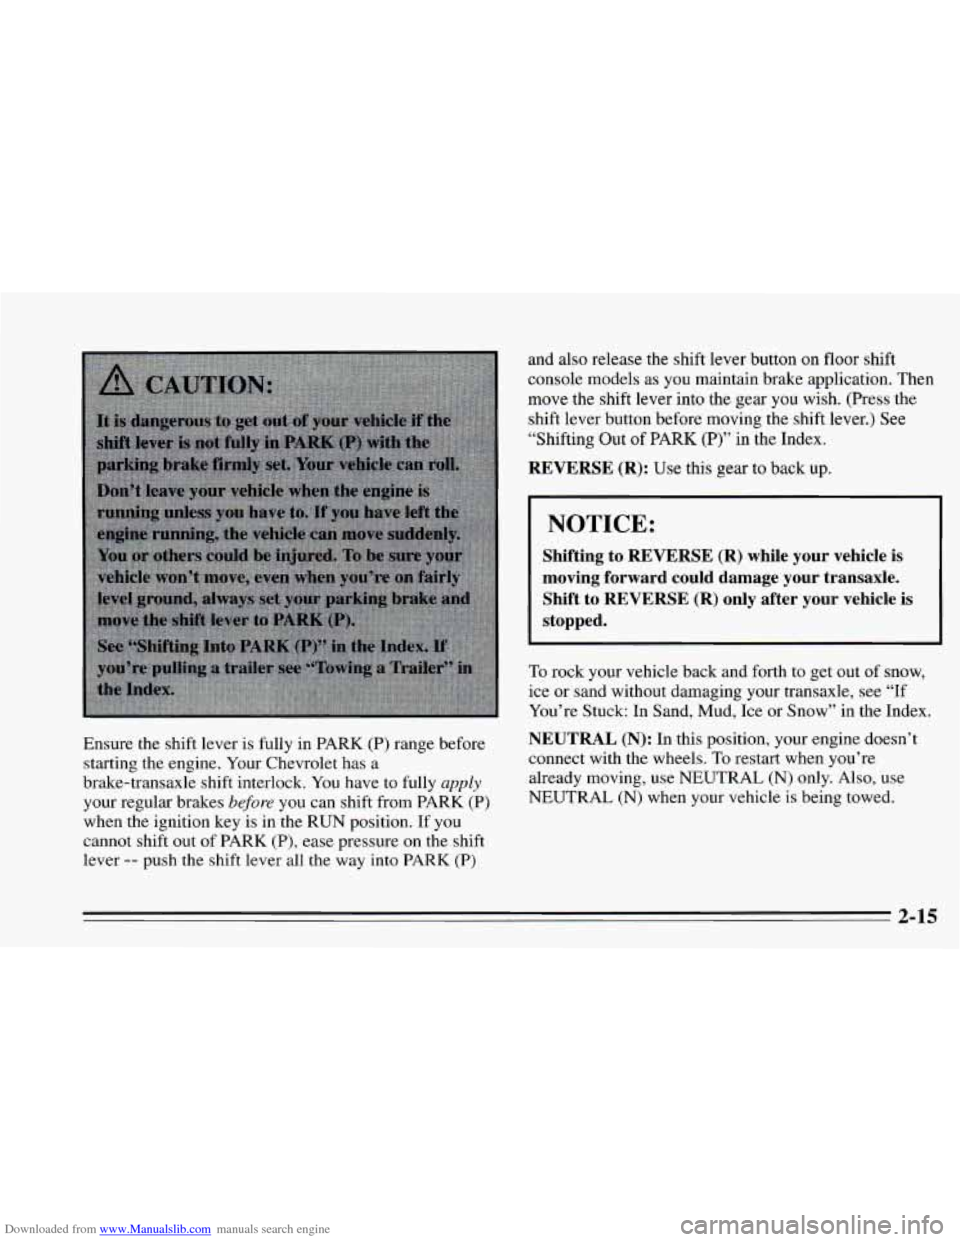
Downloaded from www.Manualslib.com manuals search engine Ensure the shift lever is fully in PARK (P) range before
starting the engine. Your Chevrolet has
a
brake-transaxle shift interlock. You have to fully apply
your regular brakes before you can shift from PARK (P)
when the ignition key is in the RUN position. If you
cannot shift out of PARK (P), ease pressure on the shift
lever
-- push the shift lever all the way into PARK (P)
and also release the shift lever button on floor shift
console models as
you maintain brake application. Then
move the shift lever into the gear you
wish. (Press the
shift lever button before moving the shift lever.) See
“Shifting
Out of PARK (P)” in the Index.
REVERSE (R): Use this gear to back up.
NOTICE:
Shifting to REVERSE (R) while your vehicle is
moving forward could damage your transaxle. Shift to REVERSE
(R) only after your vehicle is
stopped.
To rock your vehicle back and forth to get out of snow,
ice or sand without damaging your transaxle, see “If
You’re Stuck: In Sand,
Mud, Ice or Snow” in the Index.
NEUTRAL (N): In this position, your engine doesn’t
connect with the wheels.
To restart when you’re
already moving, use NEUTRAL (N) only. Also, use
NEUTRAL (N) when your vehicle
is being towed.
2-15
Page 72 of 340
Downloaded from www.Manualslib.com manuals search engine NOTICE:
i I NOTICE: I
Damage to your transaxle caused by shifting out
of PARK (P) or NEUTRAL (N) with the engine
racing isn’t covered
by your warranty.
j
Forward Gears (Three Speed)
DRIVE (D): This position is for normal driving.
SECOND (2): This position gives you more power but
lower fuel economy. You can use
SECOND (2) on hills.
It can help control your speed as you
go down steep
mountain roads, but then you would also want to use
your brakes
off and on.
Don’t drive in SECOND (2) for more than
5 miles (8 km), or at speeds over 55 mph
(88 km/h), or you can damage your transaxle.
Use
DRIVE @) as much as possible. Don’t shift
into SECOND
(2) unless you are going slower
than
65 mph (105 km/h), or you can damage your
engine.
FIRST (1): This position gives you even more power
(but lower fuel economy) than
SECOND (2). You can
use it on very steep hills, or in deep snow or mud.
If the
selector lever
is put in FIRST (l), the transaxle won’t
shift into first gear until the vehicle is going slowly
enough.
2-16
Page 73 of 340
Downloaded from www.Manualslib.com manuals search engine NOTICE:
If your front wheels can’t rotate, don’t try to
drive. This might happen if you were stuck in
very deep sand or mud or were up against a solid
object.
You could damage your transaxle. Also, if
you stop when going uphill, don’t hold your
vehicle there with only the accelerator pedal. This
could overheat and damage the transaxle. Use
your brakes or shift into
PARK (P) to hold your
vehicle in position on
a hill.
Forward Gears (Four Speed)
AUTOMATIC OVERDRIVE (D): This position is for
normal driving with
the four speed automatic transaxle.
If
you need more power for passing, and you’re:
0 Going less than about 35 mph (56 km/h), push your
accelerator pedal about halfway down.
0 Going about 35 mph (56 kmh), push your
accelerator all
the way down.
THIRD (3): This position is also used for normal
driving, however,
it offers more power and lower fuel
economy than AUTOMATIC OVERDRIVE (D). Here
are some times you might choose THIRD
(3) instead of
AUTOMATIC OVERDRIVE (D):
0 When driving on hilly, winding roads.
0 When towing a trailer, so there is less shifting
between gears.
0 When going down a steep hill.
SECOND (2): This position gives you more power out
lower fuel economy. You can use SECOND
(2) on hills.
It can help control your speed as you
go down steep
mountain roads, but then
you would also want to use
your brakes off and on.
NOTICE:
Don’t drive in SECOND (2) for more than
5 miles (8 km), or at speeds over 55 mph
(88 km/h), or you can damage your transaxle.
Use AUTOMATIC OVERDRIVE
(D), THIRD (3)
or DRIVE (D) as much as possible. Don’t shift into
SECOND
(2) unless you are going slower than 65
mph (105 km/h), or you can damage your engine.
2-17
Page 74 of 340
Downloaded from www.Manualslib.com manuals search engine FIRST (1): This position gives you even more power
(but lower fuel economy) than SECOND (2). You can
use it
on very steep hills, or in deep snow or mud. If the
selector lever is
put in FIRST (1)’ the transaxle won’t
shift into first gear until the vehicle is going slowly
enough.
NOTICE:
If your front wheels can’t rotate, don’t try to
drive. This might happen
if you were stuck in
very deep sand or mud or were up against a solid
object.
You could damage your transaxle. Also, if
you stop when going uphill, don’t hold your
vehicle there with only the accelerator pedal. This
could overheat and damage the transaxle. Use
your brakes or shift into
PARK (P) to hold your
vehicle in position on
a hill.
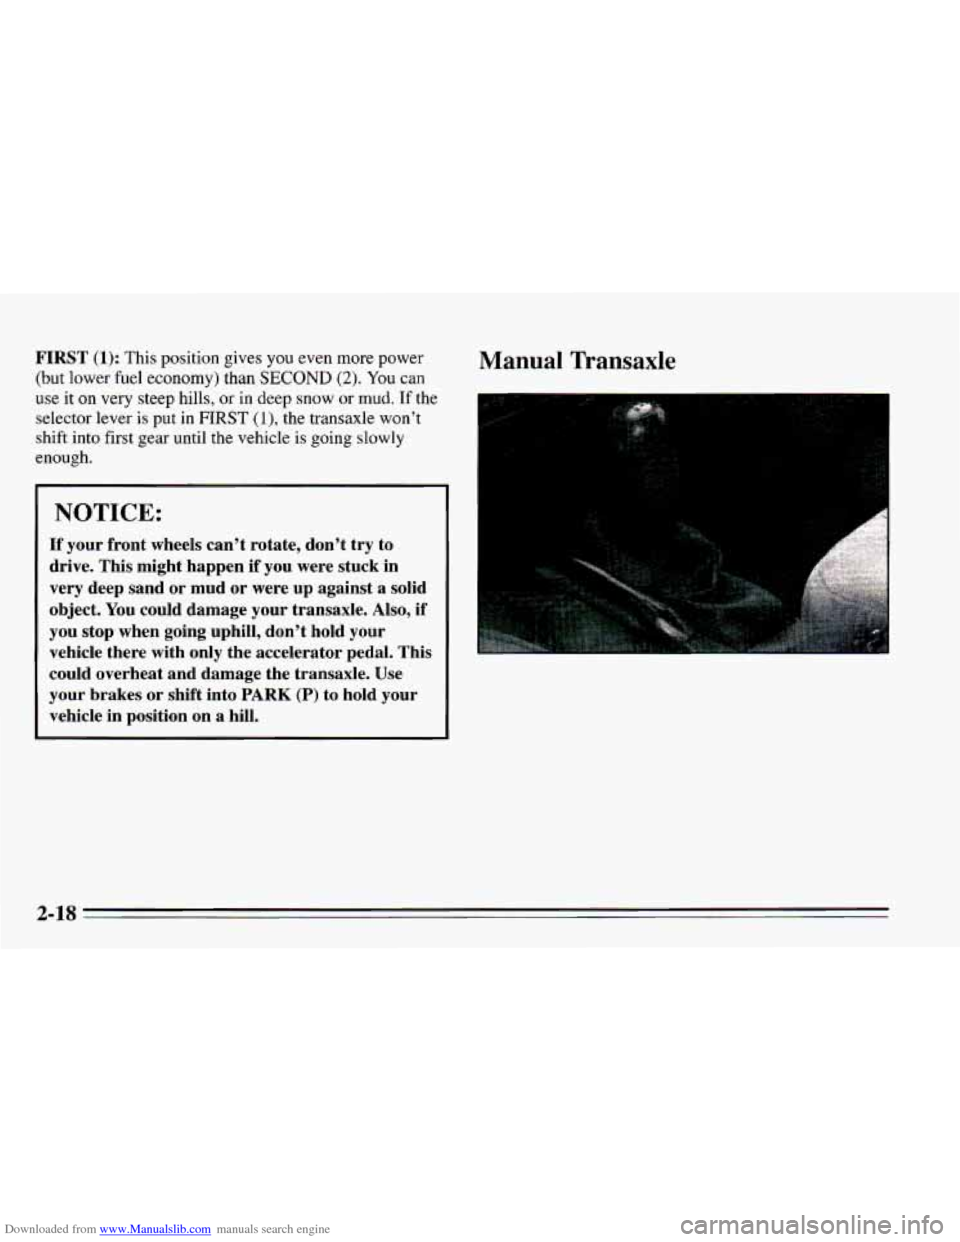
Manual Transaxle
2-18
Page 75 of 340
Downloaded from www.Manualslib.com manuals search engine 1
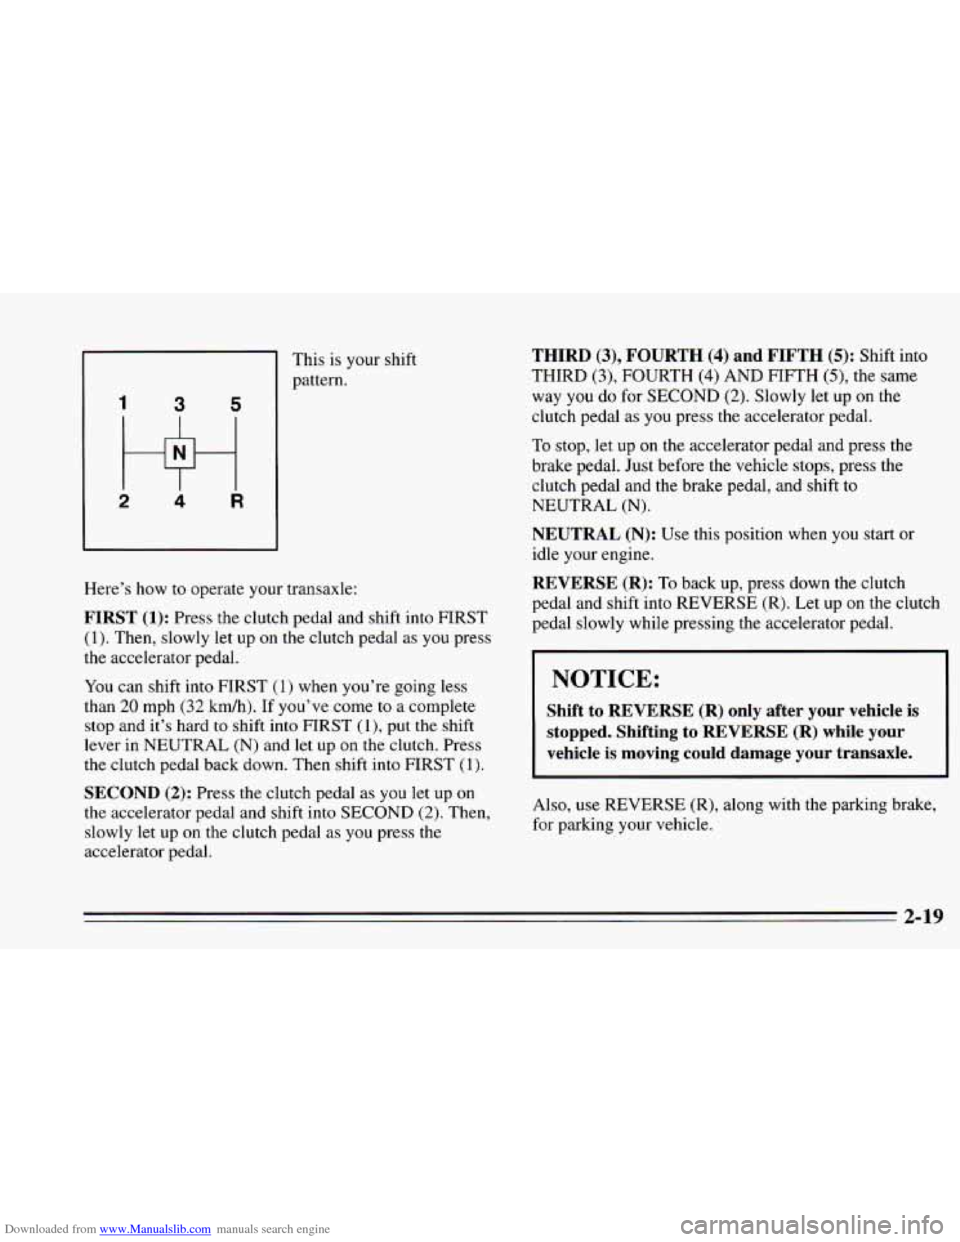
1 3 5
2 4 R
This is your shift
pattern.
Here’s how
to operate your transaxle:
FIRST (1): Press the clutch pedal and shift into FIRST
(1). Then, slowly let up on the clutch pedal as you press
the accelerator pedal.
You can shift into FIRST
(1) when you’re going less
than
20 mph (32 km/h). If you’ve come to a complete
stop and it’s hard to shift into
FIRST (l), put the shift
lever in NEUTRAL (N) and let up on the clutch. Press
the clutch pedal back down. Then shift into FIRST
(1).
SECOND (2): Press the clutch pedal as you let up on
the accelerator pedal and shift into SECOND
(2). Then,
slowly let up on the clutch pedal as you press the
accelerator pedal.
THIRD (3), FOURTH (4) and FIFTH (5): Shift into
THIRD
(3), FOURTH (4) AND FIFTH (5)’ the same
way
you do for SECOND (2). Slowly let up on the
clutch pedal
as you press the accelerator pedal.
To stop, let up on the accelerator pedal and press the
brake pedal. Just before the vehicle stops, press the
clutch pedal and the brake pedal, and shift to
NEUTRAL (N).
NEUTRAL (N): Use this position when you start or
idle your engine.
REVERSE (R): To back up, press down the clutch
pedal and shift into REVERSE
(R). Let up on the clutch
pedal slowly while pressing the accelerator pedal.
I NOTICE:
Shift to REVERSE (R) onIy after your vehicle is
stopped. Shifting to REVERSE
(R) while your
vehicle is moving could damage your transaxle.
Also, use REVERSE (R), along with the parking brake,
for parking your vehicle.
2-19
Page 76 of 340
Downloaded from www.Manualslib.com manuals search engine Shift Light (Manual Transaxle)
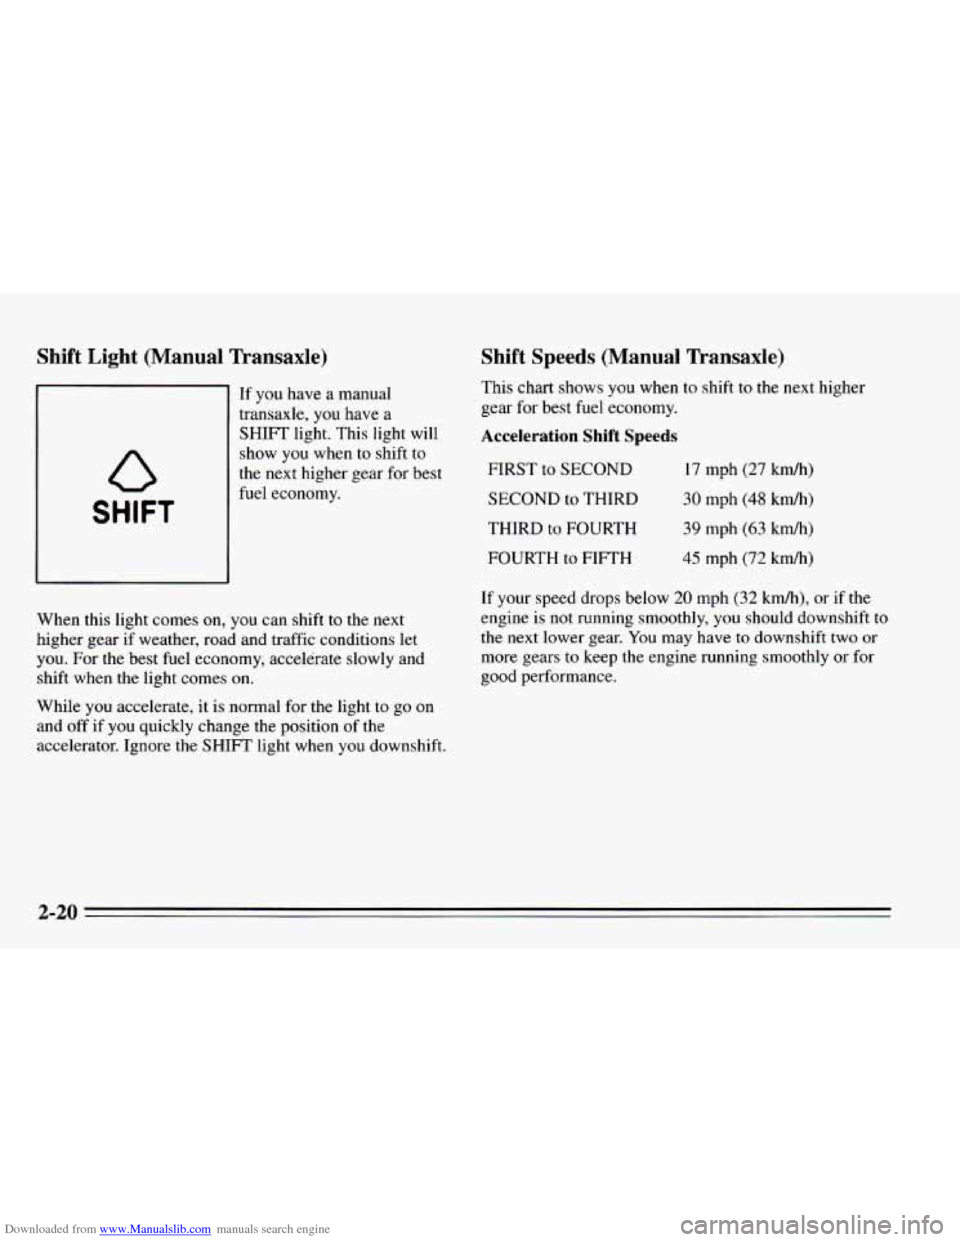
If you have a manual
transaxle, you have a
SHIFT light. This light will
show
you when to shift to
the next higher gear for best
SHIFT
fuel economy.
When this light comes
on, you can shift to the next
higher gear if weather, road and traffic conditions
let
you. For the best fuel economy, accelerate slowly and
shift when the light comes on.
While you accelerate, it is normal for
the light to go on
and off if
you quickly change the position of the
accelerator. Ignore the SHIFT light when you downshift.
Shift Speeds (Manual Transaxle)
This chart shows you when to shift to the next higher
gear for best fuel economy.
Acceleration Shift Speeds
FIRST to SECOND
SECOND to THIRD
THIRD to FOURTH
FOURTH
to FIFTH
17 mph (27 km/h)
30 mph (48 krn/h)
39 mph (63 kmh)
45 mph (72 kmh)
If your speed drops below 20 mph (32 kmh),
or if the
engine is
not running smoothly, you should downshift to
the next lower gear. You may have to downshift two or
more gears to keep
the engine running smoothly or for
good performance.
2-20
Page 77 of 340
Downloaded from www.Manualslib.com manuals search engine Parking Brake
~~~
NOTICE:
If you skip more than one gear when you
downshift,
or if you race the engine when you
downshift, you can damage the clutch or
transaxle.
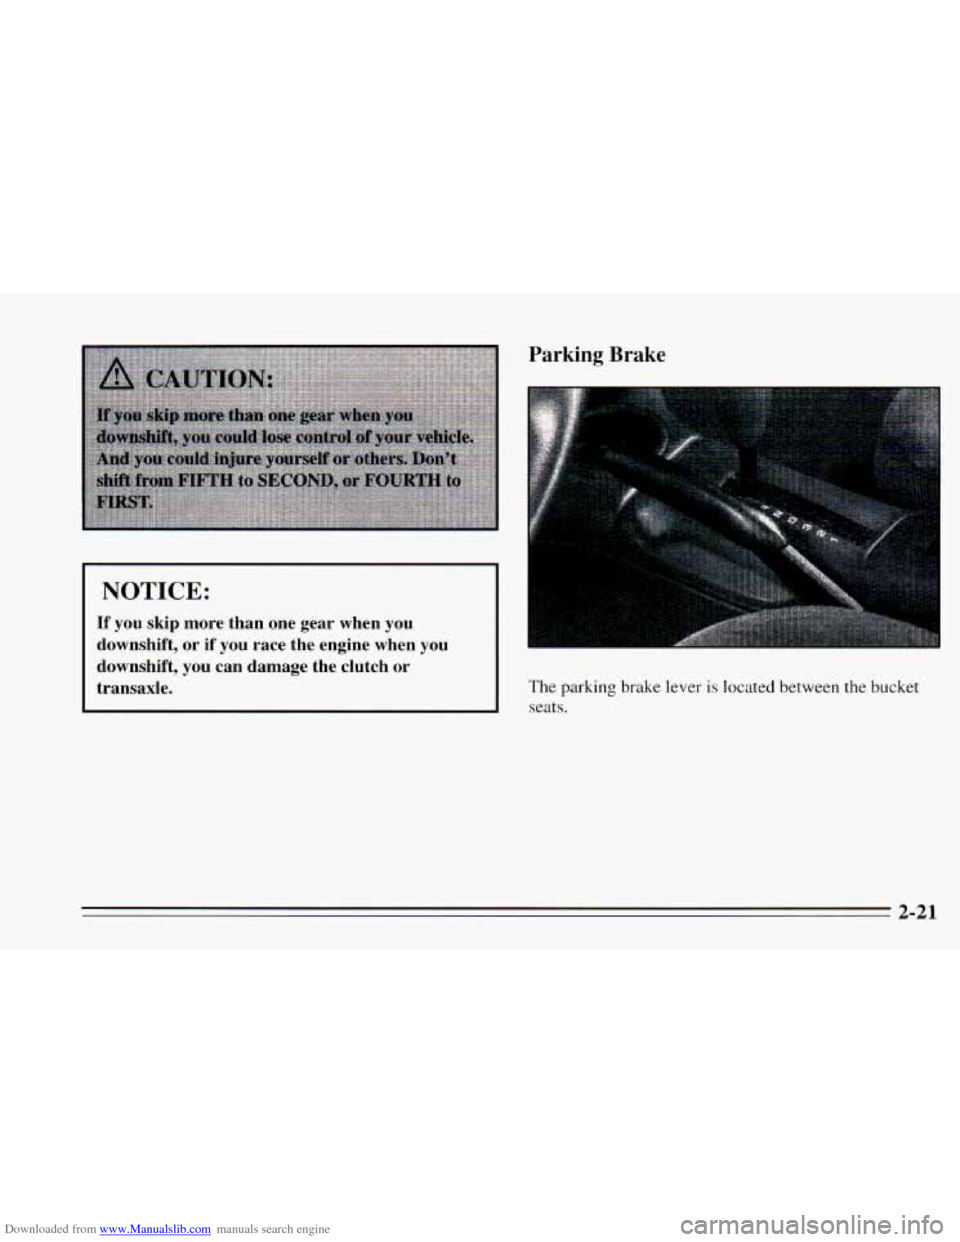
The parking brake lever is located between the bucket
seats.
2-21
Page 78 of 340
Downloaded from www.Manualslib.com manuals search engine To set the parking brake, hold the brake pedal down and
pull up on the parking brake lever. If the ignition
is on,
the brake system warning light will come on.
To release the parking brake, hold the brake pedal down.
Pull the parking brake lever up until you can press the
release button.
Hold the release button in as you move
the brake lever all the way down.
I NOTICE:
Driving with the parking brake on can cause
your rear brakes to overheat. You may have to
replace them, and you could also damage other
parts
of your vehicle.
If you are towing a trailer and are parking on any hill,
see “Towing a Trailer’’ in the Index. That section shows
what to
do first to keep the trailer from moving.
Shifting Pnto PARK (P) (Automatic
Transaxle Models Only)
1. Hold the brake pedal down and set the parking
brake.
2-22
Page 79 of 340
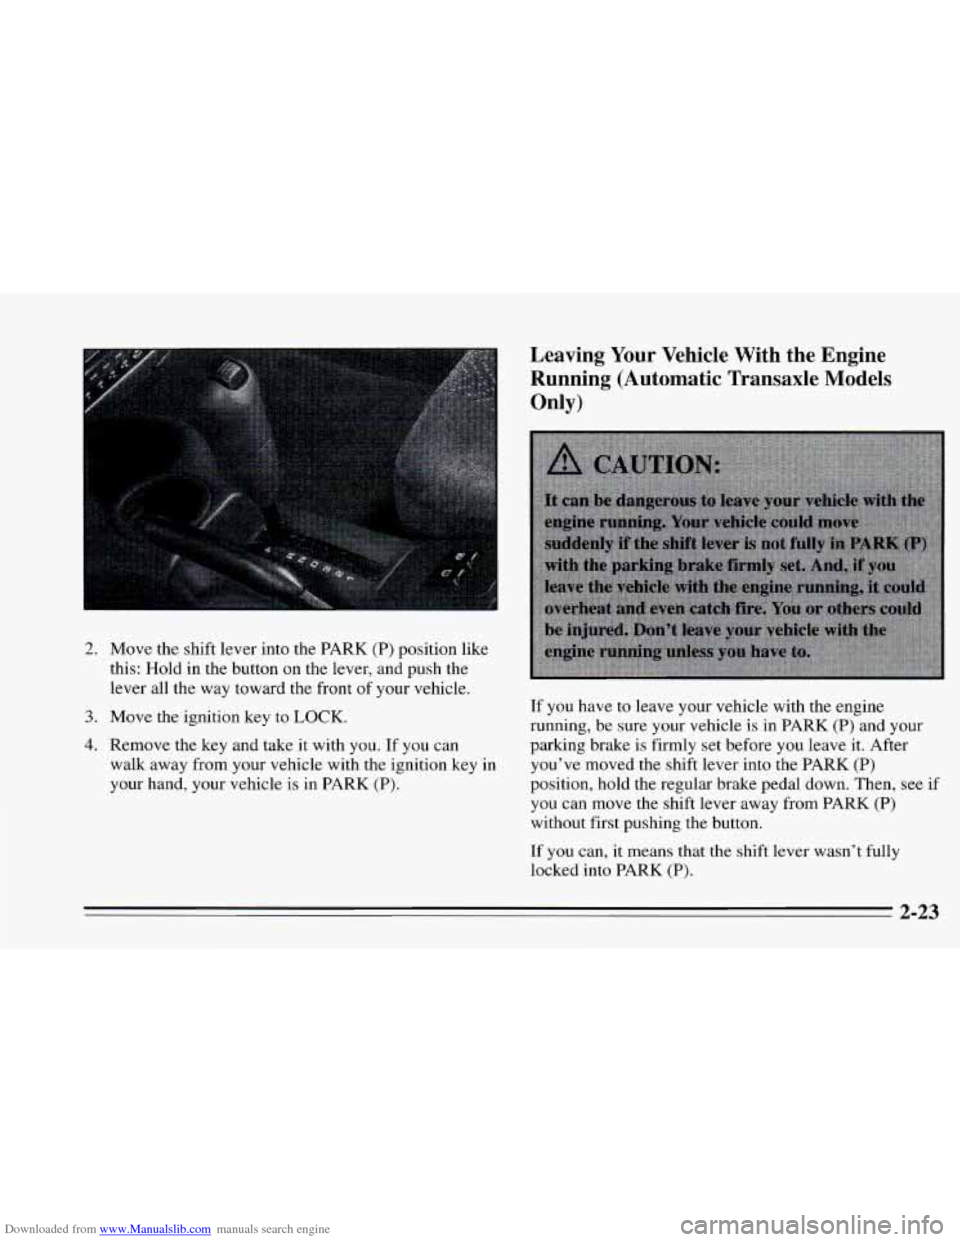
Downloaded from www.Manualslib.com manuals search engine 2. Move the shift lever into the PARK (P) position like
this: Hold in the button on the lever, and push the
lever all the way toward the front
of your vehicle.
3. Move the ignition key to LOCK.
4. Remove the key and take it with you. If you can
walk away from your vehicle with the ignition key in
your hand, your vehicle is in PARK (P).
Leaving Your Vehicle With the Engine
Running (Automatic Transaxle Models
Only)
If you have to leave your vehicle with the engine
running, be sure your vehicle
is in PARK (P) and your
parking brake is firmly set before you leave it. After
you’ve moved the shift lever into the PARK (P)
position,
hold the regular brake pedal down. Then, see if
you can move the shift lever away from PARK (P)
without first pushing the button.
If you can, it means that the shift lever wasn’t fully
locked into PARK
(P).
2-23
Page 80 of 340
Downloaded from www.Manualslib.com manuals search engine Torque Lock (Automatic Transaxle)
If you are parking on a hill and you don’t shift. your
transaxle into PARK (P) properly, the weight
of the
vehicle may put too much force on the parking pawl in
the transaxle. You may find it difficult to pull the shift
lever
out of PARK (P). This is called “torque lock.” To
prevent torque lock, set the parking brake and then shift
into PARK (P) properly before you leave the driver’s
seat.
To find out how, see “Shifting Into PARK (P)” in
the Index.
When you are ready to drive, move the shift lever
out of
PARK (P) before you release the parking brake.
If “torque lock” does occur,
you may need to have
another vehicle push yours a little uphill
to take some of
the pressure from the transaxle, so you can pull the shift
lever out of
PARK (P).
Shifting Out of PARK (P)
(Automatic Transaxle)
Your Chevrolet has a brake-transaxle shift interlock.
You have
to fully apply your regular brakes before you
can shift from PARK
(P) when the ignition is in the
RUN position. See “Automatic Transaxle” in the Index.
If you cannot shift out of PARK (P), ease pressure on
the shift lever -- push the shift lever all the way into
PARK
(P) and also release the shift lever button on floor
shift console models as you maintain brake application.
Then move the shift lever into the gear
you wish. (Press
the shift lever button before moving the shift lever.)
If you ever hold the brake pedal down but still can’t
shift out
of PARK (P), try this:
1. Turn the key to OFF.
2. Apply and hold the brake until the end of Step 4.
3. Shift to NEUTRAL (N).
4. Start the vehicle and then shift to the drive gear you
want.
5. Have the vehicle fixed as soon as you can.
Parking Your Vehicle (Manual Transaxle)
Before you get out of your vehicle, put your manual
transaxle
in REVERSE (R) and firmly apply the parking
brake.
2-24