reset CHEVROLET HHR 2007 1.G Owners Manual
[x] Cancel search | Manufacturer: CHEVROLET, Model Year: 2007, Model line: HHR, Model: CHEVROLET HHR 2007 1.GPages: 446, PDF Size: 2.43 MB
Page 134 of 446
Mirrors
Manual Rearview Mirror
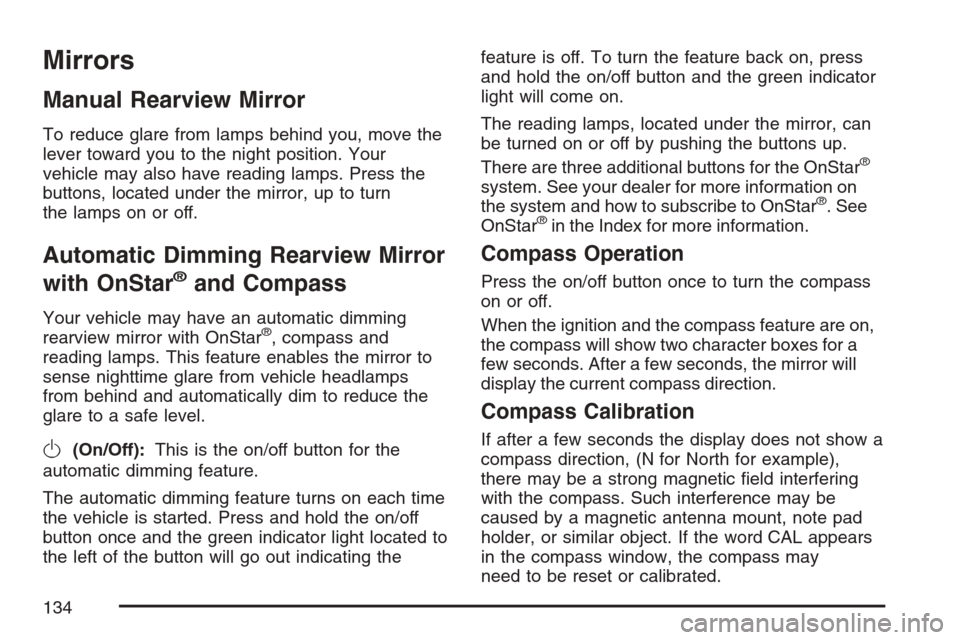
To reduce glare from lamps behind you, move the
lever toward you to the night position. Your
vehicle may also have reading lamps. Press the
buttons, located under the mirror, up to turn
the lamps on or off.
Automatic Dimming Rearview Mirror
with OnStar
®and Compass
Your vehicle may have an automatic dimming
rearview mirror with OnStar®, compass and
reading lamps. This feature enables the mirror to
sense nighttime glare from vehicle headlamps
from behind and automatically dim to reduce the
glare to a safe level.
O(On/Off):This is the on/off button for the
automatic dimming feature.
The automatic dimming feature turns on each time
the vehicle is started. Press and hold the on/off
button once and the green indicator light located to
the left of the button will go out indicating thefeature is off. To turn the feature back on, press
and hold the on/off button and the green indicator
light will come on.
The reading lamps, located under the mirror, can
be turned on or off by pushing the buttons up.
There are three additional buttons for the OnStar
®
system. See your dealer for more information on
the system and how to subscribe to OnStar®. See
OnStar®in the Index for more information.
Compass Operation
Press the on/off button once to turn the compass
on or off.
When the ignition and the compass feature are on,
the compass will show two character boxes for a
few seconds. After a few seconds, the mirror will
display the current compass direction.
Compass Calibration
If after a few seconds the display does not show a
compass direction, (N for North for example),
there may be a strong magnetic �eld interfering
with the compass. Such interference may be
caused by a magnetic antenna mount, note pad
holder, or similar object. If the word CAL appears
in the compass window, the compass may
need to be reset or calibrated.
134
Page 136 of 446
Cleaning the Mirror
When cleaning the mirror, use a paper towel or
similar material dampened with glass cleaner. Do
not spray glass cleaner directly on the mirror
as that may cause the liquid cleaner to enter the
mirror housing.
Automatic Dimming Rearview Mirror
with Compass
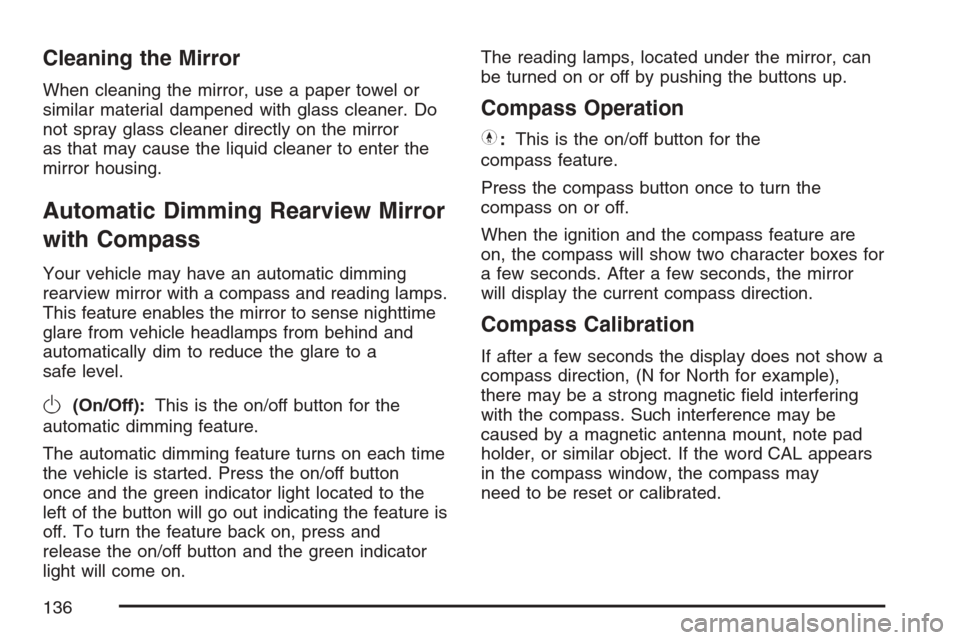
Your vehicle may have an automatic dimming
rearview mirror with a compass and reading lamps.
This feature enables the mirror to sense nighttime
glare from vehicle headlamps from behind and
automatically dim to reduce the glare to a
safe level.
O(On/Off):This is the on/off button for the
automatic dimming feature.
The automatic dimming feature turns on each time
the vehicle is started. Press the on/off button
once and the green indicator light located to the
left of the button will go out indicating the feature is
off. To turn the feature back on, press and
release the on/off button and the green indicator
light will come on.The reading lamps, located under the mirror, can
be turned on or off by pushing the buttons up.
Compass Operation
Y
:This is the on/off button for the
compass feature.
Press the compass button once to turn the
compass on or off.
When the ignition and the compass feature are
on, the compass will show two character boxes for
a few seconds. After a few seconds, the mirror
will display the current compass direction.
Compass Calibration
If after a few seconds the display does not show a
compass direction, (N for North for example),
there may be a strong magnetic �eld interfering
with the compass. Such interference may be
caused by a magnetic antenna mount, note pad
holder, or similar object. If the word CAL appears
in the compass window, the compass may
need to be reset or calibrated.
136
Page 162 of 446
Increasing Speed While Using
Cruise Control
There are two ways to go to a higher speed.
1. Disengage the cruise control by applying the
brake pedal but do not turn it off. Accelerate
to a higher speed and reset the cruise control.
2. If the cruise control system is already
engaged, press the RES+ button. Hold it there
until reach the desired speed, and then
release the button. To increase your speed in
very small amounts, press the RES+ button
brie�y and then release it. Each time you
do this, your vehicle will go about 1 mph
(1.6 km/h) faster.
Reducing Speed While Using
Cruise Control
If the cruise control system is already engaged,
Push and hold the SET−button until you
reach the lower speed desired, then release it.
To slow down in very small amounts, push the
SET−button brie�y. Each time you do this,
you will go about 1 mph (1.6 km/h) slower.
Passing Another Vehicle While Using
Cruise Control
Use the accelerator pedal to increase your speed.
When you take your foot off the pedal, your vehicle
will slow down to the cruise control speed you set
earlier.
Using Cruise Control on Hills
How well your cruise control will work on hills
depends upon the vehicle speed, load and the
steepness of the hills. When going up steep hills,
you might have to step on the accelerator pedal to
maintain your speed. When going downhill, you
might have to brake or shift to a lower gear to keep
the vehicle speed down. Of course, applying the
brake turns off the cruise control. Many drivers �nd
this to be too much trouble and don’t use cruise
control on steep hills.
Ending Cruise Control
To end cruise control, step lightly on the brake
pedal or the clutch if your vehicle has a manual
transaxle.
Stepping on the brake pedal or clutch will only end
the current cruise control session. Press the
cruise control on/off button to turn the system
completely off.
162
Page 186 of 446
Anti-Lock Brake System
Warning Light
Your vehicle may have
the Anti-Lock Brake
System (ABS).
This light will come on when your engine is started
and may stay on for several seconds. That is
normal.If the light stays on, turn the ignition off. If the light
comes on when you are driving, stop as soon as
possible and turn the ignition off. Then start the
engine again to reset the system. If the light still
stays on after driving at a speed of at least
13 mph (20 km/h), or comes on again while you are
driving, your vehicle needs service. If the regular
brake system warning light is not on, you still have
brakes, but you do not have anti-lock brakes. If the
regular brake system warning light is also on, you
do not have anti-lock brakes and there is a problem
with your regular brakes. SeeBrake System
Warning Light on page 185.
The ABS warning light will come on brie�y when
you turn the ignition key to RUN. This is normal.
If the light does not come on then, have it �xed so
it will be ready to warn you if there is a problem.
186
Page 195 of 446
r(Reset):Press this button to reset some
vehicle information mode displays, select a
personalization menu mode setting, or
acknowledge a warning message.
Press and hold the information and reset buttons
at the same time for one second, then release
the buttons to enter the personalization menu. See
DIC Vehicle Personalization on page 200for
more information.
DIC Operation and Displays
The DIC comes on when the ignition is on. The
DIC has different modes which can be accessed
by pressing the DIC buttons. The button functions
are detailed in the following.
Information Modes
q
(Information):Press this button to scroll
through the following vehicle information modes:
Outside Air Temperature and Odometer
Press the information button until the outside
air temperature and the odometer are displayed.
This mode shows the temperature outside of
the vehicle in either degrees Fahrenheit (°F) or
degrees Celsius (°C) and the total distance
the vehicle has been driven in either miles (mi) or
kilometers (km). The outside air temperature
will appear on the left side of the DIC display and
the odometer will appear on the right side of
the display.
To change the DIC display to English or metric
units, see “UNITS” underDIC Vehicle
Personalization on page 200.
195
Page 196 of 446
TRIP A or TRIP B
Press the information button until TRIP A or
TRIP B is displayed. These modes show the
current distance traveled since the last reset for
each trip odometer in either miles (mi) or
kilometers (km). Both odometers can be used at
the same time.
Each trip odometer can be reset to zero separately
by pressing and holding the reset button for a
few seconds while the desired trip odometer
is displayed.
FUEL RANGE
Press the information button until FUEL RANGE is
displayed. This mode shows the remaining
distance you can drive without refueling in either
miles (mi) or kilometers (km). It is based on
fuel economy and the fuel remaining in the tank.
When the fuel level is low, FUEL RANGE LOW will
display.
The fuel economy data used to determine fuel
range is an average of recent driving conditions.
As your driving conditions change, this data is
gradually updated. The FUEL RANGE mode
cannot be reset.
ECON (Economy)
Press the information button until ECON is
displayed. This mode shows how many miles per
gallon (mpg) or liters per 100 kilometers
(L/100 km) your vehicle is getting based on
current and past driving conditions.
Press and hold the reset button while ECON is
displayed to reset the average fuel economy.
Average fuel economy will then be calculated
starting from that point. If the average fuel
economy is not reset, it will be continually updated
each time you drive.
AV (Average) SPEED
Press the information button until AV SPEED is
displayed. This mode shows the vehicle’s average
speed in miles per hour (mph) or kilometers per
hour (km/h).
Press and hold the reset button while AV SPEED
is displayed to reset the average vehicle speed.
196
Page 197 of 446
OIL LIFE
Press the information button until OIL LIFE is
displayed. The engine oil life system shows
an estimate of the oil’s remaining useful life. It will
show 100% when the system is reset after an
oil change. It will alert you to change your oil on a
schedule consistent with your driving conditions.
In addition to the engine oil life system monitoring
the oil life, additional maintenance is
recommended in the Maintenance Schedule in this
manual. SeeEngine Oil on page 299and
Scheduled Maintenance on page 393.
Always reset the engine oil life system after an oil
change. See “How to Reset the Engine Oil Life
System” underEngine Oil Life System on
page 302.
COOLANT
Press the information button until COOLANT is
displayed. This mode shows the temperature of the
engine coolant in either degrees Fahrenheit (°F) or
degrees Celsius (°C).
DIC Warnings and Messages
These messages appear if there is a problem
detected in one of your vehicle’s systems.
A message will clear when the vehicle’s condition
is no longer present. To acknowledge a message
and clear it from the display, press and hold
any of the DIC buttons. If the condition is still
present, the warning message will come back on
the next time the vehicle is turned off and back
on. With most messages, a warning chime sounds
when the message displays. Your vehicle may
have other warning messages.
AUTO (Automatic) LIGHTS OFF
This message displays if the automatic headlamp
system is disabled with the headlamp switch.
SeeAutomatic Headlamp System on page 165for
more information.
AUTO (Automatic) LIGHTS ON
This message displays if the automatic headlamp
system is enabled with the headlamp switch.
SeeAutomatic Headlamp System on page 165for
more information.
197
Page 198 of 446
BRAKE FLUID
This message displays to inform the driver that the
brake �uid level is low while the ignition is on.
The brake system warning light on the instrument
panel cluster also comes on. SeeBrake System
Warning Light on page 185for more information.
Have the brake system serviced by your dealer
as soon as possible.
CHANGE OIL SOON
This message displays when the life of the engine
oil has expired and it should be changed.
When you acknowledge the CHANGE OIL SOON
message by clearing it from the display, you
still must reset the engine oil life system
separately. SeeEngine Oil Life System on
page 302andScheduled Maintenance on
page 393for more information.
CHECK GAS CAP
This message displays if the fuel cap has not
been fully tightened. Recheck the fuel cap to make
sure that it is on properly. A few driving trips
with the cap properly installed should turn
the message off.
COOLING MODE ON
This message may display on some vehicles.
Under severe conditions, hot ambient
temperatures, steep grades, and towing, your
vehicle may experience more transaxle shifting.
This is temporary and normal under these
conditions. This does not require engine or
transaxle service.
CRUISE ENGAGED
This message displays when the cruise control
system is active. SeeCruise Control on page 160
for more information.
DOOR AJAR
This message displays if one or more of the
vehicle’s doors are not closed properly. When this
message displays, make sure that the door(s)
are closed completely.
ENGINE DISABLED
This message displays if the starting of the engine
is disabled. Have your vehicle serviced by your
dealer immediately.
198
Page 200 of 446
PARKING BRAKE
This message displays if the parking brake is left
engaged. SeeParking Brake on page 127for
more information.
POWER STEERING
This message displays if a problem has been
detected with the electric power steering. Have
your vehicle serviced by your dealer immediately.
SERVICE AIR BAG
This message displays when there is a problem
with the airbag system. Have your vehicle serviced
by your dealer immediately.
DIC Vehicle Personalization
Your vehicle has personalization capabilities that
allow you to program certain features to a
preferred setting. All of the features listed may not
be available on your vehicle. Only the features
available will be displayed on the DIC.
The default settings for the features were set
when your vehicle left the factory, but may have
been changed from their default state since
that time.To change feature settings, use the following
procedure:
Entering Personalization Menu
1. Turn the ignition on while the vehicle is
stopped.
To avoid excessive drain on the battery, it is
recommended that the headlamps are
turned off.
2. Press and hold the information and reset
buttons at the same time for one second, then
release to enter the personalization menu.
If the vehicle speed is greater than 2 mph
(3 km/h), only the UNITS menu will be
accessible.
3. Press the information button to scroll through
the available personalization menu modes.
Press the reset button to scroll through
the available settings for each mode.
If you do not make a selection within ten
seconds, the display will go back to the
previous information displayed.
200
Page 201 of 446
Personalization Menu Modes
OIL LIFE RESET
When this feature is displayed, you can reset the
engine oil life system. To reset the system,
seeEngine Oil Life System on page 302. See
“OIL LIFE” underDIC Operation and Displays on
page 195for more information.
UNITS
This feature allows you to select the units of
measurement in which the DIC will display the
vehicle information. When UNITS appears on the
display, press and hold the reset button for at
least one second to scroll through the available
settings:
ENGLISH (default in United States):All
information will be displayed in English units.
METRIC (default in Canada):All information will
be displayed in metric units.
Choose one of the available settings and press
the information button to select it and move on to
the next feature.
REMOTE START
If your vehicle has remote start, this feature allows
remote start to be turned OFF or ON. Remote
start allows you to start the engine from outside of
the vehicle using your Remote Keyless Entry
(RKE) transmitter. When REMOTE START
appears on the display, press and hold the reset
button for at least one second to scroll through the
available settings:
OFF:The remote start feature will be disabled.
ON (default):The remote start feature will
be enabled.
See “Remote Vehicle Start” underRemote
Keyless Entry (RKE) System Operation on page 98
for more information.
Choose one of the available settings and press
the information button to select it and move on to
the next feature.
201