ECO CHEVROLET KODIAK 2005 Owner's Guide
[x] Cancel search | Manufacturer: CHEVROLET, Model Year: 2005, Model line: KODIAK, Model: CHEVROLET KODIAK 2005Pages: 374, PDF Size: 5.46 MB
Page 138 of 374
Rear Heating System
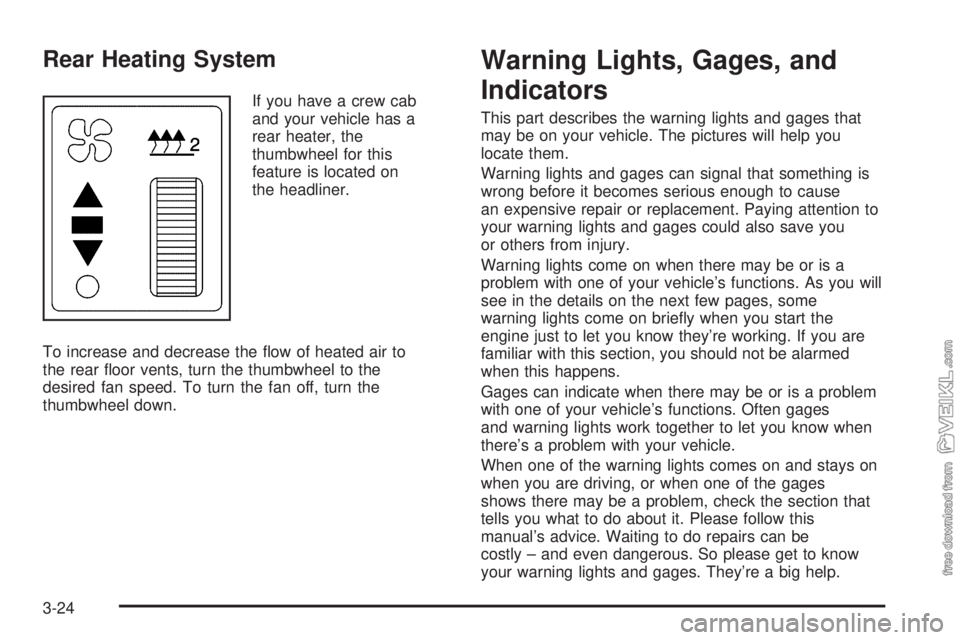
If you have a crew cab
and your vehicle has a
rear heater, the
thumbwheel for this
feature is located on
the headliner.
To increase and decrease the flow of heated air to
the rear floor vents, turn the thumbwheel to the
desired fan speed. To turn the fan off, turn the
thumbwheel down.
Warning Lights, Gages, and
Indicators
This part describes the warning lights and gages that
may be on your vehicle. The pictures will help you
locate them.
Warning lights and gages can signal that something is
wrong before it becomes serious enough to cause
an expensive repair or replacement. Paying attention to
your warning lights and gages could also save you
or others from injury.
Warning lights come on when there may be or is a
problem with one of your vehicle’s functions. As you will
see in the details on the next few pages, some
warning lights come on briefly when you start the
engine just to let you know they’re working. If you are
familiar with this section, you should not be alarmed
when this happens.
Gages can indicate when there may be or is a problem
with one of your vehicle’s functions. Often gages
and warning lights work together to let you know when
there’s a problem with your vehicle.
When one of the warning lights comes on and stays on
when you are driving, or when one of the gages
shows there may be a problem, check the section that
tells you what to do about it. Please follow this
manual’s advice. Waiting to do repairs can be
costly – and even dangerous. So please get to know
your warning lights and gages. They’re a big help.
3-24
Page 139 of 374

Instrument Panel Cluster
Your instrument panel cluster is designed to let you know at a glance how your vehicle is running. You’ll know how
fast your going, about how much fuel is left and many other things you’ll need to drive safely and economically.
United States Diesel Engine shown, Canada and Gasoline Engine similar
3-25
Page 140 of 374
Speedometer and Odometer
Your speedometer lets you see your speed in both
miles per hour (mph) and kilometers per hour (km/h).
Your odometer shows how far your vehicle has
been driven, in either miles (used in the United States)
or kilometers (used in Canada).
Trip Odometer
The trip odometer can tell you how far your vehicle
has been driven since you last set the trip odometer
to zero.
While the engine is running, press the reset button,
located to the right of the trip odometer, to toggle
between the trip odometer and the regular odometer.
Holding the reset button for two seconds while the
engine is running and the trip odometer is displayed, will
reset it.
To display the odometer reading with the ignition off,
press the reset button.
The hourmeter gage is accessed through the trip
odometer, for more information seeHourmeter Gage on
page 3-44.
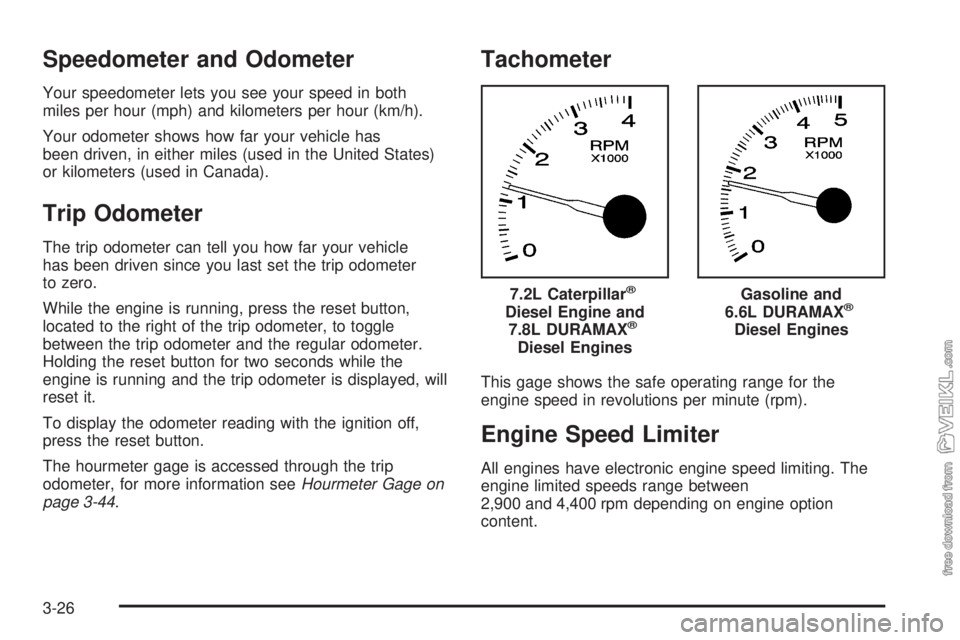
Tachometer
This gage shows the safe operating range for the
engine speed in revolutions per minute (rpm).
Engine Speed Limiter
All engines have electronic engine speed limiting. The
engine limited speeds range between
2,900 and 4,400 rpm depending on engine option
content.7.2L Caterpillar
®
Diesel Engine and
7.8L DURAMAX®
Diesel Engines
Gasoline and
6.6L DURAMAX®
Diesel Engines
3-26
Page 141 of 374
Engine Road Speed Governor
This system controls maximum vehicle speed
automatically and reduces engine power until vehicle
speed gets down to maximum governed speed.
The default setting for C4500 and C5500 models up to
19,500 lbs GVWR is 80 to 85 mph (128 to 136 km/h).
Most other models have a default setting of 75 mph
(120 km/h), although some tire sizes and tread patterns
may limit maximum speed to 55 to 65 mph
(86 to 105 km/h). You may have a label on the headliner
of your vehicle with more information on your engine road
speed governor. See your GM dealer for assistance with
programming your engine limited speed.
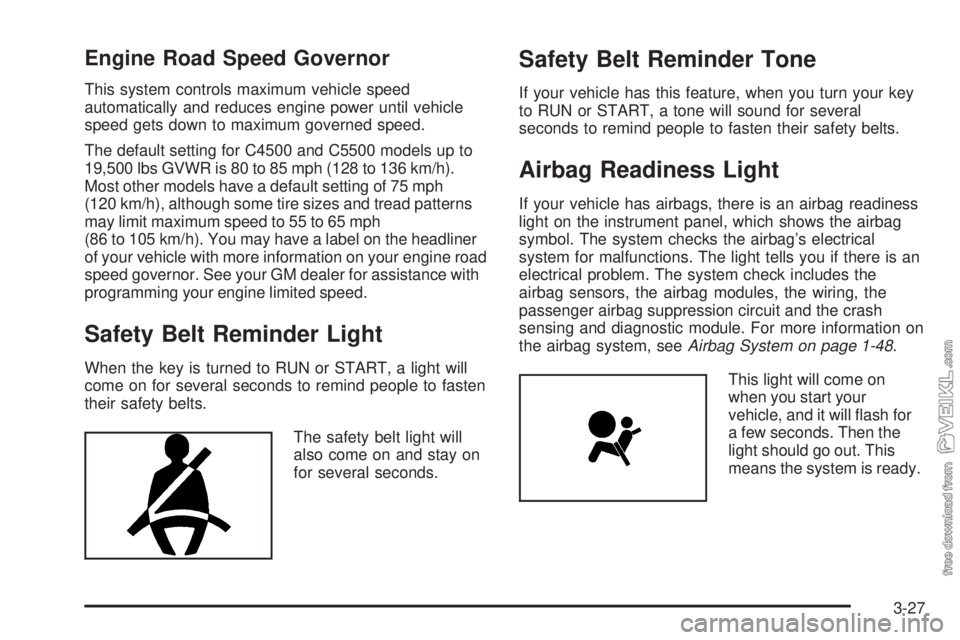
Safety Belt Reminder Light
When the key is turned to RUN or START, a light will
come on for several seconds to remind people to fasten
their safety belts.
The safety belt light will
also come on and stay on
for several seconds.
Safety Belt Reminder Tone
If your vehicle has this feature, when you turn your key
to RUN or START, a tone will sound for several
seconds to remind people to fasten their safety belts.
Airbag Readiness Light
If your vehicle has airbags, there is an airbag readiness
light on the instrument panel, which shows the airbag
symbol. The system checks the airbag’s electrical
system for malfunctions. The light tells you if there is an
electrical problem. The system check includes the
airbag sensors, the airbag modules, the wiring, the
passenger airbag suppression circuit and the crash
sensing and diagnostic module. For more information on
the airbag system, seeAirbag System on page 1-48.
This light will come on
when you start your
vehicle, and it will flash for
a few seconds. Then the
light should go out. This
means the system is ready.
3-27
Page 142 of 374
If the airbag readiness light stays on after you start the
vehicle or comes on when you are driving, your
airbag system may not work properly. Have your vehicle
serviced right away.
The airbag readiness light should flash for a few
seconds when you turn the ignition key to RUN or
START. If the light doesn’t come on then, have it fixed
so it will be ready to warn you if there is a problem.
{CAUTION:
If the airbag readiness light stays on after you
start your vehicle, it means the airbag system
may not be working properly. The airbags in
your vehicle may not inate in a crash, or they
could even inate without a crash. To help
avoid injury to yourself or others, have your
vehicle serviced right away if the airbag
readiness light stays on after you start
your vehicle.
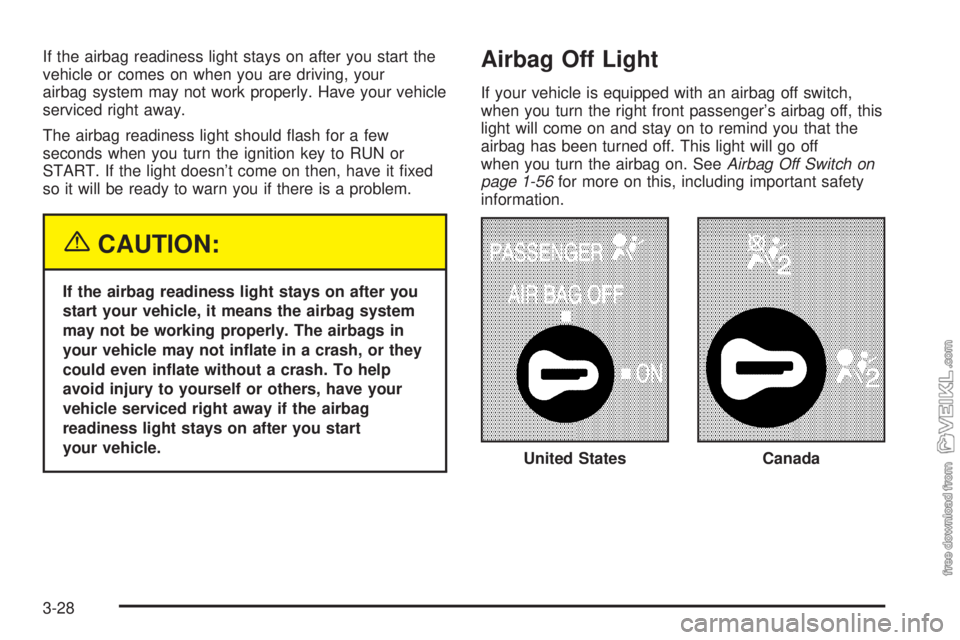
Airbag Off Light
If your vehicle is equipped with an airbag off switch,
when you turn the right front passenger’s airbag off, this
light will come on and stay on to remind you that the
airbag has been turned off. This light will go off
when you turn the airbag on. SeeAirbag Off Switch on
page 1-56for more on this, including important safety
information.
United States
Canada
3-28
Page 149 of 374
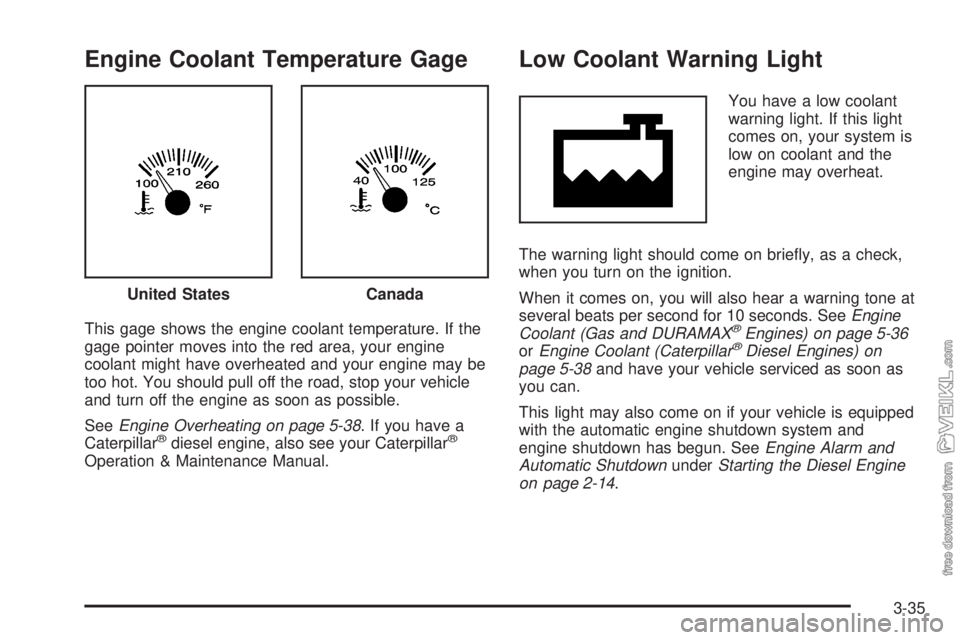
Engine Coolant Temperature Gage
This gage shows the engine coolant temperature. If the
gage pointer moves into the red area, your engine
coolant might have overheated and your engine may be
too hot. You should pull off the road, stop your vehicle
and turn off the engine as soon as possible.
SeeEngine Overheating on page 5-38. If you have a
Caterpillar
®diesel engine, also see your Caterpillar®
Operation & Maintenance Manual.
Low Coolant Warning Light
You have a low coolant
warning light. If this light
comes on, your system is
low on coolant and the
engine may overheat.
The warning light should come on briefly, as a check,
when you turn on the ignition.
When it comes on, you will also hear a warning tone at
several beats per second for 10 seconds. SeeEngine
Coolant (Gas and DURAMAX
®Engines) on page 5-36
orEngine Coolant (Caterpillar®Diesel Engines) on
page 5-38and have your vehicle serviced as soon as
you can.
This light may also come on if your vehicle is equipped
with the automatic engine shutdown system and
engine shutdown has begun. SeeEngine Alarm and
Automatic ShutdownunderStarting the Diesel Engine
on page 2-14. United States
Canada
3-35
Page 150 of 374
Wait to Start Indicator
(Diesel Engine)
If your vehicle has the DURAMAX®6600, you will have
glow plugs. If your vehicle has the DURAMAX®7800,
you will have glow plugs and an inlet heater. If your
vehicle has a Caterpillar
®engine, you will have an
inlet heater.
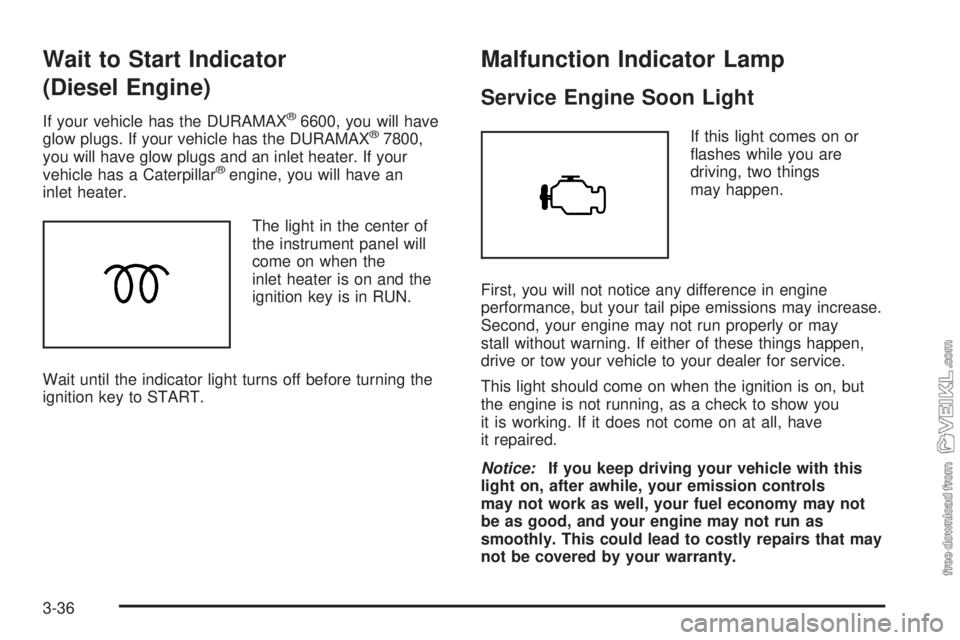
The light in the center of
the instrument panel will
come on when the
inlet heater is on and the
ignition key is in RUN.
Wait until the indicator light turns off before turning the
ignition key to START.
Malfunction Indicator Lamp
Service Engine Soon Light
If this light comes on or
flashes while you are
driving, two things
may happen.
First, you will not notice any difference in engine
performance, but your tail pipe emissions may increase.
Second, your engine may not run properly or may
stall without warning. If either of these things happen,
drive or tow your vehicle to your dealer for service.
This light should come on when the ignition is on, but
the engine is not running, as a check to show you
it is working. If it does not come on at all, have
it repaired.
Notice:If you keep driving your vehicle with this
light on, after awhile, your emission controls
may not work as well, your fuel economy may not
be as good, and your engine may not run as
smoothly. This could lead to costly repairs that may
not be covered by your warranty.
3-36
Page 151 of 374
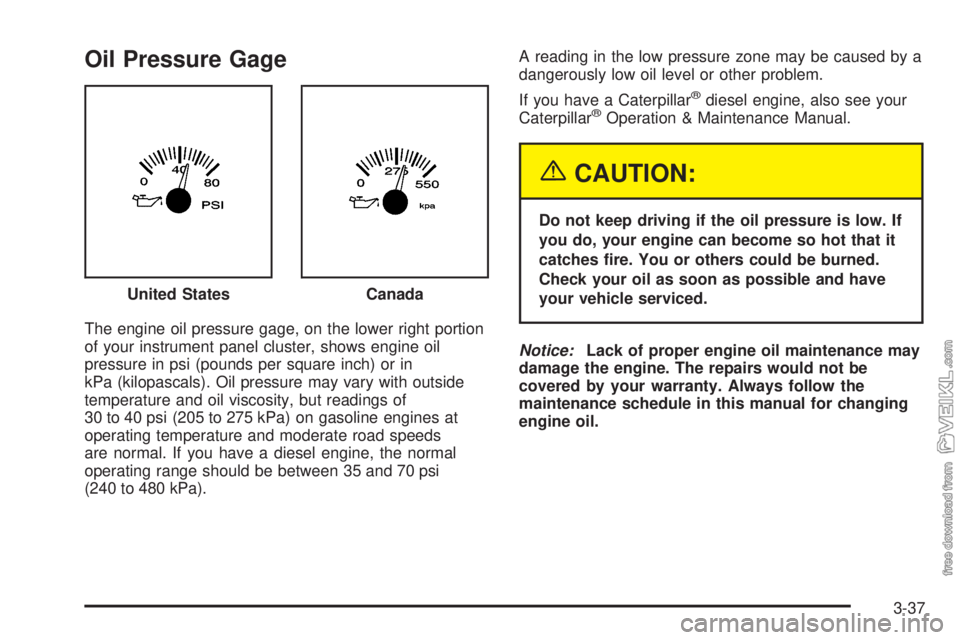
Oil Pressure Gage
The engine oil pressure gage, on the lower right portion
of your instrument panel cluster, shows engine oil
pressure in psi (pounds per square inch) or in
kPa (kilopascals). Oil pressure may vary with outside
temperature and oil viscosity, but readings of
30 to 40 psi (205 to 275 kPa) on gasoline engines at
operating temperature and moderate road speeds
are normal. If you have a diesel engine, the normal
operating range should be between 35 and 70 psi
(240 to 480 kPa).A reading in the low pressure zone may be caused by a
dangerously low oil level or other problem.
If you have a Caterpillar
®diesel engine, also see your
Caterpillar®Operation & Maintenance Manual.
{CAUTION:
Do not keep driving if the oil pressure is low. If
you do, your engine can become so hot that it
catches re. You or others could be burned.
Check your oil as soon as possible and have
your vehicle serviced.
Notice:Lack of proper engine oil maintenance may
damage the engine. The repairs would not be
covered by your warranty. Always follow the
maintenance schedule in this manual for changing
engine oil. United States
Canada
3-37
Page 158 of 374
Air Pressure Gage
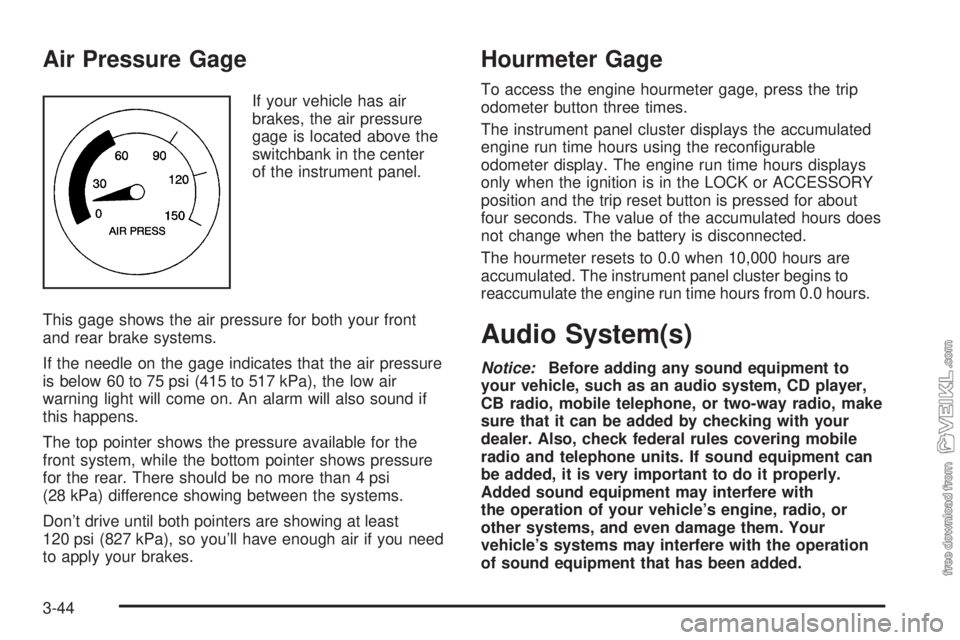
If your vehicle has air
brakes, the air pressure
gage is located above the
switchbank in the center
of the instrument panel.
This gage shows the air pressure for both your front
and rear brake systems.
If the needle on the gage indicates that the air pressure
is below 60 to 75 psi (415 to 517 kPa), the low air
warning light will come on. An alarm will also sound if
this happens.
The top pointer shows the pressure available for the
front system, while the bottom pointer shows pressure
for the rear. There should be no more than 4 psi
(28 kPa) difference showing between the systems.
Don’t drive until both pointers are showing at least
120 psi (827 kPa), so you’ll have enough air if you need
to apply your brakes.
Hourmeter Gage
To access the engine hourmeter gage, press the trip
odometer button three times.
The instrument panel cluster displays the accumulated
engine run time hours using the reconfigurable
odometer display. The engine run time hours displays
only when the ignition is in the LOCK or ACCESSORY
position and the trip reset button is pressed for about
four seconds. The value of the accumulated hours does
not change when the battery is disconnected.
The hourmeter resets to 0.0 when 10,000 hours are
accumulated. The instrument panel cluster begins to
reaccumulate the engine run time hours from 0.0 hours.
Audio System(s)
Notice:Before adding any sound equipment to
your vehicle, such as an audio system, CD player,
CB radio, mobile telephone, or two-way radio, make
sure that it can be added by checking with your
dealer. Also, check federal rules covering mobile
radio and telephone units. If sound equipment can
be added, it is very important to do it properly.
Added sound equipment may interfere with
the operation of your vehicle’s engine, radio, or
other systems, and even damage them. Your
vehicle’s systems may interfere with the operation
of sound equipment that has been added.
3-44
Page 159 of 374
Notice:The chime signals related to seat belts,
parking brake, and other functions of your vehicle
operate through the GM radio/entertainment system.
If that equipment is replaced or additional
equipment is added to your vehicle, the chimes may
not work. Make sure that replacement or additional
equipment is compatible with your vehicle before
installing it.
Figure out which audio system is in your vehicle, find
out what your audio system can do, and how to operate
all of its controls.
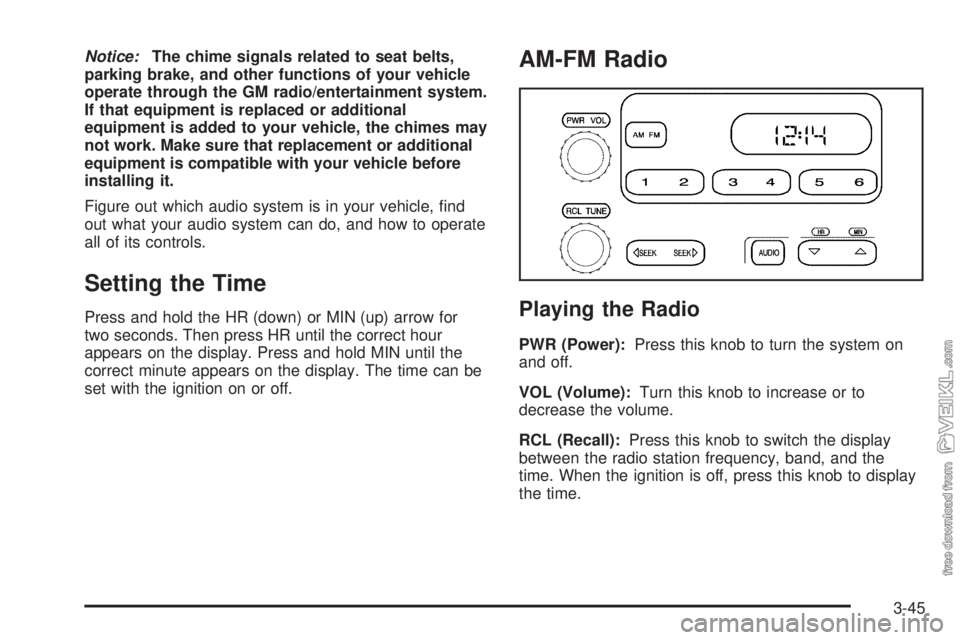
Setting the Time
Press and hold the HR (down) or MIN (up) arrow for
two seconds. Then press HR until the correct hour
appears on the display. Press and hold MIN until the
correct minute appears on the display. The time can be
set with the ignition on or off.
AM-FM Radio
Playing the Radio
PWR (Power):Press this knob to turn the system on
and off.
VOL (Volume):Turn this knob to increase or to
decrease the volume.
RCL (Recall):Press this knob to switch the display
between the radio station frequency, band, and the
time. When the ignition is off, press this knob to display
the time.
3-45