light CHEVROLET KODIAK 2009 Service Manual
[x] Cancel search | Manufacturer: CHEVROLET, Model Year: 2009, Model line: KODIAK, Model: CHEVROLET KODIAK 2009Pages: 376, PDF Size: 5.39 MB
Page 132 of 376
Exterior Lamps
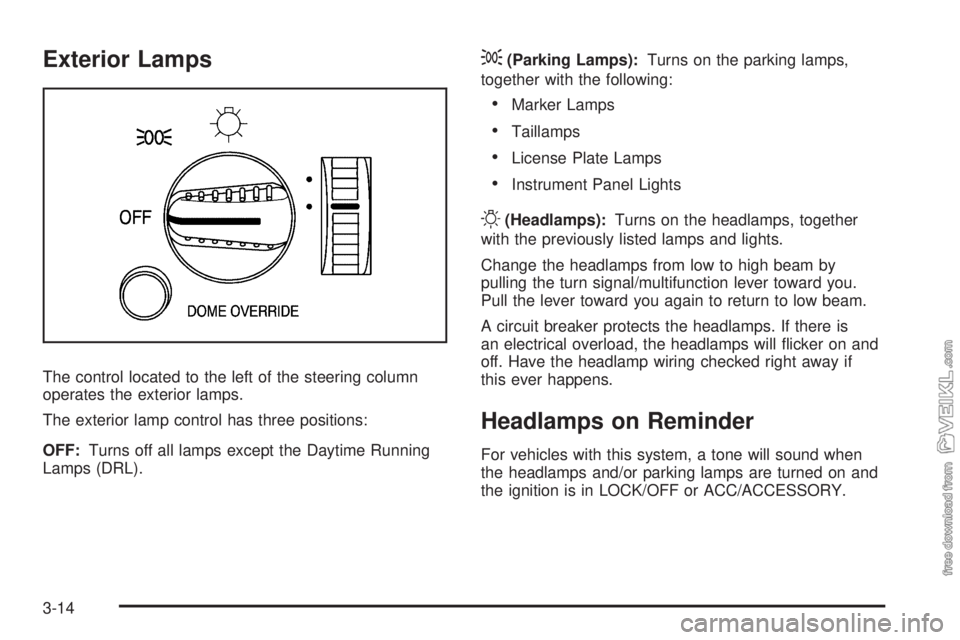
The control located to the left of the steering column
operates the exterior lamps.
The exterior lamp control has three positions:
OFF:Turns off all lamps except the Daytime Running
Lamps (DRL).
;(Parking Lamps):Turns on the parking lamps,
together with the following:
•Marker Lamps
•Taillamps
•License Plate Lamps
•Instrument Panel Lights
O(Headlamps):Turns on the headlamps, together
with the previously listed lamps and lights.
Change the headlamps from low to high beam by
pulling the turn signal/multifunction lever toward you.
Pull the lever toward you again to return to low beam.
A circuit breaker protects the headlamps. If there is
an electrical overload, the headlamps will flicker on and
off. Have the headlamp wiring checked right away if
this ever happens.
Headlamps on Reminder
For vehicles with this system, a tone will sound when
the headlamps and/or parking lamps are turned on and
the ignition is in LOCK/OFF or ACC/ACCESSORY.
3-14
Page 133 of 376
Daytime Running Lamps (DRL)
Daytime Running Lamps (DRL) can make it easier for
others to see the front of your vehicle during the
day. Fully functional daytime running lamps are required
on all vehicles first sold in Canada.
The DRL system will make the headlamps come on
at reduced brightness when the following conditions
are met:
•The ignition is on,
•the exterior lamp control is off, and
•the parking brake is released.
When the DRL are on, only the headlamps will be on.
The taillamps, sidemarker, instrument panel lights,
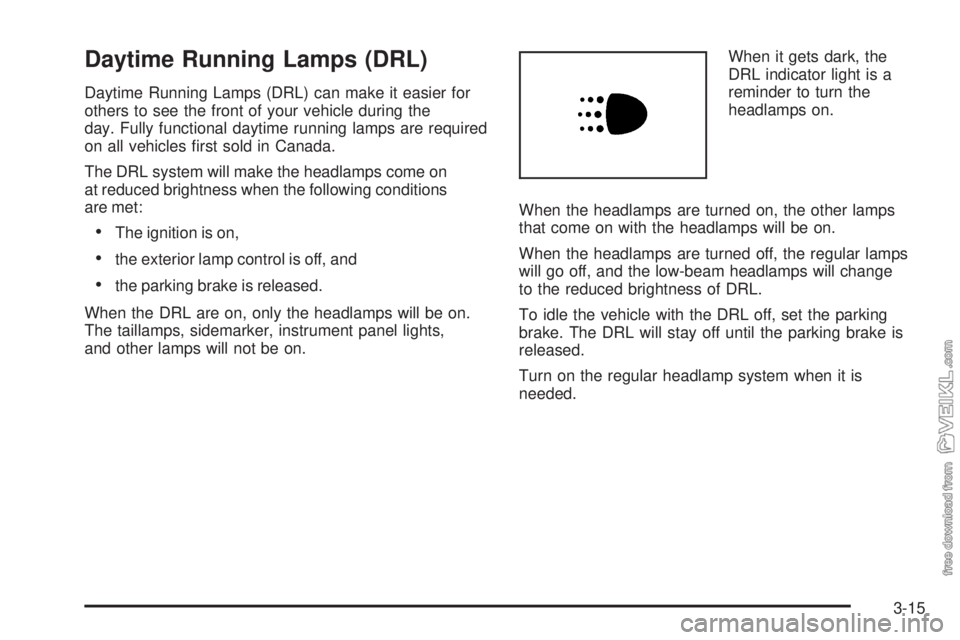
and other lamps will not be on.When it gets dark, the
DRL indicator light is a
reminder to turn the
headlamps on.
When the headlamps are turned on, the other lamps
that come on with the headlamps will be on.
When the headlamps are turned off, the regular lamps
will go off, and the low-beam headlamps will change
to the reduced brightness of DRL.
To idle the vehicle with the DRL off, set the parking
brake. The DRL will stay off until the parking brake is
released.
Turn on the regular headlamp system when it is
needed.
3-15
Page 134 of 376
Marker Lamps
For vehicles with this feature, the marker and clearance
lamps can be manually blinked.
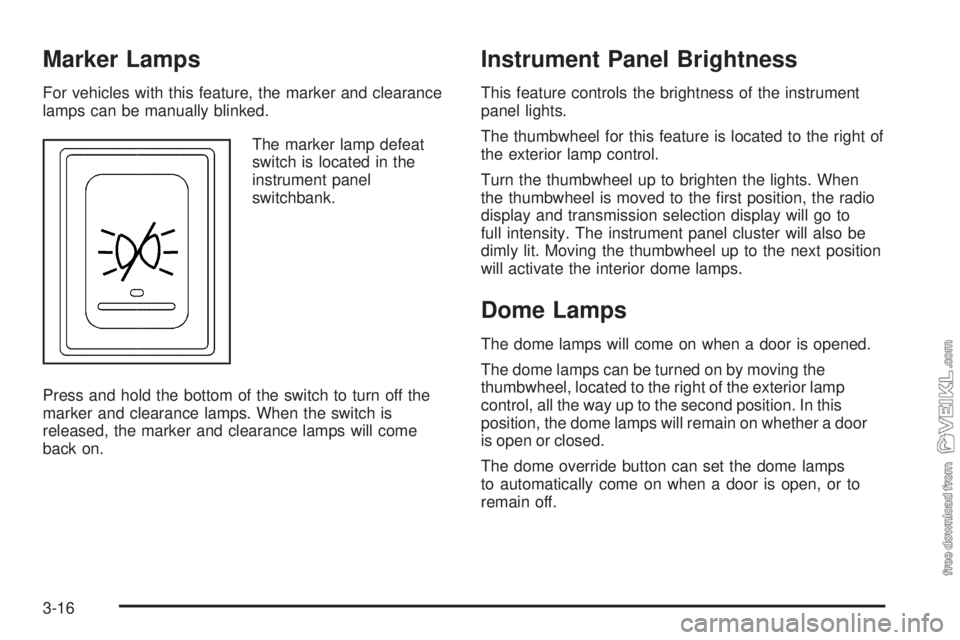
The marker lamp defeat
switch is located in the
instrument panel
switchbank.
Press and hold the bottom of the switch to turn off the
marker and clearance lamps. When the switch is
released, the marker and clearance lamps will come
back on.
Instrument Panel Brightness
This feature controls the brightness of the instrument
panel lights.
The thumbwheel for this feature is located to the right of
the exterior lamp control.
Turn the thumbwheel up to brighten the lights. When
the thumbwheel is moved to the first position, the radio
display and transmission selection display will go to
full intensity. The instrument panel cluster will also be
dimly lit. Moving the thumbwheel up to the next position
will activate the interior dome lamps.
Dome Lamps
The dome lamps will come on when a door is opened.
The dome lamps can be turned on by moving the
thumbwheel, located to the right of the exterior lamp
control, all the way up to the second position. In this
position, the dome lamps will remain on whether a door
is open or closed.
The dome override button can set the dome lamps
to automatically come on when a door is open, or to
remain off.
3-16
Page 135 of 376
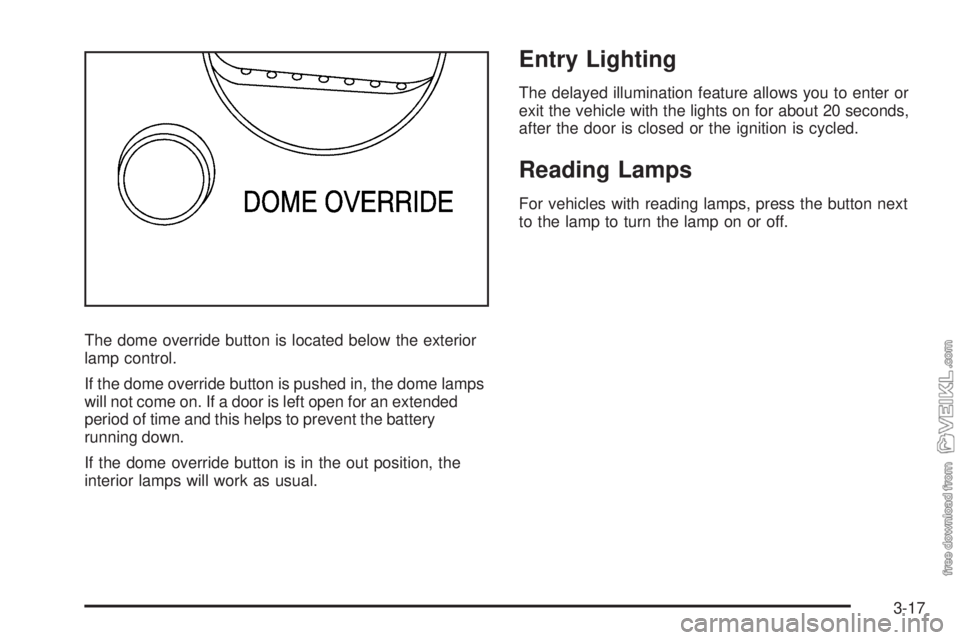
The dome override button is located below the exterior
lamp control.
If the dome override button is pushed in, the dome lamps
will not come on. If a door is left open for an extended
period of time and this helps to prevent the battery
running down.
If the dome override button is in the out position, the
interior lamps will work as usual.
Entry Lighting
The delayed illumination feature allows you to enter or
exit the vehicle with the lights on for about 20 seconds,
after the door is closed or the ignition is cycled.
Reading Lamps
For vehicles with reading lamps, press the button next
to the lamp to turn the lamp on or off.
3-17
Page 137 of 376
Accessory Power Outlet(s)
Accessory power outlets let you plug in auxiliary
electrical equipment, such as a cellular telephone.
The accessory power outlet is located on the
passenger’s side of the instrument panel.
To use an outlet, pull the cover down. When not using
it, always cover the outlet with the protective cap.
This circuit is protected by a fuse and has a maximum
current level.
Notice:Leaving electrical equipment on for
extended periods will drain the battery. Always turn
off electrical equipment when not in use and do not
plug in equipment that exceeds the maximum
amperage rating.
Certain electrical accessories may not be compatible
with the accessory power outlet and could result
in blown vehicle or adapter fuses. If you experience a
problem, see your dealer/retailer for additional
information on accessory power outlets.
Notice:Adding any electrical equipment to the
vehicle can damage it or keep other components
from working as they should. The repairs would not
be covered by the vehicle warranty. Do not use
equipment exceeding maximum amperage rating of
20 amperes. Check with your dealer/retailer before
adding electrical equipment.When adding electrical equipment, be sure to follow the
proper installation instructions included with the
equipment.
Notice:Improper use of the power outlet can cause
damage not covered by the warranty. Do not hang
any type of accessory or accessory bracket from the
plug because the power outlets are designed for
accessory power plugs only.
Ashtray(s) and Cigarette Lighter
For vehicles with an ashtray and a cigarette lighter, they
are located in the center floor console. To open the
removable ashtray, flip open the top.
Notice:If papers, pins, or other flammable items
are put in the ashtray, hot cigarettes or other
smoking materials could ignite them and possibly
damage the vehicle. Never put flammable items
in the ashtray.
To use the cigarette lighter, push it in all the way and let
it go. When it’s ready, it will pop back out by itself.
Notice:Holding a cigarette lighter in while it
is heating does not let the lighter back away from
the heating element when it is hot. Damage from
overheating can occur to the lighter or heating
element, or a fuse could be blown. Do not hold a
cigarette lighter in while it is heating.
3-19
Page 140 of 376

Rear Window Defogger
For vehicles with a rear window defogger, a warming
grid is used to remove fog or frost from the rear window.
The rear window defogger only works when the
ignition is in ON/RUN.
<(Rear):Press to turn the rear window defogger on
or off. An indicator light comes on to show that the
rear window defogger is on. Be sure to clear as much
snow from the rear window as possible.
The rear window defogger turns off several minutes
after the button is pressed. The defogger can also be
turned off by turning off the engine.
Notice:Do not use anything sharp on the inside of
the rear window. If you do, you could cut or damage
the warming grid, and the repairs would not be
covered by the vehicle warranty. Do not attach a
temporary vehicle license, tape, a decal or anything
similar to the defogger grid.
Outlet Adjustment
The vehicle has air outlets on the instrument panel that
adjust the direction and amount of airflow inside the
vehicle.
Move the lever on the outlet up or down to direct the
airflow. Increase or reduce the amount of airflow by
opening and closing the louvers. The outlets can be
moved side-to-side to direct the airflow.
Operation Tips
•
Keep the hood and front air inlets free of ice, snow,
or any other obstruction (such as leaves). The
heater and defroster will work far better, reducing
the chance of fogging the inside of the windows.
•Keep the air path under the front seats clear of
objects. This helps air to circulate throughout
the vehicle.
•Adding outside equipment to the front of the
vehicle, such as hood-air deflectors, may affect the
performance of the heating and air conditioning
system. Check with your dealer/retailer before
adding equipment to the outside of the vehicle.
3-22
Page 141 of 376

Rear Heating System
If the vehicle has a crew
cab and has a rear heater,
the thumbwheel for this
feature is located on
the headliner.
To increase and decrease the flow of heated air to the
rear floor vents, turn the thumbwheel to the desired
fan speed. To turn the fan off, turn the thumbwheel all
the way down.
Warning Lights, Gages, and
Indicators
Warning lights and gages can signal that something is
wrong before it becomes serious enough to cause
an expensive repair or replacement. Paying attention to
the warning lights and gages could prevent injury.
Warning lights come on when there may be or is a
problem with one of the vehicle’s functions. Some
warning lights come on briefly when the engine is started
to indicate they are working.
Gages can indicate when there may be or is a problem
with one of the vehicle’s functions. Often gages and
warning lights work together to indicate a problem with
the vehicle.
When one of the warning lights comes on and stays on
while driving, or when one of the gages shows there
may be a problem, check the section that explains what
to do. Follow this manual’s advice. Waiting to do
repairs can be costly and even dangerous.
3-23
Page 144 of 376
Engine Road Speed Governor
This system controls maximum vehicle speed
automatically and reduces engine power until vehicle
speed gets down to maximum governed speed.
The default setting for C4500 and C5500 models up to
19,500 lbs GVWR is 80 to 85 mph (128 to 136 km/h).
Most other models have a default setting of 75 mph
(120 km/h), although some tire sizes and tread
patterns may limit maximum speed to 55 to 65 mph
(86 to 105 km/h). You may have a label on the headliner
of your vehicle with more information on your engine
road speed governor. See your GM dealer for assistance
with programming your engine limited speed.
Safety Belt Reminders
Safety Belt Reminder Light
When the engine is started, a light will come on for
several seconds to remind people to fasten their safety
belts.
The safety belt light will
also come on and stay on
for several seconds.
Safety Belt Reminder Tone
If your vehicle has this feature, when the engine is
started, a tone will sound for several seconds to remind
people to fasten their safety belts.
3-26
Page 145 of 376
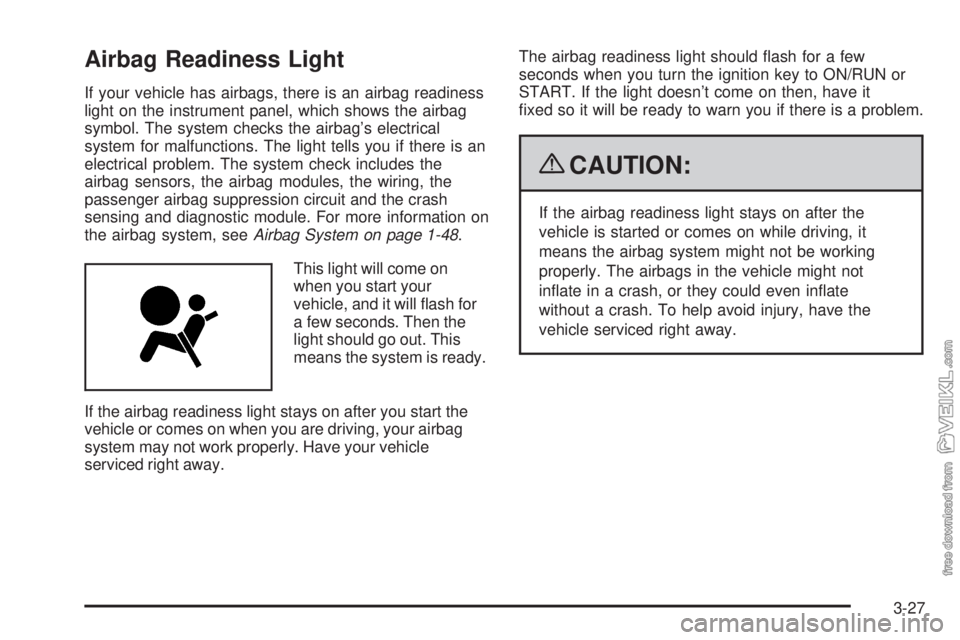
Airbag Readiness Light
If your vehicle has airbags, there is an airbag readiness
light on the instrument panel, which shows the airbag
symbol. The system checks the airbag’s electrical
system for malfunctions. The light tells you if there is an
electrical problem. The system check includes the
airbag sensors, the airbag modules, the wiring, the
passenger airbag suppression circuit and the crash
sensing and diagnostic module. For more information on
the airbag system, seeAirbag System on page 1-48.
This light will come on
when you start your
vehicle, and it will flash for
a few seconds. Then the
light should go out. This
means the system is ready.
If the airbag readiness light stays on after you start the
vehicle or comes on when you are driving, your airbag
system may not work properly. Have your vehicle
serviced right away.The airbag readiness light should flash for a few
seconds when you turn the ignition key to ON/RUN or
START. If the light doesn’t come on then, have it
fixed so it will be ready to warn you if there is a problem.
{CAUTION:
If the airbag readiness light stays on after the
vehicle is started or comes on while driving, it
means the airbag system might not be working
properly. The airbags in the vehicle might not
inflate in a crash, or they could even inflate
without a crash. To help avoid injury, have the
vehicle serviced right away.
3-27
Page 146 of 376
Airbag Off Light
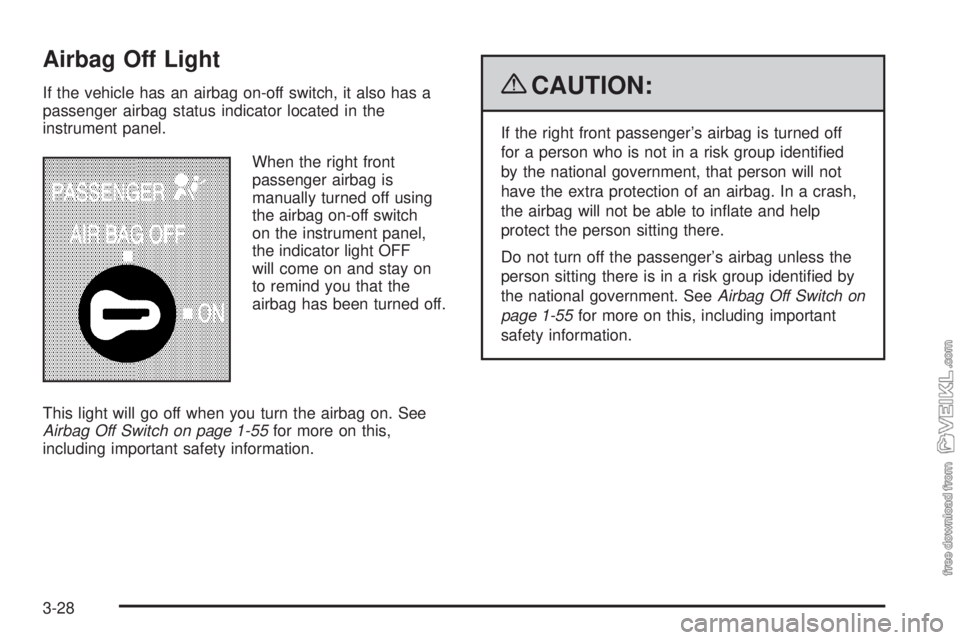
If the vehicle has an airbag on-off switch, it also has a
passenger airbag status indicator located in the
instrument panel.
When the right front
passenger airbag is
manually turned off using
the airbag on-off switch
on the instrument panel,
the indicator light OFF
will come on and stay on
to remind you that the
airbag has been turned off.
This light will go off when you turn the airbag on. See
Airbag Off Switch on page 1-55for more on this,
including important safety information.{CAUTION:
If the right front passenger’s airbag is turned off
for a person who is not in a risk group identified
by the national government, that person will not
have the extra protection of an airbag. In a crash,
the airbag will not be able to inflate and help
protect the person sitting there.
Do not turn off the passenger’s airbag unless the
person sitting there is in a risk group identified by
the national government. SeeAirbag Off Switch on
page 1-55for more on this, including important
safety information.
3-28