light CHEVROLET KODIAK 2009 Repair Manual
[x] Cancel search | Manufacturer: CHEVROLET, Model Year: 2009, Model line: KODIAK, Model: CHEVROLET KODIAK 2009Pages: 376, PDF Size: 5.39 MB
Page 158 of 376
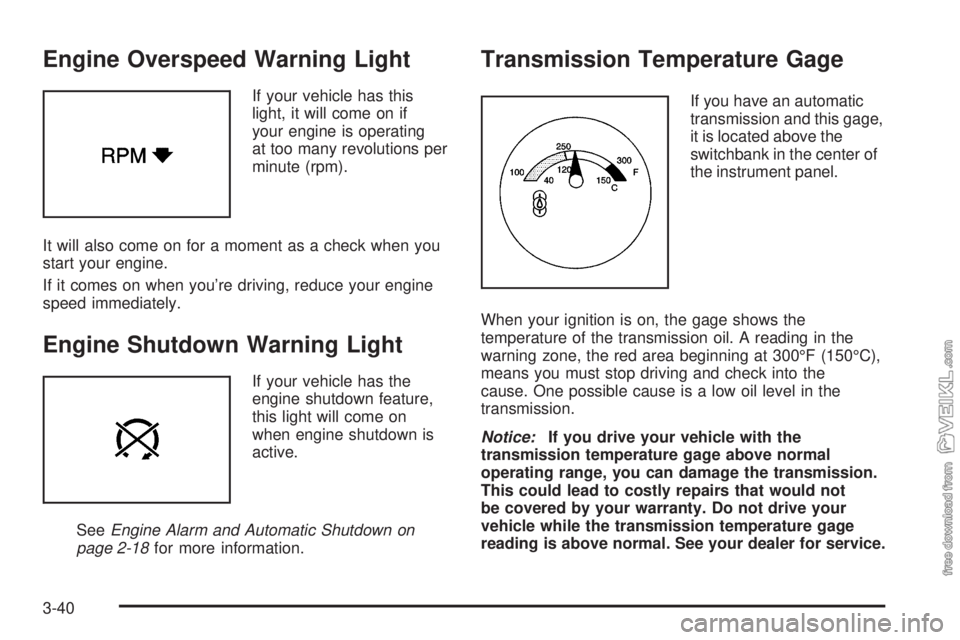
Engine Overspeed Warning Light
If your vehicle has this
light, it will come on if
your engine is operating
at too many revolutions per
minute (rpm).
It will also come on for a moment as a check when you
start your engine.
If it comes on when you’re driving, reduce your engine
speed immediately.
Engine Shutdown Warning Light
If your vehicle has the
engine shutdown feature,
this light will come on
when engine shutdown is
active.
SeeEngine Alarm and Automatic Shutdown on
page 2-18for more information.
Transmission Temperature Gage
If you have an automatic
transmission and this gage,
it is located above the
switchbank in the center of
the instrument panel.
When your ignition is on, the gage shows the
temperature of the transmission oil. A reading in the
warning zone, the red area beginning at 300°F (150°C),
means you must stop driving and check into the
cause. One possible cause is a low oil level in the
transmission.
Notice:If you drive your vehicle with the
transmission temperature gage above normal
operating range, you can damage the transmission.
This could lead to costly repairs that would not
be covered by your warranty. Do not drive your
vehicle while the transmission temperature gage
reading is above normal. See your dealer for service.
3-40
Page 159 of 376
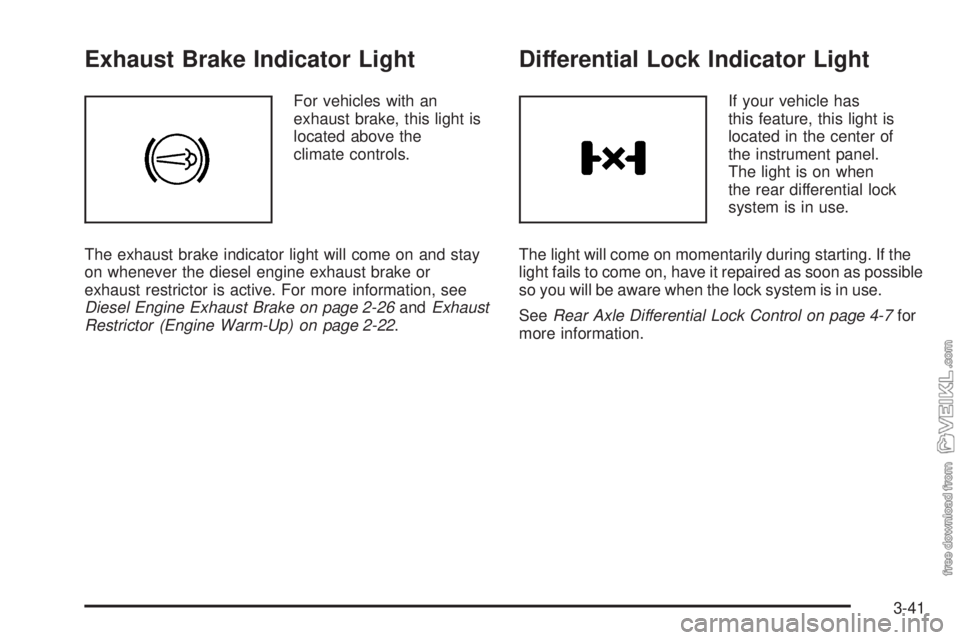
Exhaust Brake Indicator Light
For vehicles with an
exhaust brake, this light is
located above the
climate controls.
The exhaust brake indicator light will come on and stay
on whenever the diesel engine exhaust brake or
exhaust restrictor is active. For more information, see
Diesel Engine Exhaust Brake on page 2-26andExhaust
Restrictor (Engine Warm-Up) on page 2-22.
Differential Lock Indicator Light
If your vehicle has
this feature, this light is
located in the center of
the instrument panel.
The light is on when
the rear differential lock
system is in use.
The light will come on momentarily during starting. If the
light fails to come on, have it repaired as soon as possible
so you will be aware when the lock system is in use.
SeeRear Axle Differential Lock Control on page 4-7for
more information.
3-41
Page 160 of 376
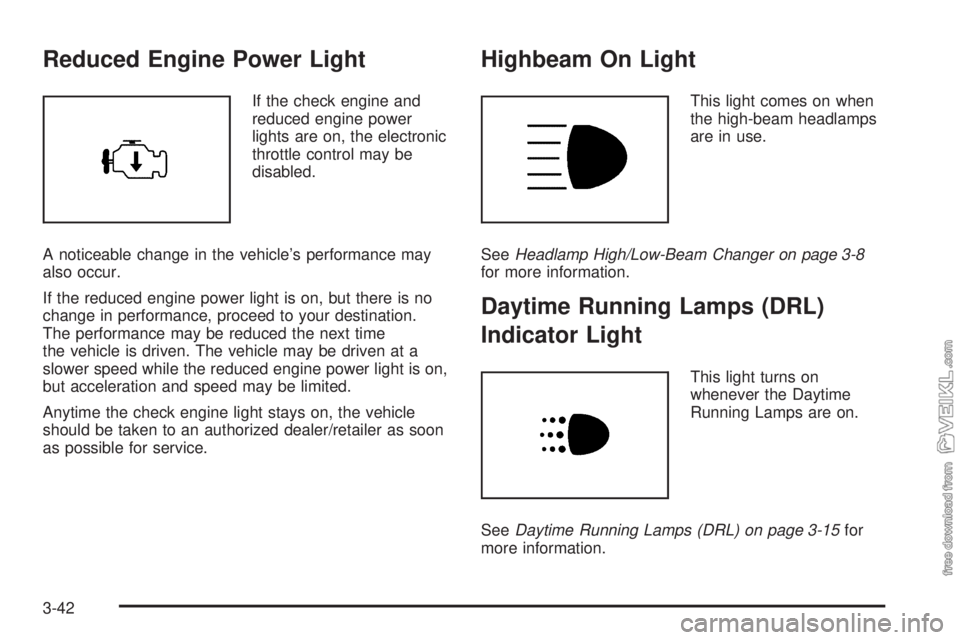
Reduced Engine Power Light
If the check engine and
reduced engine power
lights are on, the electronic
throttle control may be
disabled.
A noticeable change in the vehicle’s performance may
also occur.
If the reduced engine power light is on, but there is no
change in performance, proceed to your destination.
The performance may be reduced the next time
the vehicle is driven. The vehicle may be driven at a
slower speed while the reduced engine power light is on,
but acceleration and speed may be limited.
Anytime the check engine light stays on, the vehicle
should be taken to an authorized dealer/retailer as soon
as possible for service.
Highbeam On Light
This light comes on when
the high-beam headlamps
are in use.
SeeHeadlamp High/Low-Beam Changer on page 3-8
for more information.
Daytime Running Lamps (DRL)
Indicator Light
This light turns on
whenever the Daytime
Running Lamps are on.
SeeDaytime Running Lamps (DRL) on page 3-15for
more information.
3-42
Page 161 of 376
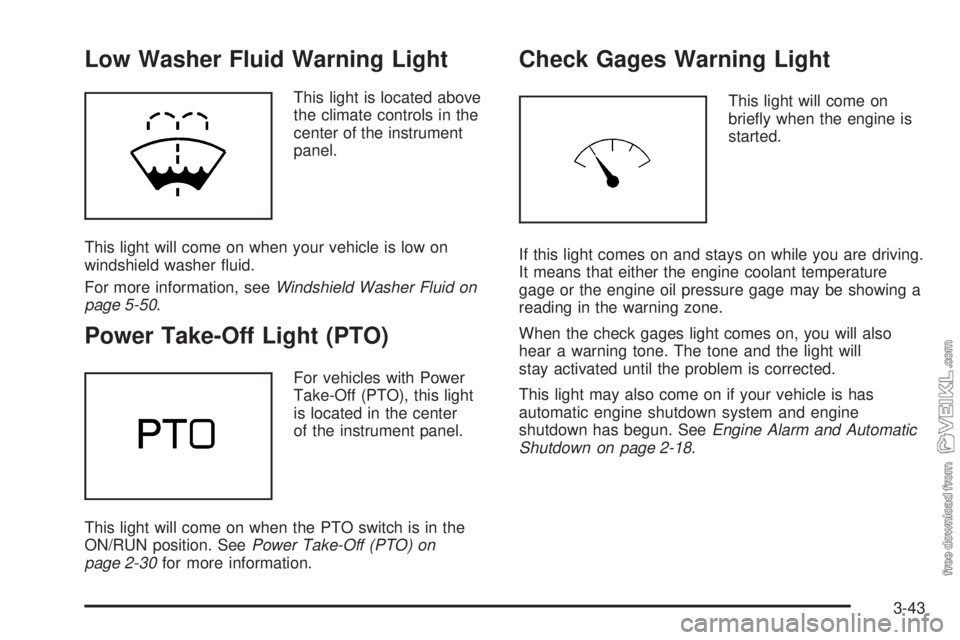
Low Washer Fluid Warning Light
This light is located above
the climate controls in the
center of the instrument
panel.
This light will come on when your vehicle is low on
windshield washer fluid.
For more information, seeWindshield Washer Fluid on
page 5-50.
Power Take-Off Light (PTO)
For vehicles with Power
Take-Off (PTO), this light
is located in the center
of the instrument panel.
This light will come on when the PTO switch is in the
ON/RUN position. SeePower Take-Off (PTO) on
page 2-30for more information.
Check Gages Warning Light
This light will come on
briefly when the engine is
started.
If this light comes on and stays on while you are driving.
It means that either the engine coolant temperature
gage or the engine oil pressure gage may be showing a
reading in the warning zone.
When the check gages light comes on, you will also
hear a warning tone. The tone and the light will
stay activated until the problem is corrected.
This light may also come on if your vehicle is has
automatic engine shutdown system and engine
shutdown has begun. SeeEngine Alarm and Automatic
Shutdown on page 2-18.
3-43
Page 163 of 376
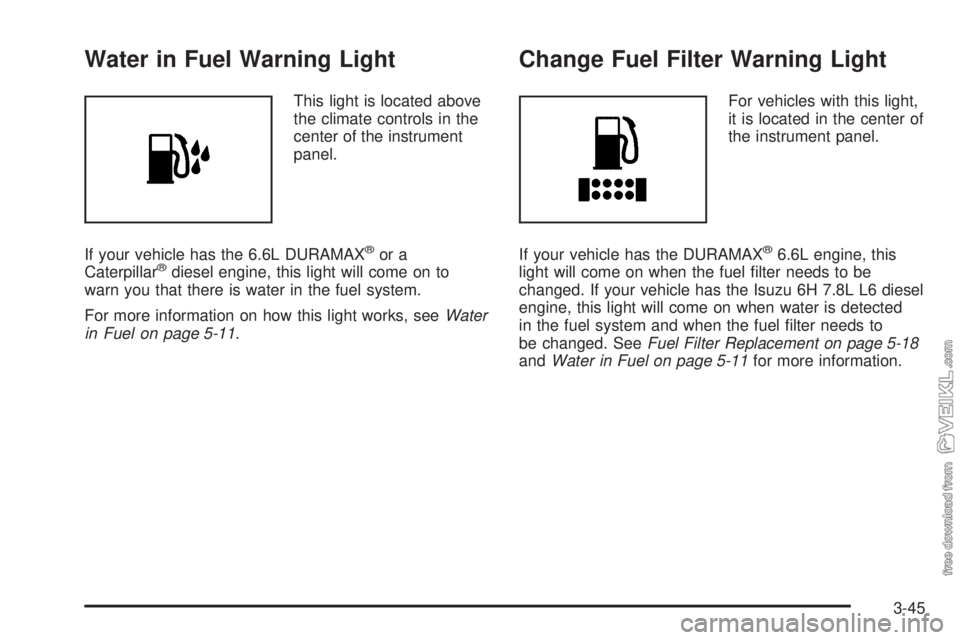
Water in Fuel Warning Light
This light is located above
the climate controls in the
center of the instrument
panel.
If your vehicle has the 6.6L DURAMAX
®or a
Caterpillar®diesel engine, this light will come on to
warn you that there is water in the fuel system.
For more information on how this light works, seeWater
in Fuel on page 5-11.
Change Fuel Filter Warning Light
For vehicles with this light,
it is located in the center of
the instrument panel.
If your vehicle has the DURAMAX
®6.6L engine, this
light will come on when the fuel filter needs to be
changed. If your vehicle has the Isuzu 6H 7.8L L6 diesel
engine, this light will come on when water is detected
in the fuel system and when the fuel filter needs to
be changed. SeeFuel Filter Replacement on page 5-18
andWater in Fuel on page 5-11for more information.
3-45
Page 164 of 376
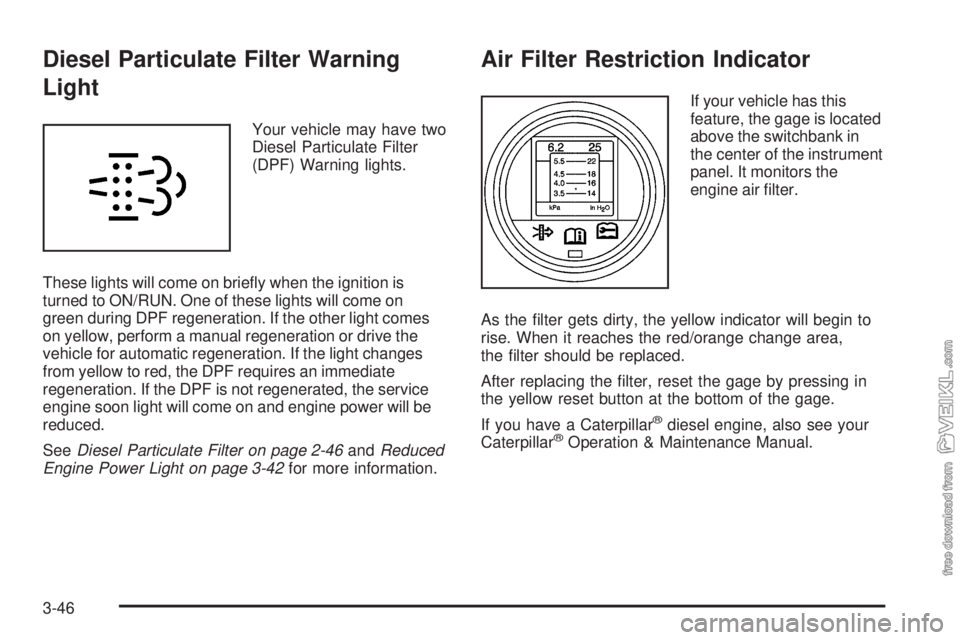
Diesel Particulate Filter Warning
Light
Your vehicle may have two
Diesel Particulate Filter
(DPF) Warning lights.
These lights will come on briefly when the ignition is
turned to ON/RUN. One of these lights will come on
green during DPF regeneration. If the other light comes
on yellow, perform a manual regeneration or drive the
vehicle for automatic regeneration. If the light changes
from yellow to red, the DPF requires an immediate
regeneration. If the DPF is not regenerated, the service
engine soon light will come on and engine power will be
reduced.
SeeDiesel Particulate Filter on page 2-46andReduced
Engine Power Light on page 3-42for more information.
Air Filter Restriction Indicator
If your vehicle has this
feature, the gage is located
above the switchbank in
the center of the instrument
panel. It monitors the
engine air filter.
As the filter gets dirty, the yellow indicator will begin to
rise. When it reaches the red/orange change area,
the filter should be replaced.
After replacing the filter, reset the gage by pressing in
the yellow reset button at the bottom of the gage.
If you have a Caterpillar
®diesel engine, also see your
Caterpillar®Operation & Maintenance Manual.
3-46
Page 165 of 376
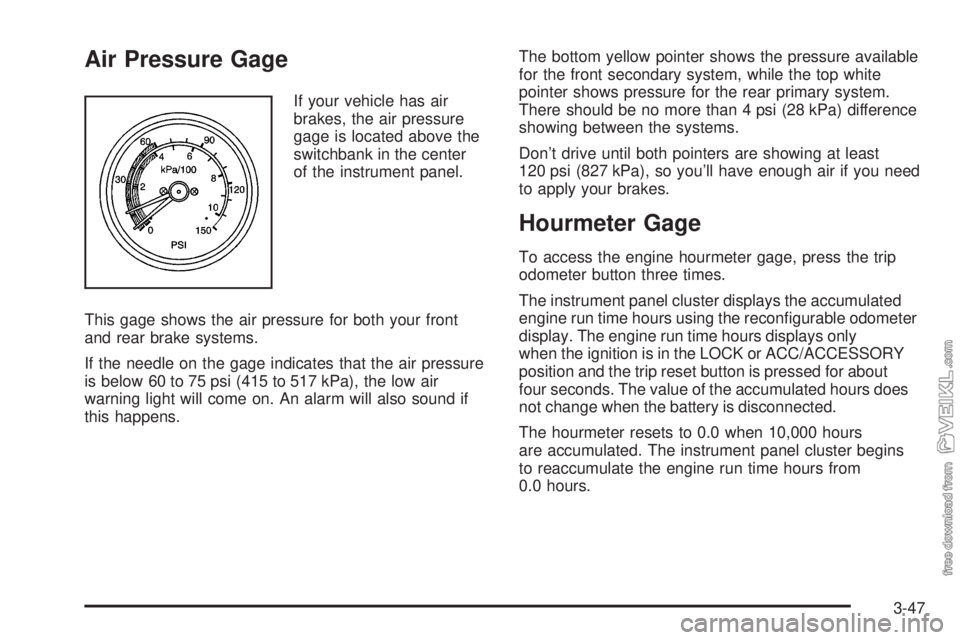
Air Pressure Gage
If your vehicle has air
brakes, the air pressure
gage is located above the
switchbank in the center
of the instrument panel.
This gage shows the air pressure for both your front
and rear brake systems.
If the needle on the gage indicates that the air pressure
is below 60 to 75 psi (415 to 517 kPa), the low air
warning light will come on. An alarm will also sound if
this happens.The bottom yellow pointer shows the pressure available
for the front secondary system, while the top white
pointer shows pressure for the rear primary system.
There should be no more than 4 psi (28 kPa) difference
showing between the systems.
Don’t drive until both pointers are showing at least
120 psi (827 kPa), so you’ll have enough air if you need
to apply your brakes.
Hourmeter Gage
To access the engine hourmeter gage, press the trip
odometer button three times.
The instrument panel cluster displays the accumulated
engine run time hours using the reconfigurable odometer
display. The engine run time hours displays only
when the ignition is in the LOCK or ACC/ACCESSORY
position and the trip reset button is pressed for about
four seconds. The value of the accumulated hours does
not change when the battery is disconnected.
The hourmeter resets to 0.0 when 10,000 hours
are accumulated. The instrument panel cluster begins
to reaccumulate the engine run time hours from
0.0 hours.
3-47
Page 170 of 376
Care of Your CDs
If playing a CD-R, the sound quality can be reduced
due to CD-R quality, the method of recording, the quality
of the music that has been recorded, and the way the
CD-R has been handled. Handle them carefully.
Store CD-R(s) in their original cases or other protective
cases and away from direct sunlight and dust. The
CD player scans the bottom surface of the disc. If the
surface of a CD is damaged, such as cracked, broken,
or scratched, the CD does not play properly or not
at all. Do not touch the bottom side of a CD while
handling it; this could damage the surface. Pick up CDs
by grasping the outer edges or the edge of the hole
and the outer edge.
If the surface of a CD is soiled, take a soft, lint free cloth
or dampen a clean, soft cloth in a mild, neutral detergent
solution mixed with water, and clean it. Make sure the
wiping process starts from the center to the edge.
Care of Your CD Player
Do not add any label to a CD, it could get caught in the
CD player. If a CD is recorded on a personal computer
and a description label is needed, try labeling the top of
the recorded CD with a marking pen.
The use of CD lens cleaners for CDs is not advised,
due to the risk of contaminating the lens of the CD optics
with lubricants internal to the CD player mechanism.
Notice:If a label is added to a CD, or more than one
CD is inserted into the slot at a time, or an attempt
is made to play scratched or damaged CDs, the
CD player could be damaged. While using the CD
player, use only CDs in good condition without any
label, load one CD at a time, and keep the CD
player and the loading slot free of foreign materials,
liquids, and debris.
If an error displays, see “CD Messages” later in this
section.
3-52
Page 174 of 376
Care of the Cassette Tape Player
A tape player that is not cleaned regularly can cause
reduced sound quality, ruined cassettes, or a damaged
mechanism. Cassette tapes should be stored in their
cases away from contaminants, direct sunlight and
extreme heat. If they are not properly stored, they may
not operate properly or may cause failure of the
tape player.
The tape player should be cleaned regularly after
every 50 hours of use. The radio may display CLN to
indicate that the tape player has been used for 50 hours
without resetting the tape clean timer. If this message
appears on the display, the cassette tape player
needs to be cleaned. It will still play tapes, but it should
be cleaned as soon as possible to prevent damage
to the tapes and player. If there is a reduction in sound
quality, try a known good cassette to see if the tape
or the tape player is at fault. If this other cassette has no
improvement in sound quality, clean the tape player.
For best results, use a scrubbing action, non-abrasive
cleaning cassette with pads which scrub the tape
head as the hubs of the cleaner cassette turn. The
recommended cleaning cassette is available through
your dealer/retailer.The cut tape detection feature of the cassette tape player
may identify the cleaning cassette as a damaged tape.
To prevent the cleaning cassette from being ejected,
use the following steps:
1. Turn the ignition on.
2. Turn the radio off.
3. Press and hold the TAPE button for two seconds
until the radio produces one beep. CAS will flash
on the display for five seconds.
4. Insert the scrubbing action cleaning cassette.
5. Eject the cleaning cassette after the manufacturer’s
recommended cleaning time.
After the cleaning cassette is ejected, the cut tape
detection feature will be active again.
A non-scrubbing action, wet-type cleaner which uses a
cassette with a fabric belt to clean the tape head can be
used. This type of cleaning cassette will not eject on its
own. A non-scrubbing action cleaner may not clean as
thoroughly as the scrubbing type cleaner. The use of a
non-scrubbing action, dry-type cleaning cassette is not
recommended.
After the player is cleaned, press and hold the eject
button for three seconds to reset the CLN indicator. The
radio will display --- to show the indicator was reset.
Cassettes are subject to wear and the sound quality may
degrade over time. Always make sure the cassette
tape is in good condition before the tape player
is serviced.
3-56
Page 176 of 376
Radio Reception
Frequency interference and static can occur during
normal radio reception if items such as cell phone
chargers, vehicle convenience accessories, and external
electronic devices are plugged into the accessory
power outlet. If there is interference or static, unplug the
item from the accessory power outlet.
AM
The range for most AM stations is greater than for FM,
especially at night. The longer range can cause station
frequencies to interfere with each other. For better radio
reception, most AM radio stations boost the power levels
during the day, and then reduce these levels during the
night. Static can also occur when things like storms and
power lines interfere with radio reception. When this
happens, try reducing the treble on your radio.
FM Stereo
FM stereo gives the best sound, but FM signals reach
only about 10 to 40 miles (16 to 65 km). Tall buildings or
hills can interfere with FM signals, causing the sound
to fade in and out.
Fixed Mast Antenna
The fixed mast antenna can withstand most car washes
without being damaged as long as it is securely attached
to the base. If the mast becomes slightly bent, straighten
it out by hand. If the mast is badly bent, replace it.
Occasionally check to make sure the antenna is
tightened to its base. If tightening is required, tighten by
hand until fully seated plus one quarter turn.
Chime Level Adjustment
The radio is used to adjust the vehicle’s chime level.
To change the volume level of the chime, press and hold
pushbutton 6 with the ignition on and the radio power
off. The volume level will change from the normal
level to loud, and HI will appear on the radio display.
To change back to the default or normal setting, press
and hold pushbutton 6 again. The volume level will
change from the loud level to normal, and LO will appear
on the radio display. Each time the chime volume is
changed, three chimes will sound as an example of the
new volume selected. Removing the radio and not
replacing it with a factory radio or chime module will
disable vehicle chimes.
3-58