CHEVROLET VOLT 2011 Owner's Manual
Manufacturer: CHEVROLET, Model Year: 2011, Model line: VOLT, Model: CHEVROLET VOLT 2011Pages: 516, PDF Size: 6.61 MB
Page 241 of 516
Black plate (51,1)Chevrolet Volt Owner Manual - 2011
Infotainment System 7-51
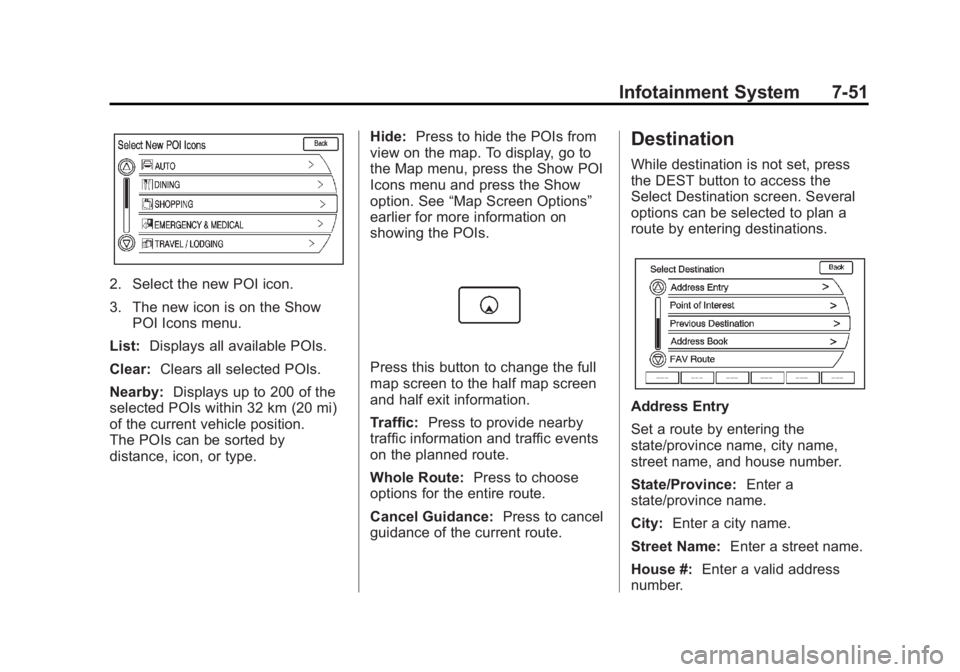
2. Select the new POI icon.
3. The new icon is on the ShowPOI Icons menu.
List: Displays all available POIs.
Clear: Clears all selected POIs.
Nearby: Displays up to 200 of the
selected POIs within 32 km (20 mi)
of the current vehicle position.
The POIs can be sorted by
distance, icon, or type. Hide:
Press to hide the POIs from
view on the map. To display, go to
the Map menu, press the Show POI
Icons menu and press the Show
option. See “Map Screen Options”
earlier for more information on
showing the POIs.
Press this button to change the full
map screen to the half map screen
and half exit information.
Traffic: Press to provide nearby
traffic information and traffic events
on the planned route.
Whole Route: Press to choose
options for the entire route.
Cancel Guidance: Press to cancel
guidance of the current route.
Destination
While destination is not set, press
the DEST button to access the
Select Destination screen. Several
options can be selected to plan a
route by entering destinations.
Address Entry
Set a route by entering the
state/province name, city name,
street name, and house number.
State/Province: Enter a
state/province name.
City: Enter a city name.
Street Name: Enter a street name.
House #: Enter a valid address
number.
Page 242 of 516
Black plate (52,1)Chevrolet Volt Owner Manual - 2011
7-52 Infotainment System
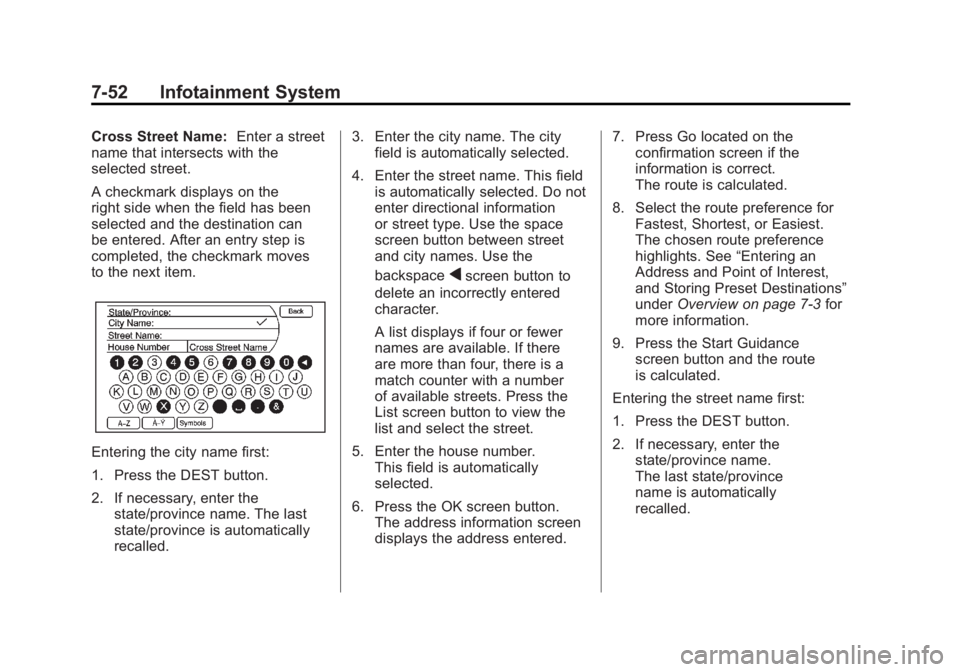
Cross Street Name:Enter a street
name that intersects with the
selected street.
A checkmark displays on the
right side when the field has been
selected and the destination can
be entered. After an entry step is
completed, the checkmark moves
to the next item.
Entering the city name first:
1. Press the DEST button.
2. If necessary, enter the
state/province name. The last
state/province is automatically
recalled. 3. Enter the city name. The city
field is automatically selected.
4. Enter the street name. This field is automatically selected. Do not
enter directional information
or street type. Use the space
screen button between street
and city names. Use the
backspace
qscreen button to
delete an incorrectly entered
character.
A list displays if four or fewer
names are available. If there
are more than four, there is a
match counter with a number
of available streets. Press the
List screen button to view the
list and select the street.
5. Enter the house number. This field is automatically
selected.
6. Press the OK screen button. The address information screen
displays the address entered. 7. Press Go located on the
confirmation screen if the
information is correct.
The route is calculated.
8. Select the route preference for Fastest, Shortest, or Easiest.
The chosen route preference
highlights. See “Entering an
Address and Point of Interest,
and Storing Preset Destinations”
under Overview on page 7‑3 for
more information.
9. Press the Start Guidance screen button and the route
is calculated.
Entering the street name first:
1. Press the DEST button.
2. If necessary, enter the state/province name.
The last state/province
name is automatically
recalled.
Page 243 of 516
Black plate (53,1)Chevrolet Volt Owner Manual - 2011
Infotainment System 7-53
3. Select the street name field.Enter the street name. Do not
enter directional information
or street type. Use the space
screen button between street
and city names. Use the
backspace
qscreen button to
delete an incorrect character.
A list displays if four or fewer
names are available. If there
are more than four, there is a
match counter with a number
of available streets. Press the
List screen button to view the
list and select the street.
4. Select the city from the list or enter the city name.
5. Enter the house number. This field is automatically
selected.
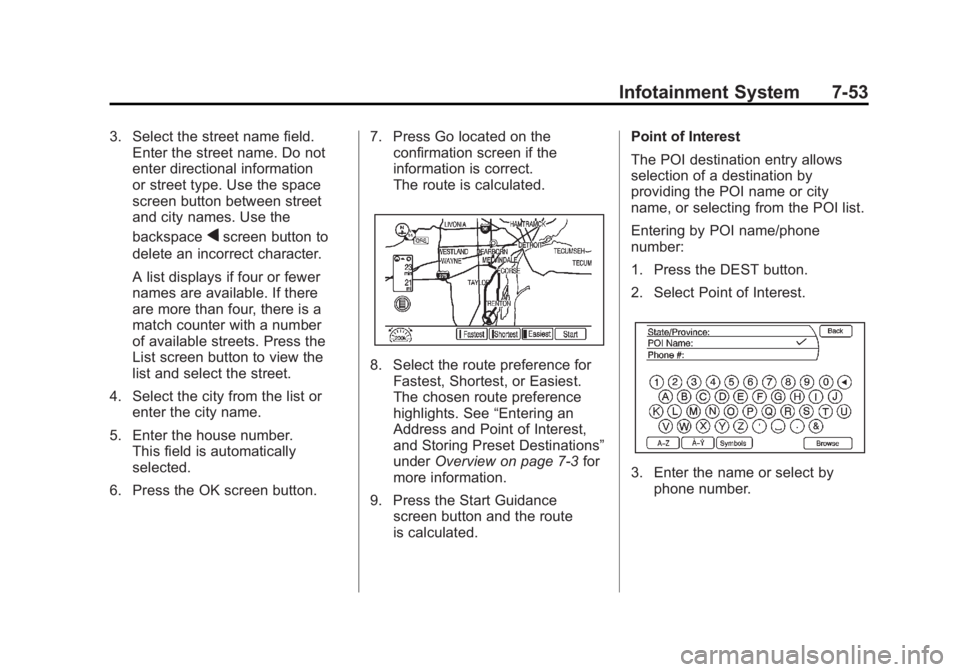
6. Press the OK screen button. 7. Press Go located on the
confirmation screen if the
information is correct.
The route is calculated.
8. Select the route preference for
Fastest, Shortest, or Easiest.
The chosen route preference
highlights. See “Entering an
Address and Point of Interest,
and Storing Preset Destinations”
under Overview on page 7‑3 for
more information.
9. Press the Start Guidance screen button and the route
is calculated. Point of Interest
The POI destination entry allows
selection of a destination by
providing the POI name or city
name, or selecting from the POI list.
Entering by POI name/phone
number:
1. Press the DEST button.
2. Select Point of Interest.
3. Enter the name or select by
phone number.
Page 244 of 516
Black plate (54,1)Chevrolet Volt Owner Manual - 2011
7-54 Infotainment System
A list displays if four or fewer
names are available. If there
are more than four, there is a
match counter with a number
of available POI names. Press
the List screen button to view
the list.
4. Select the POI name from the list.
5. Press Go located on the confirmation screen if the
information is correct.
6. Select the route preference for Fastest, Shortest, or Easiest.
7. Press the Start Guidance screen button and start the route.
Entering a POI by city name:
1. Press the DEST button.
2. Select Point of Interest.
3. Press the Browse screen button.
4. Select the Change Location screen button. 5. Enter the new state and city.
6. Select a category, then a
sub-category.
The available POI names will
display.
7. Select the POI name.
8. If the POI is correct, press the Go screen button. The route is
calculated.
9. Select the route preference for Fastest, Shortest, or Easiest.
10. Press the Start Guidance screen button and start the
route.
Selecting from a POI Category:
1. Press the DEST button.
2. Select Point of Interest.
3. Press the Browse screen button.
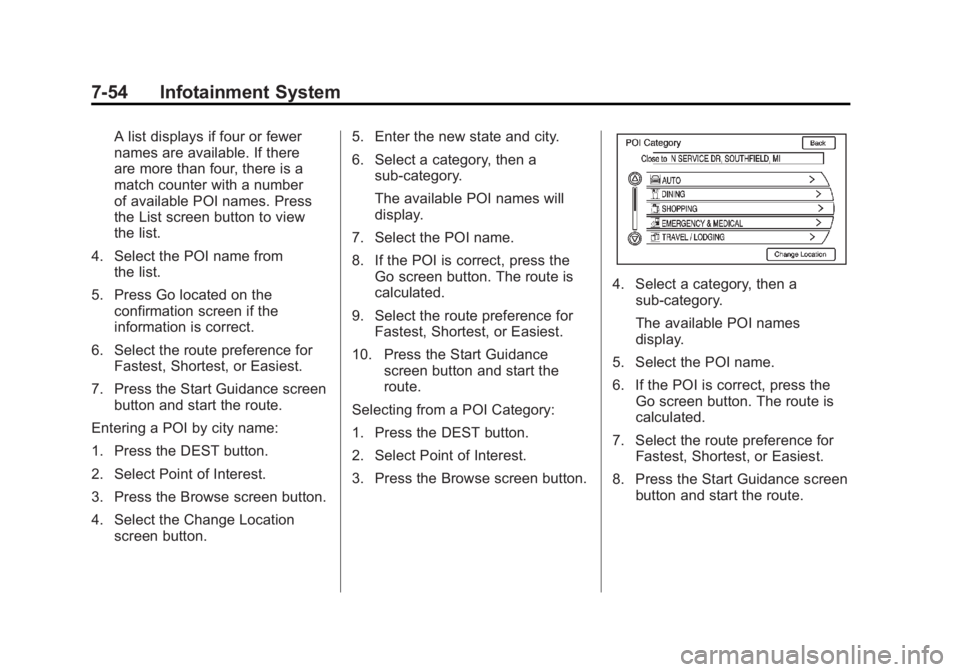
4. Select a category, then a sub-category.
The available POI names
display.
5. Select the POI name.
6. If the POI is correct, press the Go screen button. The route is
calculated.
7. Select the route preference for Fastest, Shortest, or Easiest.
8. Press the Start Guidance screen button and start the route.
Page 245 of 516
Black plate (55,1)Chevrolet Volt Owner Manual - 2011
Infotainment System 7-55
Previous Destination
Select a destination from a list
of previous destinations. Up to
15 points that have been previously
entered can be recalled. If the list
is full, the oldest destinations are
automatically deleted once the
newest destinations are added.
1. Press the DEST button.
2. Press Previous Destination.A list displays the previous
destinations.
3. Select the destination. 4. Press Go located on the
confirmation screen if the
information is correct.
The route is calculated.
5. Select the route preference for Fastest, Shortest, or Easiest.
See “Entering an Address and
Point of Interest, and Storing
Preset Destinations” under
Overview on page 7‑3 for
more information.
6. Press the Start Guidance screen button and start the route.
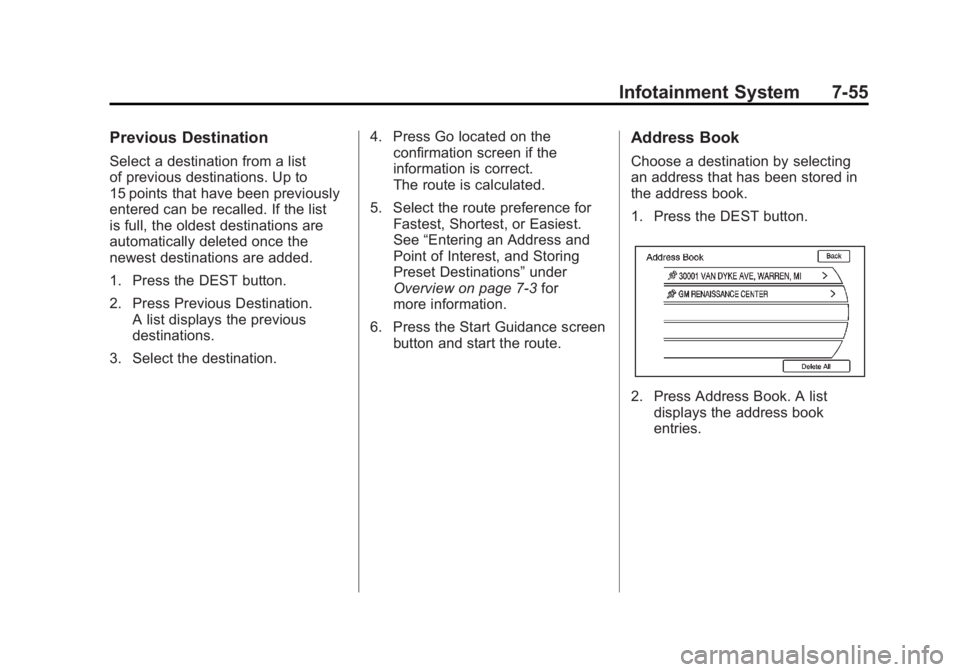
Address Book
Choose a destination by selecting
an address that has been stored in
the address book.
1. Press the DEST button.
2. Press Address Book. A list
displays the address book
entries.
Page 246 of 516
Black plate (56,1)Chevrolet Volt Owner Manual - 2011
7-56 Infotainment System
3. Select the destination fromthe list.
4. Press Go on the confirmation screen if the information is
correct. The route calculates.
5. Select the route preference for Fastest, Shortest, or Easiest.
See “Entering an Address and
Point of Interest, and Storing
Preset Destinations” under
Overview on page 7‑3 for
more information.
6. Press the Start Guidance screen button and start the route.
Pick From Map
Select a destination by scrolling on
the map.
1. Press the DEST button.
2. Press the Pick From Map screenbutton. A map screen with a
scroll symbol displays. 3. Press the Zoom in/out arrow
key on the screen and press the
map to locate the destination to
select. Press and hold a finger
on the map to activate fast
scrolling.
4. Press Go on the confirmation screen if the information is
correct. The route calculates.
5. Select the route preference for Fastest, Shortest, or Easiest.
See “Entering an Address and
Point of Interest, and Storing
Preset Destinations” under
Overview on page 7‑3 for
more information.
6. Press the Start Guidance screen button and start the route.
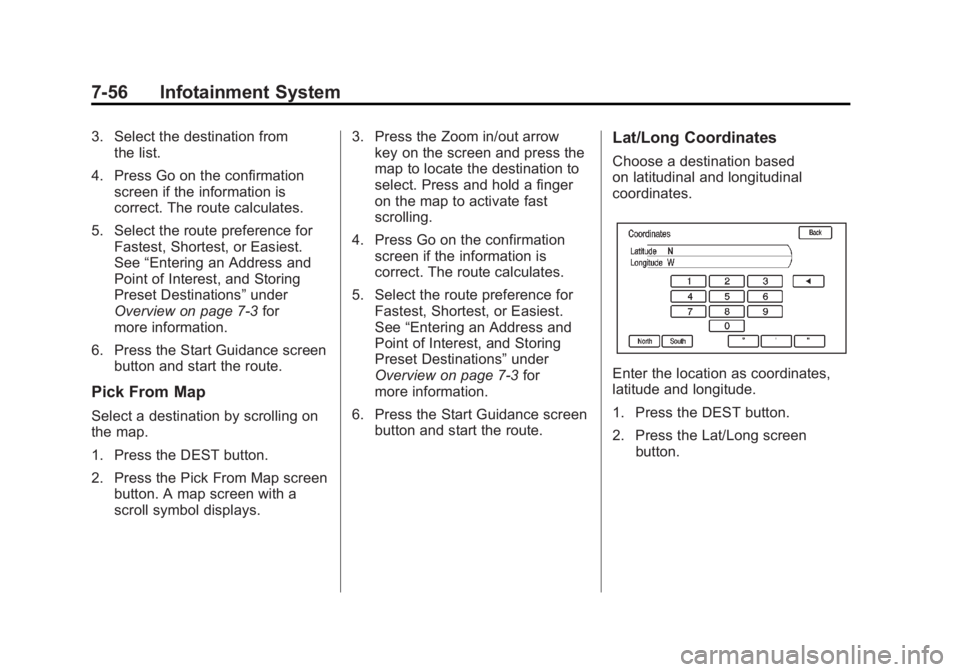
Lat/Long Coordinates
Choose a destination based
on latitudinal and longitudinal
coordinates.
Enter the location as coordinates,
latitude and longitude.
1. Press the DEST button.
2. Press the Lat/Long screenbutton.
Page 247 of 516
Black plate (57,1)Chevrolet Volt Owner Manual - 2011
Infotainment System 7-57
3. Enter the coordinates for thedestination in degrees, minutes,
and seconds.
4. Press Go on the confirmation screen if the information is
correct. The route calculates.
5. Select the route preference for Fastest, Shortest, or Easiest.
See “Entering an Address and
Point of Interest, and Storing
Preset Destinations” under
Overview on page 7‑3 for
more information.
6. Press the Start Guidance screen button and start the route.
Preset Destinations
Set a destination by selecting
from one of six previously stored
destinations. If a destination is not
set for one of the screen buttons,
the button dims and is not available to use. See
“Entering an Address
and Point of Interest, and Storing
Preset Destinations” under
Overview on page 7‑3 for
more information.
1. Press the DEST button.
2. Select one of the available preset destination screen
buttons. The screen buttons
were stored with the name
selected. The route is
calculated.
3. Select the route preference for Fastest, Shortest, or Easiest.
See “Entering an Address and
Point of Interest, and Storing
Preset Destinations” under
Overview on page 7‑3 for
more information.
4. Press the Start Guidance screen button and start the route.
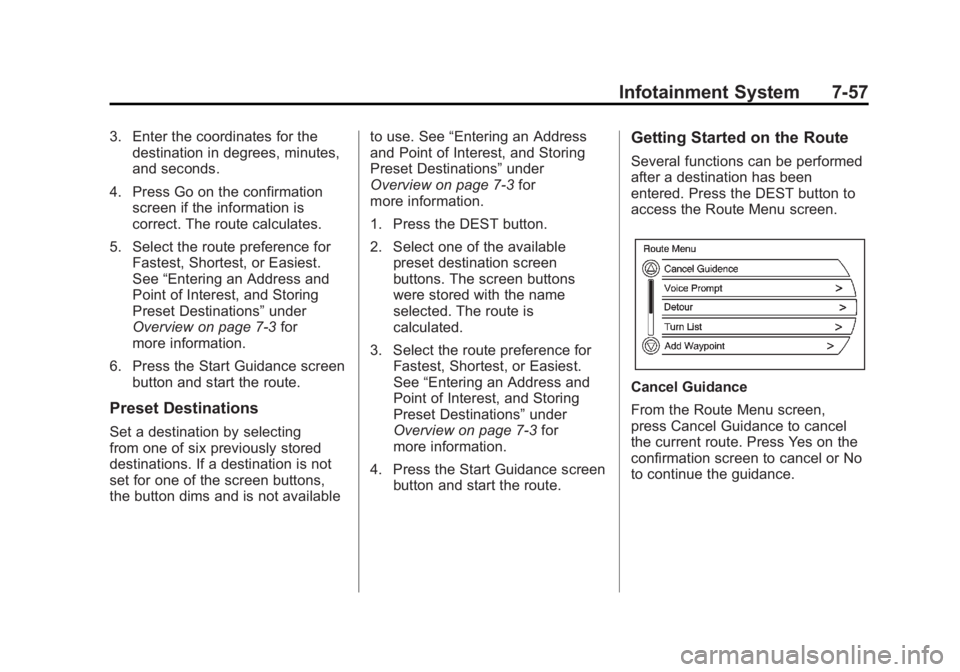
Getting Started on the Route
Several functions can be performed
after a destination has been
entered. Press the DEST button to
access the Route Menu screen.
Cancel Guidance
From the Route Menu screen,
press Cancel Guidance to cancel
the current route. Press Yes on the
confirmation screen to cancel or No
to continue the guidance.
Page 248 of 516
Black plate (58,1)Chevrolet Volt Owner Manual - 2011
7-58 Infotainment System
Voice Prompt
Select Voice Volume to change the
volume of voice prompts and voice
recognition.
Select the Voice Guidance, Speech
Confirmation Feedback, or Traffic
Voice Prompt screen buttons to turn
voice prompts on or off for each
category. See“Navigation Settings”
under Using the Navigation System
on page 7‑39 for more information.
Detour
While on the surface streets,
select a detour around the current
route, select the Route screen,
then select to detour 2, 5, or
10 km (1, 3, or 5 mi). While
on the highway, select to detour
2, 5, or 10 km (5, 15, or 25 mi).
Select Whole Route to detour the
entire route. This is only available
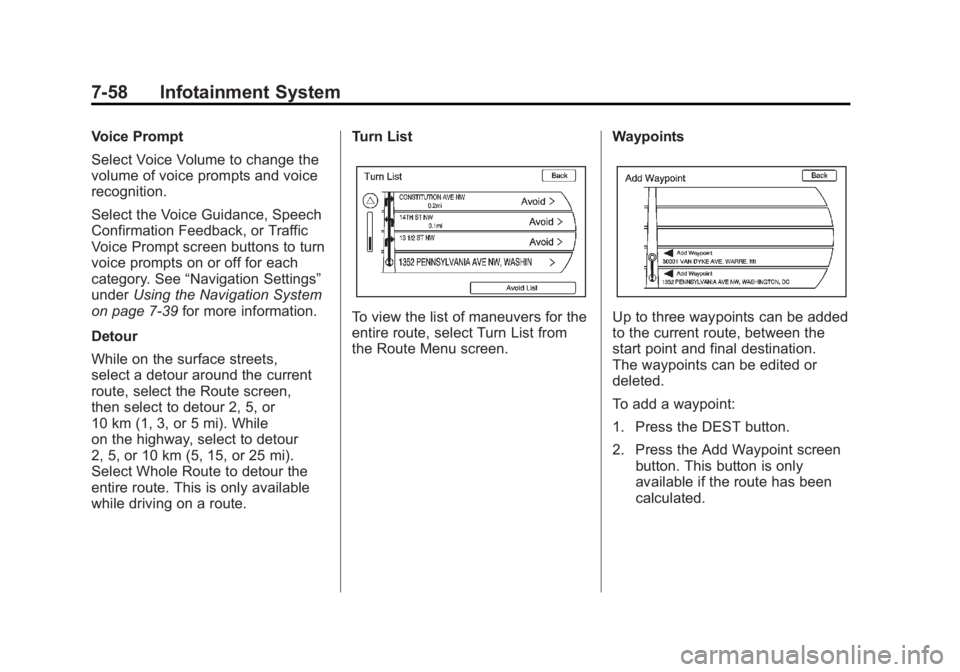
while driving on a route. Turn List
To view the list of maneuvers for the
entire route, select Turn List from
the Route Menu screen.
WaypointsUp to three waypoints can be added
to the current route, between the
start point and final destination.
The waypoints can be edited or
deleted.
To add a waypoint:
1. Press the DEST button.
2. Press the Add Waypoint screen
button. This button is only
available if the route has been
calculated.
Page 249 of 516
Black plate (59,1)Chevrolet Volt Owner Manual - 2011
Infotainment System 7-59
3. Enter the waypoint by any of theadd destination methods. See
Destination on page 7‑51 for
more information. The system
calculates and highlights the
route and the route can be
started.
4. To add more waypoints, press the DEST button. Press the
Add Waypoint screen button
to add the waypoint in the
order desired on the route.
The system calculates and
highlights the route and the
route can be started. To delete a waypoint:
1. Press the DEST button.
2. Press the Delete Waypoint
screen button.
3. Select the waypoint to be deleted by touching the screen.
4. A confirmation message displays. Press the Yes
screen button to delete the
waypoint; press No to cancel
this operation. The system
calculates and highlights the
route and the route can be
started.Route Preview
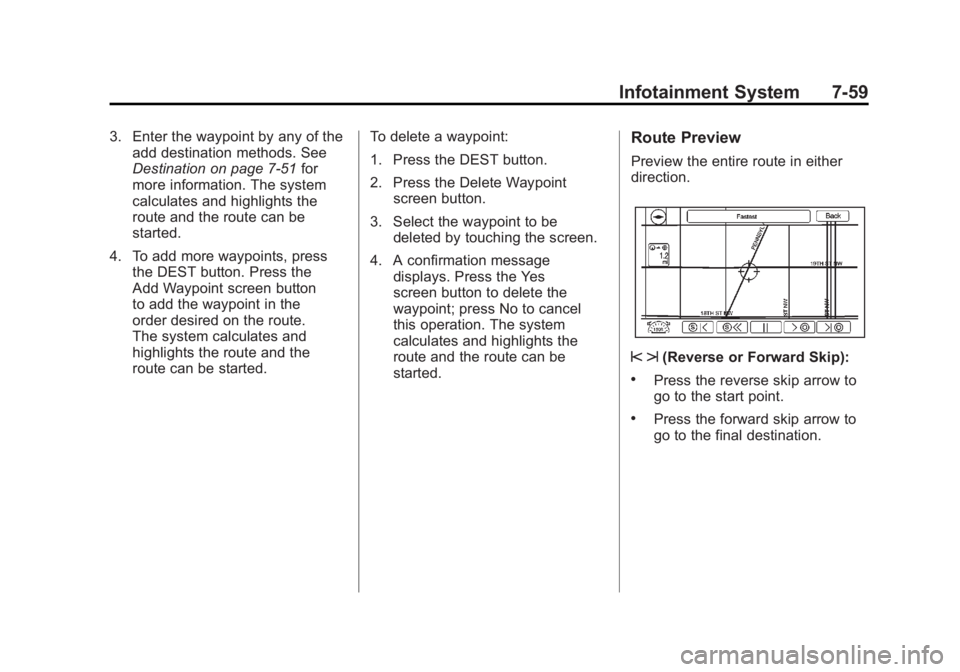
Preview the entire route in either
direction.
s t(Reverse or Forward Skip):
.Press the reverse skip arrow to
go to the start point.
.Press the forward skip arrow to
go to the final destination.
Page 250 of 516
Black plate (60,1)Chevrolet Volt Owner Manual - 2011
7-60 Infotainment System
u v(Fast Reverse or Forward
Scroll):
.Press the fast reverse scroll
arrow to go to the start point.
.Press the fast forward
scroll arrow to go to the final
destination. These buttons
display once the reverse/forward
scroll button has been selected.
S T(Reverse or Forward Scroll):
.Press the reverse scroll arrow to
go to the start point.
.Press the forward scroll arrow to
go to the final destination.
j(Pause): Pauses the route
preview, while in reverse, fast
reverse, forward, or fast forward
scroll.
Suspend/Resume Guidance
Press the Suspend/Resume
Guidance screen button to suspend
or resume guidance on the current
route.
Previous Destinations —
Deleting
To delete all previous destinations
from the system:
1. Press the DEST button.
2. Press the Previous Destination
screen button.
3. Press the Clear All screen button.
4. Press OK to Clear All Previous Destinations, or press the
Cancel screen button to
cancel this operation.
Address Book
Options for saving to the
address book:
.Scrolling on map or Pick from
Map in the Dest Menu: Scroll
to the location. Press the
TUNE/MENU knob on the
faceplate. A menu displays
on the left side of the screen.
Press the Save screen button
and the location is saved.
.Address Entry: Enter a
destination through the
Address Entry menu. Press the
Go screen button. The Save
screen button displays at the
bottom of the screen. Press the
Save screen button to save this
location to the address book.
.POI Menu: Select a POI. Press
Save located at the bottom of
the information page display.
.Previous Destination: From
the Previous Destination Menu,
select the destination to save.
Press Save located at the
bottom of the information page.
To change the map icon of an
address book entry:
1. Press the DEST button.
2. Press the Address Book screen button. A list displays the
address book entries.
3. Select the address book entry to be changed.
4. Press Edit, located on the bottom of the screen.