CHRYSLER 300 2005 1.G Manual Online
Manufacturer: CHRYSLER, Model Year: 2005, Model line: 300, Model: CHRYSLER 300 2005 1.GPages: 374, PDF Size: 6.8 MB
Page 81 of 374
Advanced Phone Connectivity
Transfer Call to and from Cellular Phone
The UConnectŸ system allows on going calls to be
transferred to your cellular phone to the UConnectŸ
system without terminating the call. To transfer an ongo-
ing call from your UConnectŸ paired cellular phone to
the UConnectŸ system or vice-versa, press the 'Voice
Recognition' button and say9Transfer Call.9
Connect or Disconnect Link Between the
UConnectŸ System and Cellular Phone
Your cellular phone can be paired with many different
electronic devices, but can only be actively9connected9
with one electronic device at a time.
If you would like to connect or disconnect the Blue-
toothŸ connection between a UConnectŸ paired cellular
phone and the UConnectŸ system, follow the instruction
described in your cellular phone user's manual.
List Paired Cellular Phone Names
²
Press the 'Phone' button to begin.
²After the9Ready9prompt and the following beep, say
9Setup List Phones9.
²When prompted, say9List Phones9.
²The UConnectŸ system will play the phone names of
all paired cellular phones in order from the highest to
the lowest priority.
Select another Cellular Phone
This feature allows you to select and start using another
phone with the UConnectŸ system. The phone must
have been previously paired to the UConnectŸ system
that you want to use it with.
²Press the 'Phone' button to begin.
²After the9Ready9prompt and the following beep, say
9Setup Select Phone.9
UNDERSTANDING THE FEATURES OF YOUR VEHICLE 81
3
Page 82 of 374

²When prompted, say the phone name of the cellular
phone you wish to use, or say9List Phones9to hear a
list of all the phones that have been paired to your
UConnectŸ system. To select a phone from the list,
press the 'Voice Recognition' button and say9Select.9
²A lower priority phone will only be used for the next
phone call. After that, the UConnectŸ system will
return to using the highest priority phone present in or
near (approximately with in 30 feet) the vehicle.
Delete UConnectŸ Paired Cellular Phones
²
Press the 'Phone' button to begin.
²After the9Ready9prompt and the following beep, say
9Setup Phone Pairing.9
²At the next prompt, say9Delete.9
²You will be asked to say the name of the phone that
you wish to delete. You can either say the name of the
phone that you wish to delete or you can say9All9to
delete all the phones.
Things You Should Know About Your UConnectŸ
System
Voice Recognition (VR)
²
Always wait for the beep before speaking.
²Speak normally, without pausing, just as you would
speak to a person sitting approximately eight (8) feet
away from you.
²Make sure that no one other than you is speaking
during a voice recognition period.
²Performance is maximized under:
²low-to-medium blower setting,
²low-to-medium vehicle speed,
²low road noise,
²smooth road surface,
²fully closed windows,
²dry weather condition.
82 UNDERSTANDING THE FEATURES OF YOUR VEHICLE
Page 83 of 374
²Even though the system is designed for users speaking
in North American English and Spanish accents, the
system may not always work for some.
²When navigating through an automated system, such
as, voice mail, or when sending a page, at the end of
speaking the digit string, make sure to say9send.9
²Storing names in phonebook when vehicle is not in
motion is recommended.
²It is not recommended to store similar sounding
names in the UConnectŸ phonebook.
²UConnectŸ phonebook name tag recognition rate is
optimized for the person who stored the name in the
phonebook.
²You can say9O9(letter9O9) for909(zero).98009must be
spoken9eight-zero-zero.9
²Even though international dialing for most number
combinations is supported, some shortcut dialing
number combinations may not be supported.
Far End Audio Performance:
²
Audio quality is maximized under:
²low-to-medium blower setting,
²low-to-medium vehicle speed,
²low road noise,
²smooth road surface,
²fully closed windows, and
²dry weather condition.
²Operation from driver seat.
²Performance, such as, audio clarity, echo. and loud-
ness to a large degree, rely on the phone and network,
and not the UConnectŸ system.
²Echo at far end can sometime be reduced by lowering
the in-vehicle audio volume.
UNDERSTANDING THE FEATURES OF YOUR VEHICLE 83
3
Page 84 of 374

Bluetooth Communication Link
Cellular phones have been found to occasionally loose
connection to the UConnectŸ system. When this hap-
pens, the connection can generally be re-established by
switching the phone off/on. Your cell phone is recom-
mended to remain in Bluetooth9on9mode.
Reset
In rare instances, it may be necessary to reset the UCon-
nectŸ system. The reset feature is exercised by pressingand holding the 'UConnectŸ ' and 'Voice Recognition'
buttons simultaneously for 15 seconds. Normally, you do
not need to exercise this feature.
Power-Up
After switching ignition key from LOCK to either ON or
ACC position, or after a reset, you must wait at least five
(5) seconds prior to using the system.
84 UNDERSTANDING THE FEATURES OF YOUR VEHICLE
Page 85 of 374
UNDERSTANDING THE FEATURES OF YOUR VEHICLE 85
3
Page 86 of 374

86 UNDERSTANDING THE FEATURES OF YOUR VEHICLE
Page 87 of 374
UNDERSTANDING THE FEATURES OF YOUR VEHICLE 87
3
Page 88 of 374
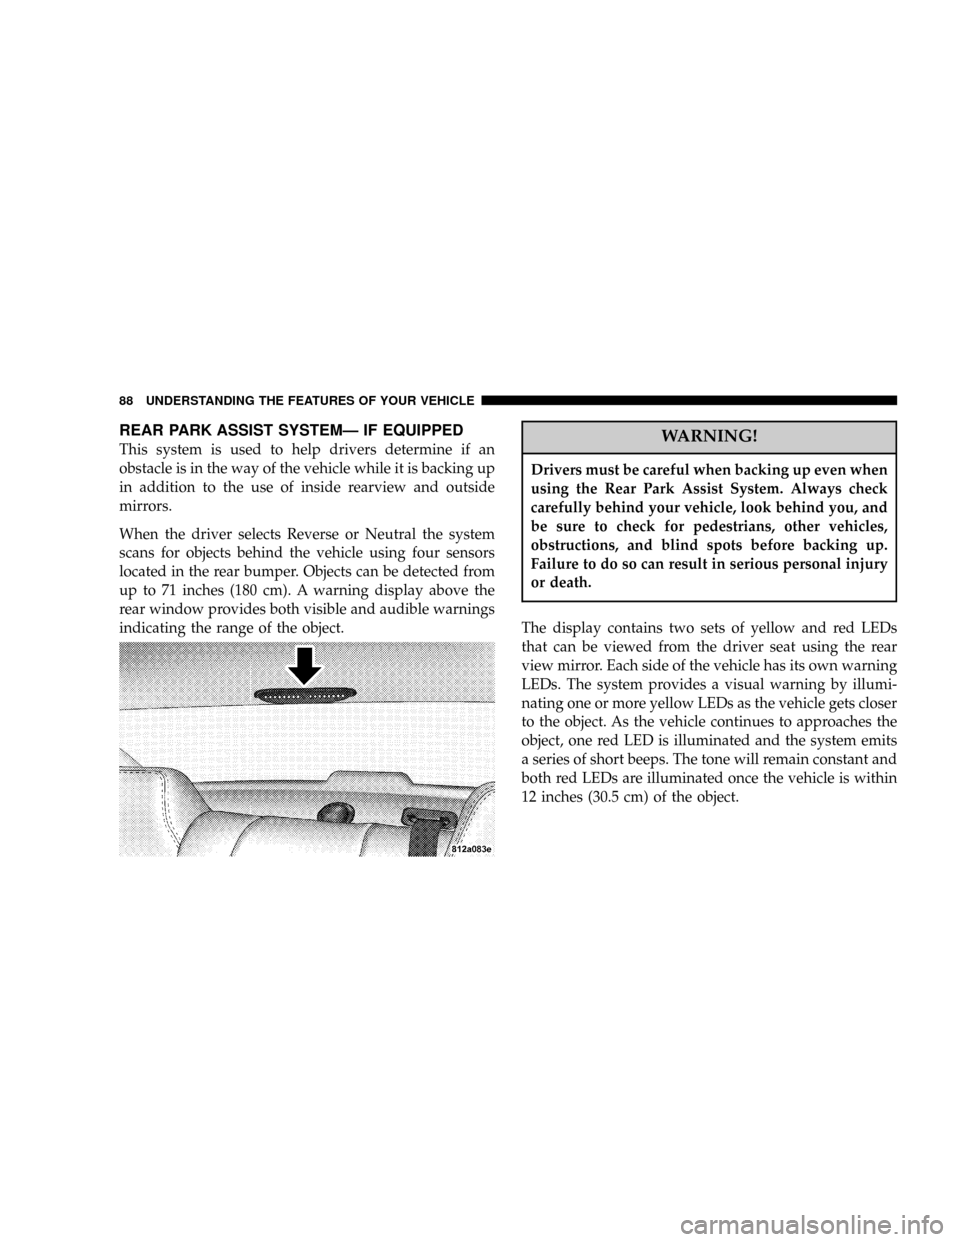
REAR PARK ASSIST SYSTEMÐ IF EQUIPPED
This system is used to help drivers determine if an
obstacle is in the way of the vehicle while it is backing up
in addition to the use of inside rearview and outside
mirrors.
When the driver selects Reverse or Neutral the system
scans for objects behind the vehicle using four sensors
located in the rear bumper. Objects can be detected from
up to 71 inches (180 cm). A warning display above the
rear window provides both visible and audible warnings
indicating the range of the object.WARNING!
Drivers must be careful when backing up even when
using the Rear Park Assist System. Always check
carefully behind your vehicle, look behind you, and
be sure to check for pedestrians, other vehicles,
obstructions, and blind spots before backing up.
Failure to do so can result in serious personal injury
or death.
The display contains two sets of yellow and red LEDs
that can be viewed from the driver seat using the rear
view mirror. Each side of the vehicle has its own warning
LEDs. The system provides a visual warning by illumi-
nating one or more yellow LEDs as the vehicle gets closer
to the object. As the vehicle continues to approaches the
object, one red LED is illuminated and the system emits
a series of short beeps. The tone will remain constant and
both red LEDs are illuminated once the vehicle is within
12 inches (30.5 cm) of the object.
88 UNDERSTANDING THE FEATURES OF YOUR VEHICLE
Page 89 of 374
NOTE:The Rear Park Assist System displays the outer
most yellow LED's at a slightly dimmer level to indicate
that the system is ON.
NOTE:When an audio tone is indicated by the Rear
Park Assist display the system will MUTE the radio if it
is turned on.
The system can be turned on or off through the Electronic
Vehicle Information Center (EVIC) when the vehicle is in
PARK. Refer to ªPersonal Settingsº in the Electronic
Vehicle Information Center section of this manual for
details.
NOTE:
²
Ensure that the rear bumper is free of dirt and debris
to keep the system operating properly.
²Jackhammers, large trucks, and other vibrations could
affect the performance of the system.
If ªService Park Assist Systemº appears in the EVIC after
making sure the rear bumper is clean please see your
authorized dealer.
SEATS
Power Seats
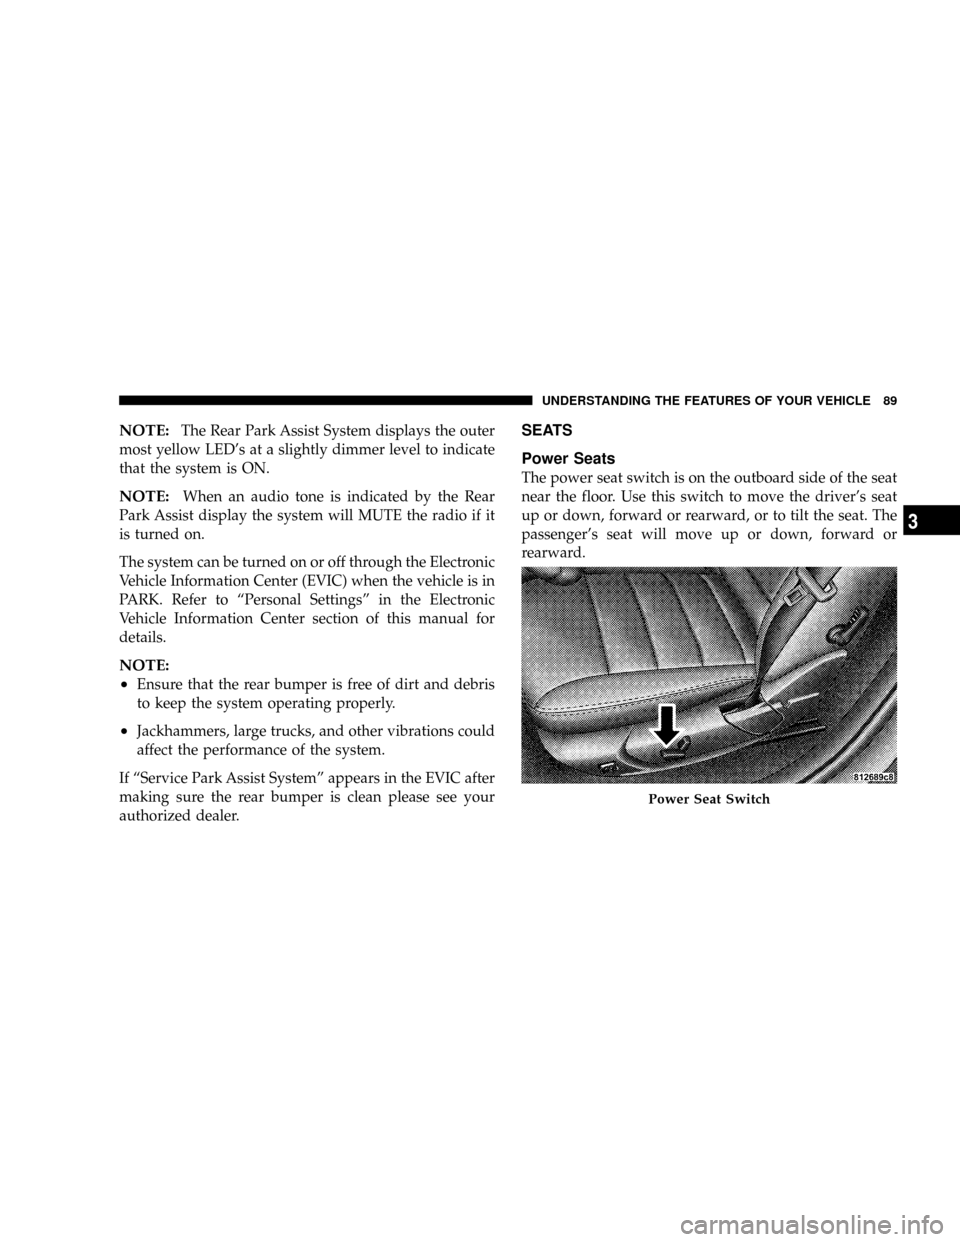
The power seat switch is on the outboard side of the seat
near the floor. Use this switch to move the driver's seat
up or down, forward or rearward, or to tilt the seat. The
passenger's seat will move up or down, forward or
rearward.
Power Seat Switch
UNDERSTANDING THE FEATURES OF YOUR VEHICLE 89
3
Page 90 of 374
WARNING!
Adjusting a seat while the vehicle is moving is
dangerous. The sudden movement of the seat could
cause you to lose control. The seat belt might not be
properly adjusted and you could be injured. Adjust
the seat only while the vehicle is parked.
CAUTION!
Do not place any article under a power seat as it may
cause damage to the seat controls.
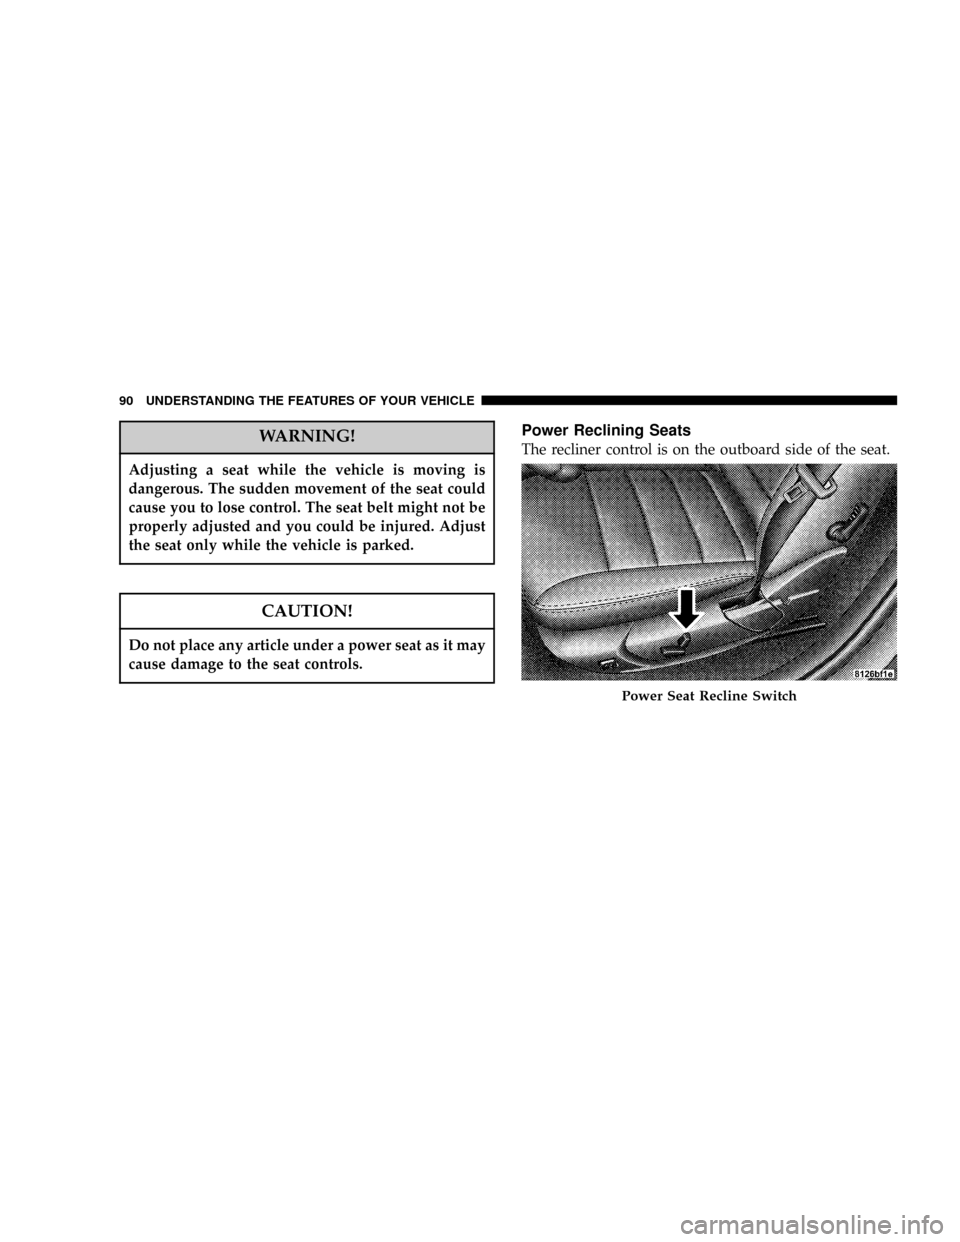
Power Reclining Seats
The recliner control is on the outboard side of the seat.
Power Seat Recline Switch
90 UNDERSTANDING THE FEATURES OF YOUR VEHICLE