CHRYSLER PACIFICA HYBRID 2017 2.G Owners Manual
Manufacturer: CHRYSLER, Model Year: 2017, Model line: PACIFICA HYBRID, Model: CHRYSLER PACIFICA HYBRID 2017 2.GPages: 592, PDF Size: 6.73 MB
Page 391 of 592
NOTE:•Your vehicle may be transmitting data as authorized
by the subscriber.
• Once a connection is made between the vehicle’s 9-1-1
Call system and the 9-1-1 operator, the 9-1-1 operator
may be able to open a voice connection with the
vehicle to determine if additional help is needed. Once
the 9-1-1 operator opens a voice connection with the
vehicle’s 9-1-1 Call system, the operator should be able
to speak with you or other vehicle occupants and hear
sounds occurring in the vehicle. The vehicle’s 9-1-1
Call system will attempt to remain connected with the
9-1-1 operator until the 9-1-1 operator terminates the
connection.
5. The 9-1-1 operator may attempt to contact appropriate emergency responders and provide them with impor-
tant vehicle information and GPS coordinates.WARNING!
•If anyone in the vehicle could be in danger (e.g., fire
or smoke is visible, dangerous road conditions or
location), do not wait for voice contact from a 9-1-1
operator. All occupants should exit the vehicle im-
mediately and move to a safe location.
• Never place anything on or near the vehicle’s oper-
able 1X(voice/data) or 3G(data) network and GPS
antennas. You could prevent operable 1X(voice/data)
or 3G(data) network and GPS signal reception,
which can prevent your vehicle from placing an
emergency call. An operable 1X(voice/data) or
3G(data) network and GPS signal reception is re-
quired for the 9-1-1 Call system to function properly.
• The 9-1-1 Call system is embedded into the vehicle’s
electrical system. Do not add aftermarket electrical
equipment to the vehicle’s electrical system. This
may prevent your vehicle from sending a signal to
initiate an emergency call. To avoid interference that
can cause the 9-1-1 Call system to fail, never add
aftermarket equipment (e.g., two-way mobile radio,
CB radio, data recorder, etc.) to your vehicle’s electri-
cal system or modify the antennas on your vehicle. IF
(Continued)
7
IN CASE OF EMERGENCY 389
Page 392 of 592
WARNING!(Continued)
YOUR VEHICLE LOSES BATTERY POWER FOR
ANY REASON (INCLUDING DURING OR AFTER
AN ACCIDENT), THE UCONNECT FEATURES,
APPS AND SERVICES, AMONG OTHERS, WILL
NOT OPERATE.
• Modifications to any part of the 9-1-1 Call system
could cause the air bag system to fail when you need
it. You could be injured if the air bag system is not
there to help protect you.
9-1-1 Call System Limitations
Vehicles sold in Canada and Mexico DO NOThave 9-1-1
Call system capabilities.
9-1-1 or other emergency line operators in Canada and
Mexico may not answer or respond to 9-1-1 system calls.
If the 9-1-1 Call system detects a malfunction, any of the
following may occur at the time the malfunction is de-
tected, and at the beginning of each ignition cycle:
• The Rearview Mirror light located between the ASSIST
and 9-1-1 buttons will continuously be illuminated red. •
The Device Screen will display the following message
“Vehicle device requires service. Please contact your
dealer.”
• An In-Vehicle Audio message will state “Vehicle device
requires service. Please contact your dealer.”
WARNING!
• Ignoring the Rearview Mirror light could mean you
will not have 9-1-1 Call services. If the Rearview
Mirror light is illuminated, have an authorized
dealer service the 9-1-1 Call system immediately.
• The Occupant Restraint Control module turns on the
air bag Warning Light on the instrument panel if a
malfunction in any part of the system is detected. If
the Air Bag Warning Light is illuminated, have an
authorized dealer service the Occupant Restraint
Control system immediately.
Even if the 9-1-1 Call system is fully functional, factors
beyond FCA US LLC’s control may prevent or stop the
9-1-1 Call system operation. These include, but are not
limited to, the following factors:
• The ignition is in OFF position.
• The vehicle’s electrical systems are not intact.
390 IN CASE OF EMERGENCY
Page 393 of 592
•The 9-1-1 Call system software and/or hardware are
damaged during a crash.
• The vehicle battery loses power or becomes discon-
nected during a vehicle crash.
• 1X(voice/data) or 3G(data) network and/or Global Po-
sitioning Satellite signals are unavailable or obstructed.
• Equipment malfunction at the 9-1-1 operator facility.
• Operator error by the 9-1-1 operator.
• 1X(voice/data) or 3G(data) network congestion.
• Weather conditions.
• Buildings, structures, geographic terrain, or tunnels.
WARNING!
ALWAYS obey traffic laws and pay attention to the
road. Some Uconnect Access services, including 9-1-1
and Assist, will NOT work without an operable
1X(voice/data) or 3G(data) network connection. NOTE:
•
Your vehicle may be transmitting data as authorized by
the subscriber.
• Never place anything on or near the vehicle’s 1X(voice/
data) or 3G(data) and GPS antennas. You could prevent
1X(voice/data) or 3G(data) and GPS signal reception,
which can prevent your vehicle from placing an emer-
gency call. An operable 1X(voice/data) or 3G(data)
network connection and a GPS signal is required for the
9-1-1 Call system to function properly.
General Information
This device complies with Part 15 of the FCC Rules.
Operation is subject to the following two conditions: (1)
This device may not cause harmful interference, and (2)
this device must accept any interference received, includ-
ing interference that may cause undesired operation.
CAUTION!
To avoid damage to the mirror during cleaning, never
spray any cleaning solution directly onto the mirror.
Apply the solution onto a clean cloth and wipe the
mirror clean.
7
IN CASE OF EMERGENCY 391
Page 394 of 592
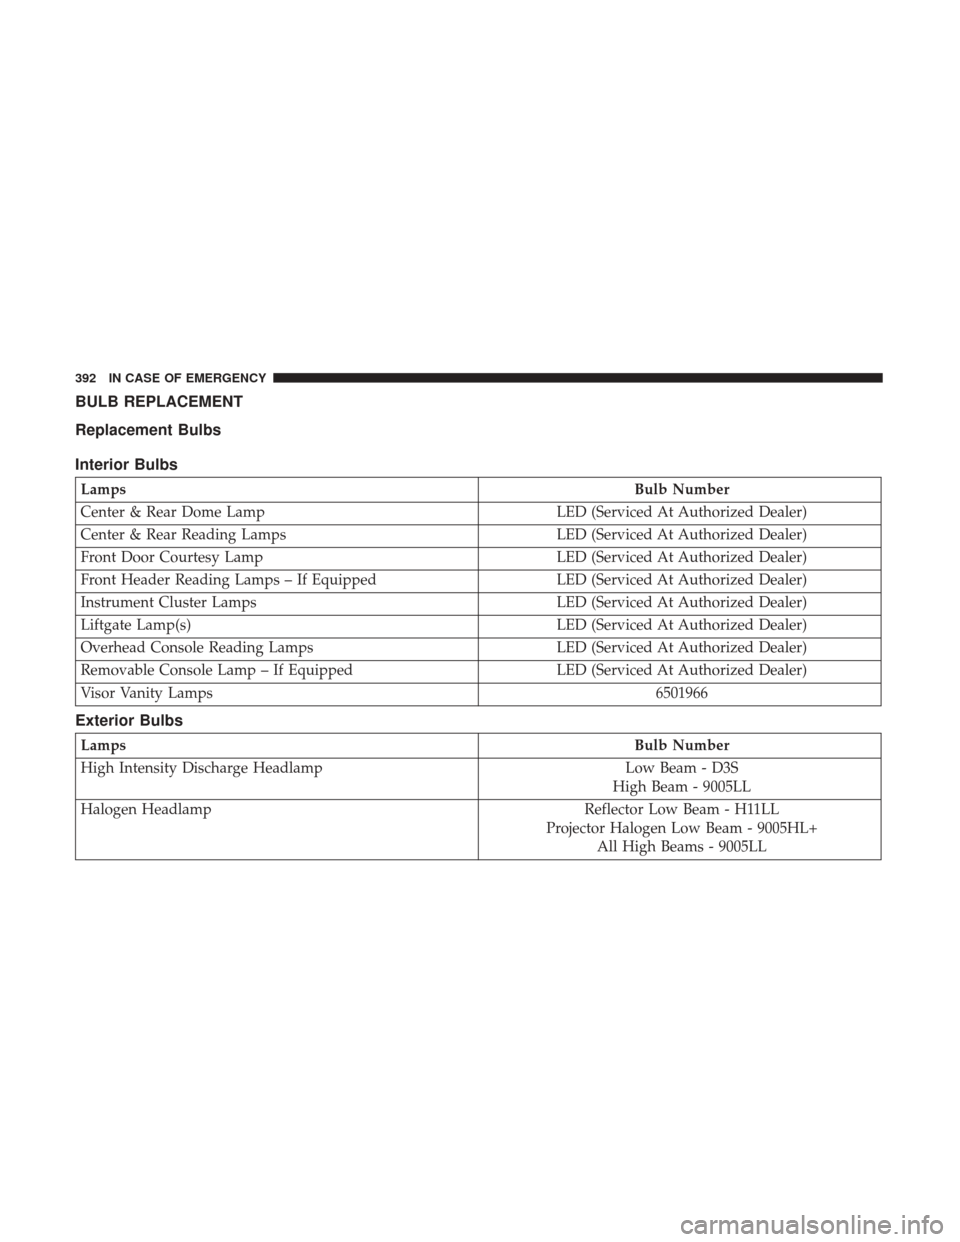
BULB REPLACEMENT
Replacement Bulbs
Interior Bulbs
LampsBulb Number
Center & Rear Dome Lamp LED (Serviced At Authorized Dealer)
Center & Rear Reading Lamps LED (Serviced At Authorized Dealer)
Front Door Courtesy Lamp LED (Serviced At Authorized Dealer)
Front Header Reading Lamps – If Equipped LED (Serviced At Authorized Dealer)
Instrument Cluster Lamps LED (Serviced At Authorized Dealer)
Liftgate Lamp(s) LED (Serviced At Authorized Dealer)
Overhead Console Reading Lamps LED (Serviced At Authorized Dealer)
Removable Console Lamp – If Equipped LED (Serviced At Authorized Dealer)
Visor Vanity Lamps 6501966
Exterior Bulbs
LampsBulb Number
High Intensity Discharge Headlamp Low Beam - D3S
High Beam - 9005LL
Halogen Headlamp Reflector Low Beam - H11LL
Projector Halogen Low Beam - 9005HL+ All High Beams - 9005LL
392 IN CASE OF EMERGENCY
Page 395 of 592
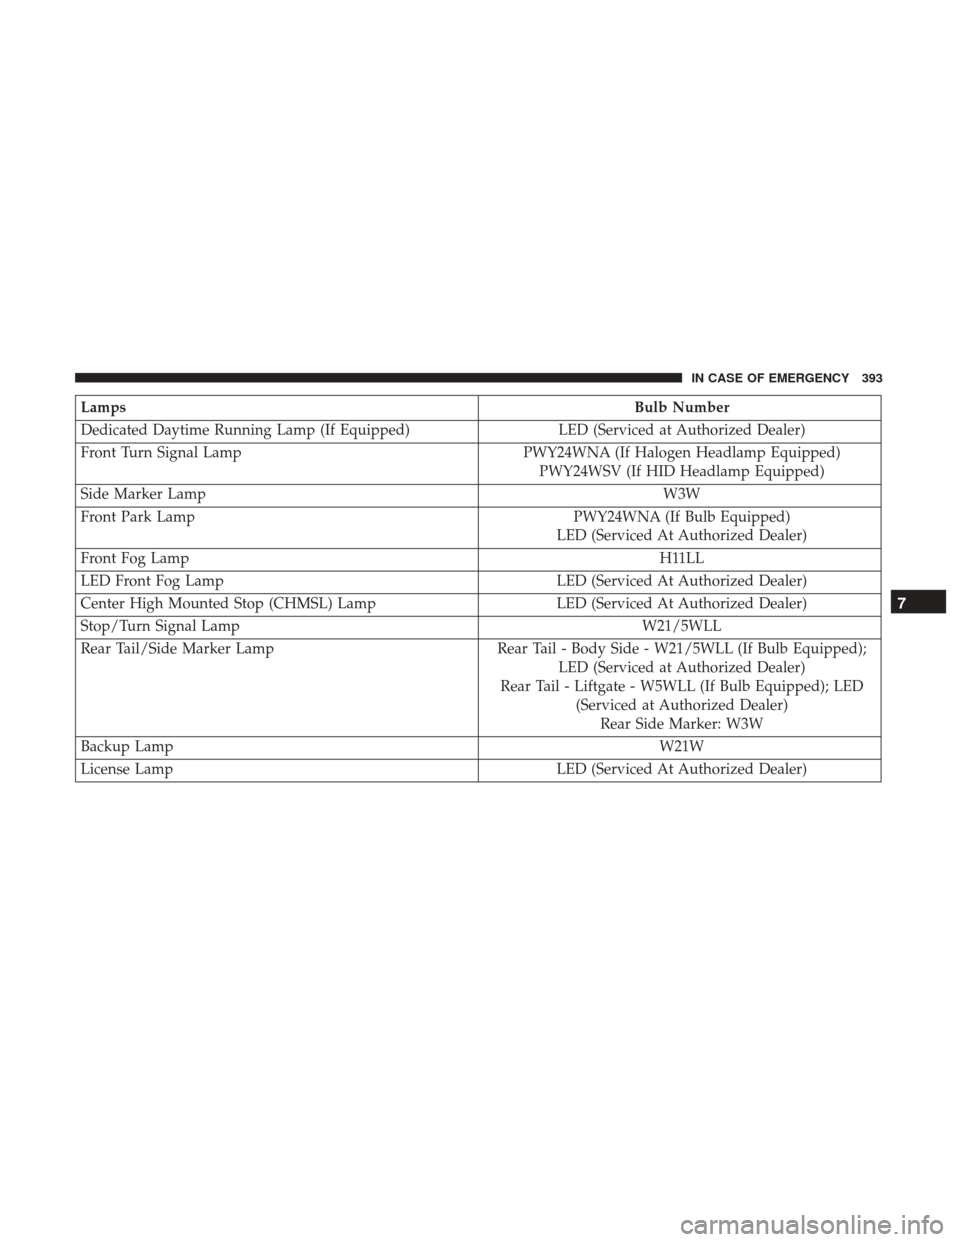
LampsBulb Number
Dedicated Daytime Running Lamp (If Equipped) LED (Serviced at Authorized Dealer)
Front Turn Signal Lamp PWY24WNA (If Halogen Headlamp Equipped)
PWY24WSV (If HID Headlamp Equipped)
Side Marker Lamp W3W
Front Park Lamp PWY24WNA (If Bulb Equipped)
LED (Serviced At Authorized Dealer)
Front Fog Lamp H11LL
LED Front Fog Lamp LED (Serviced At Authorized Dealer)
Center High Mounted Stop (CHMSL) Lamp LED (Serviced At Authorized Dealer)
Stop/Turn Signal Lamp W21/5WLL
Rear Tail/Side Marker Lamp Rear Tail - Body Side - W21/5WLL (If Bulb Equipped);
LED (Serviced at Authorized Dealer)
Rear Tail - Liftgate - W5WLL (If Bulb Equipped); LED (Serviced at Authorized Dealer)Rear Side Marker: W3W
Backup Lamp W21W
License Lamp LED (Serviced At Authorized Dealer)
7
IN CASE OF EMERGENCY 393
Page 396 of 592
Replacing Exterior Bulbs
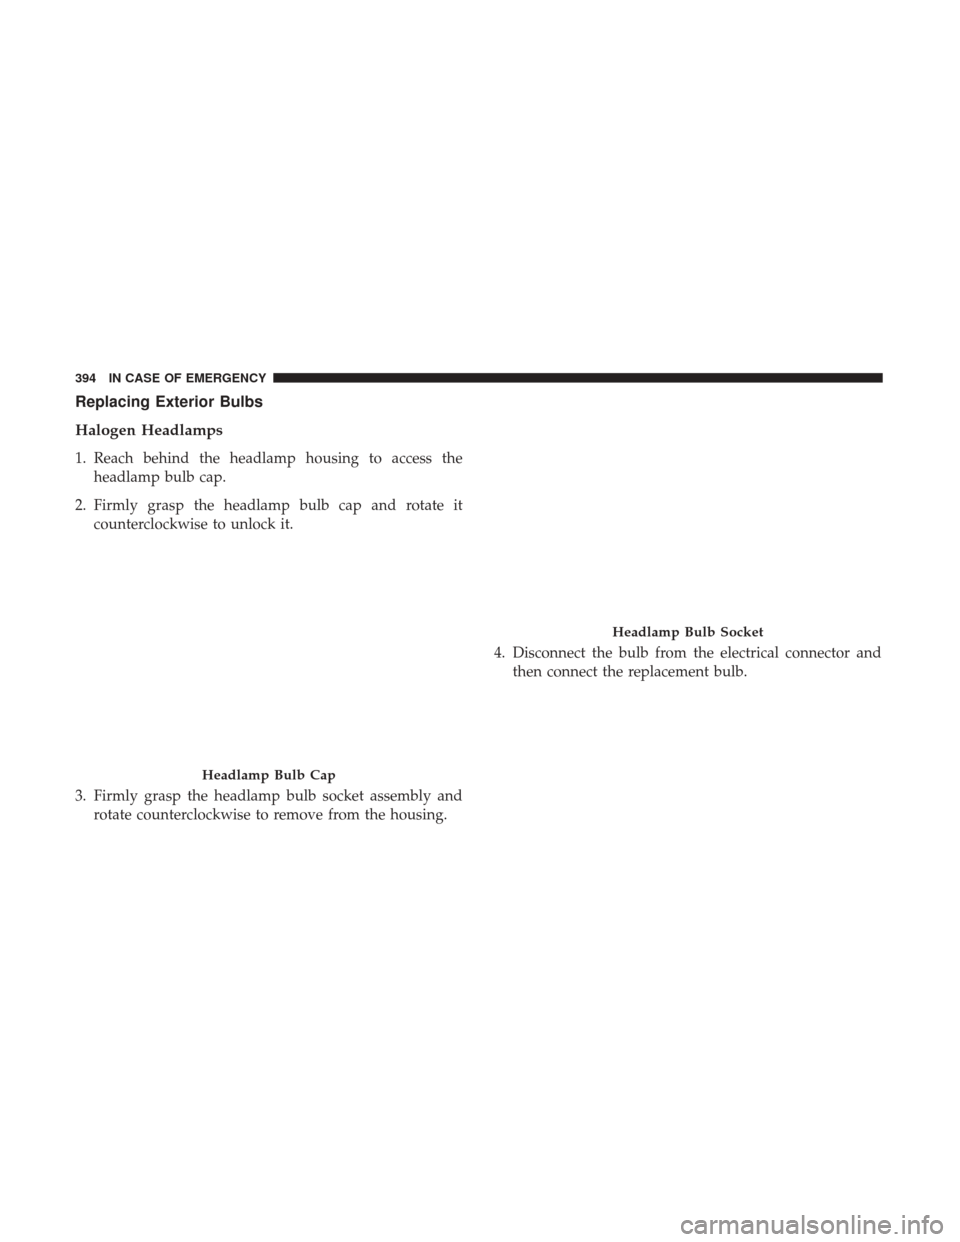
Halogen Headlamps
1. Reach behind the headlamp housing to access theheadlamp bulb cap.
2. Firmly grasp the headlamp bulb cap and rotate it counterclockwise to unlock it.
3. Firmly grasp the headlamp bulb socket assembly and rotate counterclockwise to remove from the housing. 4. Disconnect the bulb from the electrical connector and
then connect the replacement bulb.
Headlamp Bulb Cap
Headlamp Bulb Socket
394 IN CASE OF EMERGENCY
Page 397 of 592
CAUTION!
Do not touch the new bulb with your fingers. Oil
contamination will severely shorten bulb life. If the
bulb comes in contact with any oily surface, clean the
bulb with rubbing alcohol.
5. Install the bulb and connector assembly into the head- lamp housing and rotate clockwise to lock it in place.
6. Install the headlamp bulb cap in the headlamp housing and rotate clockwise to lock it in place.
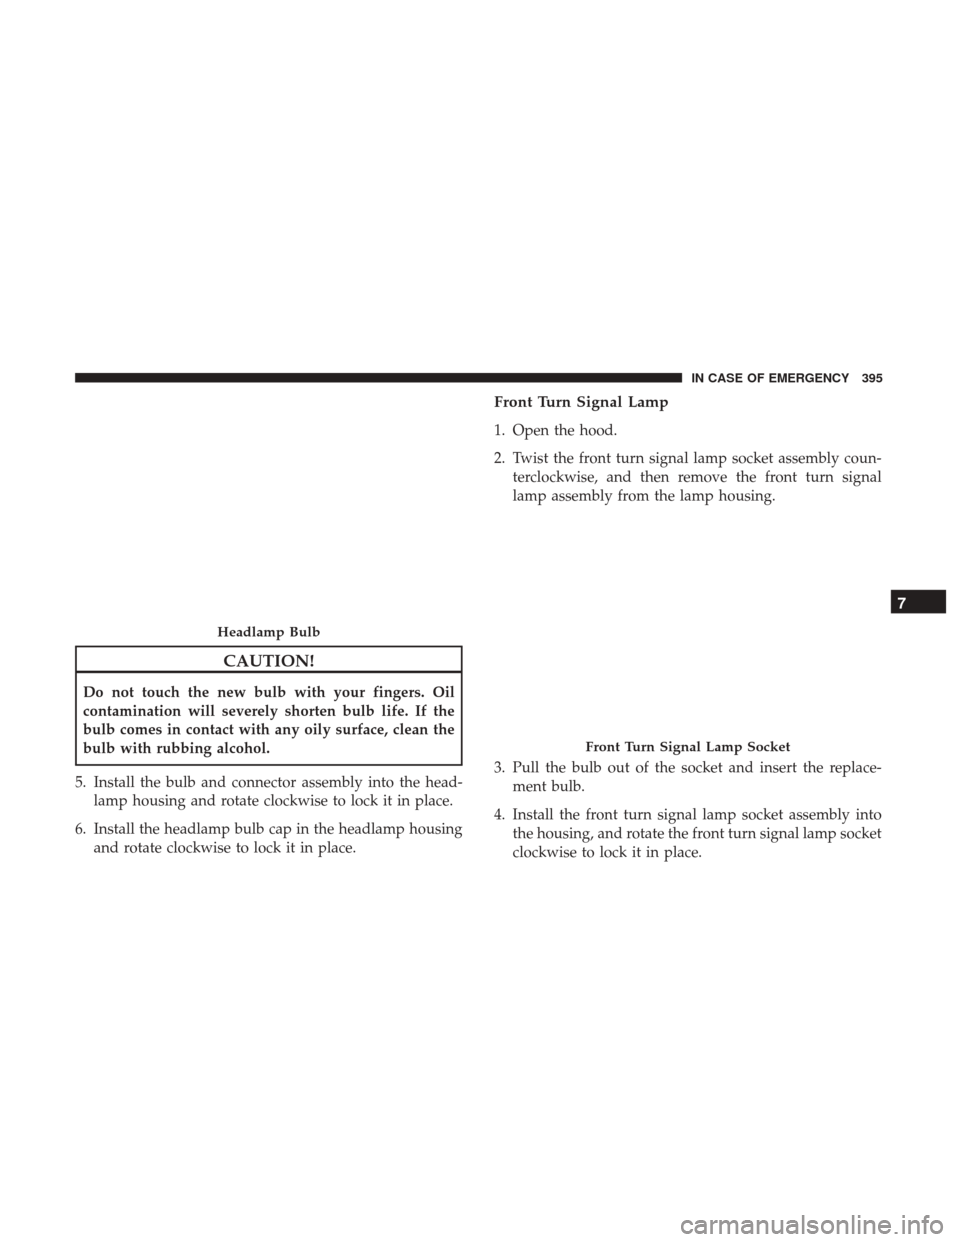
Front Turn Signal Lamp
1. Open the hood.
2. Twist the front turn signal lamp socket assembly coun-terclockwise, and then remove the front turn signal
lamp assembly from the lamp housing.
3. Pull the bulb out of the socket and insert the replace- ment bulb.
4. Install the front turn signal lamp socket assembly into the housing, and rotate the front turn signal lamp socket
clockwise to lock it in place.
Headlamp Bulb
Front Turn Signal Lamp Socket
7
IN CASE OF EMERGENCY 395
Page 398 of 592
Front And Rear Side Marker Lamps
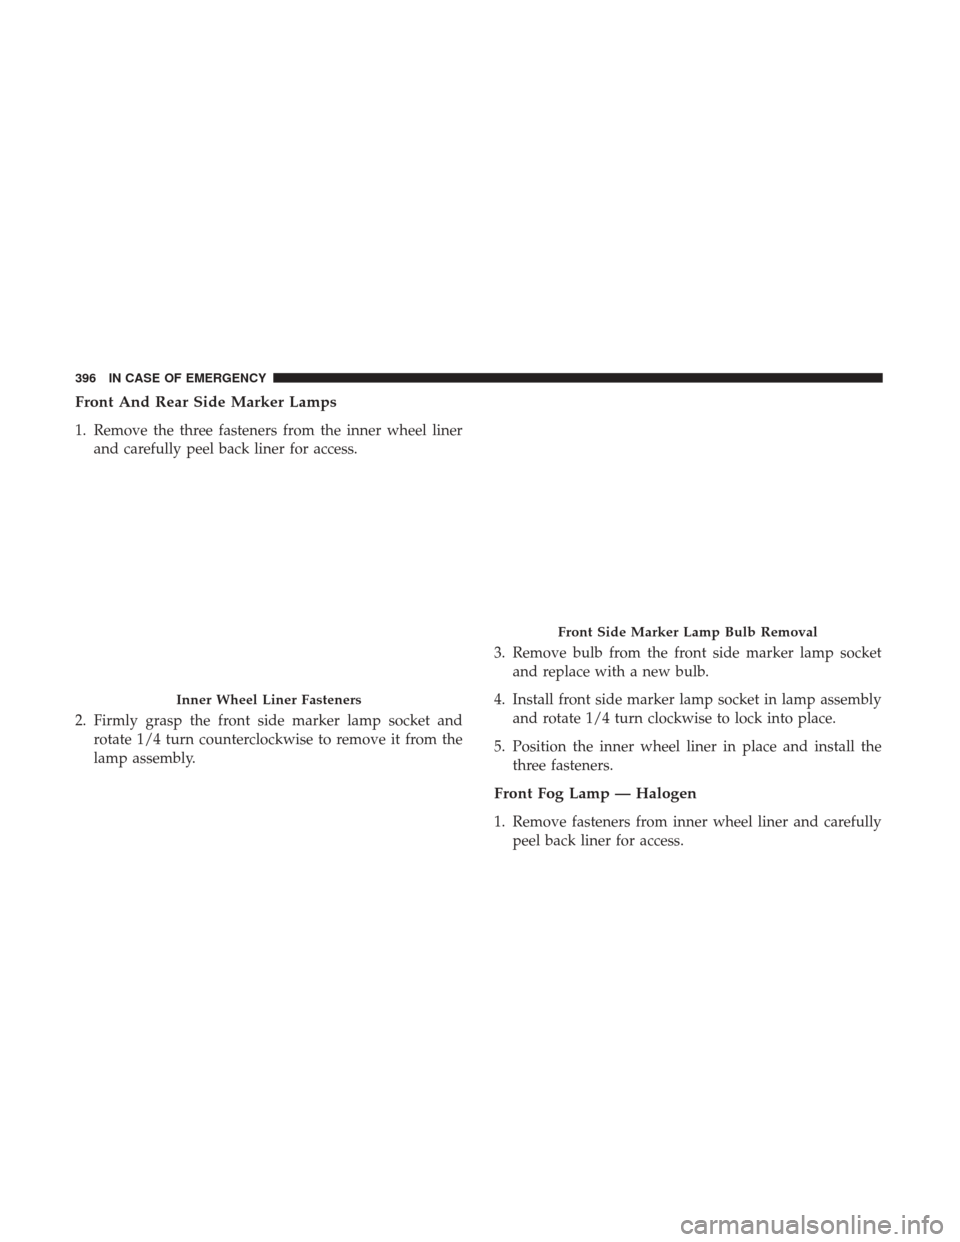
1. Remove the three fasteners from the inner wheel linerand carefully peel back liner for access.
2. Firmly grasp the front side marker lamp socket and rotate 1/4 turn counterclockwise to remove it from the
lamp assembly. 3. Remove bulb from the front side marker lamp socket
and replace with a new bulb.
4. Install front side marker lamp socket in lamp assembly and rotate 1/4 turn clockwise to lock into place.
5. Position the inner wheel liner in place and install the three fasteners.
Front Fog Lamp — Halogen
1. Remove fasteners from inner wheel liner and carefullypeel back liner for access.
Inner Wheel Liner Fasteners
Front Side Marker Lamp Bulb Removal
396 IN CASE OF EMERGENCY
Page 399 of 592
2. Reach through the front fascia to fog lamp housing toaccess the bulb.
3. Rotate the front fog lamp socket counterclockwise, and remove the bulb and socket assembly from the front fog
lamp housing.
4. Pull the bulb out of the socket and insert the replace- ment bulb.CAUTION!
Do not touch the new bulb with your fingers. Oil
contamination will severely shorten bulb life. If the
bulb comes in contact with any oily surface, clean the
bulb with rubbing alcohol.
5. Install the front fog lamp socket assembly into the into the front fog lamp housing, and rotate the connector
clockwise to lock it in place.
6. Position the inner wheel liner in place and install fasteners.
Rear Liftgate Mounted Back-Up Lamps And Tail
Lamps (If Bulb Equipped)
1. Raise the liftgate.
2. Use a fiber stick or flat blade screw driver to pry off thebulb access cover on the lower liftgate trim.
3. Back-up lamps/tail lamp (if bulb equipped) are now visible. Rotate socket(s) counter clockwise.
4. Remove/replace bulb(s).
5. Reinstall the socket(s)
6. Reverse process to reinstall the liftgate trim.
Front Fog Lamp Socket
7
IN CASE OF EMERGENCY 397
Page 400 of 592
Rear Bodyside Mounted Taillamps
1. Raise the liftgate.
2. Remove two torx head screws on bodyside lamp usinga T30 screwdriver.
3. Remove lamp from vehicle body and locate bulb socket on rear of lamp. Rotate socket counter-clockwise.
4. Remove/replace bulb(s).
5. Reinstall the socket(s)
6. Reverse process to reinstall the lamp onto vehicle.
Center High-Mounted Stop Lamp (CHMSL)
The center high-mounted stop lamp is an LED assembly.
See your authorized dealer for replacement.
Rear License Lamp
The rear license lamps are LED. See your authorized dealer
for replacement.
FUSES
WARNING!
• When replacing a blown fuse, always use an appro-
priate replacement fuse with the same amp rating as
the original fuse. Never replace a fuse with another
fuse of higher amp rating. Never replace a blown
fuse with metal wires or any other material. Failure
to use proper fuses may result in serious personal
injury, fire and/or property damage.
• Before replacing a fuse, make sure that the ignition is
off and that all the other services are switched off
and/or disengaged.
• If the replaced fuse blows again, contact an autho-
rized dealer.
• If a general protection fuse for safety systems (air
bag system, braking system), power unit systems
(engine system, transmission system) or steering
system blows, contact an authorized dealer.
General Information
The fuses protect electrical systems against excessive cur-
rent.
398 IN CASE OF EMERGENCY