ECO mode CHRYSLER VOYAGER 2001 Owner's Manual
[x] Cancel search | Manufacturer: CHRYSLER, Model Year: 2001, Model line: VOYAGER, Model: CHRYSLER VOYAGER 2001Pages: 4284, PDF Size: 83.53 MB
Page 478 of 4284

Symptom:
HEADLAMP SWITCH MISMATCH
When Monitored and Set Condition:
HEADLAMP SWITCH MISMATCH
When Monitored: Ignition ON
Set Condition: Headlamp switch is in Auto mode and the vehicle is not EC Mirror
equipped.
POSSIBLE CAUSES
VERIFY AUTO HEADLAMP SWITCH
INTERMITTENT WIRING AND CONNECTORS
BODY CONTROL MODULE
TEST ACTION APPLICABILITY
1 Turn the ignition on.
With the DRBIIIt, record and erase DTC's.
Turn the headlamps to the Auto position.
With the DRBIIIt, read DTCs.
Does the DRBIIItdisplay HEADLAMP SWITCH MISMATCH?All
Ye s®Go To 2
No®Go To 4
2 Visually identify the Headlamp Switch type.
Does the Headlamp Switch Contain an Auto Headlamp position?All
Ye s®Replace the Auto Headlamp Switch with a non Auto Headlamp
Switch.
Perform BODY VERIFICATION TEST - VER 1.
No®Go To 3
3 If there are no possible causes remaining, view repair. All
Repair
Replace and program the Body Control Module in accordance with
the Service Information.
Perform BODY VERIFICATION TEST - VER 1.
4 The conditions necessary to set this DTC are not present at this time.
Using the schematics as a guide, inspect the wiring and connectors specific to this
circuit.
Wiggle the wiring while checking for shorts and open circuits.
Were there any problems found?All
Ye s®Repair as necessary.
Perform BODY VERIFICATION TEST - VER 1.
No®Test Complete.
449
EXTERIOR LIGHTING
Page 543 of 4284

Symptom List:
A/C FAULT (STORED) - MANUAL A/C
BACKLIGHT DIMMING RX FAILURE (STORED) - MANUAL A/C
BLEND OVERCURRENT (STORED) - MANUAL A/C
CHECKSUM FAILURE (STORED) - MANUAL A/C
EVAPORATOR TEMPERATURE SENSOR CIRCUIT OPEN
(STORED) - MANUAL A/C
EVAPORATOR TEMPERATURE SENSOR CIRCUIT SHORT
(STORED) - MANUAL A/C
LOOPBACK FAILURE (STORED) - MANUAL A/C
LOOPBACK TEST FAILURE (STORED) - MANUAL A/C
MODE OVERCURRENT (STORED) - MANUAL A/C
NO BCM MESSAGE RECEIVED (STORED) - MANUAL A/C
NO PCM MESSAGE RECEIVED (STORED) - MANUAL A/C
PCM COMMUNICATION FAILURE (STORED) - MANUAL A/C
POWER FAULT (STORED) - MANUAL A/C
REAR BLEND OVERCURRENT (STORED) - MANUAL A/C
REAR BLEND POT CIRCUIT OPEN (STORED) - MANUAL A/C
REAR BLEND POT CIRCUIT SHORT (STORED) - MANUAL A/C
REAR DEFOG FAILURE (STORED) - MANUAL A/C
REAR MODE OVERCURRENT (STORED) - MANUAL A/C
RECIRC OVERCURRENT (STORED) - MANUAL A/C
RECIRCULATION FAULT (STORED) - MANUAL A/C
TX FAILURE (STORED) - MANUAL A/C
UNKNOWN FAULT DETECTED (STORED) - MANUAL A/C
VEHICLE ODOMETER FAILURE (STORED) - MANUAL A/C
ZONE OVERCURRENT (STORED) - MANUAL A/C
Test Note: All symptoms listed above are diagnosed using the same tests.
The title for the tests will be A/C FAULT (STORED) - MANUAL
A/C.
When Monitored and Set Condition:
A/C FAULT (STORED) - MANUAL A/C
When Monitored: With the ignition on.
Set Condition: This DTC will set if the A/C switch stays closed for 10 minutes.
BACKLIGHT DIMMING RX FAILURE (STORED) - MANUAL A/C
When Monitored: With the ignition on.
Set Condition: If the A/C - Heater Control Module does not receive the dimming function
message from the BCM for more than 5 seconds, then the A/C - Heater Control Module
LEDs will default to full brightness and the DTC will set.
514
HEATING & A/C
Page 544 of 4284
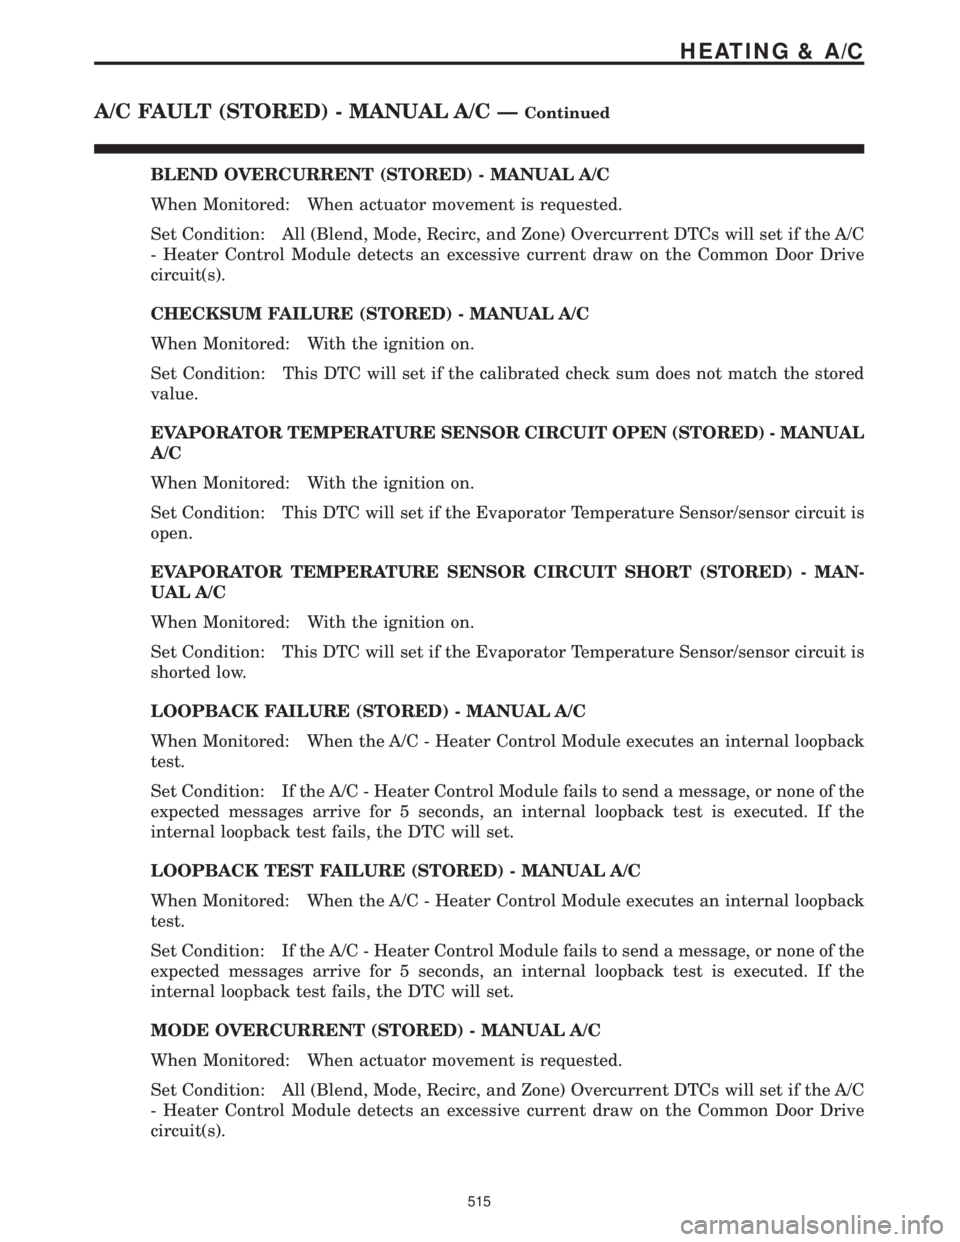
BLEND OVERCURRENT (STORED) - MANUAL A/C
When Monitored: When actuator movement is requested.
Set Condition: All (Blend, Mode, Recirc, and Zone) Overcurrent DTCs will set if the A/C
- Heater Control Module detects an excessive current draw on the Common Door Drive
circuit(s).
CHECKSUM FAILURE (STORED) - MANUAL A/C
When Monitored: With the ignition on.
Set Condition: This DTC will set if the calibrated check sum does not match the stored
value.
EVAPORATOR TEMPERATURE SENSOR CIRCUIT OPEN (STORED) - MANUAL
A/C
When Monitored: With the ignition on.
Set Condition: This DTC will set if the Evaporator Temperature Sensor/sensor circuit is
open.
EVAPORATOR TEMPERATURE SENSOR CIRCUIT SHORT (STORED) - MAN-
UAL A/C
When Monitored: With the ignition on.
Set Condition: This DTC will set if the Evaporator Temperature Sensor/sensor circuit is
shorted low.
LOOPBACK FAILURE (STORED) - MANUAL A/C
When Monitored: When the A/C - Heater Control Module executes an internal loopback
test.
Set Condition: If the A/C - Heater Control Module fails to send a message, or none of the
expected messages arrive for 5 seconds, an internal loopback test is executed. If the
internal loopback test fails, the DTC will set.
LOOPBACK TEST FAILURE (STORED) - MANUAL A/C
When Monitored: When the A/C - Heater Control Module executes an internal loopback
test.
Set Condition: If the A/C - Heater Control Module fails to send a message, or none of the
expected messages arrive for 5 seconds, an internal loopback test is executed. If the
internal loopback test fails, the DTC will set.
MODE OVERCURRENT (STORED) - MANUAL A/C
When Monitored: When actuator movement is requested.
Set Condition: All (Blend, Mode, Recirc, and Zone) Overcurrent DTCs will set if the A/C
- Heater Control Module detects an excessive current draw on the Common Door Drive
circuit(s).
515
HEATING & A/C
A/C FAULT (STORED) - MANUAL A/C ÐContinued
Page 545 of 4284
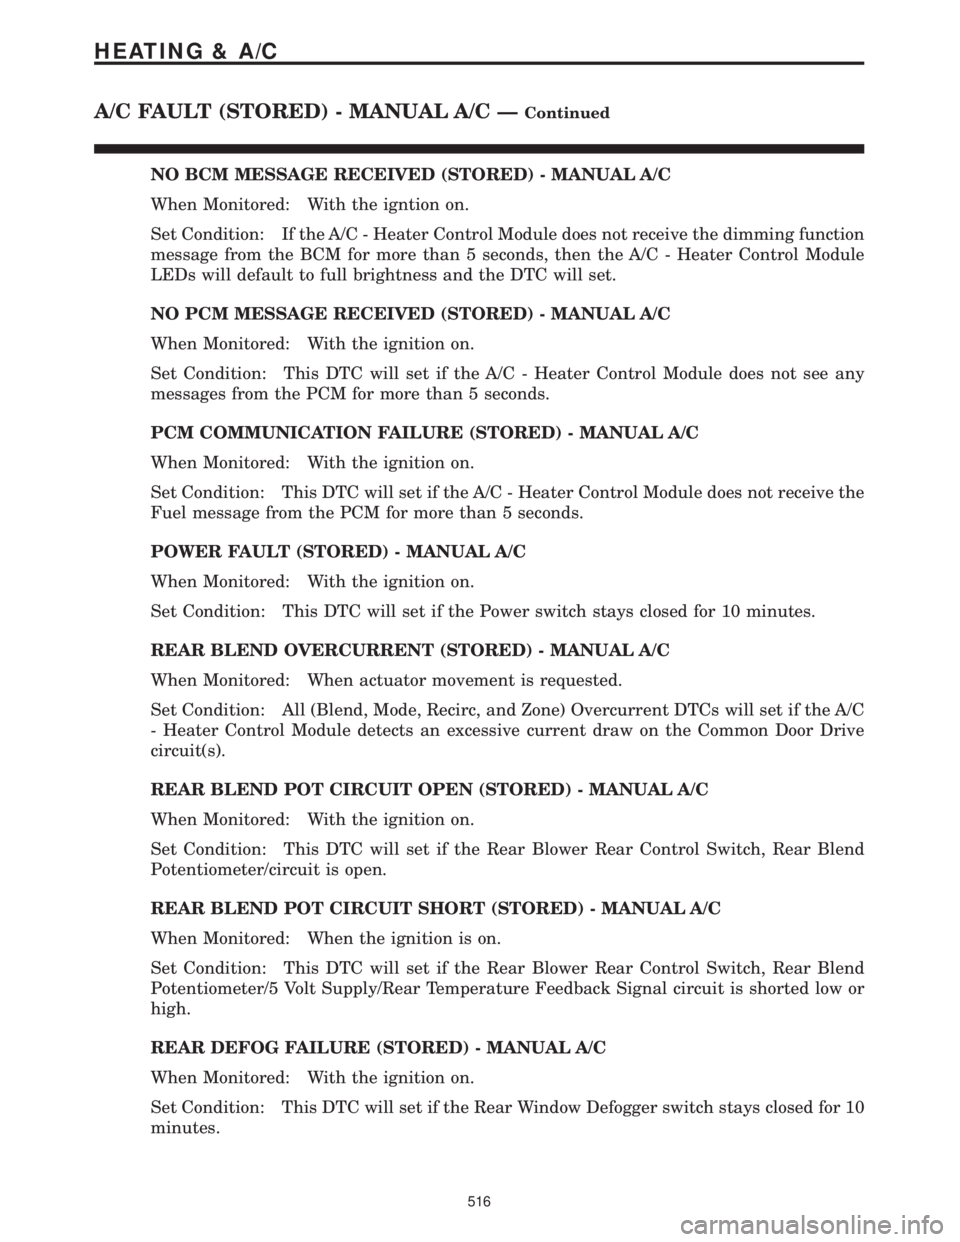
NO BCM MESSAGE RECEIVED (STORED) - MANUAL A/C
When Monitored: With the igntion on.
Set Condition: If the A/C - Heater Control Module does not receive the dimming function
message from the BCM for more than 5 seconds, then the A/C - Heater Control Module
LEDs will default to full brightness and the DTC will set.
NO PCM MESSAGE RECEIVED (STORED) - MANUAL A/C
When Monitored: With the ignition on.
Set Condition: This DTC will set if the A/C - Heater Control Module does not see any
messages from the PCM for more than 5 seconds.
PCM COMMUNICATION FAILURE (STORED) - MANUAL A/C
When Monitored: With the ignition on.
Set Condition: This DTC will set if the A/C - Heater Control Module does not receive the
Fuel message from the PCM for more than 5 seconds.
POWER FAULT (STORED) - MANUAL A/C
When Monitored: With the ignition on.
Set Condition: This DTC will set if the Power switch stays closed for 10 minutes.
REAR BLEND OVERCURRENT (STORED) - MANUAL A/C
When Monitored: When actuator movement is requested.
Set Condition: All (Blend, Mode, Recirc, and Zone) Overcurrent DTCs will set if the A/C
- Heater Control Module detects an excessive current draw on the Common Door Drive
circuit(s).
REAR BLEND POT CIRCUIT OPEN (STORED) - MANUAL A/C
When Monitored: With the ignition on.
Set Condition: This DTC will set if the Rear Blower Rear Control Switch, Rear Blend
Potentiometer/circuit is open.
REAR BLEND POT CIRCUIT SHORT (STORED) - MANUAL A/C
When Monitored: When the ignition is on.
Set Condition: This DTC will set if the Rear Blower Rear Control Switch, Rear Blend
Potentiometer/5 Volt Supply/Rear Temperature Feedback Signal circuit is shorted low or
high.
REAR DEFOG FAILURE (STORED) - MANUAL A/C
When Monitored: With the ignition on.
Set Condition: This DTC will set if the Rear Window Defogger switch stays closed for 10
minutes.
516
HEATING & A/C
A/C FAULT (STORED) - MANUAL A/C ÐContinued
Page 546 of 4284

REAR MODE OVERCURRENT (STORED) - MANUAL A/C
When Monitored: When actuator movement is requested.
Set Condition: All (Blend, Mode, Recirc, and Zone) Overcurrent DTCs will set if the A/C
- Heater Control Module detects an excessive current draw on the Common Door Drive
circuit(s).
RECIRC OVERCURRENT (STORED) - MANUAL A/C
When Monitored: When actuator movement is requested.
Set Condition: All (Blend, Mode, Recirc, and Zone) Overcurrent DTCs will set if the A/C
- Heater Control Module detects an excessive current draw on the Common Door Drive
circuit(s).
RECIRCULATION FAULT (STORED) - MANUAL A/C
When Monitored: With the ignition on.
Set Condition: This DTC will set if the Recirc switch stays closed for 10 minutes.
TX FAILURE (STORED) - MANUAL A/C
When Monitored: When the ignition is on.
Set Condition: This DTC will set if the A/C - Heater Control Module is unable to send a
message.
UNKNOWN FAULT DETECTED (STORED) - MANUAL A/C
When Monitored: With the ignition on.
Set Condition: This DTC will set if the A/C - Heater Cotrol Module detects an internal
fault.
VEHICLE ODOMETER FAILURE (STORED) - MANUAL A/C
When Monitored: With the ignition on.
Set Condition: This DTC will set if the A/C - Heater Control Module does not receive the
Vehicle Odometer message from the PCM for more than 5 seconds.
ZONE OVERCURRENT (STORED) - MANUAL A/C
When Monitored: When actuator movement is requested.
Set Condition: All (Blend, Mode, Recirc, and Zone) Overcurrent DTCs will set if the A/C
- Heater Control Module detects an excessive current draw on the Common Door Drive
circuit(s).
517
HEATING & A/C
A/C FAULT (STORED) - MANUAL A/C ÐContinued
Page 547 of 4284

POSSIBLE CAUSES
CHECK FOR ACTIVE HVAC DTCS, & COOLDOWN TEST & DOOR RECALIBRATION MESSAGES
STORED CODE(S) TEST COMPLETE
TEST ACTION APPLICABILITY
1NOTE: Active codes must be resolved before diagnosing stored codes.
NOTE: Anytime a code becomes active during this test, proceed to the
conclusion question.
Turn the ignition on.
With the DRBIIIt, record and erase stored HVAC DTC's.
Cycle the ignition switch.
Start the engine.
Monitor the DRBIIItfor active HVAC DTCs while performing the following test
steps.
Manually press the A/C - Heater Control power switch on.
Turn the front blower motor control switch knob to the low position.
If equipped, turn the rear blower motor control switch knob to the low position.
Set the passenger blend control switch to the full cold position.
If equipped, set the zone/driver blend control switch to the full cold position.
Turn the mode select switch knob to the panel position.
Manually press the recirculation mode switch on, wait 30 seconds then press it off.
Manually press the A/C mode switch on, wait 30 seconds then press it off.
Manually press the rear window defogger switch on, wait 30 seconds then press it off.
Manually sweep the passenger blend control switch from full cold to full hot then
back to full cold.
If equipped, manually sweep the zone/driver blend control switch from full cold to full
hot then back to full cold.
Manually sweep the front blower motor control switch knob through all positions.
If equipped, manually sweep the rear blower motor control switch knob through all
positions.
If equipped, turn the rear blower motor control switch knob to the rear position.
If equipped, on the Rear Blower Rear Control, manually sweep the rear blower motor
control switch knob through all positions.
If equipped, on the Rear Blower Rear Control, manually sweep the rear blend/mode
control switch knob from full cold to full hot then back to full cold.
With the DRBIIIt, actuate the AC Cooldown Test.
With the DRBIIIt, actuate the HVAC Door Recalibration Test.
Place the vehicle on a hoist, and raise the wheels off the floor.
WARNING: Be sure to keep hands and feet clear of rotating wheels. Keep
clear of the engine's moving parts
Start the engine. Place the transmission in drive. Brake off.
Does the DRBIIItdisplay any active HVAC DTC(s), Cooldown Test or Door Recali-
bration message(s)?All
Ye s®Return to the symptom list and choose the symptom(s).
Perform BODY VERIFICATION TEST - VER 1.
No®No problem found at this time.
Perform BODY VERIFICATION TEST - VER 1.
518
HEATING & A/C
A/C FAULT (STORED) - MANUAL A/C ÐContinued
Page 559 of 4284
TEST ACTION APPLICABILITY
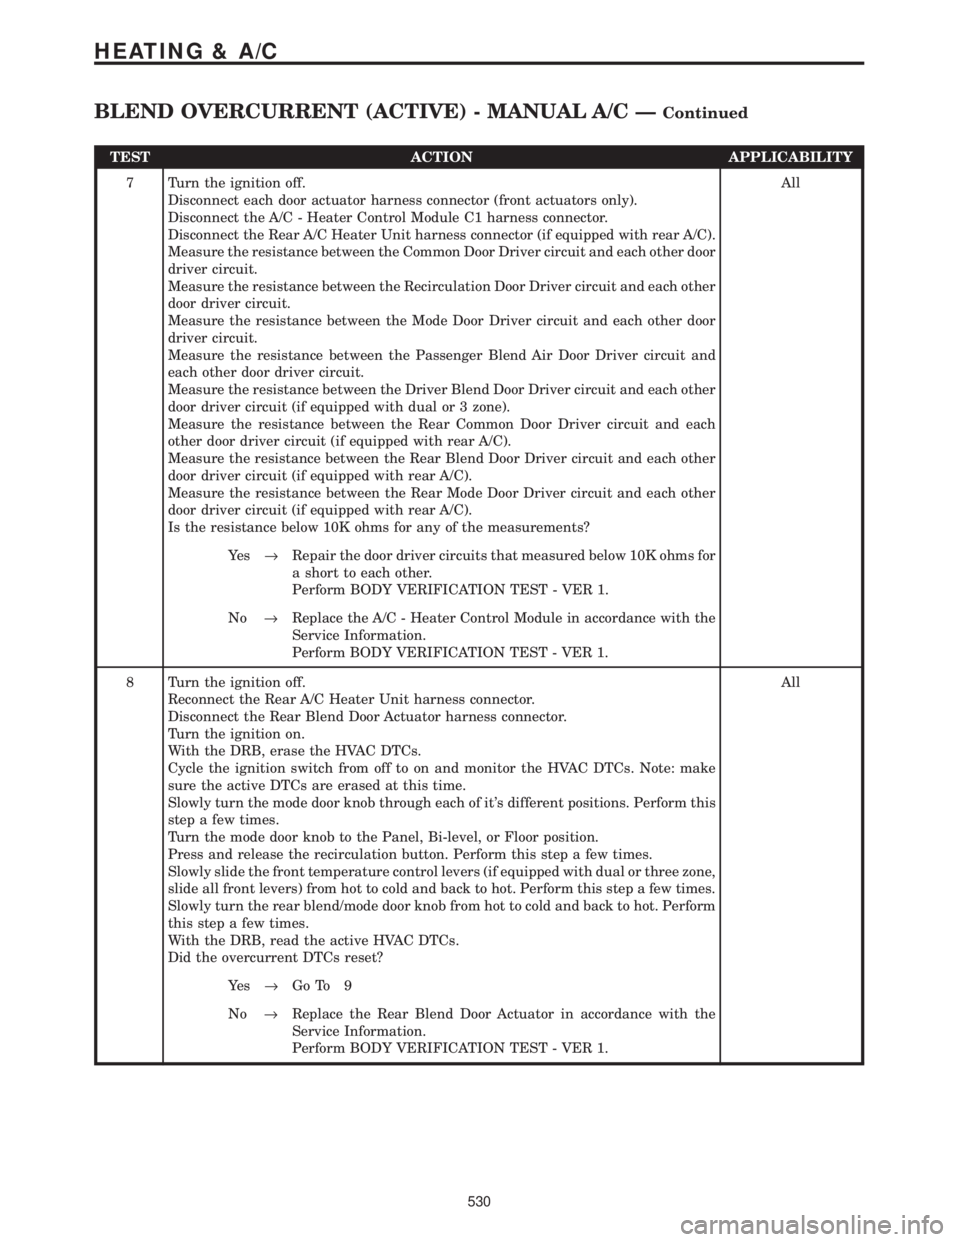
7 Turn the ignition off.
Disconnect each door actuator harness connector (front actuators only).
Disconnect the A/C - Heater Control Module C1 harness connector.
Disconnect the Rear A/C Heater Unit harness connector (if equipped with rear A/C).
Measure the resistance between the Common Door Driver circuit and each other door
driver circuit.
Measure the resistance between the Recirculation Door Driver circuit and each other
door driver circuit.
Measure the resistance between the Mode Door Driver circuit and each other door
driver circuit.
Measure the resistance between the Passenger Blend Air Door Driver circuit and
each other door driver circuit.
Measure the resistance between the Driver Blend Door Driver circuit and each other
door driver circuit (if equipped with dual or 3 zone).
Measure the resistance between the Rear Common Door Driver circuit and each
other door driver circuit (if equipped with rear A/C).
Measure the resistance between the Rear Blend Door Driver circuit and each other
door driver circuit (if equipped with rear A/C).
Measure the resistance between the Rear Mode Door Driver circuit and each other
door driver circuit (if equipped with rear A/C).
Is the resistance below 10K ohms for any of the measurements?All
Ye s®Repair the door driver circuits that measured below 10K ohms for
a short to each other.
Perform BODY VERIFICATION TEST - VER 1.
No®Replace the A/C - Heater Control Module in accordance with the
Service Information.
Perform BODY VERIFICATION TEST - VER 1.
8 Turn the ignition off.
Reconnect the Rear A/C Heater Unit harness connector.
Disconnect the Rear Blend Door Actuator harness connector.
Turn the ignition on.
With the DRB, erase the HVAC DTCs.
Cycle the ignition switch from off to on and monitor the HVAC DTCs. Note: make
sure the active DTCs are erased at this time.
Slowly turn the mode door knob through each of it's different positions. Perform this
step a few times.
Turn the mode door knob to the Panel, Bi-level, or Floor position.
Press and release the recirculation button. Perform this step a few times.
Slowly slide the front temperature control levers (if equipped with dual or three zone,
slide all front levers) from hot to cold and back to hot. Perform this step a few times.
Slowly turn the rear blend/mode door knob from hot to cold and back to hot. Perform
this step a few times.
With the DRB, read the active HVAC DTCs.
Did the overcurrent DTCs reset?All
Ye s®Go To 9
No®Replace the Rear Blend Door Actuator in accordance with the
Service Information.
Perform BODY VERIFICATION TEST - VER 1.
530
HEATING & A/C
BLEND OVERCURRENT (ACTIVE) - MANUAL A/C ÐContinued
Page 560 of 4284
TEST ACTION APPLICABILITY
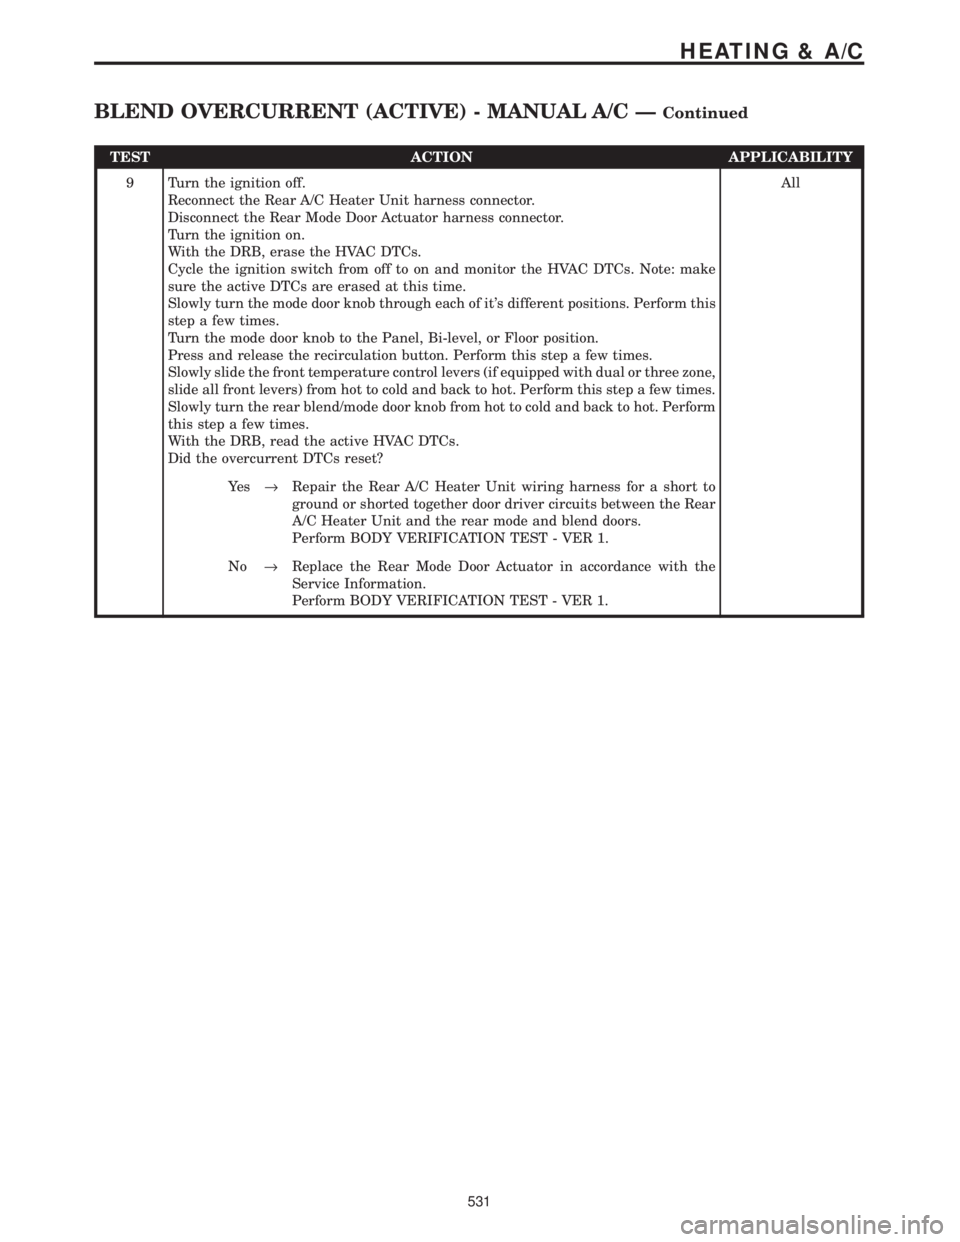
9 Turn the ignition off.
Reconnect the Rear A/C Heater Unit harness connector.
Disconnect the Rear Mode Door Actuator harness connector.
Turn the ignition on.
With the DRB, erase the HVAC DTCs.
Cycle the ignition switch from off to on and monitor the HVAC DTCs. Note: make
sure the active DTCs are erased at this time.
Slowly turn the mode door knob through each of it's different positions. Perform this
step a few times.
Turn the mode door knob to the Panel, Bi-level, or Floor position.
Press and release the recirculation button. Perform this step a few times.
Slowly slide the front temperature control levers (if equipped with dual or three zone,
slide all front levers) from hot to cold and back to hot. Perform this step a few times.
Slowly turn the rear blend/mode door knob from hot to cold and back to hot. Perform
this step a few times.
With the DRB, read the active HVAC DTCs.
Did the overcurrent DTCs reset?All
Ye s®Repair the Rear A/C Heater Unit wiring harness for a short to
ground or shorted together door driver circuits between the Rear
A/C Heater Unit and the rear mode and blend doors.
Perform BODY VERIFICATION TEST - VER 1.
No®Replace the Rear Mode Door Actuator in accordance with the
Service Information.
Perform BODY VERIFICATION TEST - VER 1.
531
HEATING & A/C
BLEND OVERCURRENT (ACTIVE) - MANUAL A/C ÐContinued
Page 792 of 4284
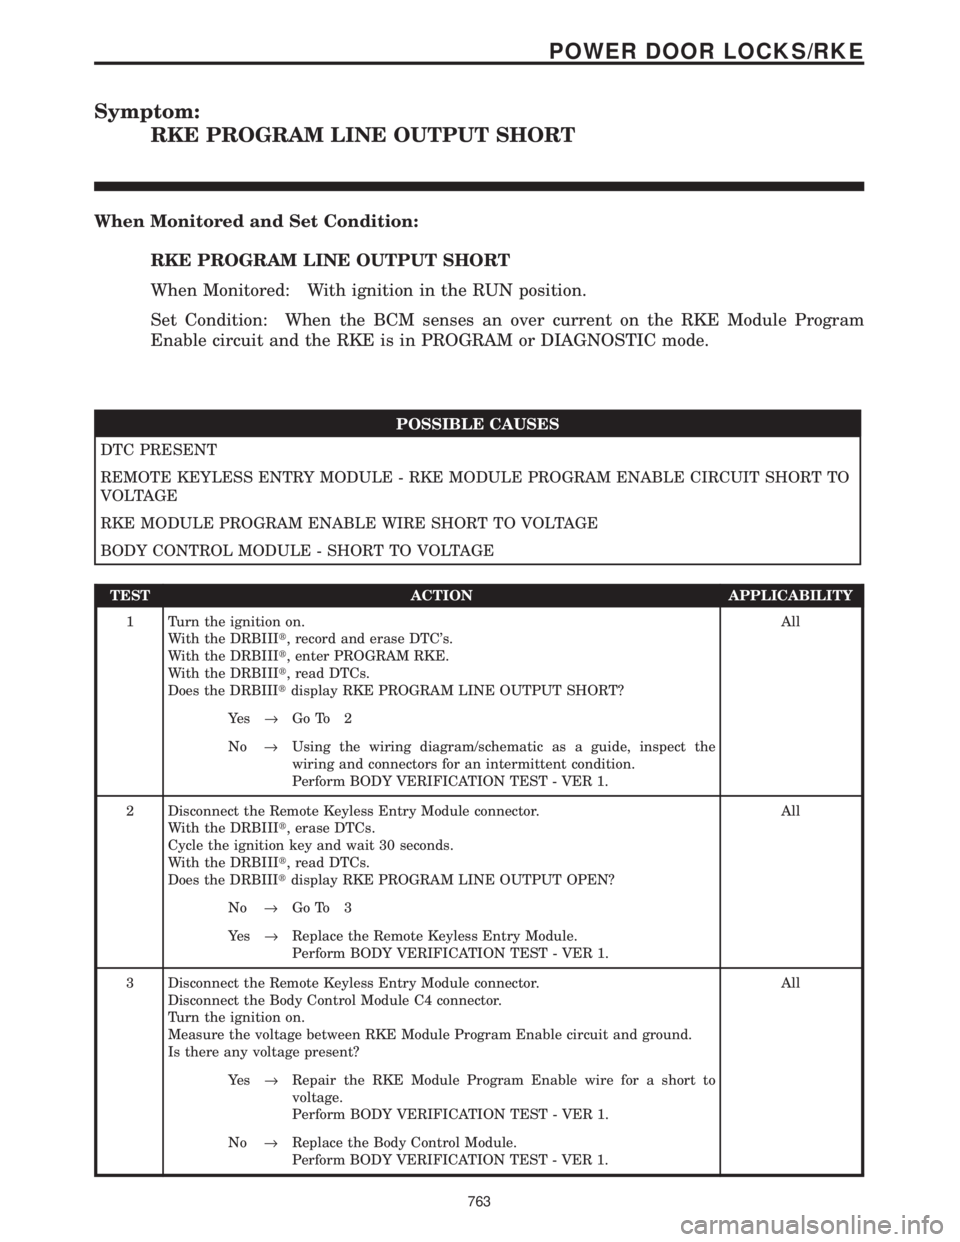
Symptom:
RKE PROGRAM LINE OUTPUT SHORT
When Monitored and Set Condition:
RKE PROGRAM LINE OUTPUT SHORT
When Monitored: With ignition in the RUN position.
Set Condition: When the BCM senses an over current on the RKE Module Program
Enable circuit and the RKE is in PROGRAM or DIAGNOSTIC mode.
POSSIBLE CAUSES
DTC PRESENT
REMOTE KEYLESS ENTRY MODULE - RKE MODULE PROGRAM ENABLE CIRCUIT SHORT TO
VOLTAGE
RKE MODULE PROGRAM ENABLE WIRE SHORT TO VOLTAGE
BODY CONTROL MODULE - SHORT TO VOLTAGE
TEST ACTION APPLICABILITY
1 Turn the ignition on.
With the DRBIIIt, record and erase DTC's.
With the DRBIIIt, enter PROGRAM RKE.
With the DRBIIIt, read DTCs.
Does the DRBIIItdisplay RKE PROGRAM LINE OUTPUT SHORT?All
Ye s®Go To 2
No®Using the wiring diagram/schematic as a guide, inspect the
wiring and connectors for an intermittent condition.
Perform BODY VERIFICATION TEST - VER 1.
2 Disconnect the Remote Keyless Entry Module connector.
With the DRBIIIt, erase DTCs.
Cycle the ignition key and wait 30 seconds.
With the DRBIIIt, read DTCs.
Does the DRBIIItdisplay RKE PROGRAM LINE OUTPUT OPEN?All
No®Go To 3
Ye s®Replace the Remote Keyless Entry Module.
Perform BODY VERIFICATION TEST - VER 1.
3 Disconnect the Remote Keyless Entry Module connector.
Disconnect the Body Control Module C4 connector.
Turn the ignition on.
Measure the voltage between RKE Module Program Enable circuit and ground.
Is there any voltage present?All
Ye s®Repair the RKE Module Program Enable wire for a short to
voltage.
Perform BODY VERIFICATION TEST - VER 1.
No®Replace the Body Control Module.
Perform BODY VERIFICATION TEST - VER 1.
763
POWER DOOR LOCKS/RKE
Page 1019 of 4284

BODY VERIFICATION TEST - VER 1 APPLICABILITY
1. Disconnect all jumper wires and reconnect all previously disconnected components and
connectors.
2. With the DRBIIIt, record and erase all DTCs from ALL modules. Cycle the ignition on then
off
3. If the Sentry Key Immobilizer Module (SKIM), the Powertrain Control Module (PCM), or the
Engine Control Module (ECM) was replaced, proceed to number 9. If the SKIM, PCM, or ECM
was not replaced, continue to the next number.
4. If the Body Control Module (BCM) was replaced, turn the ignition on for 15 seconds (to allow
the new BCM to learn VIN) or engine may not start (if VTSS equipped). If the vehicle is
equipped with VTSS, use the DRBIIItand enable VTSS.
5. Program all other options as needed.
6. If any actuators were replaced in the HVAC System, with the DRBIIItin HVAC, select
System Tests then select HVAC Door Recalibration (manual temperature system only).
7. If any actuators were replaced in the ATC System, with the DRBIIItin Automatic Temp
Control, select Miscellaneous then select Reset ATC Head.
8. If any repairs were made to the power sliding door or power liftgate, use the DRBIIItand
perform the open and close system tests. Observe the instructions on the DRBIIItscreen.
Proceed to number 16.
9. Obtain the vehicle's unique PIN assigned to it's original SKIM from either the vehicle's
invoice or from Chrysler's Customer Assistance Center (1-800-992-1997).
10. NOTE: Once Secured Access Mode is active, the SKIM will remain in that mode for 60
seconds.
11. With the DRBIIIt, select THEFT ALARM, SKIM, MISCELLANEOUS and select SKIM
REPLACED. Enter the 4 digit PIN to put the SKIM in Secured Access Mode.
12. The DRBIIItwill prompt for the following steps. (1) Program the country code into the
SKIM's memory. (2) Program the vehicle's VIN into the SKIM memory. (3) Transfer the
vehicle's Secret Key data from the PCM.
13. Using the DRBIIIt, program all customer keys into the SKIM memory. This requires that
the SKIM be in Secured Access Mode, using the 4 digit PIN.
14. Note: If the PCM or ECM is replaced, the VIN and the unique Secret Key data must be
transferred from the SKIM to the PCM or ECM. This procedure requires the SKIM to be placed
in Secured Access Mode using the 4-digit PIN.
15. Note: If 3 attempts are made to enter Secured Access Mode using an incorrect PIN, Secured
Access Mode will be locked out for 1 hour which causes the DRBIIItto display9No Resp from
SKIM9. To exit this mode, turn ignition to Run for 1 hour.
16. Ensure that all accessories are turned off and the battery is fully charged.
17. Start and run the engine for 2 minutes. Operate all functions of the system that caused the
original concern.
18. Turn the ignition off and wait 5 seconds. Turn the ignition on and using the DRBIIIt, read
DTCs from ALL modules.
Are any DTC's present or is the original condition still present?All
Ye s®Repair is not complete, refer to the appropriate symptom.
No®Repair is complete.
990
VERIFICATION TESTS
Verification Tests ÐContinued