display Citroen C4 2016 2.G Repair Manual
[x] Cancel search | Manufacturer: CITROEN, Model Year: 2016, Model line: C4, Model: Citroen C4 2016 2.GPages: 396, PDF Size: 10.22 MB
Page 202 of 396
200
C4-2_en_Chap06_conduite_ed02-2015
On a steep descent or in the event of
sharp acceleration, the speed limiter
w
ill not be able to prevent the vehicle
from
exceeding the programmed speed. The
use of mats not approved by
C
ITROËN may inter fere with the o
peration of the speed limiter.
To avoid any risk of jamming of the
ped
als:
-
e
nsure that the mat is positioned
c
o r r e c t l y,
-
d
o not fit one mat on top of another.
Temporarily exceeding the
programmed speed
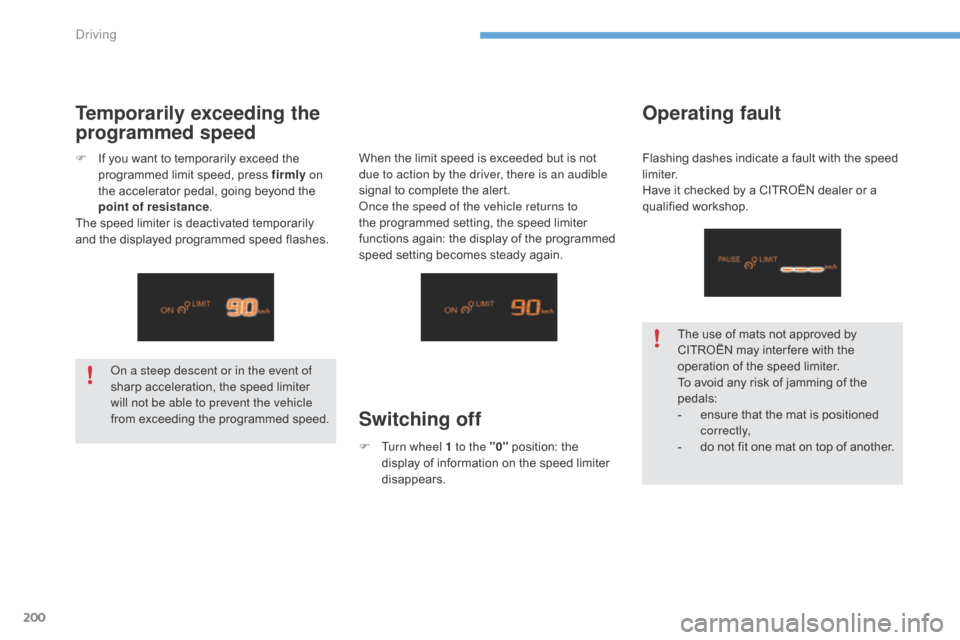
F If you want to temporarily exceed the p
rogrammed limit speed, press firmly on
the
accelerator pedal, going beyond the
p
oint of resistance .
The
speed limiter is deactivated temporarily
a
nd the displayed programmed speed flashes.
Switching off
When the limit speed is exceeded but is not due to action by the driver, there is an audible
signal
to complete the alert.
Once the speed of the vehicle returns to
the
programmed setting, the speed limiter
f
unctions again: the display of the programmed
s
peed setting becomes steady again.
F
T
urn wheel 1 to the "0"
position: the
d
isplay of information on the speed limiter
d
isappears.
Operating fault
Flashing dashes indicate a fault with the speed limiter.
Have
it checked by a CITROËN dealer or a
q
ualified
w
orkshop.
Driving
Page 203 of 396

201
C4-2_en_Chap06_conduite_ed02-2015
Cruise control
1. Cruise control mode selection wheel.
2. B utton for setting the current speed of the
v
ehicle as the cruise setting or lowering the
c
ruise
se
tting.
3.
B
utton for setting the current speed of the
v
ehicle as the cruise setting or raising the
c
ruise
se
tting.
4.
C
ruise control pause / resume button.
5.
D
isplay memorised speed settings button.
Steering mounted controls
6. Cruise control pause / resume indication.
7. C ruise control mode selected indication.
8.
C
ruise speed setting.
9.
S
electing a memorised cruise speed.
Displays in the instrument panel
The operation of the cruise control can be
interrupted (pause):
-
b
y pressing control 4 or by pressing the
b
rake or clutch pedal,
-
a
utomatically, if operation of the dynamic
s
tability control system is triggered.
Switching
off the ignition cancels any
p
rogrammed speed setting.
The cruise control is switched on
manually.
It requires a minimum vehicle speed of
2
5 mph (40 km/h) as well as:
-
w
ith a manual gearbox, the
e
ngagement of fourth gear or
h
igher,
-
w
ith an automatic gearbox, the gear
s
elector at position D or second
gear or higher in manual mode.
System which automatically maintains the cruising speed of the vehicle at a setting programmed by
t
he driver, without any action on the accelerator pedal.
The cruise control system is a driving aid
t
hat cannot, in any circumstances, replace
t
he need to observe speed limits, nor the
n
eed for vigilance on the part of the driver.As
a safety measure, you are advised
t
o keep your feet near the pedals at all
ti
mes.
6
Driving
Page 204 of 396
202
C4-2_en_Chap06_conduite_ed02-2015
Switching on
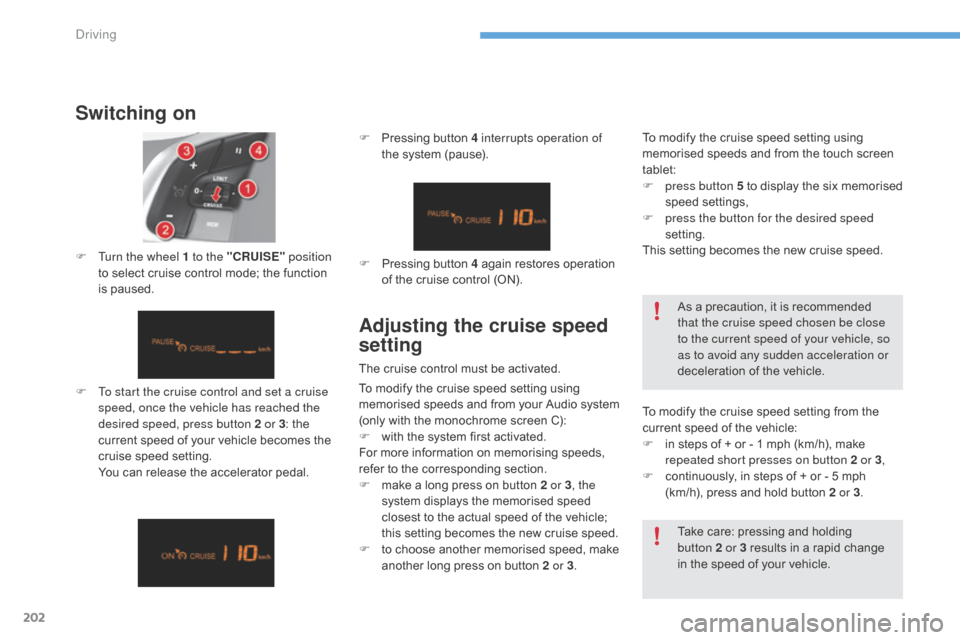
F To start the cruise control and set a cruise speed, once the vehicle has reached the
desired speed, press button 2 or 3 :
the
c
urrent speed of your vehicle becomes the
c
ruise speed setting.
Y
ou can release the accelerator pedal.
F
T
urn the wheel 1 to the "CRUISE"
position
to select cruise control mode; the function
i
s paused. F
P
ressing button 4 interrupts operation of
the system (pause).
Take care: pressing and holding
b
utton 2 or 3 results in a rapid change
i
n the speed of your vehicle.
F
P
ressing button 4 again restores operation
o
f the cruise control (ON).
As a precaution, it is recommended
t
hat the cruise speed chosen be close
to the current speed of your vehicle, so
as to avoid any sudden acceleration or
deceleration of the vehicle.
Adjusting the cruise speed
setting
The cruise control must be activated.
T o modify the cruise speed setting from the
c
urrent speed of the vehicle:
F
i
n steps of + or - 1 mph (km/h), make
r
epeated short presses on button 2 or 3,
F
c
ontinuously, in steps of + or - 5 mph
(
km/h), press and hold button 2 or 3.
To
modify the cruise speed setting using
m
emorised speeds and from the touch screen
t
ablet:
F
p
ress button 5 to display the six memorised
s
peed
se
ttings,
F
p
ress the button for the desired speed
setting.
This setting becomes the new cruise speed.
To modify the cruise speed setting using
m
emorised
s
peeds
a
nd
f
rom
y
our
A
udio
s
ystem
(
only with the monochrome screen C):
F
w
ith the system first activated.
For
more information on memorising speeds,
r
efer to the corresponding section.
F
m
ake a long press on button 2 or 3, the
system
displays the memorised speed
c
losest to the actual speed of the vehicle;
t
his setting becomes the new cruise speed.
F
t
o choose another memorised speed, make
a
nother long press on button 2 or 3.
Driving
Page 205 of 396
203
C4-2_en_Chap06_conduite_ed02-2015
Temporarily exceeding the
programmed speed
When descending a steep hill, the cruise control system cannot prevent
t
he vehicle from exceeding the
pro
grammed
s
peed.
When
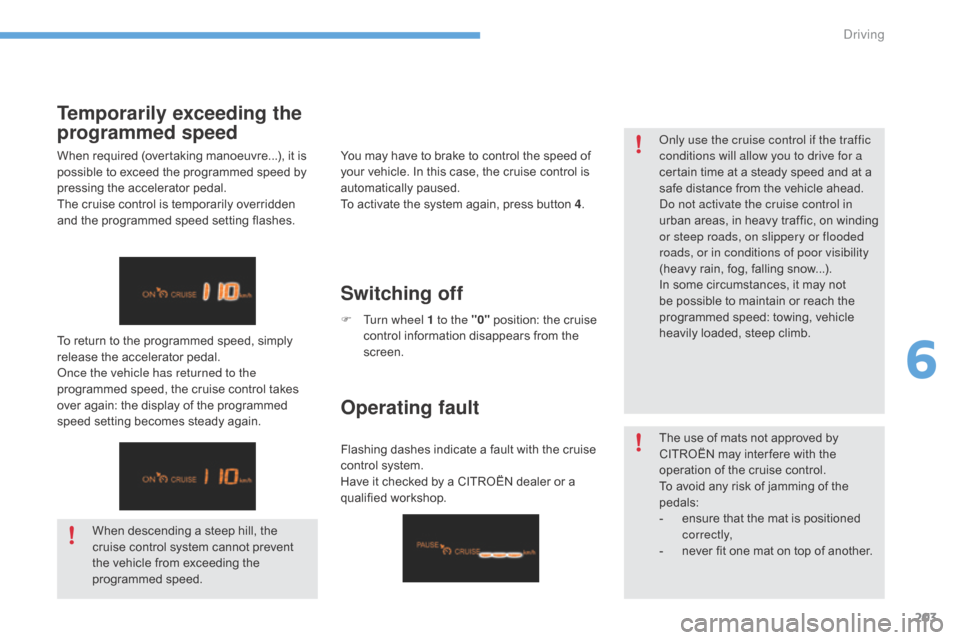
required (overtaking manoeuvre...), it is
p
ossible to exceed the programmed speed by
p
ressing the accelerator pedal.
The
cruise control is temporarily overridden
a
nd
the programmed speed setting flashes.
Only use the cruise control if the traffic
conditions will allow you to drive for a
certain time at a steady speed and at a
s
afe distance from the vehicle ahead.
Do not activate the cruise control in
urban areas, in heavy traffic, on winding
o
r steep roads, on slippery or flooded
roads, or in conditions of poor visibility
(heavy rain, fog, falling snow...).
In some circumstances, it may not
b
e possible to maintain or reach the
p
rogrammed speed: towing, vehicle
h
eavily loaded, steep climb.
The use of mats not approved by
C
ITROËN may inter fere with the
o
peration of the cruise control.
To avoid any risk of jamming of the
ped
als:
- e nsure that the mat is positioned c
o r r e c t l y,
-
n
ever fit one mat on top of another.
To
return to the programmed speed, simply
r
elease the accelerator pedal.
Once the vehicle has returned to the
programmed speed, the cruise control takes
ov
er
again: the display of the programmed
s
peed
setting becomes steady again.You may have to brake to control the speed of
y
our vehicle. In this case, the cruise control is
au
tomatically
p
aused.
To activate the system again, press button 4
.
Switching off
F Turn wheel 1 to the "0" position: the cruise c
ontrol information disappears from the
sc
reen.
Operating fault
Flashing dashes indicate a fault with the cruise control system.
Have
it checked by a CITROËN dealer or a
q
ualified
w
orkshop.
6
Driving
Page 206 of 396
204
C4-2_en_Chap06_conduite_ed02-2015
Memorising speeds
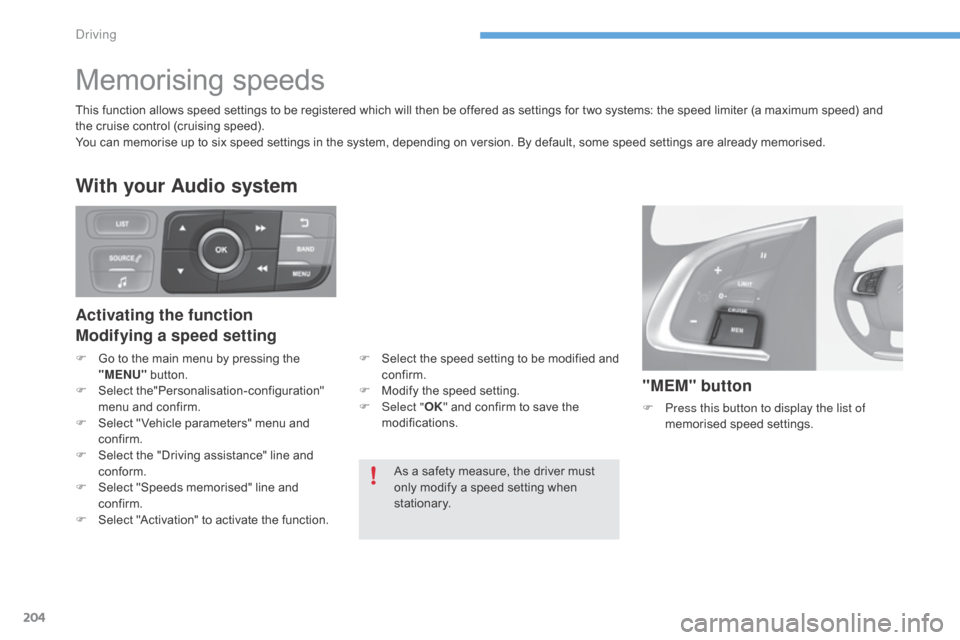
"MEM" button
F Press this button to display the list of
memorised s peed se ttings.
As
a
safety
measure,
the
driver
must
o
nly
modify
a
speed
setting
when
s
tationary.
This
function
allows
speed
settings
to
be
registered
which
will
then
be
offered
as
settings
for
two
systems: the speed limiter (a maximum speed) and
t
he
cruise
control
(cruising
speed).
You
can
memorise
up
to
six
speed
settings
in
the
system,
depending
on
version.
By
default,
some
speed settings are already memorised.
Activating the function
Modifying a speed setting
With your Audio system
F Go
to the main menu by pressing the "
MENU" button.
F
Sel
ect
t
he"Personalisation-configuration"
m
enu and confirm.
F
S
elect " Vehicle parameters" menu and
c
onfirm.
F
S
elect the "Driving assistance" line and
c
onform.
F
S
elect "Speeds memorised" line and
c
onfirm.
F
S
elect "Activation" to activate the function.F
S elect the speed setting to be modified and c
onfirm.
F
M
odify the speed setting.
F
Sel
ect "OK"
and confirm to save the
m
odifications.
Driving
Page 208 of 396
206
C4-2_en_Chap06_conduite_ed02-2015
Parking sensors
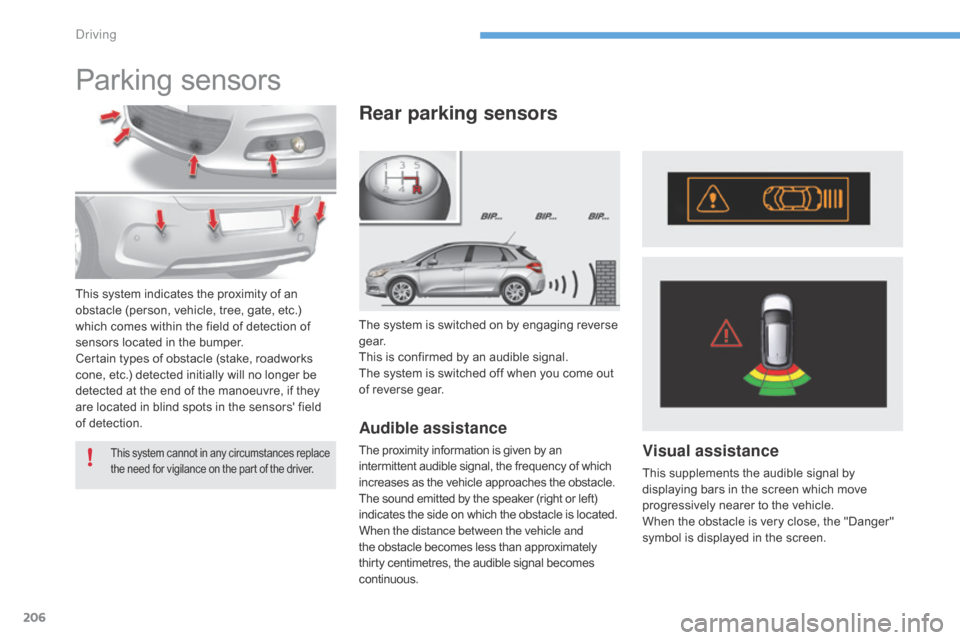
The system is switched on by engaging reverse ge a r.
This
is confirmed by an audible signal.
The
system is switched off when you come out
o
f reverse gear.
Rear parking sensors
Audible assistance
The proximity information is given by an intermittent audible signal, the frequency of which i
ncreases as the vehicle approaches the obstacle.
The
sound emitted by the speaker (right or left)
i
ndicates the side on which the obstacle is located.
When the distance between the vehicle and
the
obstacle becomes less than approximately
t
hirty centimetres, the audible signal becomes
c
ontinuous.Visual assistance
This supplements the audible signal by d isplaying bars in the screen which move
p
rogressively nearer to the vehicle.
When
the obstacle is very close, the "Danger"
s
ymbol is displayed in the screen.
This system c annot i n a ny c ircumstances r eplace t
he need for vigilance on the part of the driver.
This system indicates the proximity of an obstacle (person, vehicle, tree, gate, etc.)
w
hich comes within the field of detection of
s
ensors located in the bumper.
Certain
types of obstacle (stake, roadworks
c
one, etc.) detected initially will no longer be
d
etected at the end of the manoeuvre, if they
a
re located in blind spots in the sensors' field
o
f detection.
Driving
Page 211 of 396
209
C4-2_en_Chap07_infos-pratiques_ed02-2015
Fuel
Capacity of the tank: approximately 60 litres.When the low fuel level in the
tank
is reached, this warning lamp
c
omes on in the instrument panel,
a
ccompanied by an audible warning
a
nd the display of an alert message.
W
hen it first comes on, around
6
litres of fuel remain in the tank.
Low fuel level
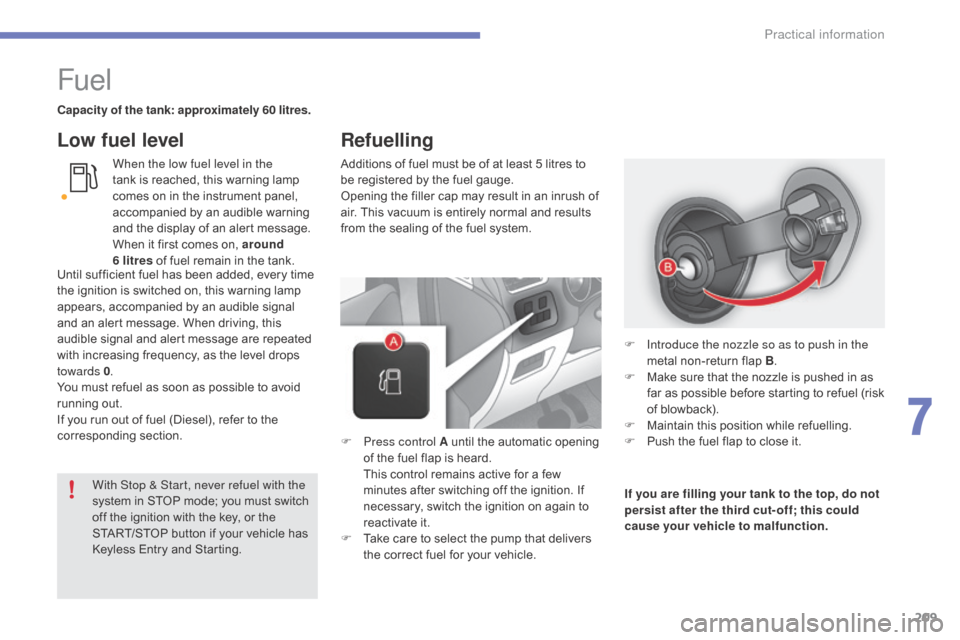
Additions of fuel must be of at least 5 litres to be registered by the fuel gauge.
Opening
the filler cap may result in an inrush of
a
ir. This vacuum is entirely normal and results
f
rom the sealing of the fuel system.
F
P
ress control A until the automatic opening
o
f the fuel flap is heard.
T
his control remains active for a few
m
inutes after switching off the ignition. If
n
ecessary, switch the ignition on again to
r
eactivate it.
F
T
ake care to select the pump that delivers
t
he correct fuel for your vehicle.If you are filling your tank to the top, do not
persist after the third cut- off; this could
cause your vehicle to malfunction.
F
I
ntroduce the nozzle so as to push in the
metal
non-return flap B.
F
M
ake sure that the nozzle is pushed in as
f
ar as possible before starting to refuel (risk
o
f blowback).
F
M
aintain this position while refuelling.
F
P
ush the fuel flap to close it.
With Stop & Start, never refuel with the
system
in
STOP
mode;
you
must
switch
o
ff
the
ignition
with
the
key,
or
the
S
TART/STOP
button
if
your
vehicle
has
K
eyless
Entry
and
Starting.
Until
sufficient
fuel
has
been
added,
every
time
t
he
ignition
is
switched
on,
this
warning
lamp
a
ppears,
accompanied
by
an
audible
signal
a
nd
an
alert
message.
When
driving,
this
a
udible
signal
and
alert
message
are
repeated
w
ith
increasing
frequency,
as
the
level
drops
tow
ards 0 .
You
must
refuel
as
soon
as
possible
to
avoid
r
unning
out.
If
you
run
out
of
fuel
(Diesel),
refer
to
the
c
orresponding
s
ection.
Refuelling
7
Practical information
Page 237 of 396
235
C4-2_en_Chap07_infos-pratiques_ed02-2015
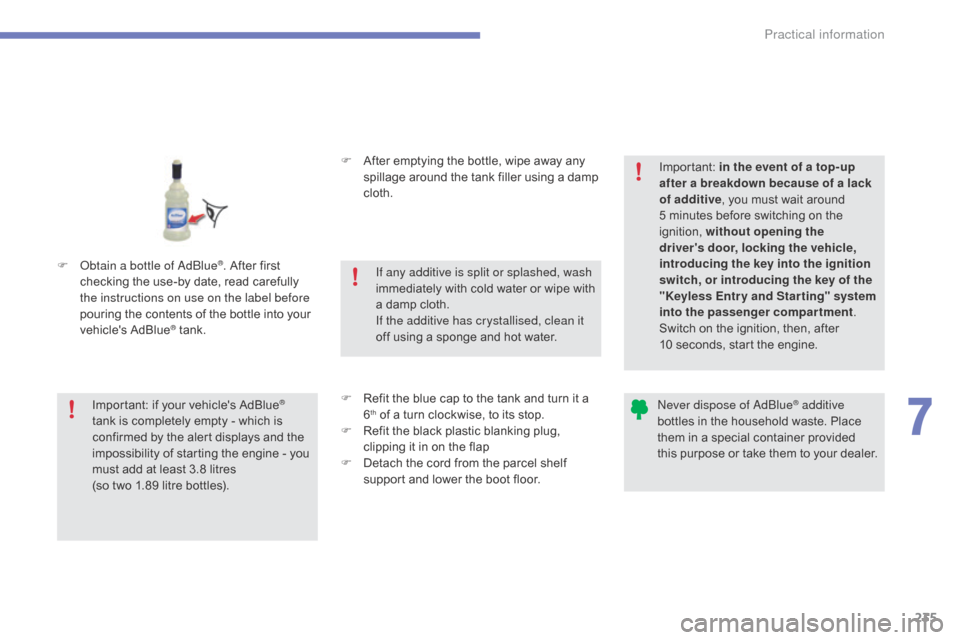
F Obtain a bottle of AdBlue®. After first c
hecking
the
use-by
date,
read carefully
t
he instructions on use on the label before
pouring
the
contents
of
the bottle into your
v
ehicle's
Ad
Blue
® tank. F
A
fter emptying the bottle, wipe away any
s
pillage around the tank filler using a damp
c
loth.
F
R
efit the blue cap to the tank and turn it a
6th of a turn clockwise, to its stop.
F
R
efit the black plastic blanking plug,
c
lipping it in on the flap
F
D
etach the cord from the parcel shelf
s
upport and lower the boot floor.
Important:
if
your
vehicle's
AdBlue®
tank
is
completely
empty
-
which
is
c
onfirmed
by
the
alert
displays
and
the
i
mpossibility
of
starting
the
engine
- you
m
ust
add
at
least
3.8
litres
(so
two
1.89 litre
bottles). If any additive is split or splashed, wash
immediately
w
ith
c
old
w
ater
o
r
w
ipe
w
ith
a
damp cloth.
If the additive has crystallised, clean it
off using a sponge and hot water.Important:
i
n the event of a top-up
after a breakdown because of a lack
of additive , you must wait around
5 minutes before switching on the
ig
nition,
w
ithout opening the
driver's door, locking the vehicle,
introducing the key into the ignition
switch, or introducing the key of the
"Keyless Entr y and Star ting" system
into the passenger compartment .
Switch on the ignition, then, after
10 seconds, start the engine.
Never dispose of AdBlue® additive
bottles
in
the
household
waste. Place
t
hem
in
a
special
container provided
t
his
p
urpose
o
r
t
ake
t
hem
t
o
y
our
d
ealer.
7
Practical information
Page 285 of 396
283
C4-2_en_Chap10b_SMEGplus_ed02-2015
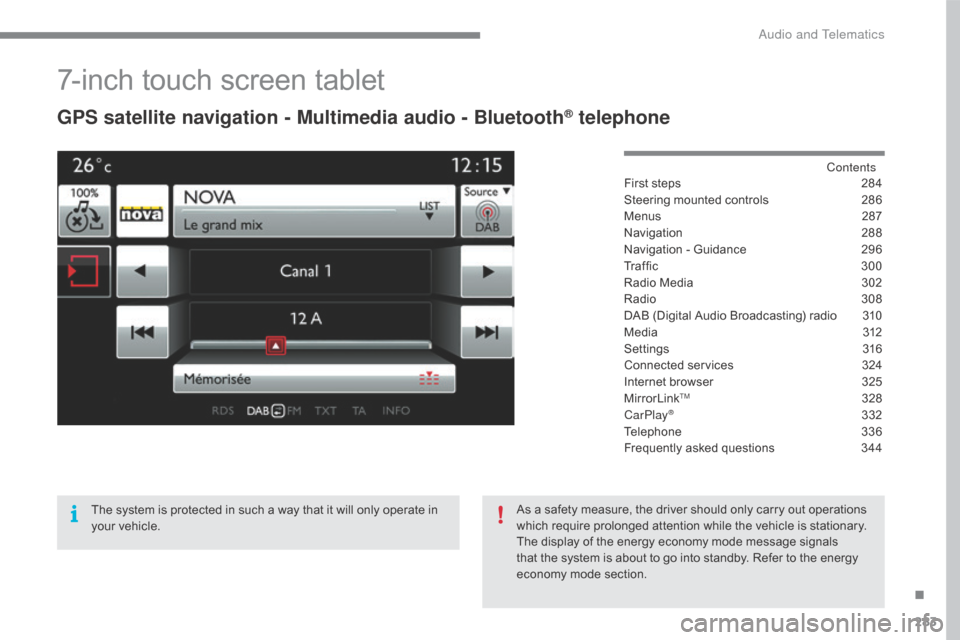
7-inch touch screen tablet
GPS satellite navigation - Multimedia audio - Bluetooth® telephone
Contents
First
steps
2 84
Steering
mounted
controls
2
86
Menus
2
87
Navigation
2
88
Navigation
-
Guidance
2
96
Tr a f fi c
3
0 0
Radio
Media
3
02
Radio
308
D
AB
(Digital
Audio
Broadcasting)
radio
3
10
M edia
3
12
Settings
3
16
Connected
services
3
24
Internet
browser
3
25
MirrorLink
TM 32 8
CarPlay® 3 32
Telephone
3
36
Frequently
asked questions
3
44
The
system
is
protected
in
such
a
way
that
it
will
only
operate
in
y
our
vehicle. As
a
safety
measure,
the
driver should only carry out operations
w
hich
require
prolonged
attention while the vehicle is stationary.
The
display
of
the
energy
economy mode message signals
t
hat
the
system
is
about
to
go into standby. Refer to the energy
ec
onomy
mo
de
s
ection.
.
Audio and Telematics
Page 286 of 396
284
C4-2_en_Chap10b_SMEGplus_ed02-2015
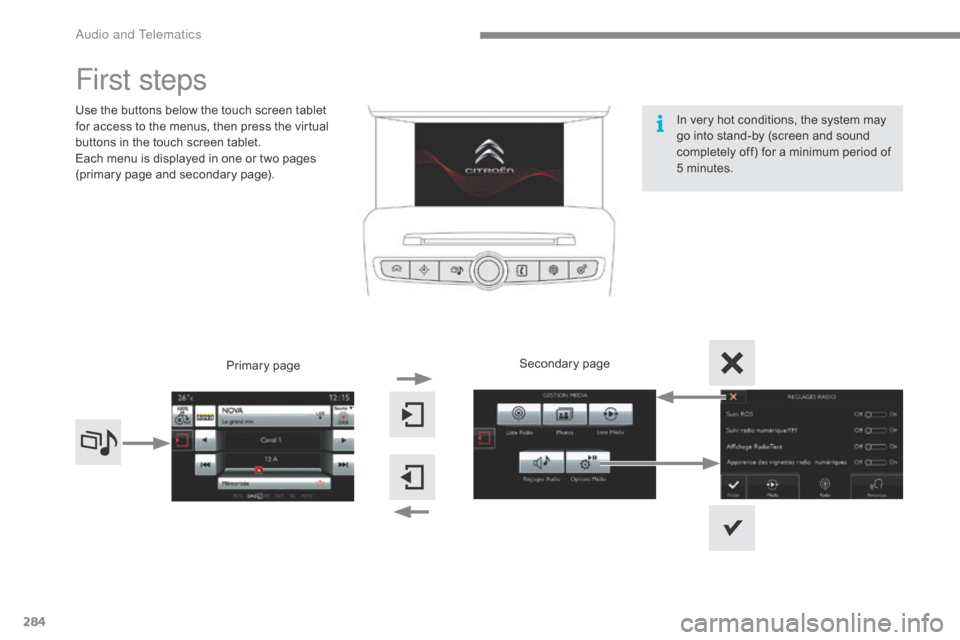
First steps
Use the buttons below the touch screen tablet for access to the menus, then press the virtual
b
uttons in the touch screen tablet.
Each
menu is displayed in one or two pages
(
primary page and secondary page).
Secondary
p
age
Primary
pag
e In
very hot conditions, the system may
g
o into stand-by (screen and sound
c
ompletely off) for a minimum period of
5 m
inutes.
Audio and Telematics