CITROEN DS3 CABRIO DAG 2015 Handbook (in English)
Manufacturer: CITROEN, Model Year: 2015, Model line: DS3 CABRIO DAG, Model: CITROEN DS3 CABRIO DAG 2015Pages: 404, PDF Size: 13.93 MB
Page 91 of 404

89
DS3_en_Chap04_confort_ed01-2014
Front demist - defrost
With the heating /
ventilation system
F Put the temperature and air flow controls to t
he dedicated marked position.
F
P
ut the air intake control to the "Exterior air
i
ntake" position
(
manual control to the right or electric
c
ontrol with indicator lamp off).
F
P
ut the air distribution control to the
"Windscreen"
p
osition.
These
markings on the control panel indicate the control positions for rapid demisting or defrosting of the windscreen and side windows.
With the manual air
conditioning system
F Put
the temperature and air flow controls to t
he dedicated marked position.
F
P
ut the air intake control to the "Exterior air
i
ntake" position
(
manual control to the right or electric
c
ontrol with indicator lamp off).
F
P
ut the air distribution control to the
"Windscreen"
p
osition.
F
S
witch on the air conditioning by pressing
t
he "A /
c"
button; the associated green
w
arning lamp comes on. With
Stop & Start, when the demisting,
a
ir conditioning and air flow functions a
re activated, STOP mode is not a
vailable.
comfort
Page 92 of 404

DS3_en_Chap04_confort_ed01-2014
Digital air conditioningThe air conditioning operates when the engine is running, as well as in STOP mode with Stop & Start.
Automatic operation
1. Automatic "comfort" programme
Press the "AUTO" button. T
he "AUTO" symbol is displayed.
We
recommend that you use
t
his mode. It provides optimised
a
utomatic
control of all of the following
f
unctions:
passenger compartment
t
emperature, air flow, air distribution and air
i
ntake,
in
accordance with the comfort value
t
hat
you
have chosen.
This
system is designed to operate effectively
i
n
all
seasons, with the windows closed. For
your comfort, when the engine is
s
witched off, the settings are retained
u
ntil the engine is switched on again.
To prevent too great a distribution of
c
old air when the engine is cold, the air
f
low will only reach its optimum level
g
radually.
2. Temperature adjustment
The value indicated on the display corresponds
to
a level of comfort and not to a temperature in
d
egrees Celsius or Fahrenheit. On
entering the vehicle, if the interior
i
s very cold or hot, there is no need to
change the value displayed in order
t
o reach the required level of comfort.
T
he system corrects the temperature
d
ifference automatically and as quickly
a
s possible.
Press the " 5" and " 6" buttons to
change
this value. A setting around
t
he value 21
enables optimum
c
omfort to be obtained. However,
d
epending on your requirements, a
s
etting between 18 and 24 is usual.
3. Automatic "visibility" programme
The automatic comfort programme m
ay not be sufficient for rapid
d
emisting or defrosting of the
w
indscreen and side windows
(humidity,
several passengers, ice, etc.).
In
this
case, select the automatic visibility
p
rogramme. The button 3 indicator lamp
comes
on.
The
system automatically controls the air
c
onditioning and the flow of air and provides
o
ptimum
air distribution to the windscreen and
s
ide
windows. It deactivates air recirculation 5.
To
exit
this programme, press button 3 again
or "AUTO" ,
the indicator lamp on the button
g
oes
off
and "AUTO"
is displayed.
With
Stop & Start, when demisting has
b
een activated, the STOP mode is not
a
vailable.
Page 93 of 404
91
DS3_en_Chap04_confort_ed01-2014
It is possible to adjust one or more functions manually while leaving the other functions in
a
utomatic mode.
The "AUTO"
symbol switches off.
To
return to automatic mode, press
the "AUTO"
button.
Manual override
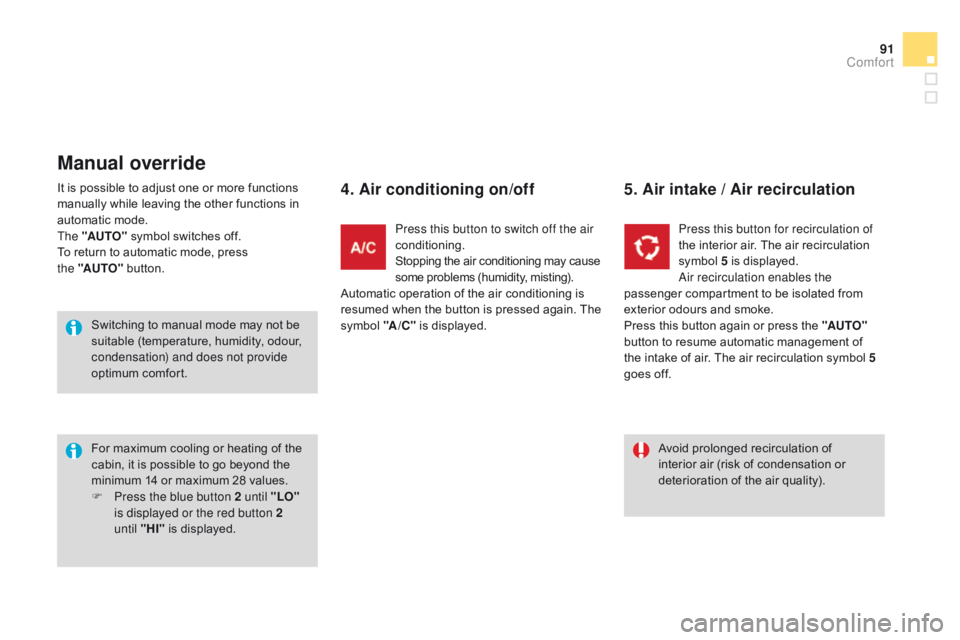
4. Air conditioning on/off
For maximum cooling or heating of the cabin, it is possible to go beyond the
m
inimum 14 or maximum 28 values.
F
P
ress the blue button 2 until "LO"
is displayed or the red button 2
until
"HI"
is displayed. Press this button to switch off the air
conditioning.
Stopping
the air conditioning may cause
s
ome problems (humidity, misting).
Automatic operation of the air conditioning is
r
esumed
w
hen
t
he
b
utton
i
s
p
ressed
a
gain.
T
he
s
ymbol
"A
/
c"
is displayed.
5. Air intake / Air recirculation
Press this button for recirculation of
the
interior air. The air recirculation
s
ymbol
5
is displayed.
air
recirculation enables the
passenger
compartment to be isolated from
e
xterior
odours and smoke.
Press
this
button again or press the "AUTO"
button
to
resume automatic management of
t
he
intake
of air. The air recirculation symbol 5
goes
off. Avoid
prolonged recirculation of
i
nterior air (risk of condensation or
d
eterioration of the air quality).
Switching
to
manual
mode
may
not
be
s
uitable
(temperature,
humidity,
odour,
c
ondensation) and does not provide
optimum
c
omfort.
comfort
Page 94 of 404
DS3_en_Chap04_confort_ed01-2014
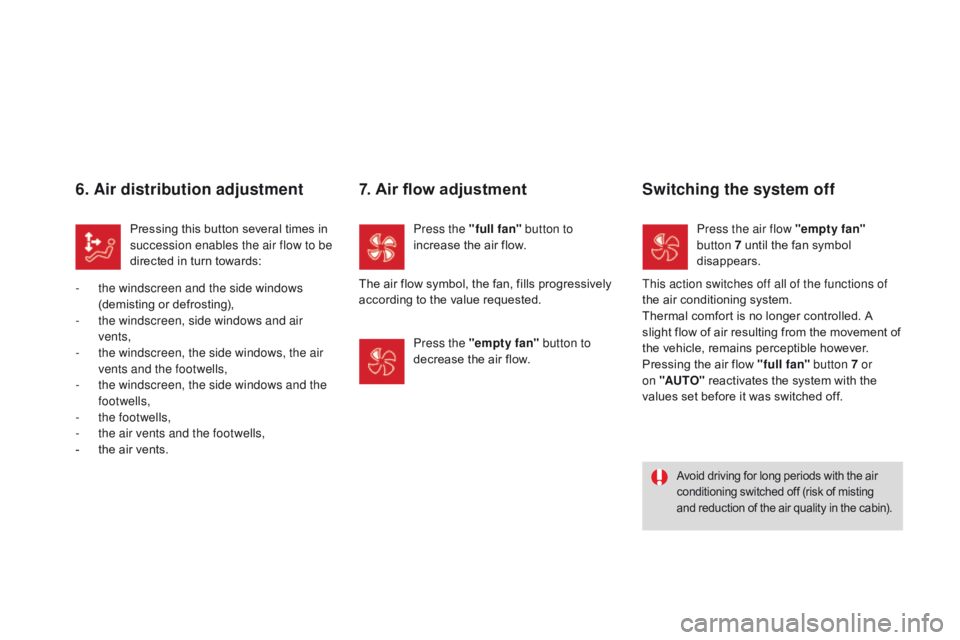
6. Air distribution adjustment
Pressing this button several times in succession enables the air flow to be
directed
in turn towards:
-
t
he windscreen and the side windows
(demisting
or defrosting),
-
t
he windscreen, side windows and air
vents,
-
t
he windscreen, the side windows, the air
vents and the footwells,
-
t
he windscreen, the side windows and the
footwells,
-
t
he footwells,
-
t
he air vents and the footwells,
-
t
he
air vents.
Avoid driving for long periods with the air conditioning switched off (risk of misting a
nd reduction of the air quality in the cabin).
Press the "full fan" button to
increase the air flow.
7. Air flow adjustment
The air flow symbol, the fan, fills progressively according to the value requested.
Press the "empty fan" button to
decrease
the air flow.
Switching the system off
Press the air flow "empty fan"
button 7 until the fan symbol
d
isappears.
This action switches off all of the functions of
the
air
conditioning system.
Thermal
comfort is no longer controlled. A
s
light
flow of air resulting from the movement of
t
he
vehicle, remains perceptible however.
Pressing
the air flow "full fan" button 7 or
on "AUTO"
reactivates the system with the
v
alues
set before it was switched off.
Page 95 of 404
93
DS3_en_Chap04_confort_ed01-2014
Rear screen demist - defrost
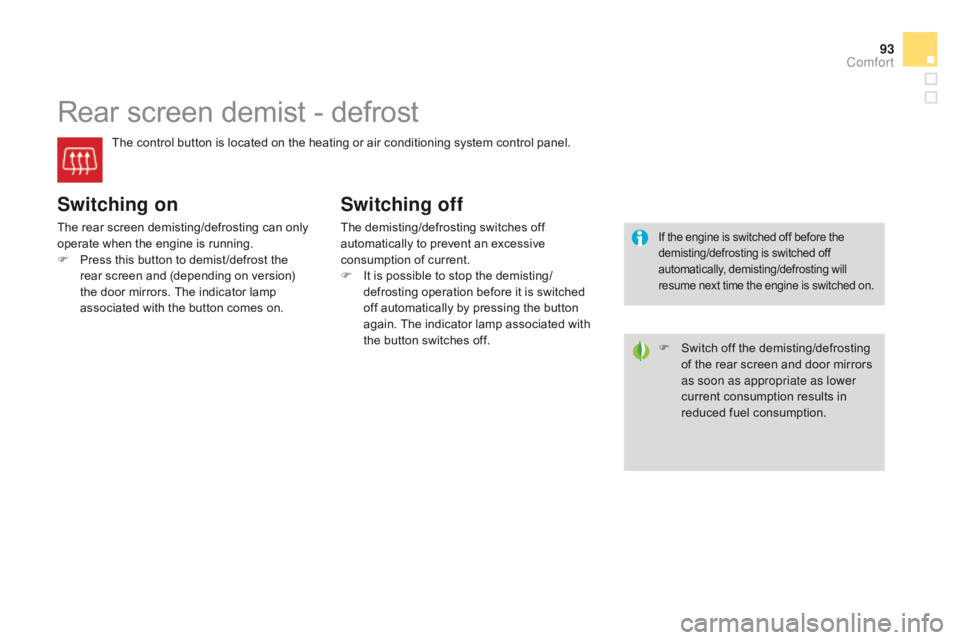
The control button is located on the heating or air conditioning system control panel.
Switching on
The rear screen demisting/defrosting can only operate when the engine is running.
F
P
ress this button to demist /defrost the
r
ear screen and (depending on version)
t
he door mirrors. The indicator lamp
a
ssociated with the button comes on.
Switching off
The demisting/defrosting switches off automatically to prevent an excessive
c
onsumption of current.
F
I
t is possible to stop the demisting/
defrosting
operation before it is switched
o
ff automatically by pressing the button
a
gain. The indicator lamp associated with
t
he button switches off. F
S
witch off the demisting/defrosting
o
f the rear screen and door mirrors
a
s soon as appropriate as lower
current
consumption results in
r
educed
f
uel
c
onsumption.If the engine is switched off before the demisting/defrosting is switched off a
utomatically,
d
emisting/defrosting
w
ill
r
esume next time the engine is switched on.
comfort
Page 96 of 404
DS3_en_Chap04_confort_ed01-2014
Scented air freshenerSystem permitting the diffusion of a fragrance in the passenger compartment in accordance with your requirements, by means of the adjustment dial and the various fragrance cartridges available.
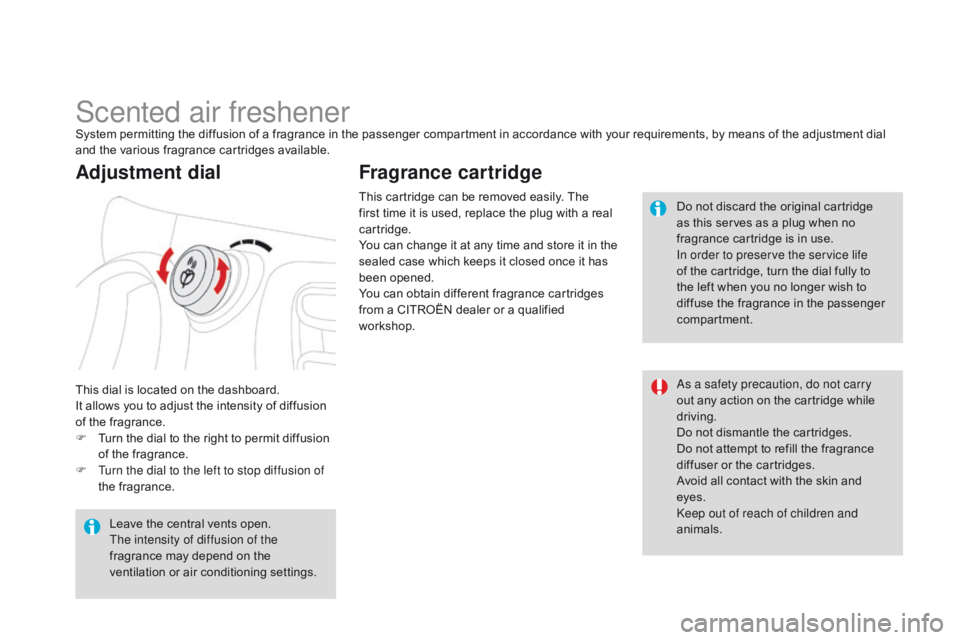
This
dial is located on the dashboard.
It
allows you to adjust the intensity of diffusion
o
f the fragrance.
F
T
urn the dial to the right to permit diffusion
o
f the fragrance.
F
T
urn the dial to the left to stop diffusion of
the
f
ragrance.
Adjustment dial
This cartridge can be removed easily. The first time it is used, replace the plug with a real
c
artridge.
You
can change it at any time and store it in the
s
ealed case which keeps it closed once it has
be
en
ope
ned.
You
can obtain different fragrance cartridges
f
rom a CITROËN dealer or a qualified
w
orkshop.
Leave
the
central
vents
open.
The intensity of diffusion of the
fragrance
may
depend
on
the
v
entilation
or
air
conditioning
settings.
Fragrance cartridge
Do not discard the original cartridge a s this serves as a plug when no
f
ragrance cartridge is in use.
In order to preserve the service life
of
the cartridge, turn the dial fully to
t
he left when you no longer wish to
d
iffuse the fragrance in the passenger
c
ompartment.
as a s
afety precaution, do not carry
out
any action on the cartridge while
d
riving.
Do
not dismantle the cartridges.
Do
not attempt to refill the fragrance
d
iffuser or the cartridges.
Avoid
all contact with the skin and
ey
es.
ke
ep out of reach of children and
animals.
Page 97 of 404
95
DS3_en_Chap04_confort_ed01-2014
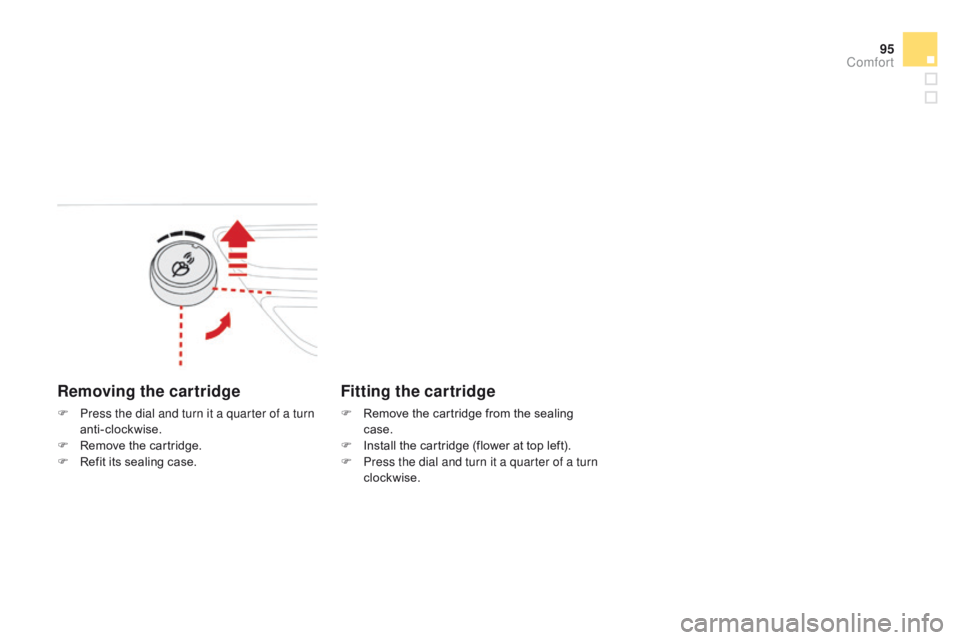
Removing the cartridge
F Press the dial and turn it a quarter of a turn anti-clockwise.
F
R
emove the cartridge.
F
R
efit its sealing case.
Fitting the cartridge
F Remove the cartridge from the sealing c
ase.
F
I
nstall the cartridge (flower at top left).
F
P
ress the dial and turn it a quarter of a turn
clockwise.
comfort
Page 98 of 404
DS3_en_Chap05_amenagement_ed01
Fittings
The section describes the various interior fittings, the glove box, the central armrest for storage, the Jack socket or USB port for connecting a
p
ortable player, the mats for protecting the carpet, as well as the various
b
oot fittings.
Page 99 of 404
DS3_en_Chap05_amenagement_ed01
Page 100 of 404
DS3_en_Chap05_amenagement_ed01
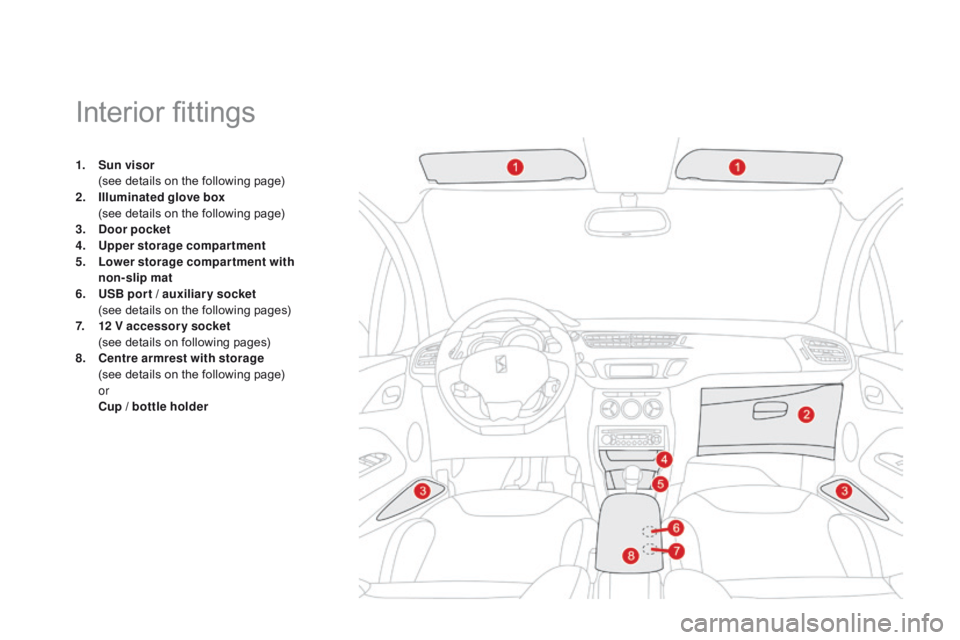
Interior fittings
1. Sun visor (
see details on the following page)
2.
I
lluminated glove box
(
see details on the following page)
3.
d
oor pocket
4.
U
pper storage compartment
5.
L
ower storage compartment with
non-slip mat
6.
U
SB por t / auxiliar y socket
(see
details on the following pages)
7.
1
2 V accessory socket
(
see details on following pages)
8.
ce
ntre armrest with storage
(
see details on the following page)
or
cu
p / bottle holder