CITROEN DS4 2023 Owner's Guide
Manufacturer: CITROEN, Model Year: 2023, Model line: DS4, Model: CITROEN DS4 2023Pages: 296, PDF Size: 9.91 MB
Page 31 of 296

29
For more information on the use of the Electric parking brake, refer to the corresponding section.
Warning/indicator lamp StateCause Action/Observations
+ They light up,
accompanied by the
display of the message
"Parking brake fault". The manual application/release of
the electric parking brake and the
emergency braking are not available.
Only the automatic application on switching off the engine and
automatic release on acceleration functions are available.
Contact the dealer network or a qualified workshop.
It lights up,
accompanied by the
display of the message
"Faulty battery". A discharged battery no longer allows
the use of the electric parking brake.
Stop the vehicle as soon as it is safe to do so.
Apply the electric parking brake before switching off the engine, then
immobilise the vehicle:
F
W
ith a manual gearbox, engage a gear.
F
W
ith an automatic gearbox, put a chock against one of the wheels.
Contact the dealer network or a qualified workshop.
01
Instruments
Page 32 of 296

30
Indicators
Service indicator
Warning/indicator lamp StateCause Action/Observations
Service spanner Fixed, temporary when
the ignition is switched
on. When between 620 miles (1,000 km)
and 1,860 miles (3,000 km) remain
before the next ser vice is due. The ser vice indicator is displayed for a few seconds in
the instrument panel. Depending on the version:
-
t
he distance recorder displays a line showing the
distance remaining (in kilometres or miles) before
the next ser vice is due.
-
a
n alert indicates the distance remaining
(in
kilometres or miles) as well as the period before
the next ser vice is due.
The service spanner disappears after a few seconds.
The alert may be triggered close to the due date.
Fixed, when the
ignition is switched on. Less than 620 miles (1,000 km)
remain before the next ser vice is due. The ser vice indicator is displayed for a few seconds in
the instrument panel. Depending on the version:
-
t
he distance recorder display line indicates the
distance remaining before the next ser vice is due.
-
a
n alert message indicates the distance remaining
as well as the period before the next ser vice is due.
The ser vice spanner remains on to show that a ser vice
is required very soon.
The alert may be triggered close to the due date.
01
Instruments
Page 33 of 296

31
Warning/indicator lamp StateCause Action/Observations
Service spanner Flashing then fixed,
when the ignition is
switched on. Service is overdue.
The ser vice indicator is displayed for a few seconds in
the instrument panel. Depending on the version:
-
t
he total distance recorder displays a line showing
the distance travelled since ser vice was due.
The
value is preceded by the "-" sign.
-
a
n alert message indicates that ser vice is overdue.
The ser vice spanner remains on until the ser vice has
been performed.
The alert is triggered when the due date has passed.
+ Flashing then fixed,
when the ignition
is switched on,
associated with the
Service warning lamp.Ser vice is overdue for Diesel BlueHDi
versions.
The ser vice indicator is displayed for a few seconds in
the instrument panel. Depending on the version:
-
t
he total distance recorder displays a line showing
the distance travelled since ser vice was due.
The
value is preceded by the "-" sign.
-
a
n alert message indicates that ser vice is overdue.
The ser vice spanner remains on until the ser vice has
been performed.
The alert is triggered when the due date has passed.
The distance indicated (in kilometres or miles) is calculated according to the mileage covered and the time elapsed since the last ser vice.
01
Instruments
Page 34 of 296
32
Resetting the service indicator
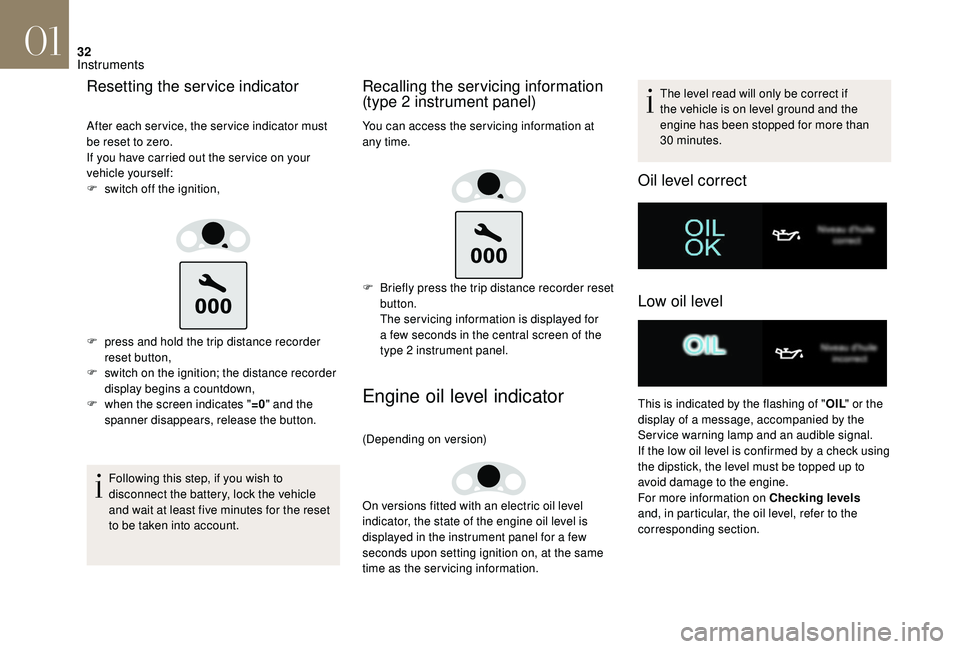
After each service, the service indicator must
be reset to zero.
If you have carried out the ser vice on your
vehicle yourself:
F
s
witch off the ignition,
F
p
ress and hold the trip distance recorder
reset button,
F
s
witch on the ignition; the distance recorder
display begins a countdown,
F
w
hen the screen indicates " =0" and the
spanner disappears, release the button.
Following this step, if you wish to
disconnect the battery, lock the vehicle
and wait at least five minutes for the reset
to be taken into account.
Recalling the servicing information
(type 2 instrument panel)
You can access the ser vicing information at
any time.
F
B
riefly press the trip distance recorder reset
button.
The ser vicing information is displayed for
a few seconds in the central screen of the
type 2 instrument panel.
Engine oil level indicator
(Depending on version)
On versions fitted with an electric oil level
indicator, the state of the engine oil level is
displayed in the instrument panel for a few
seconds upon setting ignition on, at the same
time as the servicing information. The level read will only be correct if
the vehicle is on level ground and the
engine has been stopped for more than
30
minutes.
Oil level correct
Low oil level
This is indicated by the flashing of "
OIL" or the
display of a message, accompanied by the
Service warning lamp and an audible signal.
If the low oil level is confirmed by a check using
the dipstick, the level must be topped up to
avoid damage to the engine.
For more information on Checking levels
and, in particular, the oil level, refer to the
corresponding section.
01
Instruments
Page 35 of 296
33
Oil level indicator fault
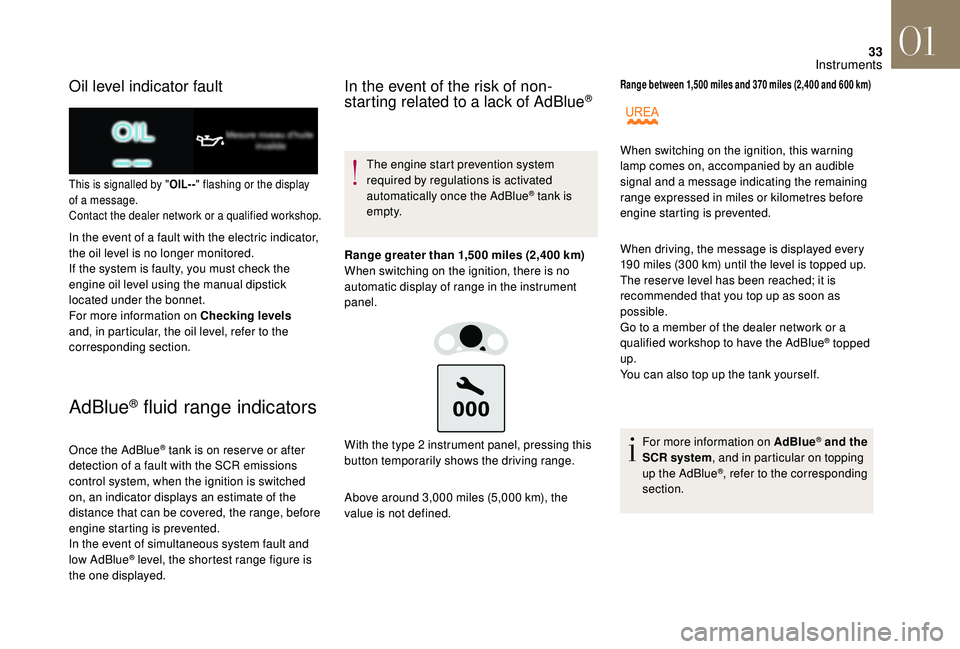
This is signalled by "OIL- -" flashing or the display
of a message.
Contact the dealer network or a qualified workshop.
In the event of a fault with the electric indicator,
the oil level is no longer monitored.
If the system is faulty, you must check the
engine oil level using the manual dipstick
located under the bonnet.
For more information on Checking levels
and, in particular, the oil level, refer to the
corresponding section.
AdBlue® fluid range indicators
Once the AdBlue® tank is on reser ve or after
detection of a fault with the SCR emissions
control system, when the ignition is switched
on, an indicator displays an estimate of the
distance that can be covered, the range, before
engine starting is prevented.
In the event of simultaneous system fault and
low AdBlue
® level, the shortest range figure is
the one displayed.
In the event of the risk of non-
starting related to a lack of AdBlue®
The engine start prevention system
required by regulations is activated
automatically once the AdBlue
® tank is
e m pt y.
Range greater than 1,500 miles (2,400 km)
When switching on the ignition, there is no
automatic display of range in the instrument
panel.
Above around 3,000 miles (5,000 km), the
value is not defined. With the type 2 instrument panel, pressing this
button temporarily shows the driving range.
Range between 1,500 miles and 370 miles (2,400 and 600 km)
When driving, the message is displayed every
190 miles (300 km) until the level is topped up.
The reser ve level has been reached; it is
recommended that you top up as soon as
possible.
Go to a member of the dealer network or a
qualified workshop to have the AdBlue
® topped
up.
You can also top up the tank yourself.
For more information on AdBlue
® and the
SCR system , and in particular on topping
up the AdBlue
®, refer to the corresponding
section.
When switching on the ignition, this warning
lamp comes on, accompanied by an audible
signal and a message indicating the remaining
range expressed in miles or kilometres before
engine starting is prevented.
01
Instruments
Page 36 of 296
34
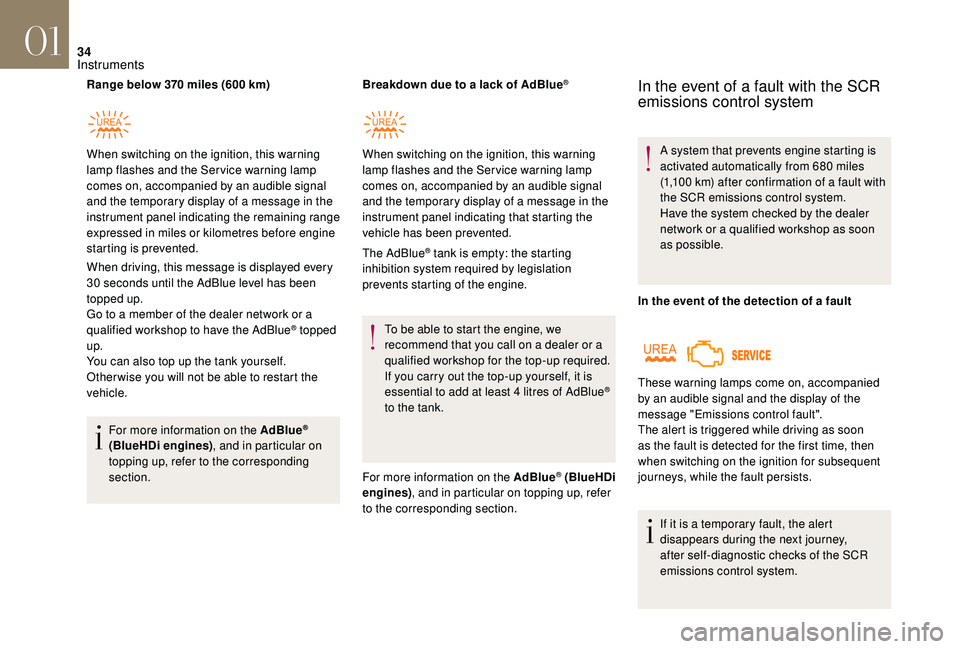
Range below 370 miles (600 km)
When driving, this message is displayed every
30 seconds until the AdBlue level has been
topped up.
Go to a member of the dealer network or a
qualified workshop to have the AdBlue
® topped
up.
You can also top up the tank yourself.
Other wise you will not be able to restart the
vehicle.
For more information on the AdBlue
®
(BlueHDi engines) , and in particular on
topping up, refer to the corresponding
section. Breakdown due to a lack of AdBlue
®
The AdBlue® tank is empty: the starting
inhibition system required by legislation
prevents starting of the engine.
To be able to start the engine, we
recommend that you call on a dealer or a
qualified workshop for the top-up required.
If you carry out the top-up yourself, it is
essential to add at least 4 litres of AdBlue
®
to the tank.
For more information on the AdBlue
® (BlueHDi
engines) , and in particular on topping up, refer
to the corresponding section.
When switching on the ignition, this warning
lamp flashes and the Service warning lamp
comes on, accompanied by an audible signal
and the temporary display of a message in the
instrument panel indicating the remaining range
expressed in miles or kilometres before engine
starting is prevented.
When switching on the ignition, this warning
lamp flashes and the Service warning lamp
comes on, accompanied by an audible signal
and the temporary display of a message in the
instrument panel indicating that starting the
vehicle has been prevented.
In the event of a fault with the SCR
emissions control system
A system that prevents engine starting is
activated automatically from 680 miles
(1,100 km) after confirmation of a fault with
the SCR emissions control system.
Have the system checked by the dealer
network or a qualified workshop as soon
as possible.
In the event of the detection of a fault
If it is a temporary fault, the alert
disappears during the next journey,
after self-diagnostic checks of the SCR
emissions control system.
These warning lamps come on, accompanied
by an audible signal and the display of the
message "Emissions control fault".
The alert is triggered while driving as soon
as the fault is detected for the first time, then
when switching on the ignition for subsequent
journeys, while the fault persists.
01
Instruments
Page 37 of 296
35
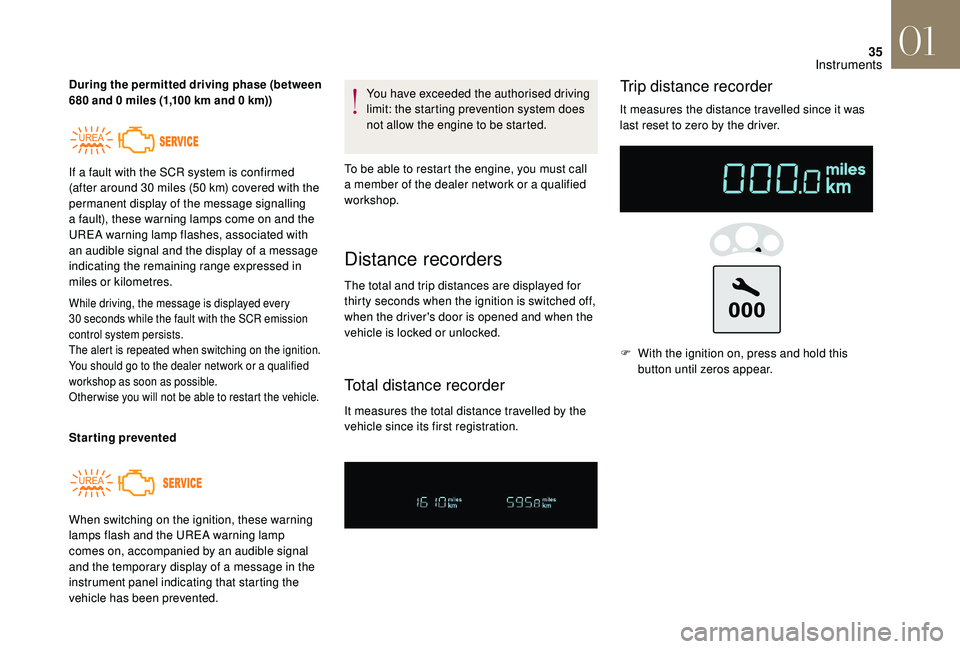
During the permitted driving phase (between
680 and 0 miles (1,100 km and 0 km))
While driving, the message is displayed every
30 seconds while the fault with the SCR emission
control system persists.
The alert is repeated when switching on the ignition.
You should go to the dealer network or a qualified
workshop as soon as possible.
Other wise you will not be able to restart the vehicle.
Starting prevented You have exceeded the authorised driving
limit: the starting prevention system does
not allow the engine to be started.
To be able to restart the engine, you must call
a member of the dealer network or a qualified
workshop.
When switching on the ignition, these warning
lamps flash and the UREA warning lamp
comes on, accompanied by an audible signal
and the temporary display of a message in the
instrument panel indicating that starting the
vehicle has been prevented. If a fault with the SCR system is confirmed
(after around 30 miles (50 km) covered with the
permanent display of the message signalling
a fault), these warning lamps come on and the
UREA warning lamp flashes, associated with
an audible signal and the display of a message
indicating the remaining range expressed in
miles or kilometres.
Distance recorders
The total and trip distances are displayed for
thirty seconds when the ignition is switched off,
when the driver's door is opened and when the
vehicle is locked or unlocked.
Total distance recorder
It measures the total distance travelled by the
vehicle since its first registration.
Trip distance recorder
It measures the distance travelled since it was
last reset to zero by the driver. F
W
ith the ignition on, press and hold this
button until zeros appear.
01
Instruments
Page 38 of 296
36
Manual test in the type 2
instrument panel central screen
This function allows you to check the status of
the vehicle systems (reminder of the "activated"/
"deactivated" status of the configurable
functions) and to display the alerts log.
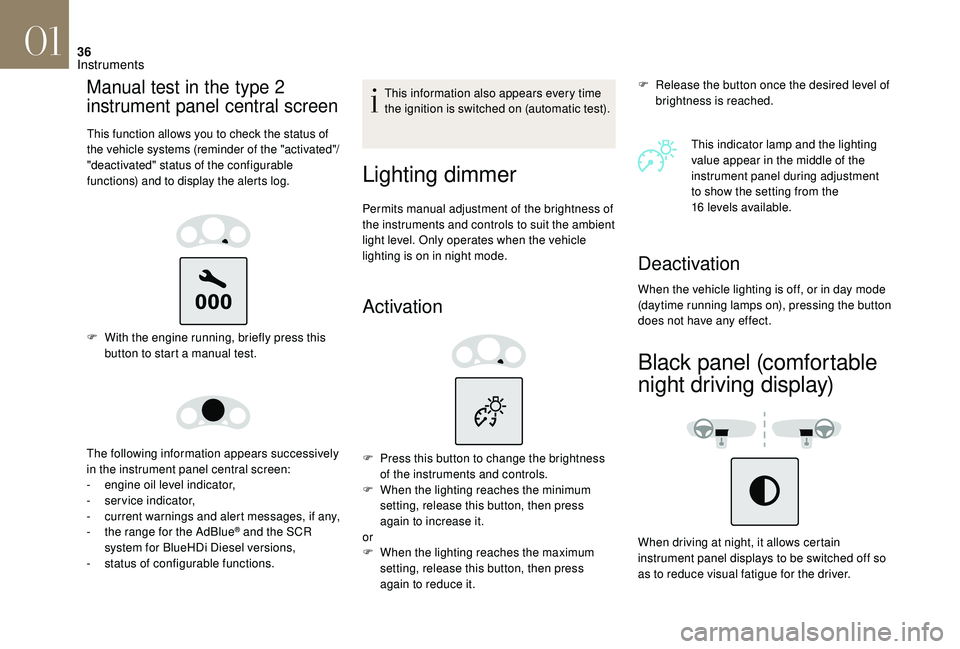
F With the engine running, briefly press this button to start a manual test.
The following information appears successively
in the instrument panel central screen:
-
e
ngine oil level indicator,
-
ser
vice indicator,
-
c
urrent warnings and alert messages, if any,
-
t
he range for the AdBlue
® and the SCR
system for BlueHDi Diesel versions,
-
s
tatus of configurable functions. This information also appears every time
the ignition is switched on (automatic test).
Lighting dimmer
Permits manual adjustment of the brightness of
the instruments and controls to suit the ambient
light level. Only operates when the vehicle
lighting is on in night mode.
Activation
F Release the button once the desired level of
brightness is reached.
This indicator lamp and the lighting
value appear in the middle of the
instrument panel during adjustment
to show the setting from the
16
levels available.
F
P
ress this button to change the brightness
of the instruments and controls.
F
W
hen the lighting reaches the minimum
setting, release this button, then press
again to increase it.
or
F
W
hen the lighting reaches the maximum
setting, release this button, then press
again to reduce it.
Deactivation
When the vehicle lighting is off, or in day mode
(daytime running lamps on), pressing the button
does not have any effect.
Black panel (comfortable
night driving display)
When driving at night, it allows certain
instrument panel displays to be switched off so
as to reduce visual fatigue for the driver.
01
Instruments
Page 39 of 296
37
Monochrome screen C
Displays in the screen
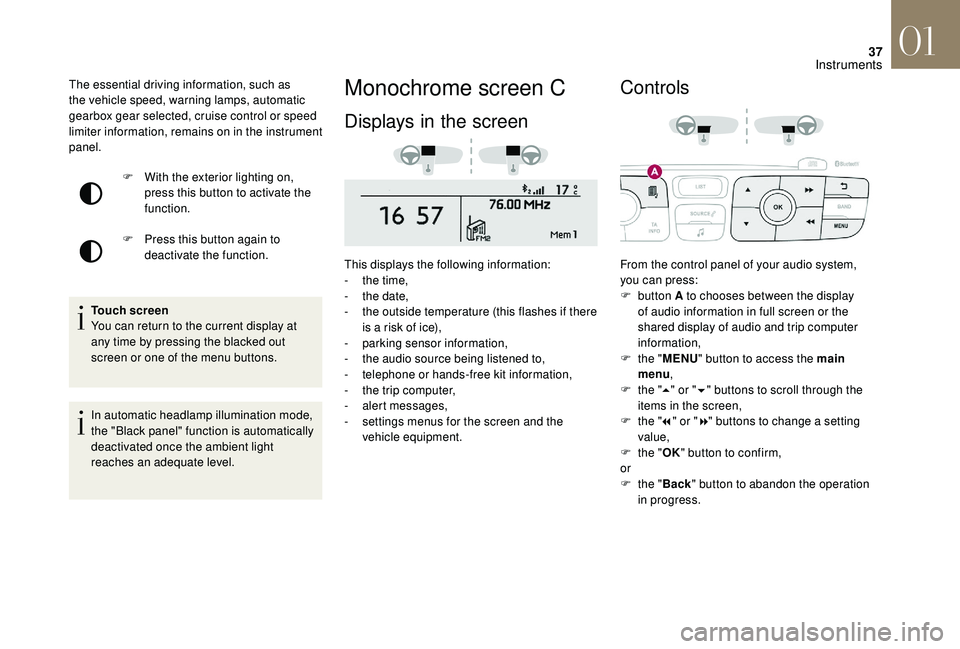
This displays the following information:
- t he time,
-
t
he date,
-
t
he outside temperature (this flashes if there
is a risk of ice),
-
par
king sensor information,
-
t
he audio source being listened to,
-
t
elephone or hands-free kit information,
-
t
he trip computer,
-
a
lert messages,
-
s
ettings menus for the screen and the
vehicle equipment.
Controls
From the control panel of your audio system,
you can press:
F
button A to chooses between the display
of audio information in full screen or the
shared display of audio and trip computer
information,
F
t
he "MENU " button to access the main
menu ,
F
t
he "5" or " 6" buttons to scroll through the
items in the screen,
F
t
he "7" or " 8" buttons to change a setting
value,
F
t
he "OK" button to confirm,
or
F
t
he "Back " button to abandon the operation
in progress.
F
W
ith the exterior lighting on,
press this button to activate the
function.
F
P
ress this button again to
deactivate the function.
The essential driving information, such as
the vehicle speed, warning lamps, automatic
gearbox gear selected, cruise control or speed
limiter information, remains on in the instrument
panel.
Touch screen
You can return to the current display at
any time by pressing the blacked out
screen or one of the menu buttons.
In automatic headlamp illumination mode,
the "Black panel" function is automatically
deactivated once the ambient light
reaches an adequate level.
01
Instruments
Page 40 of 296
38
Main menu
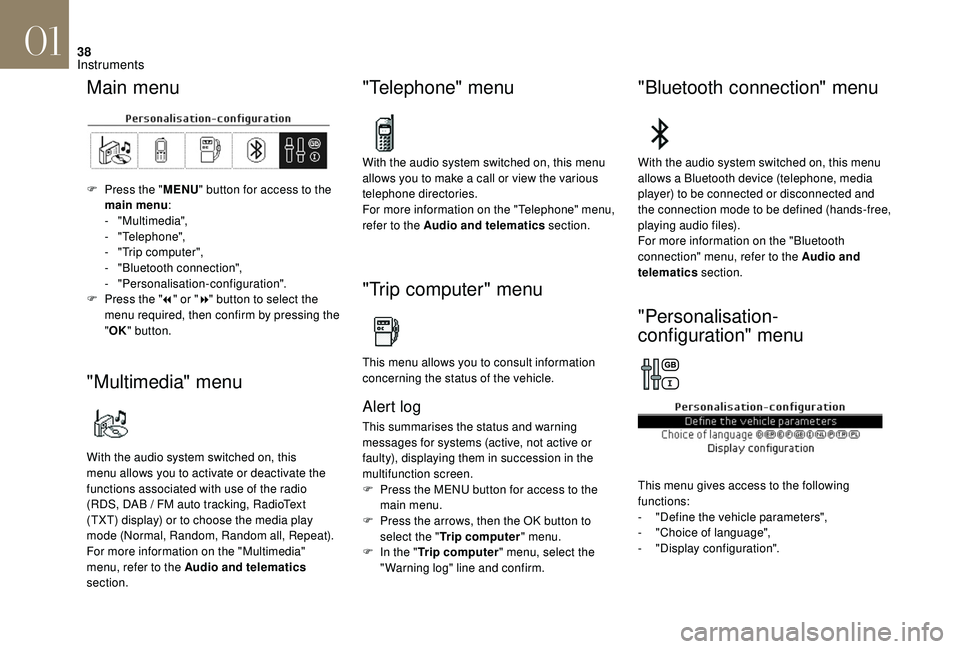
F Press the "MENU" button for access to the
main menu :
-
"Multimedia",
-
"Telephone",
-
"
Trip computer",
-
"
Bluetooth connection",
-
"Personalisation-configuration".
F
P
ress the " 7" or " 8" button to select the
menu required, then confirm by pressing the
" OK " button.
"Multimedia" menu
With the audio system switched on, this
menu allows you to activate or deactivate the
functions associated with use of the radio
(RDS, DAB
/ FM auto tracking, RadioText
(TXT) display) or to choose the media play
mode (Normal, Random, Random all, Repeat).
For more information on the "Multimedia"
menu, refer to the Audio and telematics
section.
"Telephone" menu
With the audio system switched on, this menu
allows you to make a call or view the various
telephone directories.
For more information on the "Telephone" menu,
refer to the Audio and telematics section.
"Trip computer" menu
This menu allows you to consult information
concerning the status of the vehicle.
Alert log
This summarises the status and warning
messages for systems (active, not active or
faulty), displaying them in succession in the
multifunction screen.
F
P
ress the MENU button for access to the
main menu.
F
P
ress the arrows, then the OK button to
select the " Trip computer " menu.
F
I
n the " Trip computer " menu, select the
"Warning log" line and confirm.
"Bluetooth connection" menu
With the audio system switched on, this menu
allows a Bluetooth device (telephone, media
player) to be connected or disconnected and
the connection mode to be defined (hands-free,
playing audio files).
For more information on the "Bluetooth
connection" menu, refer to the Audio and
telematics section.
"Personalisation-
configuration" menu
This menu gives access to the following
functions:
-
"
Define the vehicle parameters",
-
"
Choice of language",
-
"
Display configuration".
01
Instruments