DODGE POWER WAGON 2007 2.G Owners Manual
Manufacturer: DODGE, Model Year: 2007, Model line: POWER WAGON, Model: DODGE POWER WAGON 2007 2.GPages: 492, PDF Size: 8.25 MB
Page 161 of 492
WARNING!
²Care should always be exercised when operating a
vehicle with unrestrained cargo. Vehicle speeds
may need to be reduced. Severe turns or rough
roads may cause shifting or bouncing of the cargo
that may result in vehicle damage. If wide build-
ing materials are to be frequently carried, the
installation of a support is recommended. This
will restrain the cargo and transfer the load to the
pickup box floor.
²If you wish to carry more than 600 lbs (272 kg) of
material suspended above the wheelhouse, sup-
ports must be installed to transfer the weight of
the load to the pickup box floor or vehicle damage
may result. The use of proper supports will permit
loading up to the rated payload.
²Unrestrained cargo may be thrown forward in an
accident causing serious or fatal injury.
There are stampings in the sheet metal on the inner side
bulkheads of the box in front of and behind both wheel
housings. Place wooden boards across the box from side
to side to create separate load compartments in the
pickup box.
There are four tie-down cleats bolted to the lower sides of
the pickup box that can sustain loads up to 1000 lbs (450
kg) total.
SLIDE-IN CAMPERS
DO NOTuse slide-in campers on Power Wagon models.
EASY-OFF TAILGATE
The tailgate can be removed quickly. Tailgate removal is
sometimes required for pickup box loading. To remove
the tailgate unlatch the tailgate and remove the support
cables by releasing the lock tang from the pivot, then
rotate and pull away from the box. Once the cables are
free, move to the right side of the tailgate hinge bracket.
160 UNDERSTANDING THE FEATURES OF YOUR VEHICLE
Page 162 of 492
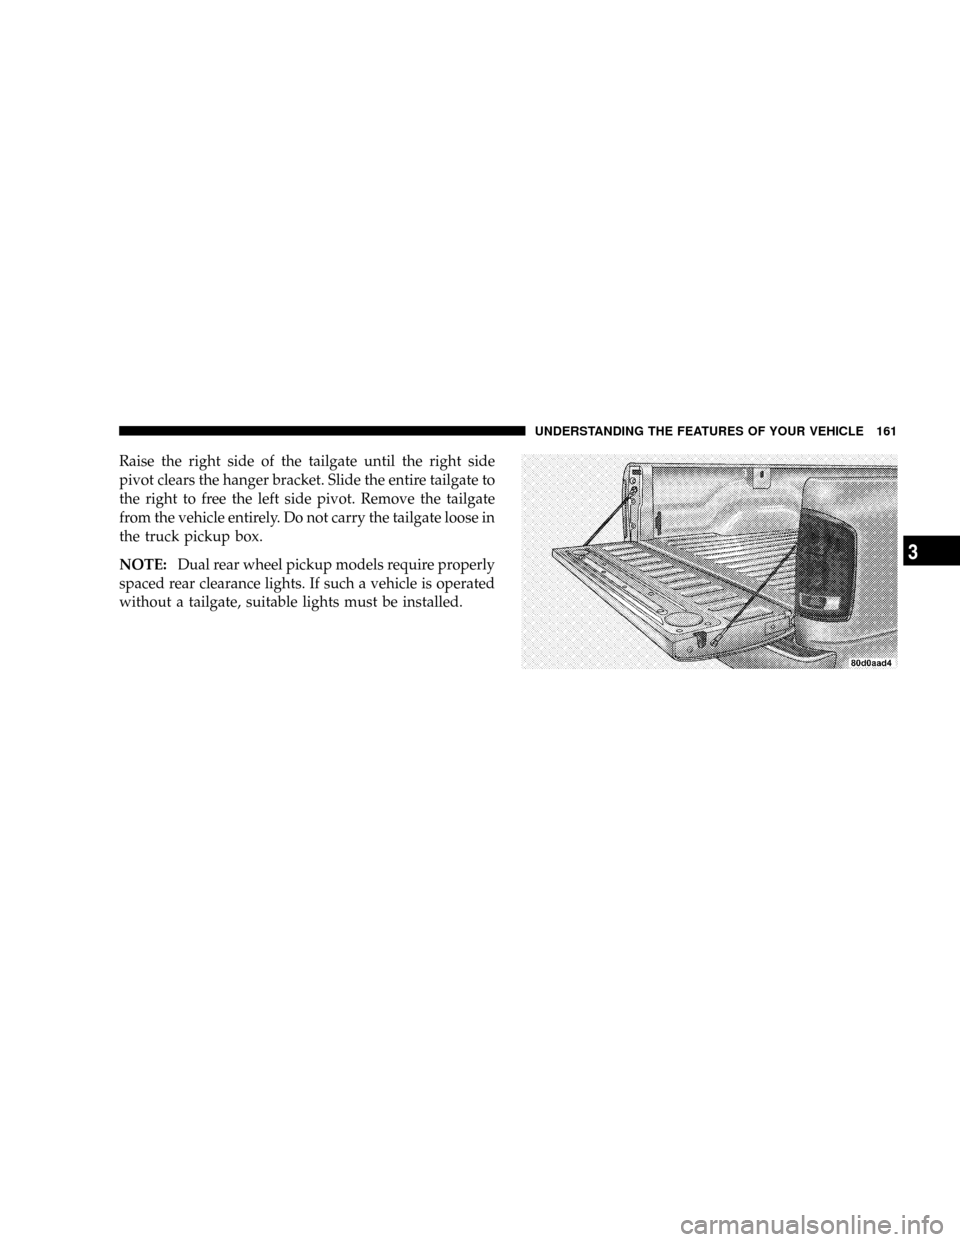
Raise the right side of the tailgate until the right side
pivot clears the hanger bracket. Slide the entire tailgate to
the right to free the left side pivot. Remove the tailgate
from the vehicle entirely. Do not carry the tailgate loose in
the truck pickup box.
NOTE:Dual rear wheel pickup models require properly
spaced rear clearance lights. If such a vehicle is operated
without a tailgate, suitable lights must be installed.
UNDERSTANDING THE FEATURES OF YOUR VEHICLE 161
3
Page 163 of 492
SAFETY TIPS
Transporting Passengers
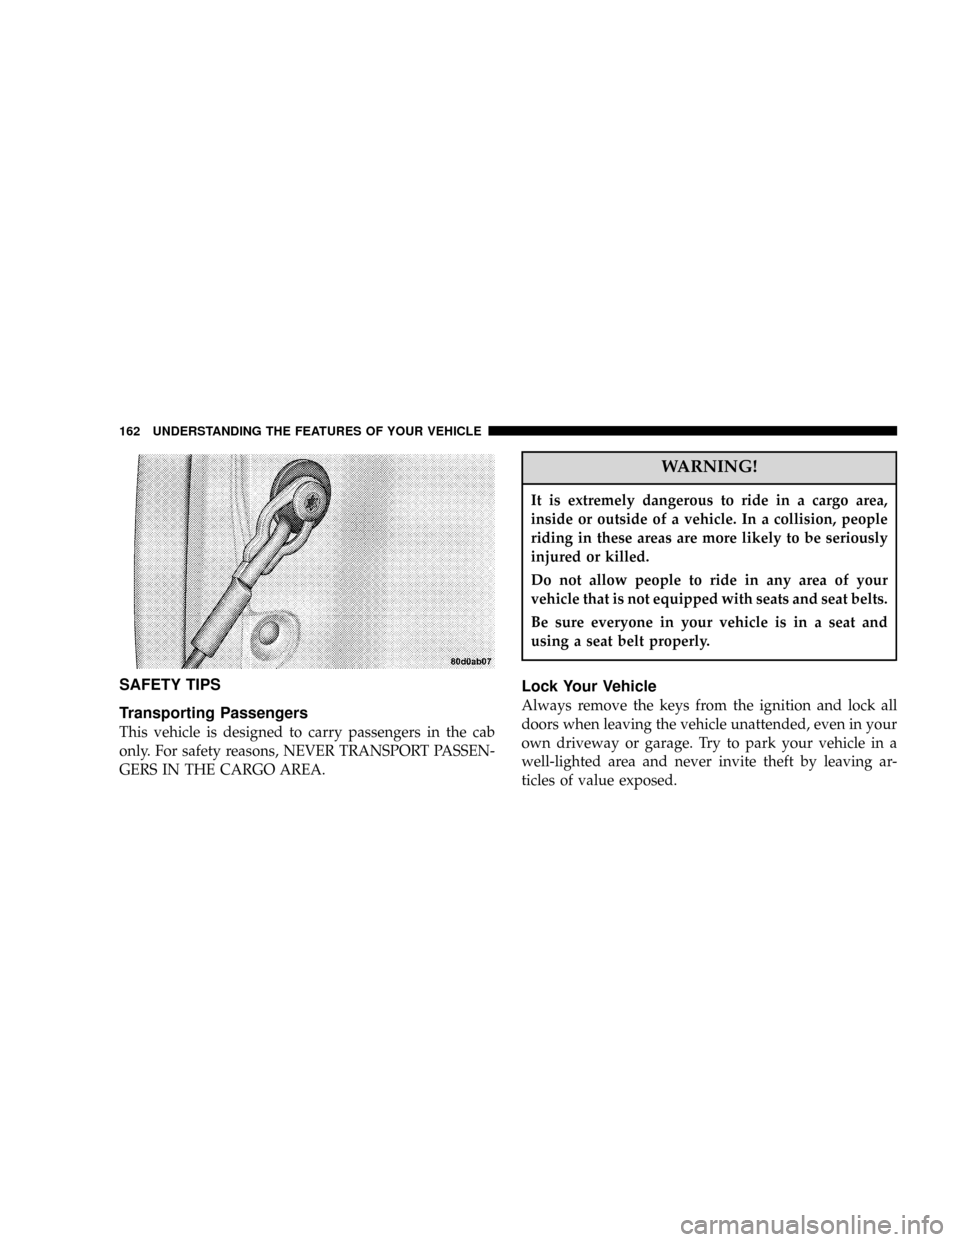
This vehicle is designed to carry passengers in the cab
only. For safety reasons, NEVER TRANSPORT PASSEN-
GERS IN THE CARGO AREA.
WARNING!
It is extremely dangerous to ride in a cargo area,
inside or outside of a vehicle. In a collision, people
riding in these areas are more likely to be seriously
injured or killed.
Do not allow people to ride in any area of your
vehicle that is not equipped with seats and seat belts.
Be sure everyone in your vehicle is in a seat and
using a seat belt properly.
Lock Your Vehicle
Always remove the keys from the ignition and lock all
doors when leaving the vehicle unattended, even in your
own driveway or garage. Try to park your vehicle in a
well-lighted area and never invite theft by leaving ar-
ticles of value exposed.
162 UNDERSTANDING THE FEATURES OF YOUR VEHICLE
Page 164 of 492
Exhaust Gas
WARNING!
Exhaust gases contain carbon monoxide, a poten-
tially toxic gas that by itself is colorless and odorless.
To avoid inhaling these gases, the following precau-
tions should be observed:
²Do not run the engine in a closed garage or in confined
areas any longer than needed to move your vehicle in
or out of the area.
²If it is necessary to sit in a parked vehicle with the
engine running for more than a short period, adjust
your climate control system to force outside air into
the vehicle. Set the blower at high speed and the
controls in any position except OFF or MAX A/C.
²The best protection against carbon monoxide entry
into the vehicle body is a properly maintained engine
exhaust system.
Be aware of changes in the sound of the exhaust system;
exhaust fumes detected inside the vehicle; or damage to
the underside or rear of the vehicle. Have a competent
mechanic inspect the complete exhaust system and adja-
cent body areas for broken, damaged, deteriorated or
mispositioned parts. Open seams or loose connections
could permit exhaust fumes to seep into the passenger
compartment. In addition, inspect the exhaust system
each time the vehicle is raised for lubrication or oil
change. Replace or adjust as required.
Safety Checks You Should Make Inside The
Vehicle
Heater Defroster Ducts
Inspect the heater defroster ducts for proper operation.
Check for proper air flow through all defroster ducts. If
UNDERSTANDING THE FEATURES OF YOUR VEHICLE 163
3
Page 165 of 492
there are any question regarding the operation of your
heater defroster ducts, have the system checked by an
authorized dealer
Seat Belts
Inspect the belt system periodically, checking for cuts,
frays and loose parts. Damaged parts must be replaced
immediately. Do not disassemble or modify the system.
Seat belt assemblies must be replaced after an accident if
they have been damaged (bent retractor, torn webbing,
etc.) or if the front airbags have deployed. If there is any
question regarding belt or retractor condition, replace the
belt.
Airbag Light
The light should come on and remain on for 6 to 8
seconds as a bulb check when the ignition switch is first
turned ON. If the light is not lit during starting, see your
authorized dealer. If the light stays on, flickers or comeson while driving, have the system checked by an autho-
rized dealer. If there is a problem with the airbag light the
seatbelt light will flash.
Safety Checks You Should Make Outside The
Vehicle
Tires
Examine tires for tread wear or uneven wear patterns.
Check for stones, nails, glass or other objects lodged in
the tread.
Inspect for tread cuts or sidewall cracks. Check wheel
nuts for tightness and tires for proper pressure.
Lights
Check the operation of all exterior lights. Check turn
signal and high beam indicator lights on the instrument
panel.
Door Latches
Check for positive closing, latching and locking.
164 UNDERSTANDING THE FEATURES OF YOUR VEHICLE
Page 166 of 492
Fluid Leaks
Check area under vehicle after overnight parking for fuel,
water, oil, or other fluid leaks. Also, if fuel fumes are
detected the cause should be located and corrected.
UNDERSTANDING THE FEATURES OF YOUR VEHICLE 165
3
Page 167 of 492

Page 168 of 492
UNDERSTANDING YOUR INSTRUMENT PANEL
CONTENTS
mInstruments And Controls.................171
mInstrument Cluster......................172
mInstrument Cluster Description.............173
mElectronic Digital Clock..................181
NClock Setting Procedure.................181
mRadio General Information................182
NRadio Broadcast Signals.................182
NTwo Types Of Signals..................182
NElectrical Disturbances..................182NAM Reception.......................182
NFM Reception........................183
mSales Code REF Ð AM/FM/CD (Single Disc)
Radio With Optional Satellite Radio And Hands
Free Phone Capability...................183
NOperating Instructions - Radio Mode.......183
NOperation Instructions - CD Mode.........187
NOperation Instructions - Auxiliary Mode.....189
NOperating Instructions - Hands Free Phone Ð
If Equipped.........................1904
Page 169 of 492
NOperating Instructions - Satellite Radio Ð If
Equipped...........................191
mSales Code RAQ ± AM/FM/CD (6-Disc) Radio
With Optional Satellite Radio, Hands Free Phone,
And Vehicle Entertainment Systems (VES)
Capabilities...........................191
NOperating Instructions - Radio Mode.......191
NOperation Instructions - (CD Mode For CD
Audio Play).........................196
NLoad/Eject Button (CD Mode For CD Audio
Play)..............................198
NNotes On Playing MP3 Files.............200
NOperation Instructions - (CD Mode For MP3
Audio Play).........................202
NLoad/Eject Button (CD Mode For MP3 Play) . . 202mSales Code RAK ± AM/FM/Cassette/CD (6-Disc)
Radio With Optional Satellite Radio, Hands Free
Phone, Video, MP3, And WMA Capabilities....204
NOperating Instructions - Radio Mode.......205
NOperating Instructions Ð Tape Player.......209
NSeek Button.........................209
NFast Forward (FF).....................210
NRewind (RW)........................210
NTape Eject...........................210
NScan Button.........................210
NChanging Tape Direction................210
NMetal Tape Selection...................210
NPinch Roller Release...................210
NNoise Reduction......................211
168 UNDERSTANDING YOUR INSTRUMENT PANEL
Page 170 of 492
NOperation Instructions - (CD Mode For CD
Audio Play).........................211
NLoad/Eject Button (CD Mode For CD Audio
Play)..............................212
NNotes On Playing MP3 Files.............214
NOperation Instructions - (CD Mode For MP3
And WMA Audio Play).................216
NLoad/Eject Button (CD Mode For MP3 And
WMA Play).........................216
mSales Code REC Ð AM/FM/CD (6±Disc) Radio
With Navigation System..................219
NOperating Instructions Ð Satellite Radio (If
Equipped)..........................219
NClock Setting Procedure.................219
mSatellite Radio Ð If Equipped..............220NSystem Activation.....................220
NElectronic Serial Number/Sirius Identification
Number (ESN/SID)....................220
NSelecting Satellite Mode In REF, RAQ, And RAK
Radios.............................221
NSelecting a Channel....................222
NStoring And Selecting Pre-Set Channels......222
NUsing The PTY (Program Type) Button (If
Equipped)..........................222
NPTY Button9Scan9.....................222
NPTY Button9Seek9.....................223
NSatellite Antenna......................223
NReception Quality.....................223
mRemote Sound System Controls Ð If Equipped . . 224
UNDERSTANDING YOUR INSTRUMENT PANEL 169
4