center console DODGE SPRINTER 2008 2.G User Guide
[x] Cancel search | Manufacturer: DODGE, Model Year: 2008, Model line: SPRINTER, Model: DODGE SPRINTER 2008 2.GPages: 666, PDF Size: 14.11 MB
Page 98 of 666
96 Controls in detailOpening and closing
3
The indicator lamp in the switch
comes on.
or
\1
Press the locking knob of the sliding
door down (
\2
page 91).
The sliding door can jam under unfavor-
able operating conditions such as frost,
icing or heavy dirt. In this case, clean the
door entry and proceed as follows:
\1To open the sliding door:
unlock
the sliding door (
\2
page 94).
\1
Press and hold lower part
2
of the
switch on the center console or press
and hold switch
3
in the doorway.
The indicator lamp in the switch
flashes. The sliding door opens.
\1
Release the switch.
The sliding door stops.
\1To close the sliding door:
press
and hold upper part
1
of the switch
on the center console or press and
hold switch
3
in the doorway.
The indicator lamp in the switch
flashes. The sliding door closes and a
signal sounds.
\1
Release the switch. The sliding door stops.
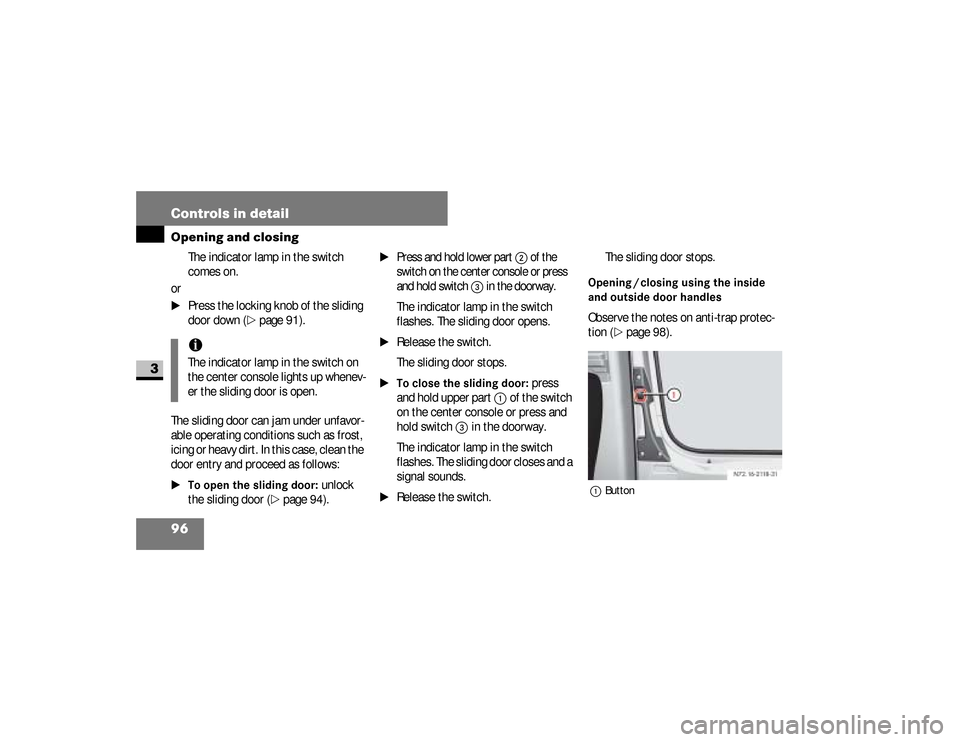
Opening / closing using the inside
and outside door handlesObserve the notes on anti-trap protec-
tion (
\2
page 98).
1Button
iThe indicator lamp in the switch on
the center console lights up whenev-
er the sliding door is open.
N72.16-2118-31
nf_BA.book Page 96 Friday, January 25, 2008 3:53 PM
Page 100 of 666
98 Controls in detailOpening and closing
3
\1
Make sure that the doors are closed.
\1
Switch on the ignition (
\2
page 111).
\1
Press and hold the upper part of
relevant switch
1
or
2
on the cen-
ter console for 5 seconds.
The indicator lamp in the switch for
the sliding door concerned flashes
and a warning tone sounds three
times as confirmation.
Anti-trap protectionIf the sliding door is obstructed during
the opening procedure, it moves back in
the opposite direction slightly and stops.If the sliding door is obstructed during
the closing procedure, it opens fully
again.
Resetting the electric sliding door In the event of serious malfunctions or if
you disconnect the battery, you will
need to reset the sliding door.
Warning
G
The anti-trap protection function does not
eliminate the possibility of fingers or other
parts of the body being trapped against
the door frame and therefore does not
eliminate the risk of injury.
Always make sure that nobody is within
the operating range of the sliding door.
iThe anti-trap protection is pro-
grammed to be less sensitive when
you press and hold the switch on the
center console or the switch in the
doorway than when the door opens
of its own accord.
nf_BA.book Page 98 Friday, January 25, 2008 3:53 PM
Page 101 of 666
99 Controls in detail
Opening and closing
3
\1Resetting the sliding door:
Close
the sliding door completely once by
pressing and holding down the
switch on the center console or in
the doorway.
Then
\1
Open and close the sliding door com-
pletely once by pressing and relea-
sing one of the switches.
This restores normal operation of the
sliding door.You can fix the rear doors in place at an
angle of approximately 90° or 270°.
Rear doorsWarning
G
When you open the rear door:
\4there must be sufficient clearance
\4make sure that nobody can become
trapped
Warning
G
The rear lamps are concealed by more
than 50% when you open the rear doors
through 90° or more.
The vehicle is then not sufficiently safe-
guarded at the rear and may only be seen
by other road users when they are close
to the vehicle. This could lead to an acci-
dent.
Make sure, therefore, that the vehicle is
safeguarded at the rear in accordance
with national legal requirements, e.g. with
a warning triangle.
nf_BA.book Page 99 Friday, January 25, 2008 3:53 PM
Page 106 of 666
104 Controls in detailOpening and closing
3
\1To close:
make sure that the left-
hand rear door is closed.
\1
Pull the right-hand rear door firmly
closed by the door handle.
\1To lock:
slide catch
2
to the right.
Only the rear door is locked.
The white marking is no longer visi-
ble.
Using the central locking switch, you
can centrally lock or unlock from the in-
side either the entire vehicle or the slid-
ing doors and rear doors only.The central locking switch is located on
the center console.
Locking and unlocking centrally
from the inside
Warning
G
Do not leave children unsupervised in the
vehicle, even if they are secured by a child
restraint system. The children could:\4injure themselves on parts of the
vehicle\4be severely or even fatally injured by
prolonged exposure to intense heat\4If the children open a door, they could:\4cause injury to others as a result
Continued
Warning (Continued)
G
\4get out of the vehicle and could either
injure themselves when doing so or
they could be injured by passing
vehicles\4sustain serious injuries if they were to
fall out of the vehicle, due in particular
to the height of the passenger com-
partment from the ground
nf_BA.book Page 104 Friday, January 25, 2008 3:53 PM
Page 124 of 666
122 Controls in detailSeats
3
\1To raise:
pull the head restraint up
to the desired position.
\1To lower:
press release button
1
and slide the head restraint down to
the desired position.
\1To adjust the angle:
hold the head
restraint by the lower edge and fold
it to the desired position.
Removing the head restraints
\1
Pull the head restraint up as far as it
will go.
\1
Press release button
1
and pull the
head restraint out.
Installing the head restraints
\1
Insert the head restraint so that the
rod with the notches is in the direc-
tion of travel on the left.
\1
Push the head restraint down until it
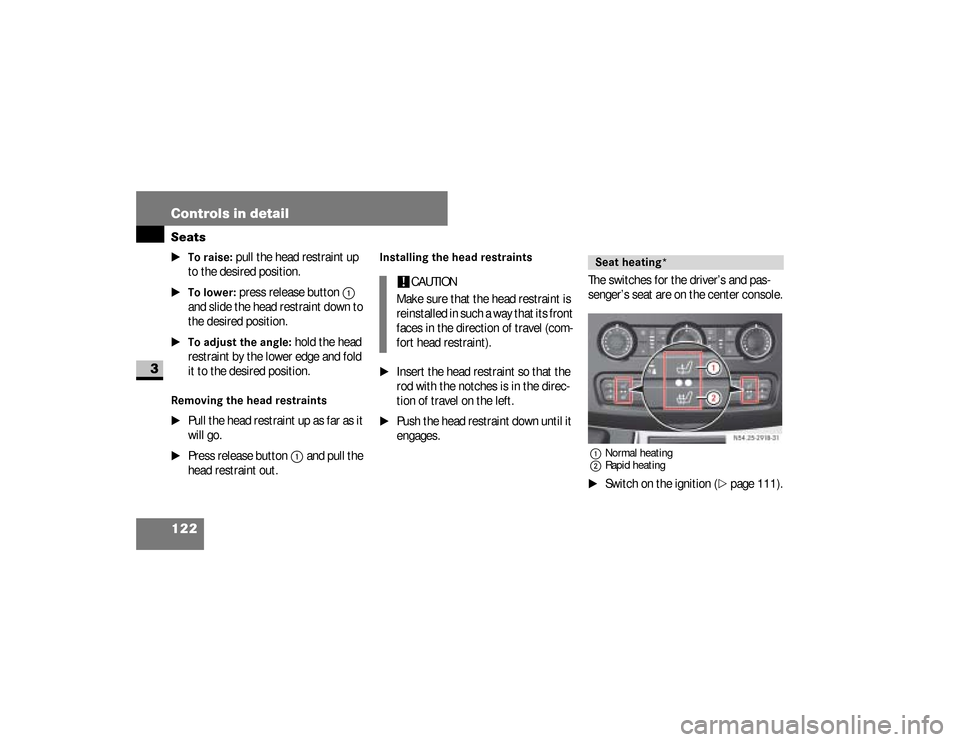
engages.The switches for the driver’s and pas-
senger’s seat are on the center console.
1Normal heating
2Rapid heating\1
Switch on the ignition (
\2
page 111).
!
CAUTION
Make sure that the head restraint is
reinstalled in such a way that its front
faces in the direction of travel (com-
fort head restraint).
Seat heating*
N54.25-2918-31
nf_BA.book Page 122 Friday, January 25, 2008 3:53 PM
Page 215 of 666
213 Controls in detail
Good visibility
3
Wiping with washer fluid
\1
Turn switch
1
to
5
or
2
and keep
it pressed until the window is clean.
The windshield heating is operational
while the engine is running.
The windshield heating consumes a lot
of energy. You should therefore switch
the heating off as soon as the windshield
is clear.
The heating switches off automatically
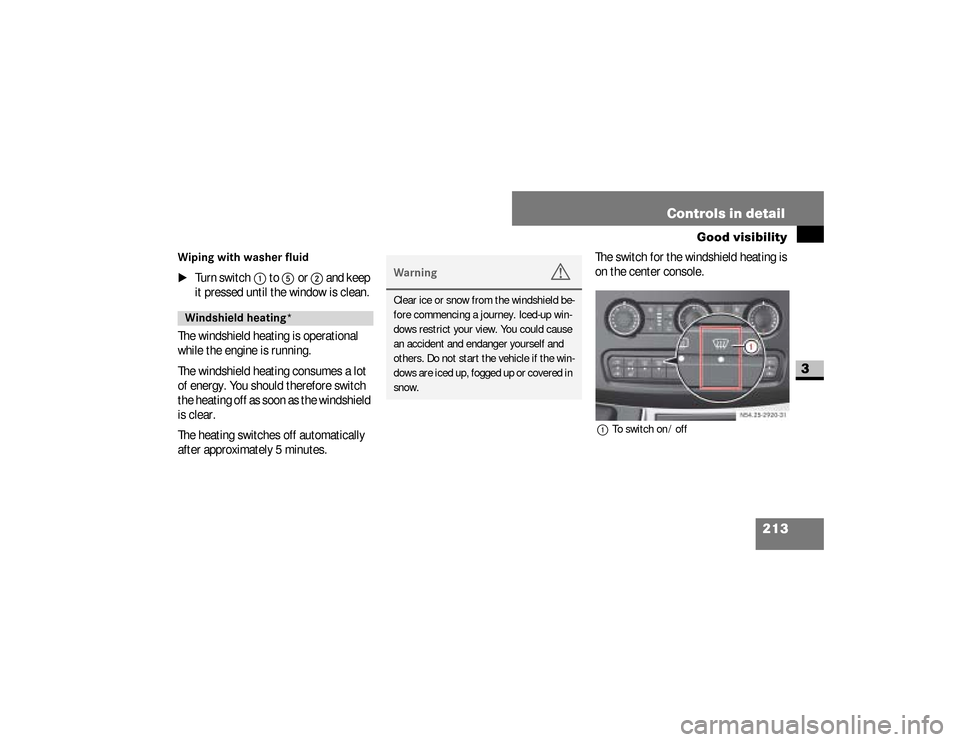
after approximately 5 minutes.The switch for the windshield heating is
on the center console.
1To switch on / off
Windshield heating*
Warning
G
Clear ice or snow from the windshield be-
fore commencing a journey. Iced-up win-
dows restrict your view. You could cause
an accident and endanger yourself and
others. Do not start the vehicle if the win-
dows are iced up, fogged up or covered in
snow.
N54.25-2920-31
nf_BA.book Page 213 Friday, January 25, 2008 3:53 PM
Page 216 of 666
214 Controls in detailGood visibility
3
\1To switch on:
press upper part of
the
P
switch.
The indicator lamp in the switch
comes on.
\1To switch off:
press upper part of
the
P
switch again.
\1
The indicator lamp in the switch goes
out.
The rear window heating is operational
while the engine is running.
The rear window heating consumes a lot
of energy. You should therefore switch
the rear window heating off as soon as the window is clear. The heating switch-
es off automatically after a maximum of
12 minutes.
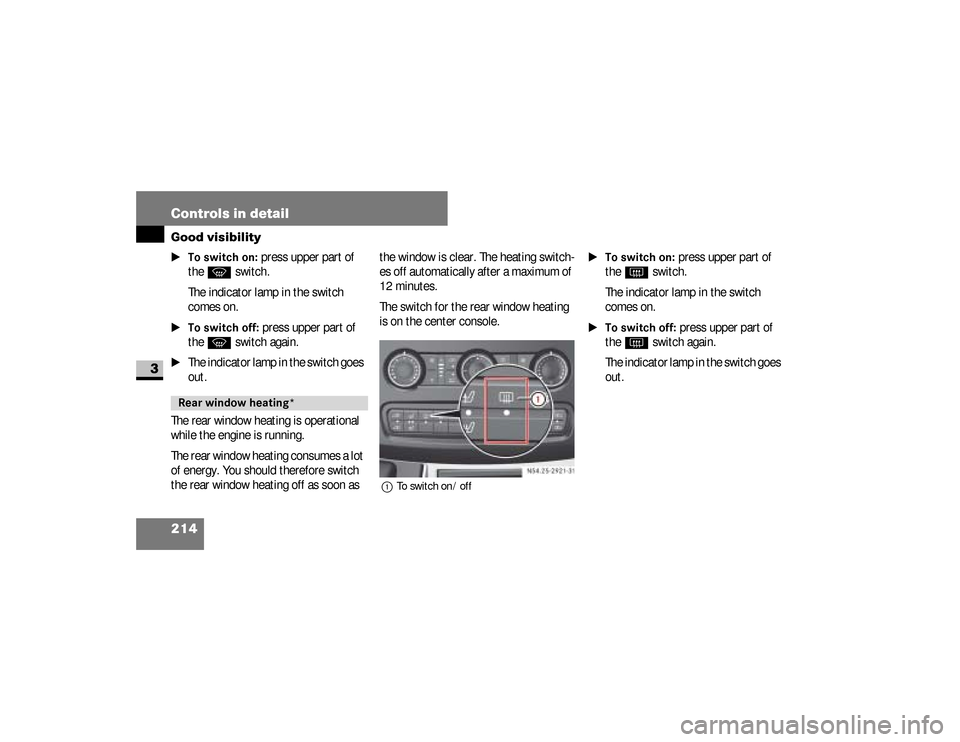
The switch for the rear window heating
is on the center console.
1To switch on / off
\1To switch on:
press upper part of
the
F
switch.
The indicator lamp in the switch
comes on.
\1To switch off:
press upper part of
the
F
switch again.
The indicator lamp in the switch goes
out.
Rear window heating*
N54.25-2921-31
nf_BA.book Page 214 Friday, January 25, 2008 3:53 PM
Page 258 of 666
256 Controls in detailDriving systems
3
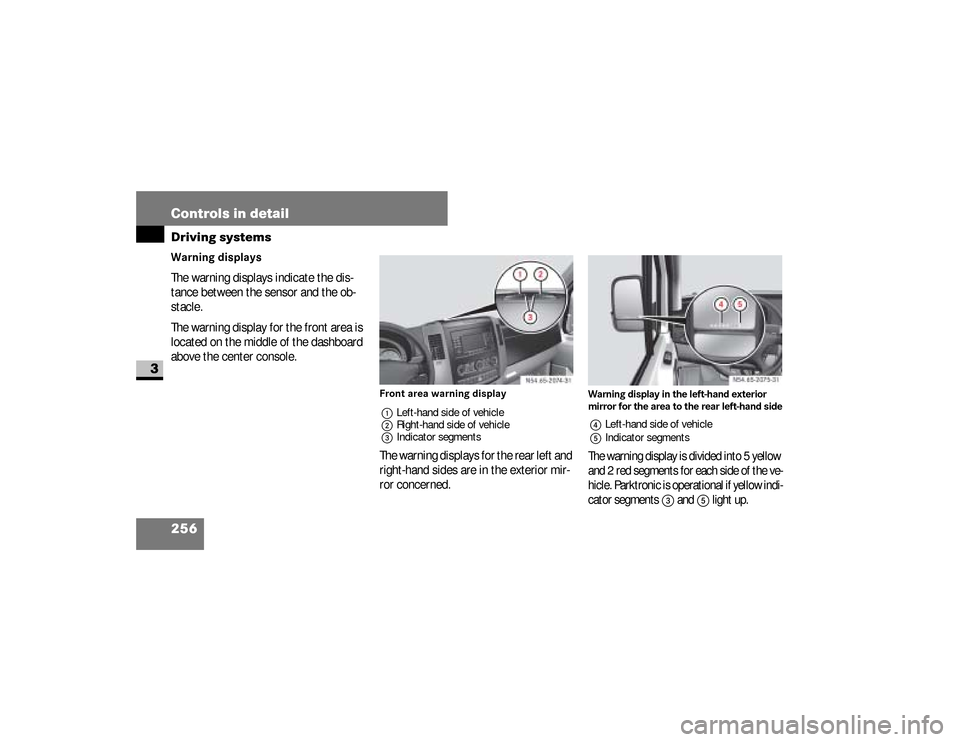
Warning displays
The warning displays indicate the dis-
tance between the sensor and the ob-
stacle.
The warning display for the front area is
located on the middle of the dashboard
above the center console.
Front area warning display
1Left-hand side of vehicle
2Right-hand side of vehicle
3Indicator segmentsThe warning displays for the rear left and
right-hand sides are in the exterior mir-
ror concerned.
Warning display in the left-hand exterior
mirror for the area to the rear left-hand side4Left-hand side of vehicle
5Indicator segmentsThe warning display is divided into 5 yellow
and 2 red segments for each side of the ve-
hicle. Parktronic is operational if yellow indi-
cator segments
3
and
5
light up.
N54.65-2074-31
N54.65-2075-31
nf_BA.book Page 256 Friday, January 25, 2008 3:53 PM
Page 260 of 666
258 Controls in detailDriving systems
3
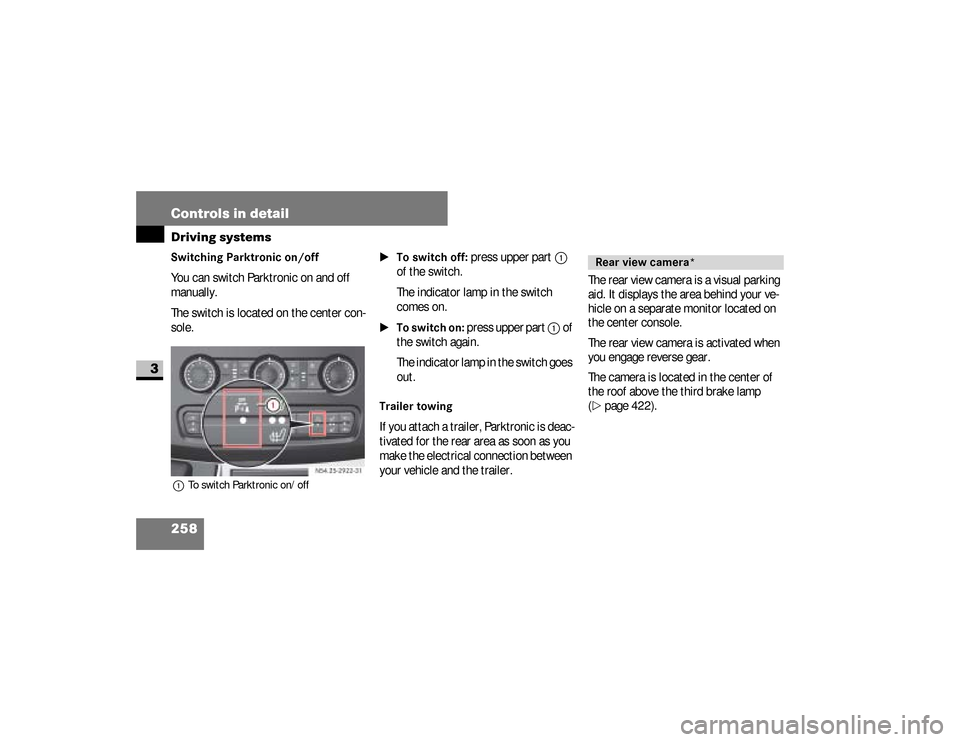
Switching Parktronic on/off You can switch Parktronic on and off
manually.
The switch is located on the center con-
sole.1To switch Parktronic on/off
\1To switch off:
press upper part
1
of the switch.
The indicator lamp in the switch
comes on.
\1To switch on:
press upper part
1
of
the switch again.
The indicator lamp in the switch goes
out.
Trailer towingIf you attach a trailer, Parktronic is deac-
tivated for the rear area as soon as you
make the electrical connection between
your vehicle and the trailer.The rear view camera is a visual parking
aid. It displays the area behind your ve-
hicle on a separate monitor located on
the center console.
The rear view camera is activated when
you engage reverse gear.
The camera is located in the center of
the roof above the third brake lamp
(
\2
page 422). N54.25-2922-31Rear view camera*
nf_BA.book Page 258 Friday, January 25, 2008 3:53 PM
Page 261 of 666
259 Controls in detail
Driving systems
3
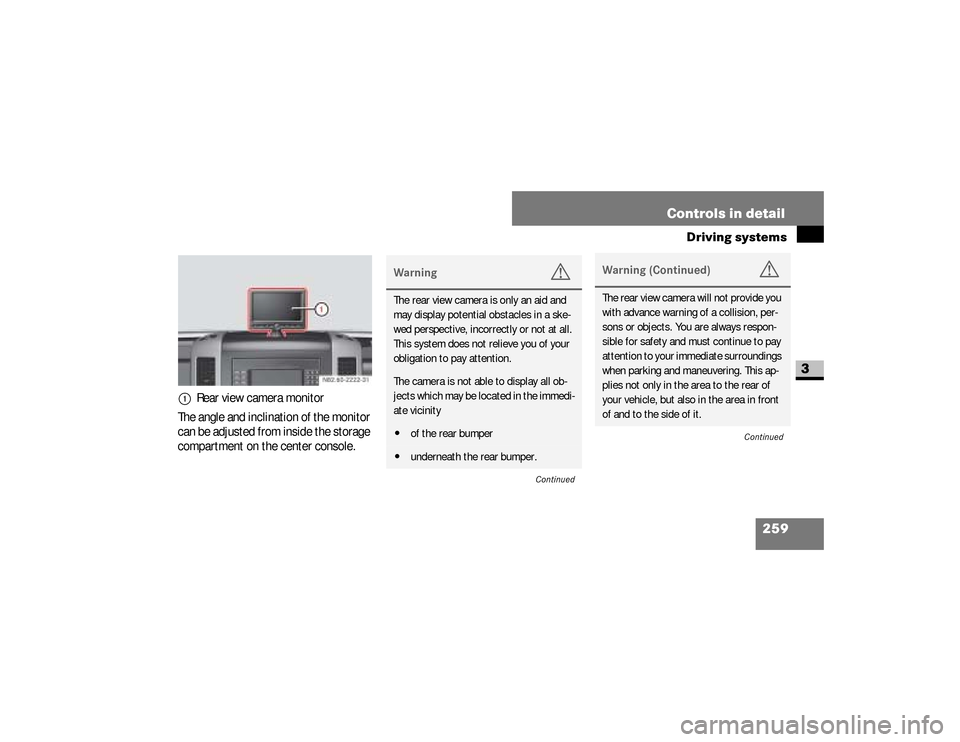
The angle and inclination of the monitor
can be adjusted from inside the storage
compartment on the center console.1
Rear view camera monitor
Warning
G
The rear view camera is only an aid and
may display potential obstacles in a ske-
wed perspective, incorrectly or not at all.
This system does not relieve you of your
obligation to pay attention.The camera is not able to display all ob-
jects which may be located in the immedi-
ate vicinity\4of the rear bumper\4underneath the rear bumper.
Continued
Warning (Continued)
G
The rear view camera will not provide you
with advance warning of a collision, per-
sons or objects. You are always respon-
sible for safety and must continue to pay
attention to your immediate surroundings
when parking and maneuvering. This ap-
plies not only in the area to the rear of
your vehicle, but also in the area in front
of and to the side of it.
Continued
nf_BA.book Page 259 Friday, January 25, 2008 3:53 PM