technical specifications FIAT IDEA 2007 1.G Owners Manual
[x] Cancel search | Manufacturer: FIAT, Model Year: 2007, Model line: IDEA, Model: FIAT IDEA 2007 1.GPages: 314, PDF Size: 4.78 MB
Page 95 of 314
Set air flow distribution is indicated by the
corresponding button led switching on.
With a combined function set, pressing a button will
turn on the main function of the button pressed,
together with the functions set yet. Pressing the
button of the active function will turn the function off
(led off).
To restore automatic air distribution control after a
manual selection, press button AUTO.
When the driver selects air distribution towards the
windscreen, also the air distribution on passenger’s
side will automatically be directed to the windscreen.
The passenger can however select a different air
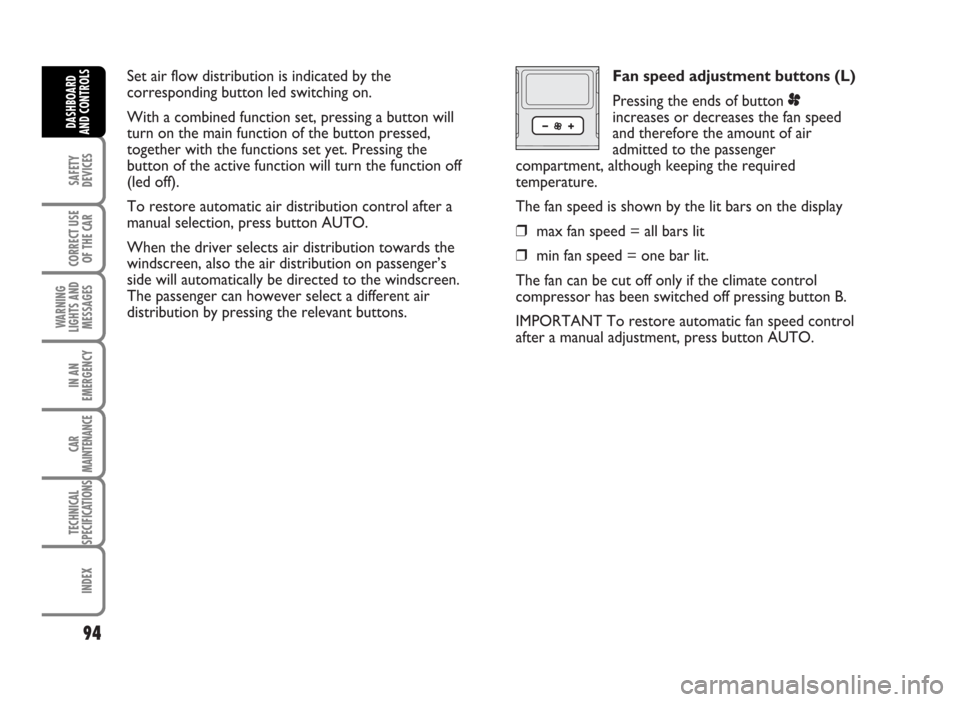
distribution by pressing the relevant buttons.Fan speed adjustment buttons (L)
Pressing the ends of button p
increases or decreases the fan speed
and therefore the amount of air
admitted to the passenger
compartment, although keeping the required
temperature.
The fan speed is shown by the lit bars on the display
❒max fan speed = all bars lit
❒min fan speed = one bar lit.
The fan can be cut off only if the climate control
compressor has been switched off pressing button B.
IMPORTANT To restore automatic fan speed control
after a manual adjustment, press button AUTO.
94
SAFETY
DEVICES
CORRECT USE
OF THE CAR
WARNING
LIGHTS AND
MESSAGES
IN AN
EMERGENCY
CAR
MAINTENANCE
TECHNICAL
SPECIFICATIONS
INDEX
DASHBOARD
AND CONTROLS
Page 96 of 314
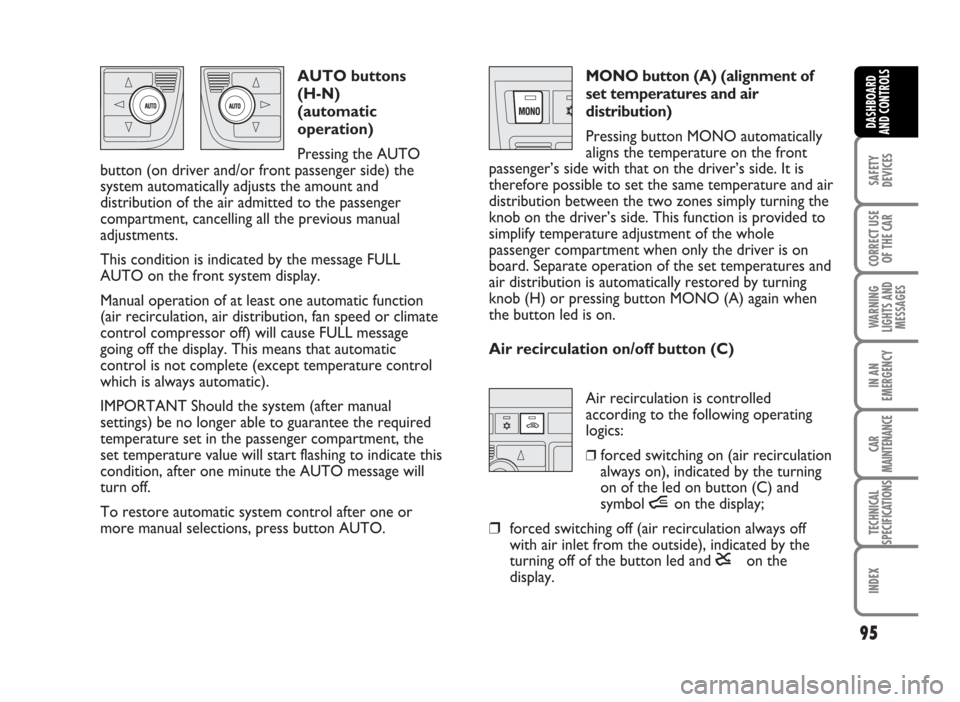
Air recirculation is controlled
according to the following operating
logics:
❒forced switching on (air recirculation
always on), indicated by the turning
on of the led on button (C) and
symbol íon the display;
❒forced switching off (air recirculation always off
with air inlet from the outside), indicated by the
turning off of the button led and êon the
display. AUTO buttons
(H-N)
(automatic
operation)
Pressing the AUTO
button (on driver and/or front passenger side) the
system automatically adjusts the amount and
distribution of the air admitted to the passenger
compartment, cancelling all the previous manual
adjustments.
This condition is indicated by the message FULL
AUTO on the front system display.
Manual operation of at least one automatic function
(air recirculation, air distribution, fan speed or climate
control compressor off) will cause FULL message
going off the display. This means that automatic
control is not complete (except temperature control
which is always automatic).
IMPORTANT Should the system (after manual
settings) be no longer able to guarantee the required
temperature set in the passenger compartment, the
set temperature value will start flashing to indicate this
condition, after one minute the AUTO message will
turn off.
To restore automatic system control after one or
more manual selections, press button AUTO.MONO button (A) (alignment of
set temperatures and air
distribution)
Pressing button MONO automatically
aligns the temperature on the front
passenger’s side with that on the driver’s side. It is
therefore possible to set the same temperature and air
distribution between the two zones simply turning the
knob on the driver’s side. This function is provided to
simplify temperature adjustment of the whole
passenger compartment when only the driver is on
board. Separate operation of the set temperatures and
air distribution is automatically restored by turning
knob (H) or pressing button MONO (A) again when
the button led is on.
Air recirculation on/off button (C)
95
SAFETY
DEVICES
CORRECT USE
OF THE CAR
WARNING
LIGHTS AND
MESSAGES
IN AN
EMERGENCY
CAR
MAINTENANCE
TECHNICAL
SPECIFICATIONS
INDEX
DASHBOARD
AND CONTROLS
Page 97 of 314
These operating conditions are obtained pressing in
sequence the air recirculation button (C).
After a preset time, the climate control system will
turn air recirculation off automatically for safety
reasons, thus enabling outside air inlet.IMPORTANT The air recirculation system
makes it possible to reach the required heating or
cooling conditions faster.
It is however inadvisable to use it on rainy/cold days as
it would considerably increase the possibility of the
windows misting inside, especially if the climate
control system is off.
When the outside temperature is below 5-7°C, air
recirculation is switched off (air is taken from the
outside) to prevent misting.
96
SAFETY
DEVICES
CORRECT USE
OF THE CAR
WARNING
LIGHTS AND
MESSAGES
IN AN
EMERGENCY
CAR
MAINTENANCE
TECHNICAL
SPECIFICATIONS
INDEX
DASHBOARD
AND CONTROLS
WARNINGIt is inadvisable to use the air recirculation feature with low outside temperature
as the windows might mist over quickly.
Page 98 of 314
Climate control compressor
on/off button (B)
Press the
√button, when the button
led is on, to switch the compressor off.
The led will go off. By pressing again
the button when the led is off, the system automatic
control of the compressor activation is restored; this
condition is indicated by button led lighting up.
When the air conditioner compressor is off, the
system deactivates air recirculation to prevent window
misting up. Although the system is still able to maintain
the required temperature, the message FULL on the
display will go off. If the system is no longer able to
keep the required temperature, also the message
AUTO will turn off.
IMPORTANT Air at a temperature lower than that of
the outside air cannot be let into the passenger
compartment when the compressor is off.
Furthermore, in particular environmental conditions,
the windows could mist up fast because the air is no
longer dehumidified.Setting will be stored also when the engine is stopped.
Either press again button
√(in this case the system
operates as heater only) or AUTO to reset automatic
control of the compressor.
With compressor off, if the outside temperature is
higher than the set temperature, the system cannot
reach the required temperature. This will be signalled
by the flashing of set temperature value on the display
for a few seconds, then the message AUTO will go off.
When the compressor is off, it is possible to reset
manually the fan speed (no bar displayed).
When the compressor is on and the engine is running,
fan speed cannot be lower than the minimum (one bar
displayed).
97
SAFETY
DEVICES
CORRECT USE
OF THE CAR
WARNING
LIGHTS AND
MESSAGES
IN AN
EMERGENCY
CAR
MAINTENANCE
TECHNICAL
SPECIFICATIONS
INDEX
DASHBOARD
AND CONTROLS
Page 99 of 314
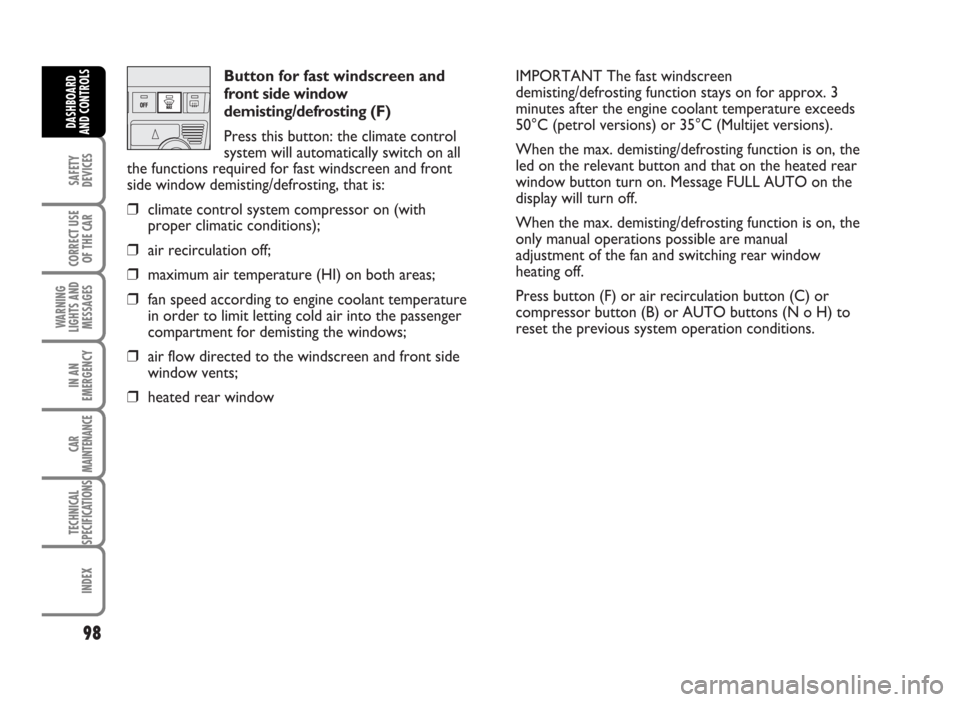
Button for fast windscreen and
front side window
demisting/defrosting (F)
Press this button: the climate control
system will automatically switch on all
the functions required for fast windscreen and front
side window demisting/defrosting, that is:
❒climate control system compressor on (with
proper climatic conditions);
❒air recirculation off;
❒maximum air temperature (HI) on both areas;
❒fan speed according to engine coolant temperature
in order to limit letting cold air into the passenger
compartment for demisting the windows;
❒air flow directed to the windscreen and front side
window vents;
❒heated rear windowIMPORTANT The fast windscreen
demisting/defrosting function stays on for approx. 3
minutes after the engine coolant temperature exceeds
50°C (petrol versions) or 35°C (Multijet versions).
When the max. demisting/defrosting function is on, the
led on the relevant button and that on the heated rear
window button turn on. Message FULL AUTO on the
display will turn off.
When the max. demisting/defrosting function is on, the
only manual operations possible are manual
adjustment of the fan and switching rear window
heating off.
Press button (F) or air recirculation button (C) or
compressor button (B) or AUTO buttons (N o H) to
reset the previous system operation conditions.
98
SAFETY
DEVICES
CORRECT USE
OF THE CAR
WARNING
LIGHTS AND
MESSAGES
IN AN
EMERGENCY
CAR
MAINTENANCE
TECHNICAL
SPECIFICATIONS
INDEX
DASHBOARD
AND CONTROLS
Page 100 of 314
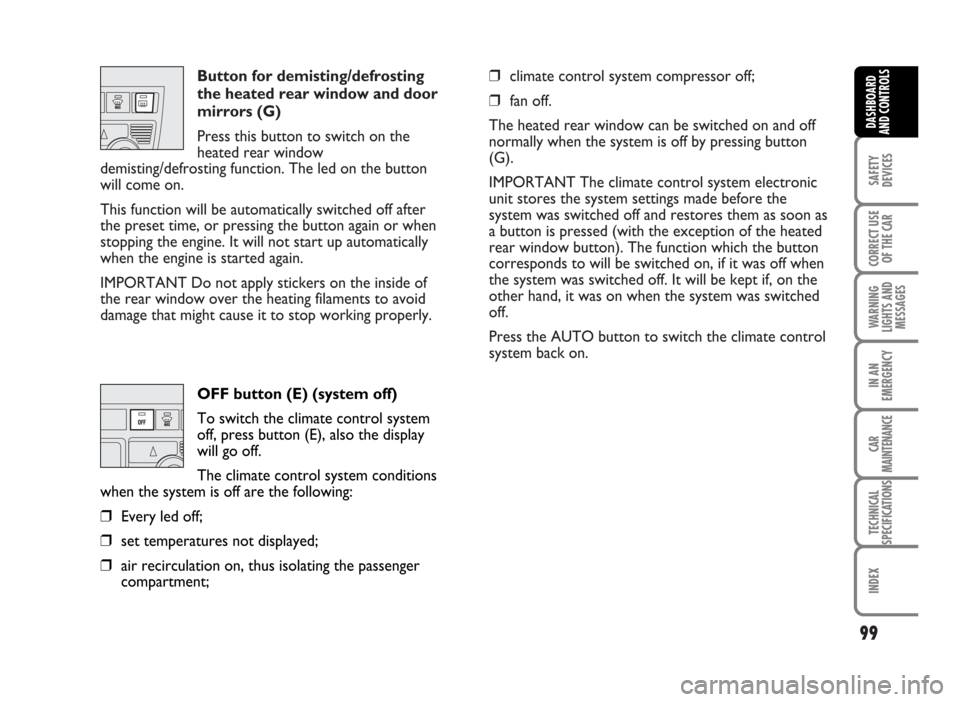
Button for demisting/defrosting
the heated rear window and door
mirrors (G)
Press this button to switch on the
heated rear window
demisting/defrosting function. The led on the button
will come on.
This function will be automatically switched off after
the preset time, or pressing the button again or when
stopping the engine. It will not start up automatically
when the engine is started again.
IMPORTANT Do not apply stickers on the inside of
the rear window over the heating filaments to avoid
damage that might cause it to stop working properly.❒climate control system compressor off;
❒fan off.
The heated rear window can be switched on and off
normally when the system is off by pressing button
(G).
IMPORTANT The climate control system electronic
unit stores the system settings made before the
system was switched off and restores them as soon as
a button is pressed (with the exception of the heated
rear window button). The function which the button
corresponds to will be switched on, if it was off when
the system was switched off. It will be kept if, on the
other hand, it was on when the system was switched
off.
Press the AUTO button to switch the climate control
system back on.
99
SAFETY
DEVICES
CORRECT USE
OF THE CAR
WARNING
LIGHTS AND
MESSAGES
IN AN
EMERGENCY
CAR
MAINTENANCE
TECHNICAL
SPECIFICATIONS
INDEX
DASHBOARD
AND CONTROLS
OFF button (E) (system off)
To switch the climate control system
off, press button (E), also the display
will go off.
The climate control system conditions
when the system is off are the following:
❒Every led off;
❒set temperatures not displayed;
❒air recirculation on, thus isolating the passenger
compartment;
Page 101 of 314
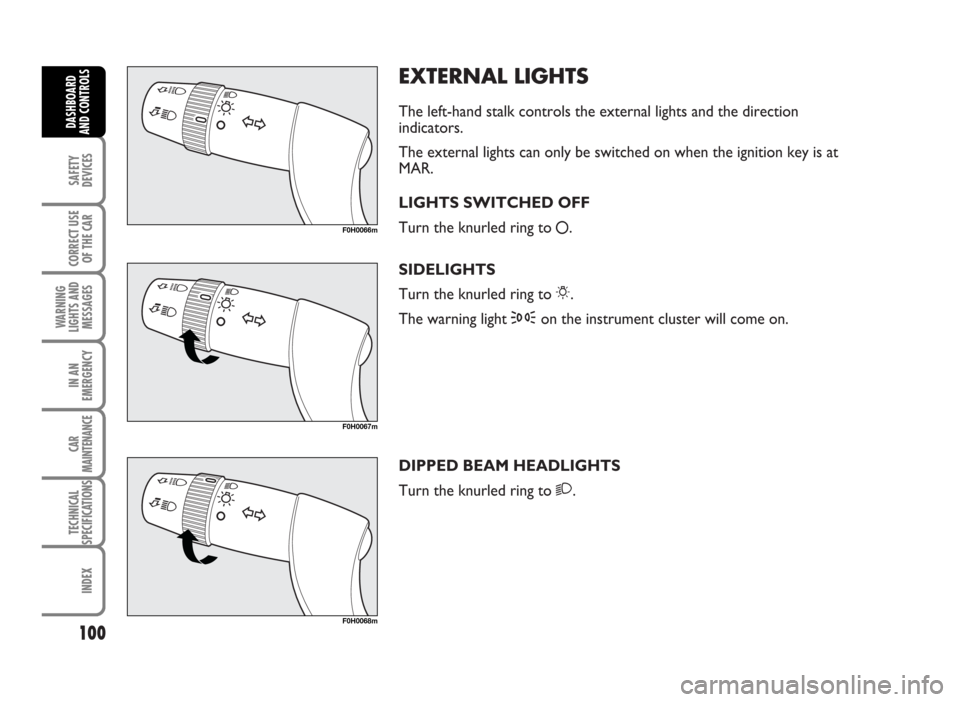
EXTERNAL LIGHTS
The left-hand stalk controls the external lights and the direction
indicators.
The external lights can only be switched on when the ignition key is at
MAR.
LIGHTS SWITCHED OFF
Turn the knurled ring to
å.
SIDELIGHTS
Turn the knurled ring to 6.
The warning light 3on the instrument cluster will come on.
DIPPED BEAM HEADLIGHTS
Turn the knurled ring to 2.
100
SAFETY
DEVICES
CORRECT USE
OF THE CAR
WARNING
LIGHTS AND
MESSAGES
IN AN
EMERGENCY
CAR
MAINTENANCE
TECHNICAL
SPECIFICATIONS
INDEX
DASHBOARD
AND CONTROLS
F0H0066m
F0H0067m
F0H0068m
Page 102 of 314
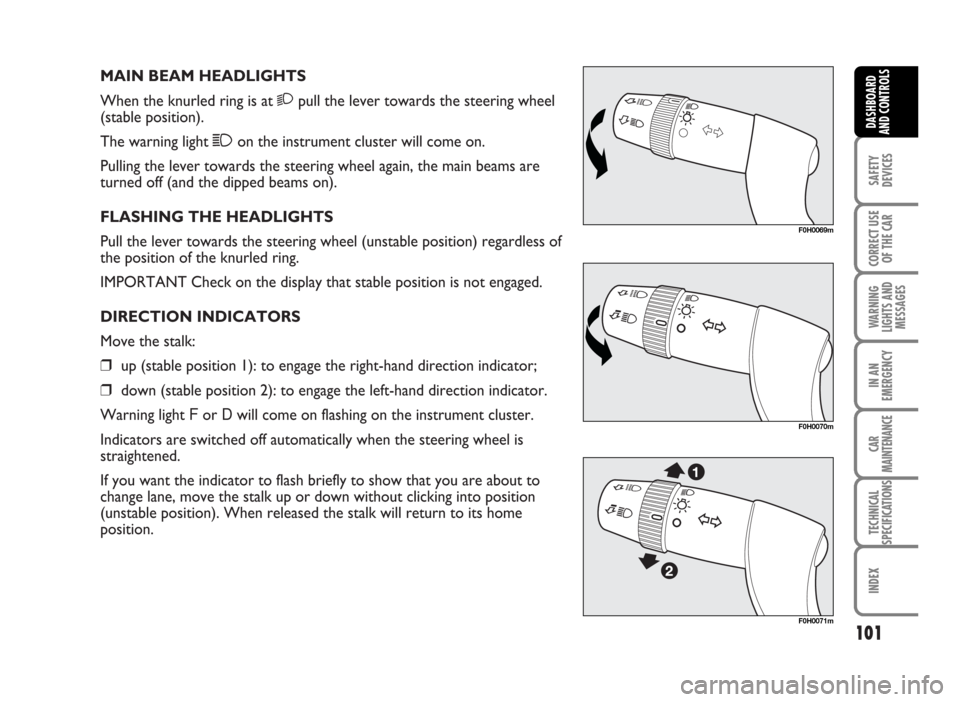
MAIN BEAM HEADLIGHTS
When the knurled ring is at 2pull the lever towards the steering wheel
(stable position).
The warning light 1on the instrument cluster will come on.
Pulling the lever towards the steering wheel again, the main beams are
turned off (and the dipped beams on).
FLASHING THE HEADLIGHTS
Pull the lever towards the steering wheel (unstable position) regardless of
the position of the knurled ring.
IMPORTANT Check on the display that stable position is not engaged.
DIRECTION INDICATORS
Move the stalk:
❒up (stable position 1): to engage the right-hand direction indicator;
❒down (stable position 2): to engage the left-hand direction indicator.
Warning light For Dwill come on flashing on the instrument cluster.
Indicators are switched off automatically when the steering wheel is
straightened.
If you want the indicator to flash briefly to show that you are about to
change lane, move the stalk up or down without clicking into position
(unstable position). When released the stalk will return to its home
position.
101
SAFETY
DEVICES
CORRECT USE
OF THE CAR
WARNING
LIGHTS AND
MESSAGES
IN AN
EMERGENCY
CAR
MAINTENANCE
TECHNICAL
SPECIFICATIONS
INDEX
DASHBOARD
AND CONTROLS
F0H0069m
F0H0070m
F0H0071m
Page 103 of 314
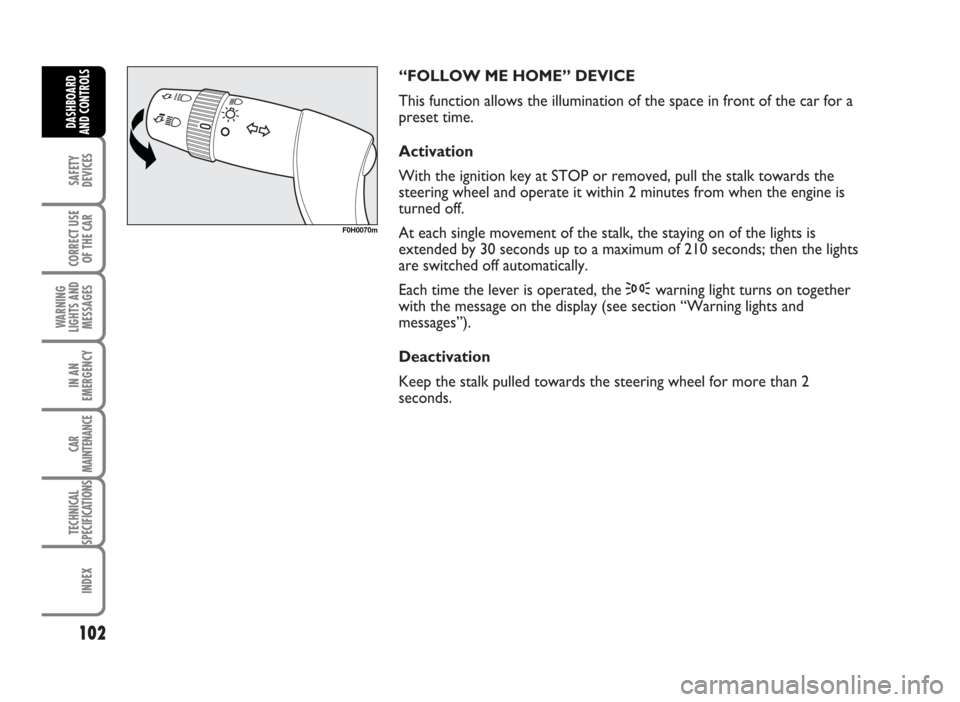
“FOLLOW ME HOME” DEVICE
This function allows the illumination of the space in front of the car for a
preset time.
Activation
With the ignition key at STOP or removed, pull the stalk towards the
steering wheel and operate it within 2 minutes from when the engine is
turned off.
At each single movement of the stalk, the staying on of the lights is
extended by 30 seconds up to a maximum of 210 seconds; then the lights
are switched off automatically.
Each time the lever is operated, the 3warning light turns on together
with the message on the display (see section “Warning lights and
messages”).
Deactivation
Keep the stalk pulled towards the steering wheel for more than 2
seconds.
102
SAFETY
DEVICES
CORRECT USE
OF THE CAR
WARNING
LIGHTS AND
MESSAGES
IN AN
EMERGENCY
CAR
MAINTENANCE
TECHNICAL
SPECIFICATIONS
INDEX
DASHBOARD
AND CONTROLS
F0H0070m
Page 104 of 314
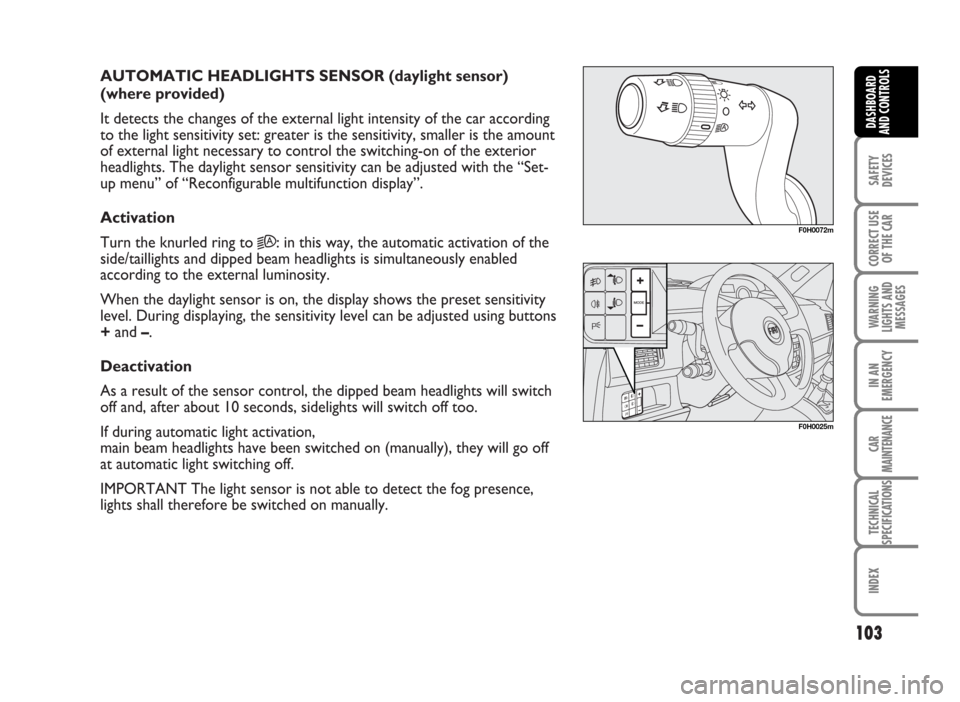
AUTOMATIC HEADLIGHTS SENSOR (daylight sensor)
(where provided)
It detects the changes of the external light intensity of the car according
to the light sensitivity set: greater is the sensitivity, smaller is the amount
of external light necessary to control the switching-on of the exterior
headlights. The daylight sensor sensitivity can be adjusted with the “Set-
up menu” of “Reconfigurable multifunction display”.
Activation
Turn the knurled ring to
2A: in this way, the automatic activation of the
side/taillights and dipped beam headlights is simultaneously enabled
according to the external luminosity.
When the daylight sensor is on, the display shows the preset sensitivity
level. During displaying, the sensitivity level can be adjusted using buttons
+and –.
Deactivation
As a result of the sensor control, the dipped beam headlights will switch
off and, after about 10 seconds, sidelights will switch off too.
If during automatic light activation,
main beam headlights have been switched on (manually), they will go off
at automatic light switching off.
IMPORTANT The light sensor is not able to detect the fog presence,
lights shall therefore be switched on manually.
103
SAFETY
DEVICES
CORRECT USE
OF THE CAR
WARNING
LIGHTS AND
MESSAGES
IN AN
EMERGENCY
CAR
MAINTENANCE
TECHNICAL
SPECIFICATIONS
INDEX
DASHBOARD
AND CONTROLS
F0H0072m
F0H0025m