service FIAT PANDA 2009 169 / 2.G Connect NavPlus Manual
[x] Cancel search | Manufacturer: FIAT, Model Year: 2009, Model line: PANDA, Model: FIAT PANDA 2009 169 / 2.GPages: 166, PDF Size: 5.08 MB
Page 92 of 166
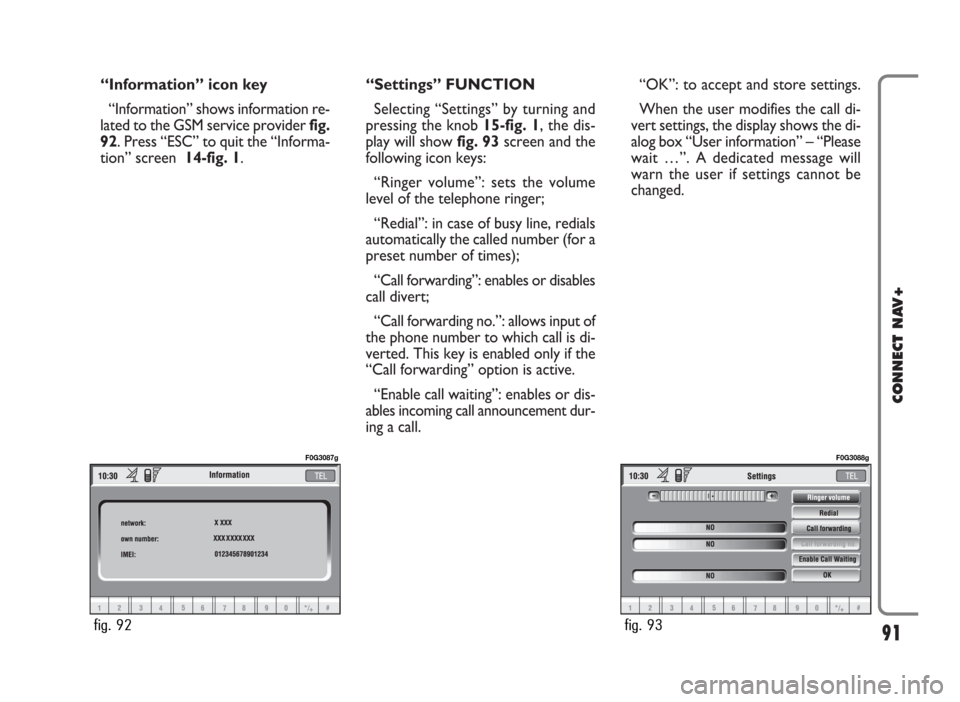
“Information” icon key
“Information” shows information re-
lated to the GSM service provider fig.
92. Press “ESC” to quit the “Informa-
tion” screen 14-fig. 1.“Settings” FUNCTION
Selecting “Settings” by turning and
pressing the knob 15-fig. 1, the dis-
play will showfig. 93screen and the
following icon keys:
“Ringer volume”: sets the volume
level of the telephone ringer;
“Redial”: in case of busy line, redials
automatically the called number (for a
preset number of times);
“Call forwarding”: enables or disables
call divert;
“Call forwarding no.”: allows input of
the phone number to which call is di-
verted. This key is enabled only if the
“Call forwarding” option is active.
“Enable call waiting”: enables or dis-
ables incoming call announcement dur-
ing a call.“OK”: to accept and store settings.
When the user modifies the call di-
vert settings, the display shows the di-
alog box “User information” – “Please
wait …”. A dedicated message will
warn the user if settings cannot be
changed.
91
CONNECT NAV+
fig. 92
F0G3087g
fig. 93
F0G3088g
Page 104 of 166
103
CONNECT NAV+
POINTS OF INTEREST
This function is used to obtain a file
containing the location and informa-
tion on points of general interest such
as, for example, restaurants, museums,
stations etc., divided by category.
Selecting “Points of interest” rotat-
ing and pressing the knob 15-fig. 1,
the display will show the following
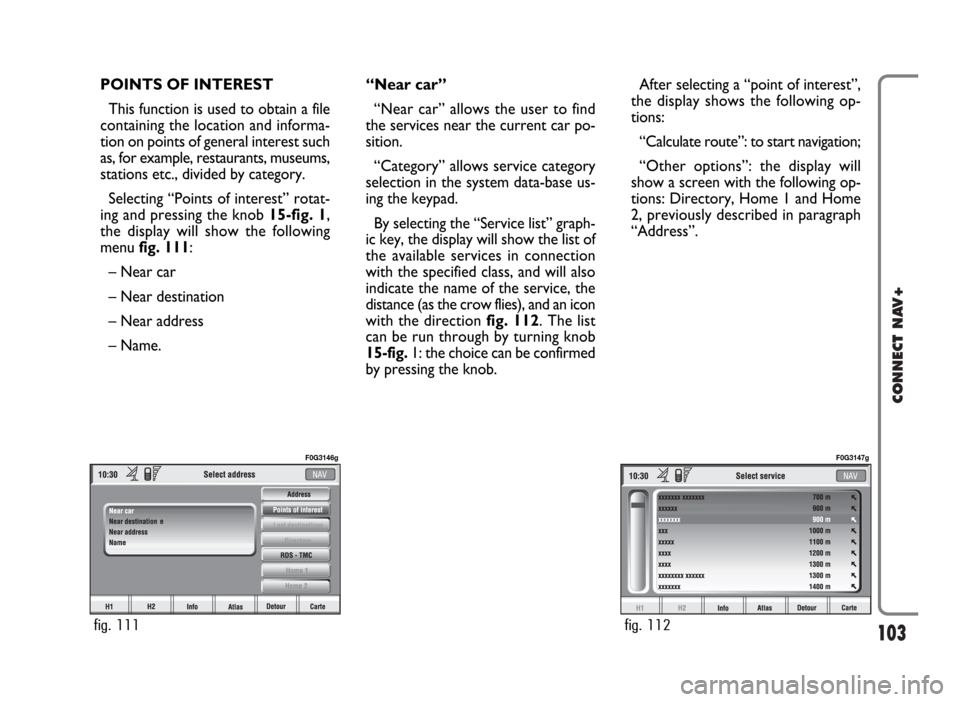
menu fig. 111:
– Near car
– Near destination
– Near address
– Name. “Near car”
“Near car” allows the user to find
the services near the current car po-
sition.
“Category” allows service category
selection in the system data-base us-
ing the keypad.
By selecting the “Service list” graph-
ic key, the display will show the list of
the available services in connection
with the specified class, and will also
indicate the name of the service, the
distance (as the crow flies), and an icon
with the direction fig. 112. The list
can be run through by turning knob
15-fig. 1: the choice can be confirmed
by pressing the knob.After selecting a “point of interest”,
the display shows the following op-
tions:
“Calculate route”: to start navigation;
“Other options”: the display will
show a screen with the following op-
tions: Directory, Home 1 and Home
2, previously described in paragraph
“Address”.
fig. 111
F0G3146g
fig. 112
F0G3147g
Page 105 of 166
104
CONNECT NAV+
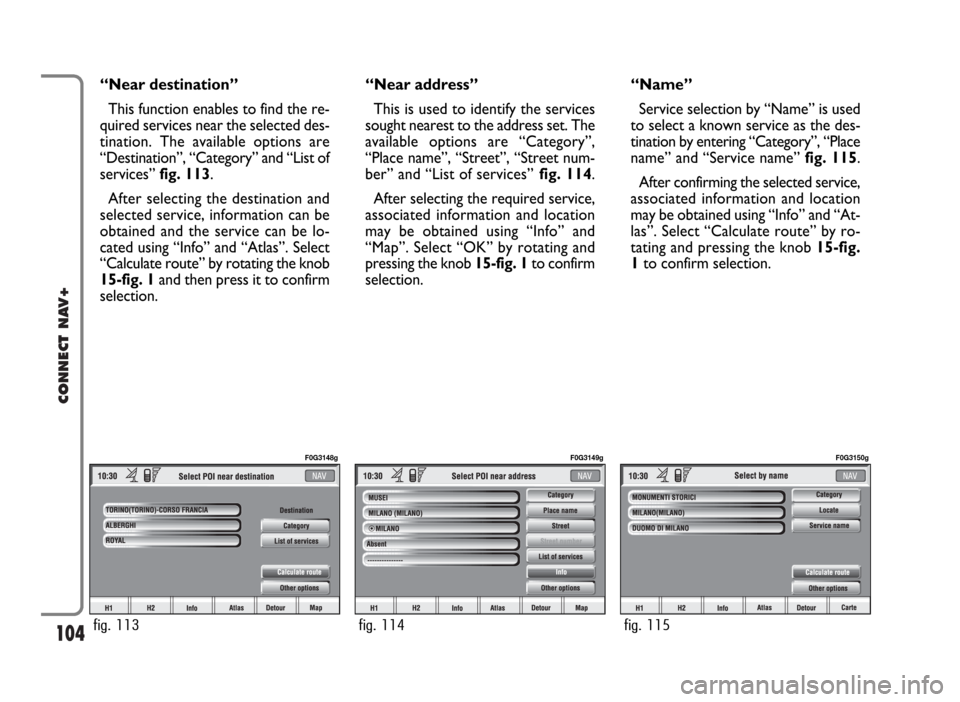
“Near destination”
This function enables to find the re-
quired services near the selected des-
tination. The available options are
“Destination”, “Category” and “List of
services” fig. 113.
After selecting the destination and
selected service, information can be
obtained and the service can be lo-
cated using “Info” and “Atlas”. Select
“Calculate route” by rotating the knob
15-fig. 1and then press it to confirm
selection.“Near address”
This is used to identify the services
sought nearest to the address set. The
available options are “Category”,
“Place name”, “Street”, “Street num-
ber” and “List of services”fig. 114.
After selecting the required service,
associated information and location
may be obtained using “Info” and
“Map”. Select “OK” by rotating and
pressing the knob 15-fig. 1to confirm
selection.“Name”
Service selection by “Name” is used
to select a known service as the des-
tination by entering “Category”, “Place
name” and “Service name” fig. 115.
After confirming the selected service,
associated information and location
may be obtained using “Info” and “At-
las”. Select “Calculate route” by ro-
tating and pressing the knob 15-fig.
1to confirm selection.
fig. 113
F0G3148g
fig. 114
F0G3149g
fig. 115
F0G3150g
Page 107 of 166
106
CONNECT NAV+
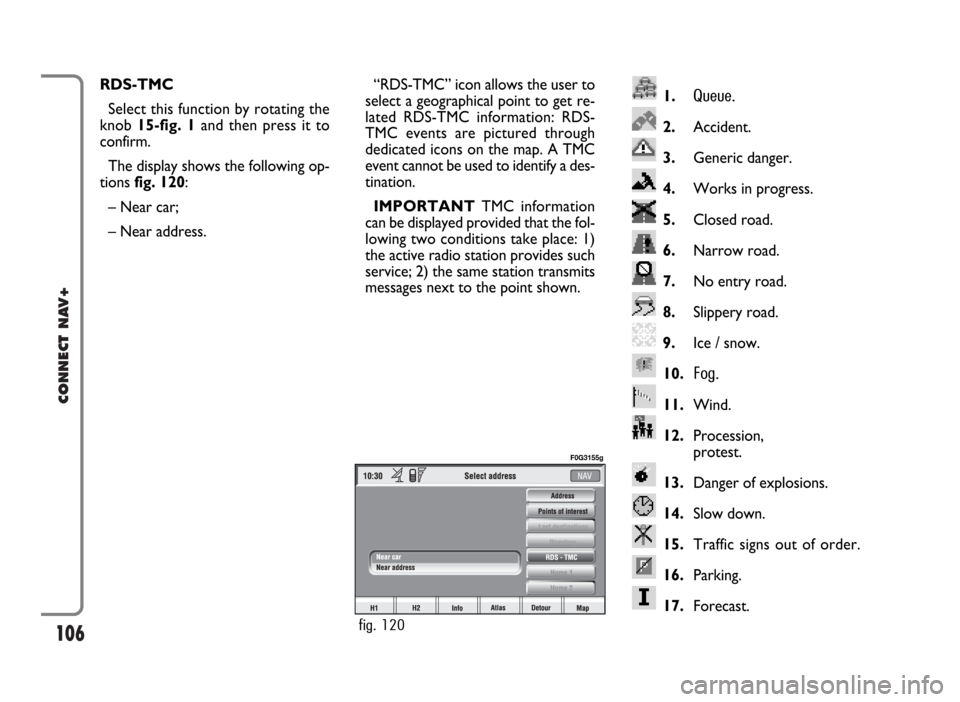
1.Queue.
2.Accident.
3.Generic danger.
4.Works in progress.
5.Closed road.
6.Narrow road.
7.No entry road.
8.Slippery road.
9.Ice / snow.
10.
Fog.
11.Wind.
12.Procession,
protest.
13.Danger of explosions.
14.Slow down.
15.Traffic signs out of order.
16.Parking.
17.Forecast.
RDS-TMC
Select this function by rotating the
knob 15-fig. 1and then press it to
confirm.
The display shows the following op-
tions fig. 120:
– Near car;
– Near address.“RDS-TMC” icon allows the user to
select a geographical point to get re-
lated RDS-TMC information: RDS-
TMC events are pictured through
dedicated icons on the map. A TMC
event cannot be used to identify a des-
tination.
IMPORTANTTMC information
can be displayed provided that the fol-
lowing two conditions take place: 1)
the active radio station provides such
service; 2) the same station transmits
messages next to the point shown.
fig. 120
F0G3155g
Page 114 of 166
113
CONNECT NAV+
Draw icon: enables or disables
(“NO”) the display of icon category
(e.g.: hotels, restaurants, service sta-
tions, etc.) on the map;
Draw RDS-TMC: enables or dis-
ables (“NO”) the display of the icons
related to RDS-TMC category (if avail-
able): Traffic, Weather, Info etc..., on
the map;
Draw wording: enables (“YES”) or
disables (“NO”) the indications of the
places names (town, etc..) on the map;Zoom intersection: enables
(“YES”) or disables (“NO”) the zoom
intersection option, i.e. whether to
zoom the map when car approaches
an intersection;
OK: activates settings.VOICE DIRECTORY
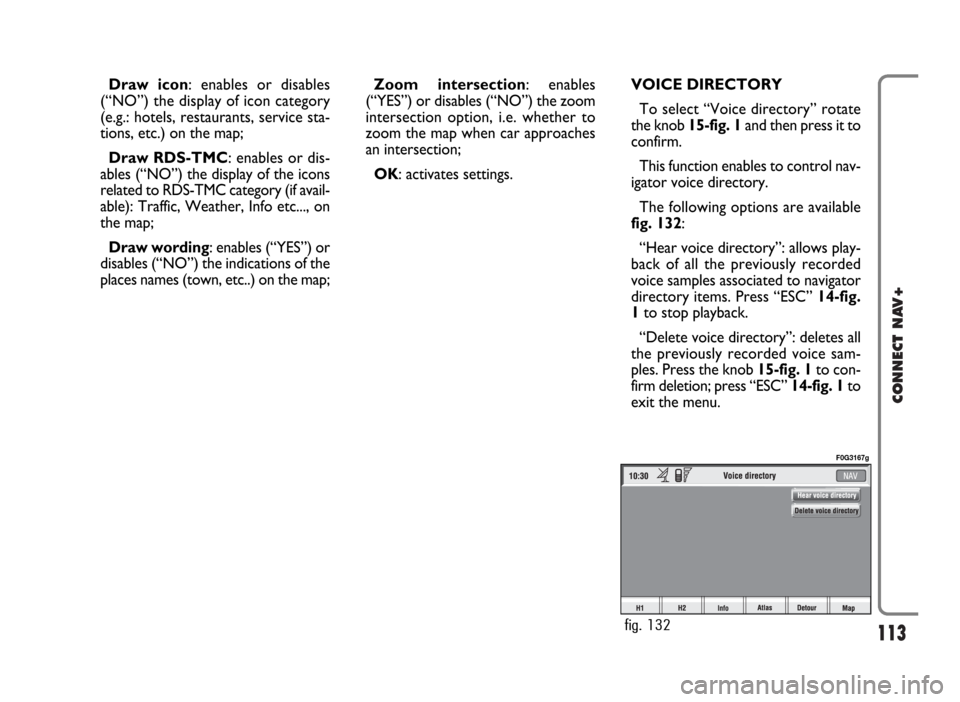
To select “Voice directory” rotate
the knob 15-fig. 1and then press it to
confirm.
This function enables to control nav-
igator voice directory.
The following options are available
fig. 132:
“Hear voice directory”: allows play-
back of all the previously recorded
voice samples associated to navigator
directory items. Press “ESC”14-fig.
1to stop playback.
“Delete voice directory”: deletes all
the previously recorded voice sam-
ples. Press the knob 15-fig. 1to con-
firm deletion; press “ESC” 14-fig. 1to
exit the menu.
fig. 132
F0G3167g
Page 115 of 166
114
CONNECT NAV+
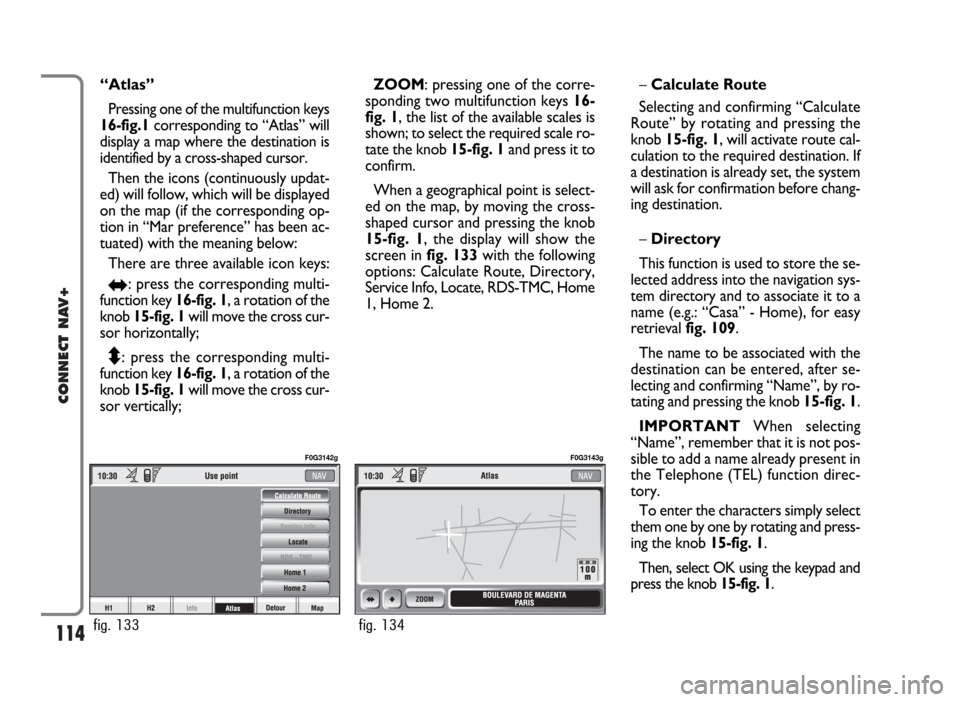
“Atlas”
Pressing one of the multifunction keys
16-fig.1corresponding to “Atlas” will
display a map where the destination is
identified by a cross-shaped cursor.
Then the icons (continuously updat-
ed) will follow, which will be displayed
on the map (if the corresponding op-
tion in “Mar preference” has been ac-
tuated) with the meaning below:
There are three available icon keys:
RE: press the corresponding multi-
function key 16-fig. 1, a rotation of the
knob 15-fig. 1will move the cross cur-
sor horizontally;
Q
Z: press the corresponding multi-
function key 16-fig. 1, a rotation of the
knob 15-fig. 1will move the cross cur-
sor vertically;ZOOM: pressing one of the corre-
sponding two multifunction keys 16-
fig. 1, the list of the available scales is
shown; to select the required scale ro-
tate the knob 15-fig. 1and press it to
confirm.
When a geographical point is select-
ed on the map, by moving the cross-
shaped cursor and pressing the knob
15-fig. 1, the display will show the
screen in fig. 133with the following
options: Calculate Route, Directory,
Service Info, Locate, RDS-TMC, Home
1, Home 2.–Calculate Route
Selecting and confirming “Calculate
Route” by rotating and pressing the
knob 15-fig. 1, will activate route cal-
culation to the required destination. If
a destination is already set, the system
will ask for confirmation before chang-
ing destination.
–Directory
This function is used to store the se-
lected address into the navigation sys-
tem directory and to associate it to a
name (e.g.: “Casa” - Home), for easy
retrieval fig. 109.
The name to be associated with the
destination can be entered, after se-
lecting and confirming “Name”, by ro-
tating and pressing the knob 15-fig. 1.
IMPORTANT When selecting
“Name”, remember that it is not pos-
sible to add a name already present in
the Telephone (TEL) function direc-
tory.
To enter the characters simply select
them one by one by rotating and press-
ing the knob 15-fig. 1.
Then, select OK using the keypad and
press the knob 15-fig. 1.
fig. 133
F0G3142g
fig. 134
F0G3143g
Page 116 of 166
115
CONNECT NAV+
The “Voice recognition” key allows
to associate a voice sample to a desti-
nation stored in the directory. Sym-
bol “√” at the left of the key shows if
a sample has already been associated.
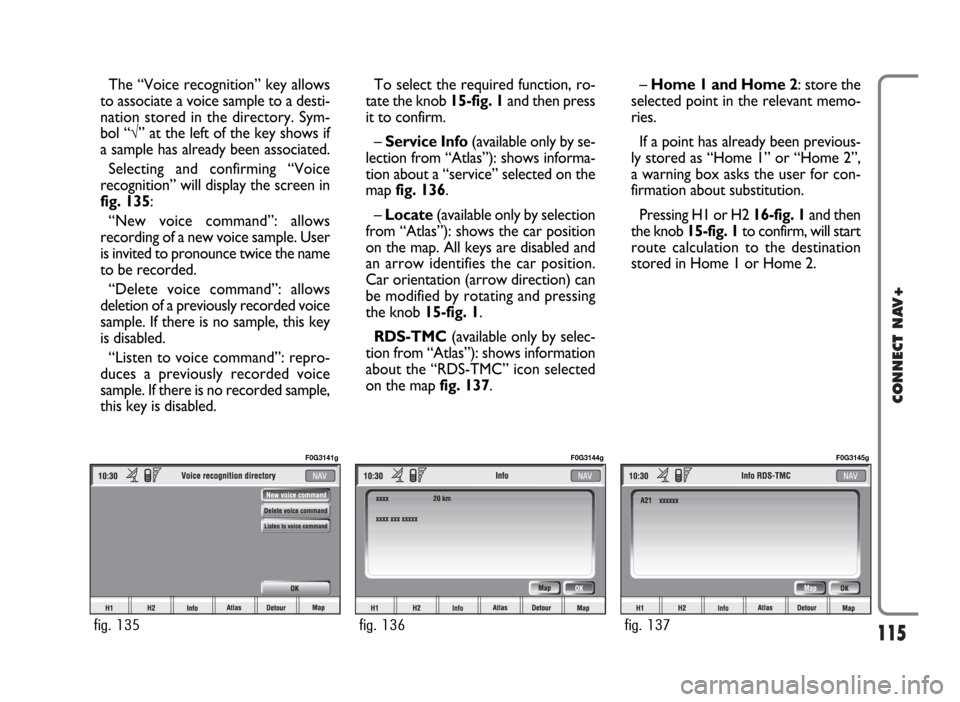
Selecting and confirming “Voice
recognition” will display the screen in
fig. 135:
“New voice command”: allows
recording of a new voice sample. User
is invited to pronounce twice the name
to be recorded.
“Delete voice command”: allows
deletion of a previously recorded voice
sample. If there is no sample, this key
is disabled.
“Listen to voice command”: repro-
duces a previously recorded voice
sample. If there is no recorded sample,
this key is disabled.To select the required function, ro-
tate the knob 15-fig. 1and then press
it to confirm.
– Service Info (available only by se-
lection from “Atlas”): shows informa-
tion about a “service” selected on the
map fig. 136.
– Locate(available only by selection
from “Atlas”): shows the car position
on the map. All keys are disabled and
an arrow identifies the car position.
Car orientation (arrow direction) can
be modified by rotating and pressing
the knob 15-fig. 1.
RDS-TMC(available only by selec-
tion from “Atlas”): shows information
about the “RDS-TMC” icon selected
on the map fig. 137.–Home 1 and Home 2: store the
selected point in the relevant memo-
ries.
If a point has already been previous-
ly stored as “Home 1” or “Home 2”,
a warning box asks the user for con-
firmation about substitution.
Pressing H1 or H2 16-fig. 1and then
the knob 15-fig. 1to confirm, will start
route calculation to the destination
stored in Home 1 or Home 2.
fig. 135
F0G3141g
fig. 136
F0G3144g
fig. 137
F0G3145g
Page 121 of 166
120
CONNECT NAV+
TRIP: INFO
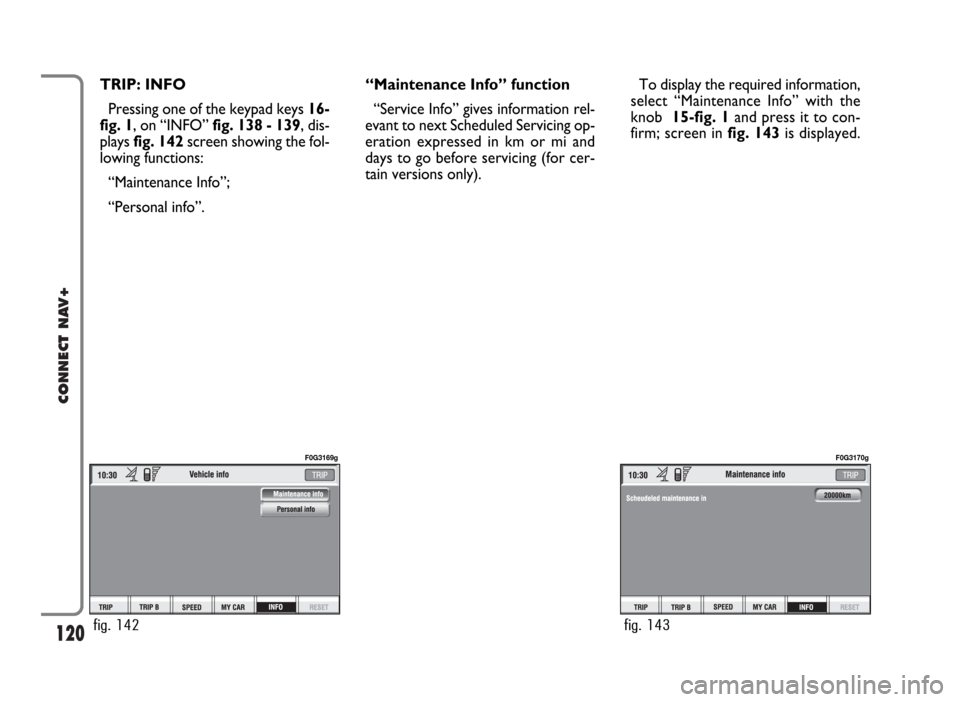
Pressing one of the keypad keys16-
fig. 1, on “INFO” fig. 138 - 139, dis-
plays fig. 142screen showing the fol-
lowing functions:
“Maintenance Info”;
“Personal info”.“Maintenance Info” function
“Service Info” gives information rel-
evant to next Scheduled Servicing op-
eration expressed in km or mi and
days to go before servicing (for cer-
tain versions only).To display the required information,
select “Maintenance Info” with the
knob 15-fig. 1and press it to con-
firm; screen in fig. 143is displayed.
fig. 142
F0G3169g
fig. 143
F0G3170g
Page 153 of 166
152
CONNECT NAV+
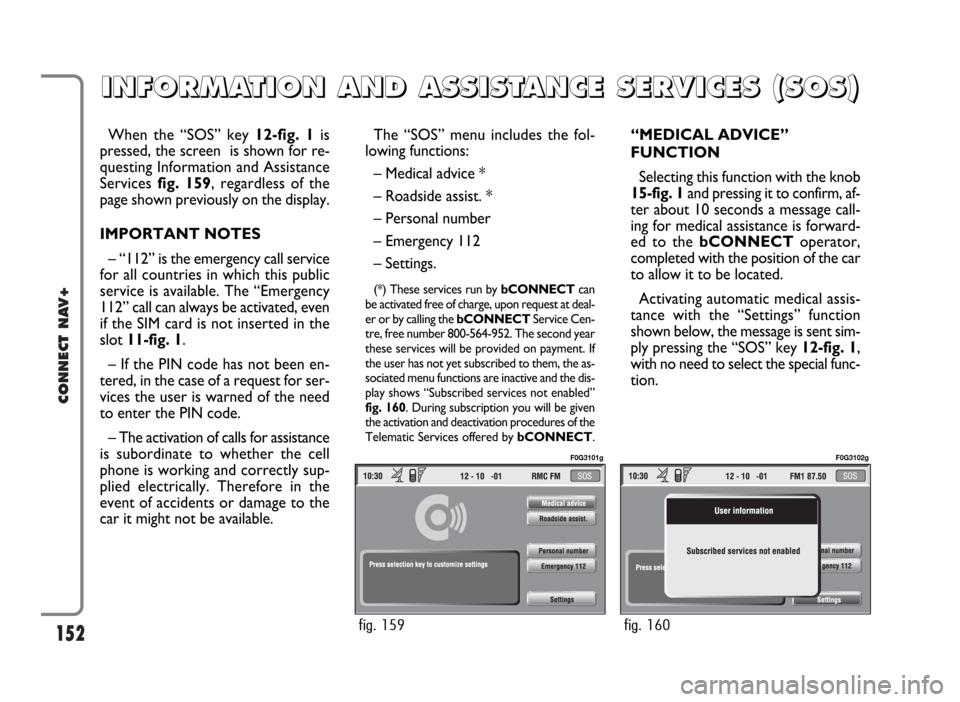
When the “SOS” key 12-fig. 1is
pressed, the screen is shown for re-
questing Information and Assistance
Services fig. 159, regardless of the
page shown previously on the display.
IMPORTANT NOTES
– “112” is the emergency call service
for all countries in which this public
service is available. The “Emergency
112” call can always be activated, even
if the SIM card is not inserted in the
slot 11-fig. 1.
– If the PIN code has not been en-
tered, in the case of a request for ser-
vices the user is warned of the need
to enter the PIN code.
– The activation of calls for assistance
is subordinate to whether the cell
phone is working and correctly sup-
plied electrically. Therefore in the
event of accidents or damage to the
car it might not be available.The “SOS” menu includes the fol-
lowing functions:
– Medical advice *
– Roadside assist. *
– Personal number
– Emergency 112
– Settings.
(*) These services run by bCONNECTcan
be activated free of charge, upon request at deal-
er or by calling the bCONNECTService Cen-
tre, free number 800-564-952. The second year
these services will be provided on payment. If
the user has not yet subscribed to them, the as-
sociated menu functions are inactive and the dis-
play shows “Subscribed services not enabled”
fig. 160. During subscription you will be given
the activation and deactivation procedures of the
Telematic Services offered by bCONNECT.
“MEDICAL ADVICE”
FUNCTION
Selecting this function with the knob
15-fig. 1and pressing it to confirm, af-
ter about 10 seconds a message call-
ing for medical assistance is forward-
ed to the bCONNECToperator,
completed with the position of the car
to allow it to be located.
Activating automatic medical assis-
tance with the “Settings” function
shown below, the message is sent sim-
ply pressing the “SOS” key 12-fig. 1,
with no need to select the special func-
tion.
I I
N N
F F
O O
R R
M M
A A
T T
I I
O O
N N
A A
N N
D D
A A
S S
S S
I I
S S
T T
A A
N N
C C
E E
S S
E E
R R
V V
I I
C C
E E
S S
( (
S S
O O
S S
) )
fig. 159
F0G3101g
fig. 160
F0G3102g
Page 154 of 166

153
CONNECT NAV+
When automatic medical advice is
enabled, to avoid accidental forward-
ing, the user has about 25 seconds,
from pressing the “SOS” key 12-
fig. 1, to interrupt the call; to block
the call, simply turn the knob 15-
fig. 1to another option or press
“ESC” 14-fig. 1.
IMPORTANTThe medical advice
centre number cannot be set by the
user.“ROADSIDE ASSIST.”
FUNCTION
Selecting this function on the “SOS”
menu main page using the knob 15-
fig. 1and pressing it to confirm, af-
ter about 10 seconds a message call-
ing for road assistance is sent to the
bCONNECToperator, completed
with the position of the car to allow
it to be located.
IMPORTANTThe roadside assis-
tance centre number cannot be set by
the user.
For both Roadside Assistance
and Medical Advice calls, if trans-
mission of the telematic call is
not successful, automatic dialling
of the tollfree number concern-
ing the service required is envis-
aged, to inform in any case of the
need for assistance (this call will
be successful only if the area in
which the car is has GSM cover-
age).“PERSONAL NUMBER”
FUNCTION
Selecting this function on the “SOS”
menu main page using the knob 15-
fig. 1and pressing it to confirm, au-
tomatically sends a phone call to a
number set previously by the user.
The procedure for setting this num-
ber is described in the “Settings” para-
graph that follows.
“EMERGENCY 112”
FUNCTION
Selecting this function on the “SOS”
menu main page using the knob 15-fig.
1and pressing it to confirm, directly
sends a call to the police force.