FORD E SERIES 1997 4.G Service Manual
Manufacturer: FORD, Model Year: 1997, Model line: E SERIES, Model: FORD E SERIES 1997 4.GPages: 192, PDF Size: 3.44 MB
Page 41 of 192
3. Engage the LH/RH latch rod
hook ends in the front striker
locking holes.
4. Rotate the LH/RH latch handles
forward, and at the same time
slide the seat assembly forward to
engage the strikers. Continue
forward movement until the seat
reaches the end of its travel.
5. Make sure the safety belt is not
twisted, then insert the seat belt
tongue into detachable anchor
until you hear a ªclickº and feel
the latch engage.
Always latch the vehicle
seat to the floor, whether
the seat is occupied or empty. If
not latched, the seat may cause
injury during a sudden stop.
Quick release captains chair
To remove the seats:
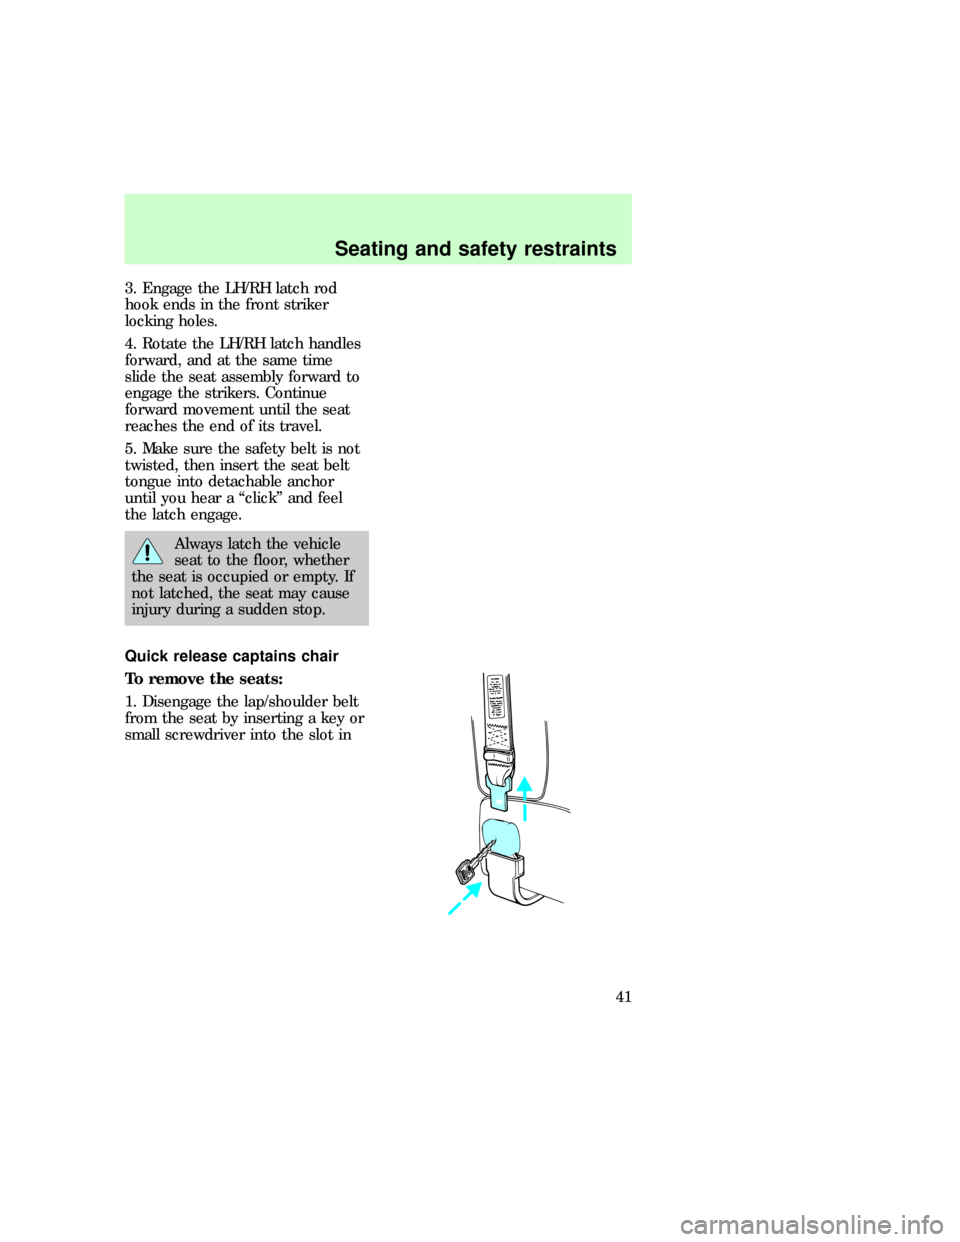
1. Disengage the lap/shoulder belt
from the seat by inserting a key or
small screwdriver into the slot in
eco_rear_captain-seat
Seating and safety restraints
41
Page 42 of 192
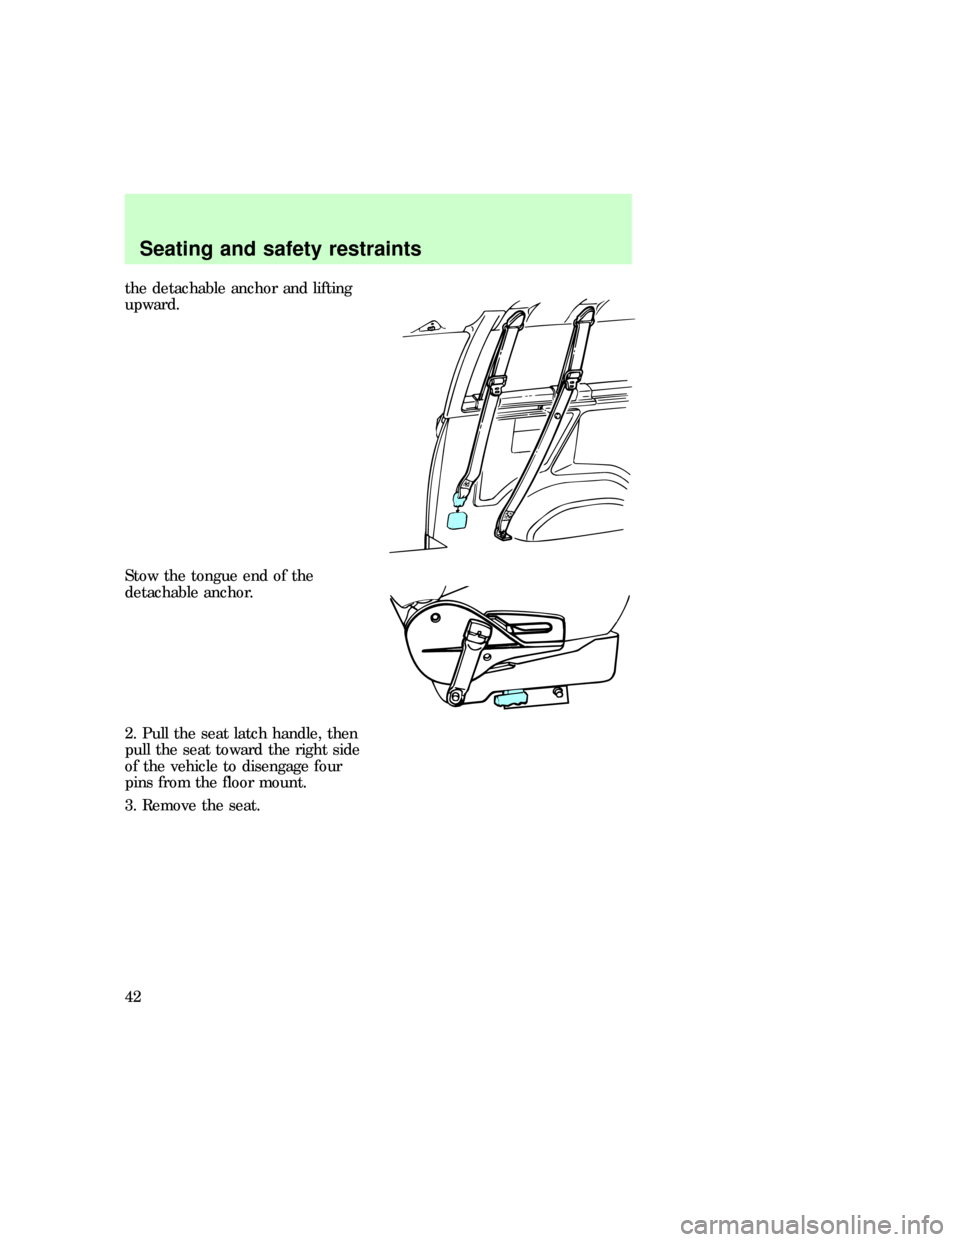
the detachable anchor and lifting
upward.
Stow the tongue end of the
detachable anchor.
2. Pull the seat latch handle, then
pull the seat toward the right side
of the vehicle to disengage four
pins from the floor mount.
3. Remove the seat.
Seating and safety restraints
42
Page 43 of 192
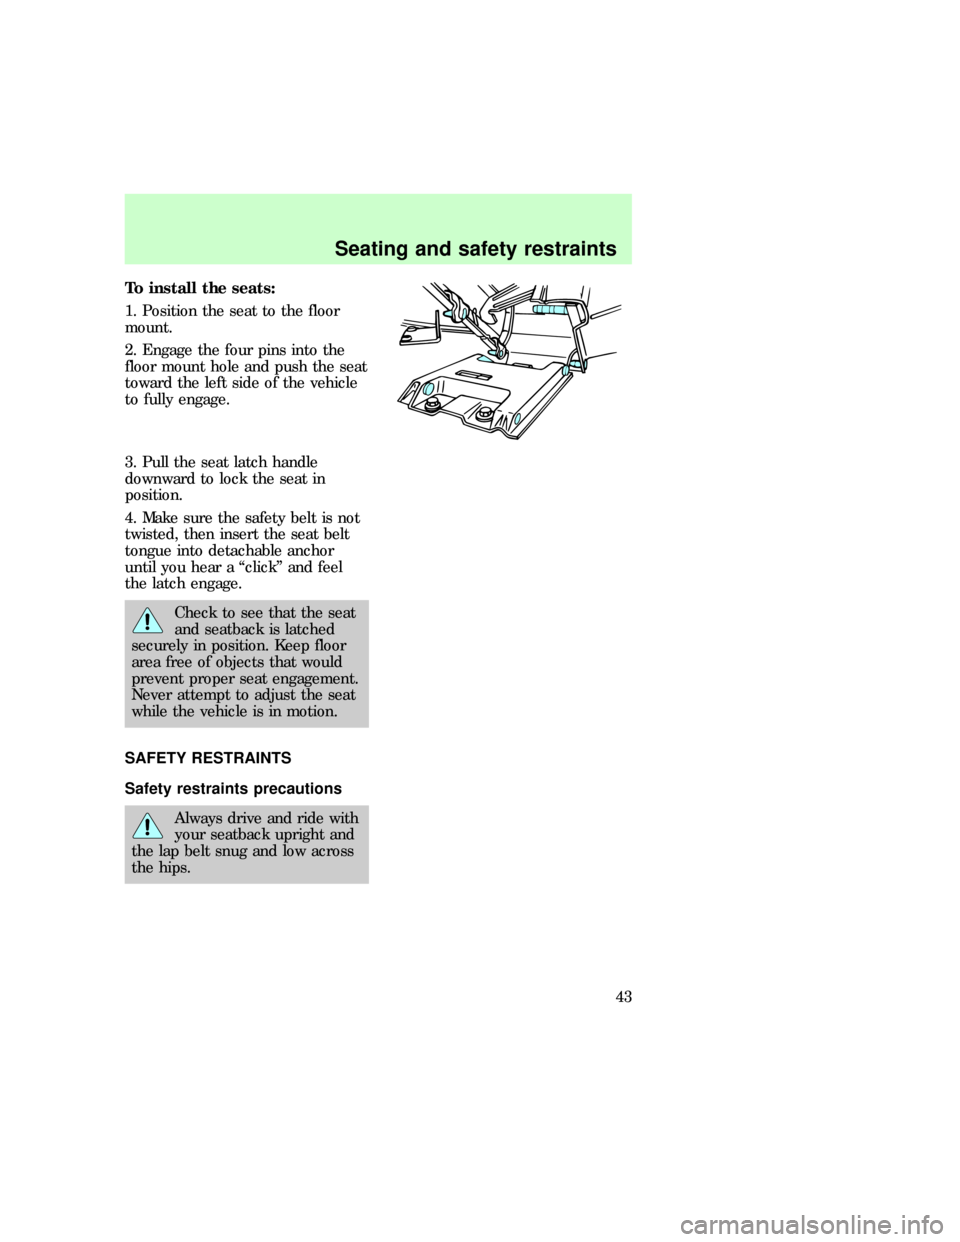
To install the seats:
1. Position the seat to the floor
mount.
2. Engage the four pins into the
floor mount hole and push the seat
toward the left side of the vehicle
to fully engage.
3. Pull the seat latch handle
downward to lock the seat in
position.
4. Make sure the safety belt is not
twisted, then insert the seat belt
tongue into detachable anchor
until you hear a ªclickº and feel
the latch engage.
Check to see that the seat
and seatback is latched
securely in position. Keep floor
area free of objects that would
prevent proper seat engagement.
Never attempt to adjust the seat
while the vehicle is in motion.
SAFETY RESTRAINTS
Safety restraints precautions
Always drive and ride with
your seatback upright and
the lap belt snug and low across
the hips.
eco_seatbelts
eco_safety-belt_precautions
Seating and safety restraints
43
Page 44 of 192
To prevent the risk of
injury, make sure children
sit where they can be properly
restrained.
Never let a passenger hold
a child on his or her lap
while the vehicle is moving. The
passenger cannot protect the
child from injury in a collision.
It is extremely dangerous
to ride in a cargo area,
inside or outside of a vehicle. In
a collision, people riding in these
areas are more likely to be
seriously injured or killed. Do not
allow people to ride in any area
of your vehicle that is not
equipped with seats and safety
belts. Be sure everyone in your
vehicle is in a seat and using a
safety belt properly.
Each seating position in
your vehicle has a specific
safety belt assembly which is
made up of one buckle and one
tongue that are designed to be
used as a pair. 1) Use the
shoulder belt on the outside
shoulder only. Never wear the
shoulder belt under the arm. 2)
Never swing it around your neck
over the inside shoulder. 3)
Never use a single belt for more
than one person.
eco_seat-belt_pretensioners
Seating and safety restraints
44
Page 45 of 192
Safety belt buckle pretensioner
Your vehicle is equipped with
safety belt buckle pretensioners at
the driver and front passenger
seating positions.
The safety belt buckle pretensioner
is a device which removes excess
webbing from the safety belt
system. The safety belt buckle
pretensioner uses the same crash
sensor system as the air bag
supplemental restraint system
(SRS). When the safety belt buckle
pretensioner deploys, the buckle
moves downward, pulling excess
webbing from the lap and shoulder
safety belt.
Combination lap and shoulder
belts
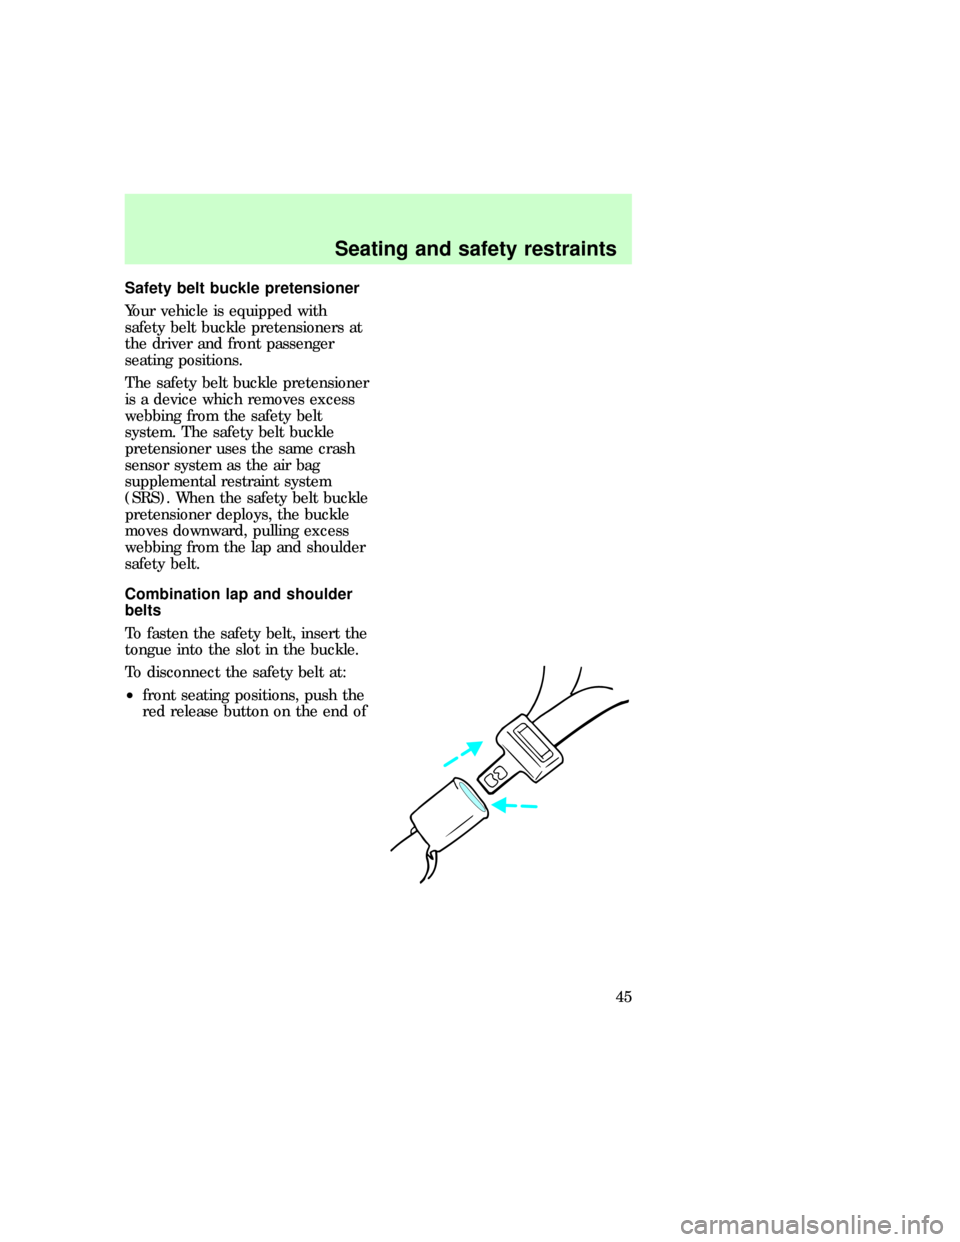
To fasten the safety belt, insert the
tongue into the slot in the buckle.
To disconnect the safety belt at:
²front seating positions, push the
red release button on the end of
eco_comb_shoulder-belts
Seating and safety restraints
45
Page 46 of 192
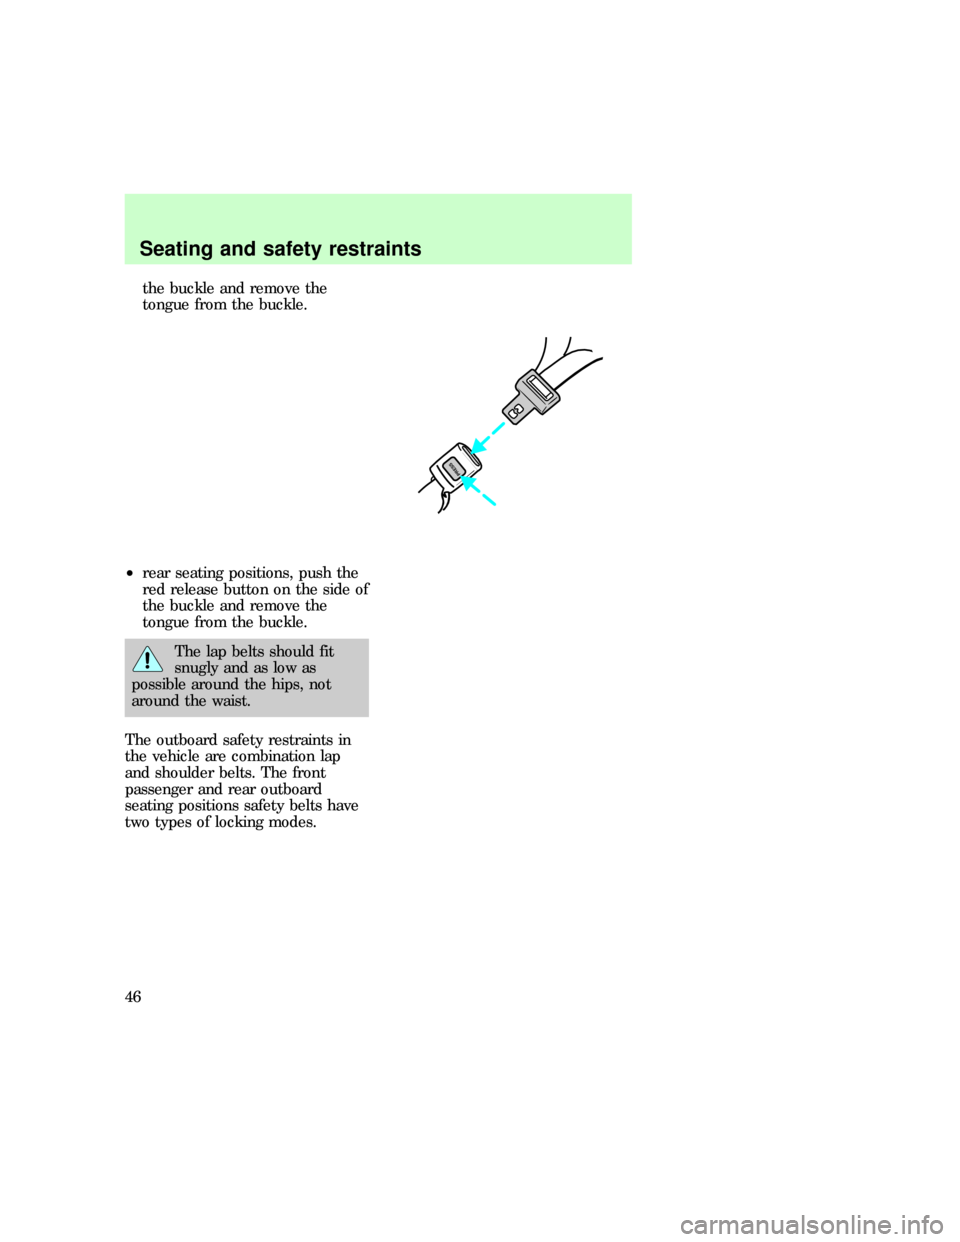
the buckle and remove the
tongue from the buckle.
²rear seating positions, push the
red release button on the side of
the buckle and remove the
tongue from the buckle.
The lap belts should fit
snugly and as low as
possible around the hips, not
around the waist.
The outboard safety restraints in
the vehicle are combination lap
and shoulder belts. The front
passenger and rear outboard
seating positions safety belts have
two types of locking modes.
PRESS
eco_vehicle-sensitive_mode
Seating and safety restraints
46
Page 47 of 192
Vehicle sensitive (emergency)
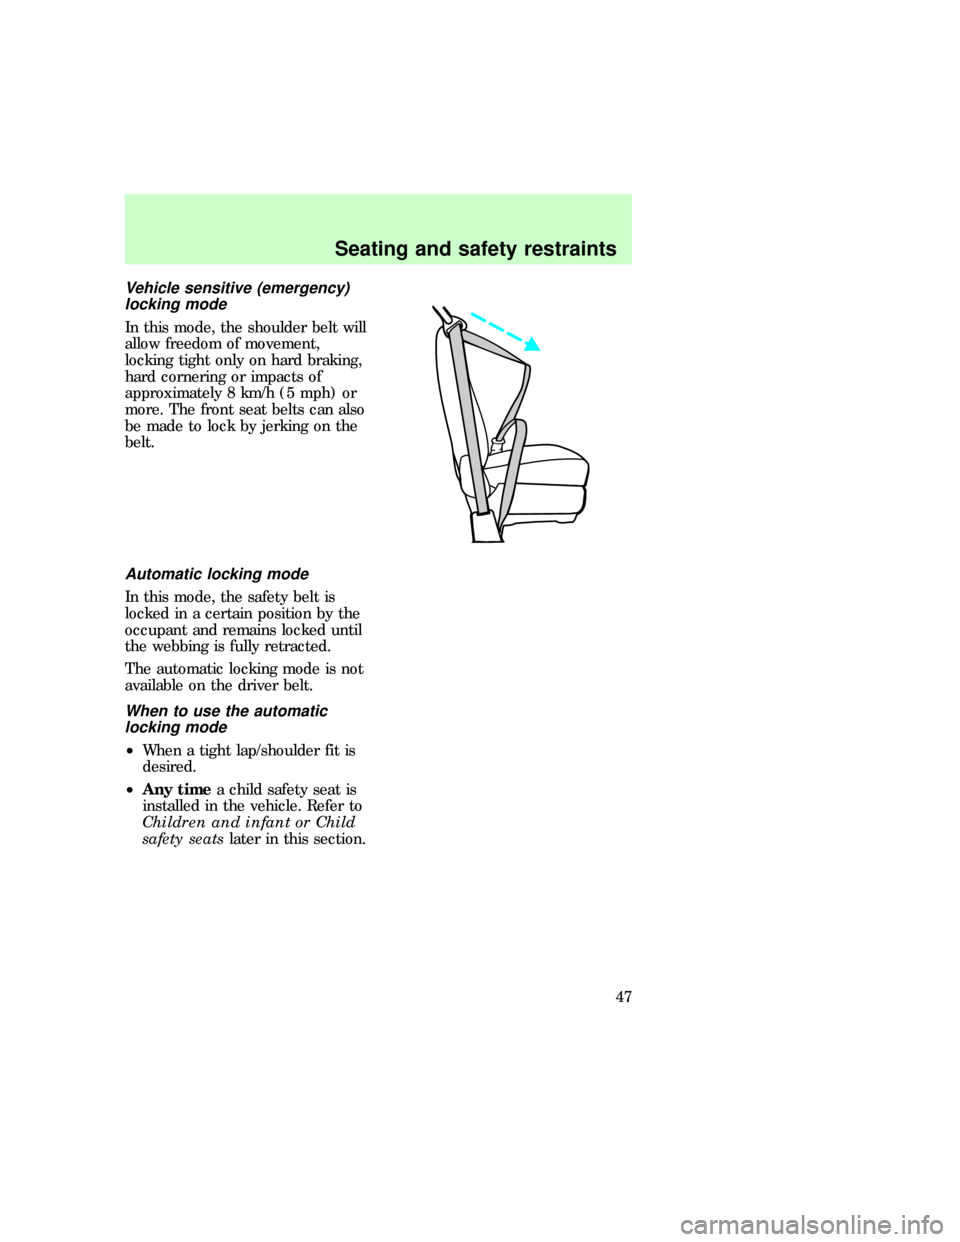
locking mode
In this mode, the shoulder belt will
allow freedom of movement,
locking tight only on hard braking,
hard cornering or impacts of
approximately 8 km/h (5 mph) or
more. The front seat belts can also
be made to lock by jerking on the
belt.
Automatic locking mode
In this mode, the safety belt is
locked in a certain position by the
occupant and remains locked until
the webbing is fully retracted.
The automatic locking mode is not
available on the driver belt.
When to use the automatic
locking mode
²When a tight lap/shoulder fit is
desired.
²Any timea child safety seat is
installed in the vehicle. Refer to
Children and infant or Child
safety seatslater in this section.
eco_locking-mode_use
eco_how-to-use_locking-mode
Seating and safety restraints
47
Page 48 of 192
Using the automatic locking
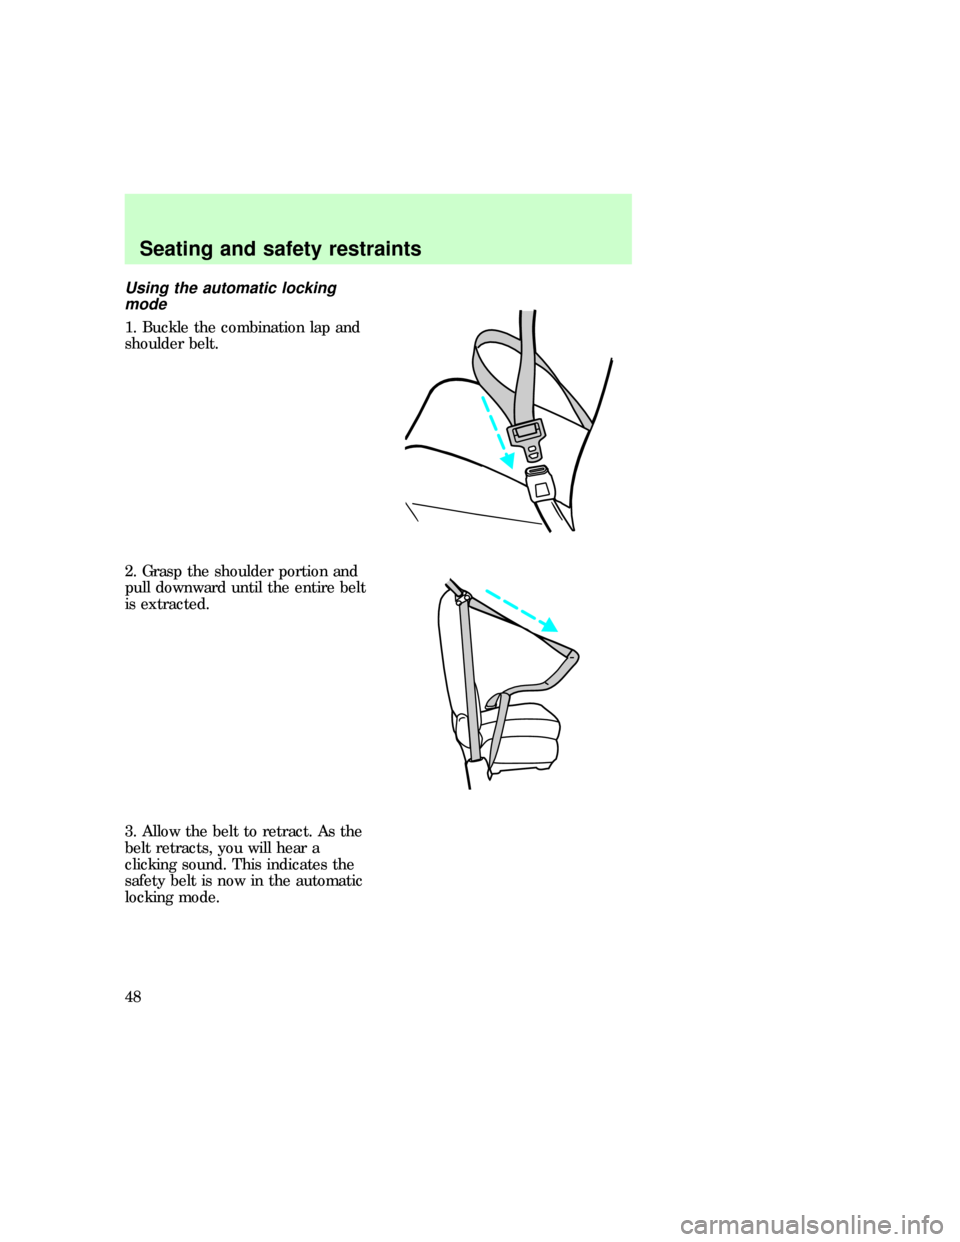
mode
1. Buckle the combination lap and
shoulder belt.
2. Grasp the shoulder portion and
pull downward until the entire belt
is extracted.
3. Allow the belt to retract. As the
belt retracts, you will hear a
clicking sound. This indicates the
safety belt is now in the automatic
locking mode.
eco_how-to-cancel_locking-mode
Seating and safety restraints
48
Page 49 of 192
Canceling the automatic locking
mode
Disconnect the combination
lap/shoulder belt and allow it to
retract completely to cancel the
automatic locking mode and
activate the vehicle sensitive
(emergency) locking mode.
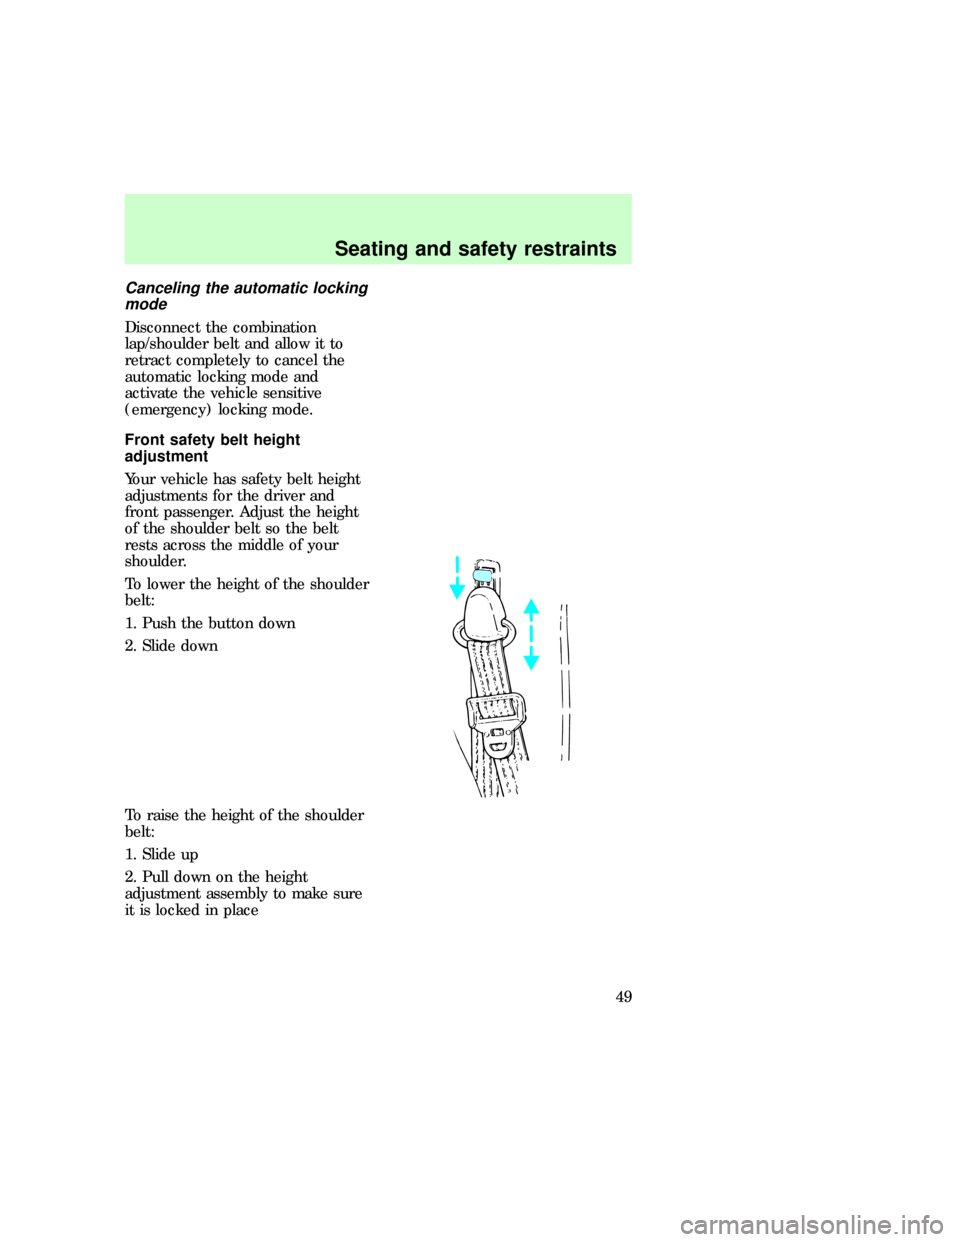
Front safety belt height
adjustment
Your vehicle has safety belt height
adjustments for the driver and
front passenger. Adjust the height
of the shoulder belt so the belt
rests across the middle of your
shoulder.
To lower the height of the shoulder
belt:
1. Push the button down
2. Slide down
To raise the height of the shoulder
belt:
1. Slide up
2. Pull down on the height
adjustment assembly to make sure
it is locked in place
eco_belt-height_adjust
eco_lap_belts
Seating and safety restraints
49
Page 50 of 192
Lap belts
The lap belts in the center seating
position of the three-passenger
bench seat and both inboard seats
of the four-passenger bench seat
do not adjust automatically. You
must adjust them to fit snugly and
low as possible around your hips.
Do not wear the lap belt around
your waist.
Make sure you insert the tongue
into the correct buckle. If you
need to lengthen the belt, turn the
tongue at a right angle to the belt
and pull across your lap until it
reaches the buckle. If you need to
tighten the belt, pull the loose end
of the webbing until it is snug
across the hips. Shorten and fasten
the belt when not in use.
Safety belt extension assembly
If the safety belt assembly is too
short, even when fully extended,
20 cm (eight inches) can be added
to the safety belt assembly by
adding a safety belt extension
assembly. Safety belt extension
assemblies are available for front
or rear seating positions and are
not interchangeable.
²Front seating positions (part
number 611C22)
²Rear seating positions (part
number 611C22)
Safety belt extension assemblies
can be obtained from your dealer
at no cost.
eco_belt_extension
Seating and safety restraints
50