FORD ESCAPE 2002 1.G Manual Online
Manufacturer: FORD, Model Year: 2002, Model line: ESCAPE, Model: FORD ESCAPE 2002 1.GPages: 280, PDF Size: 2.75 MB
Page 81 of 280
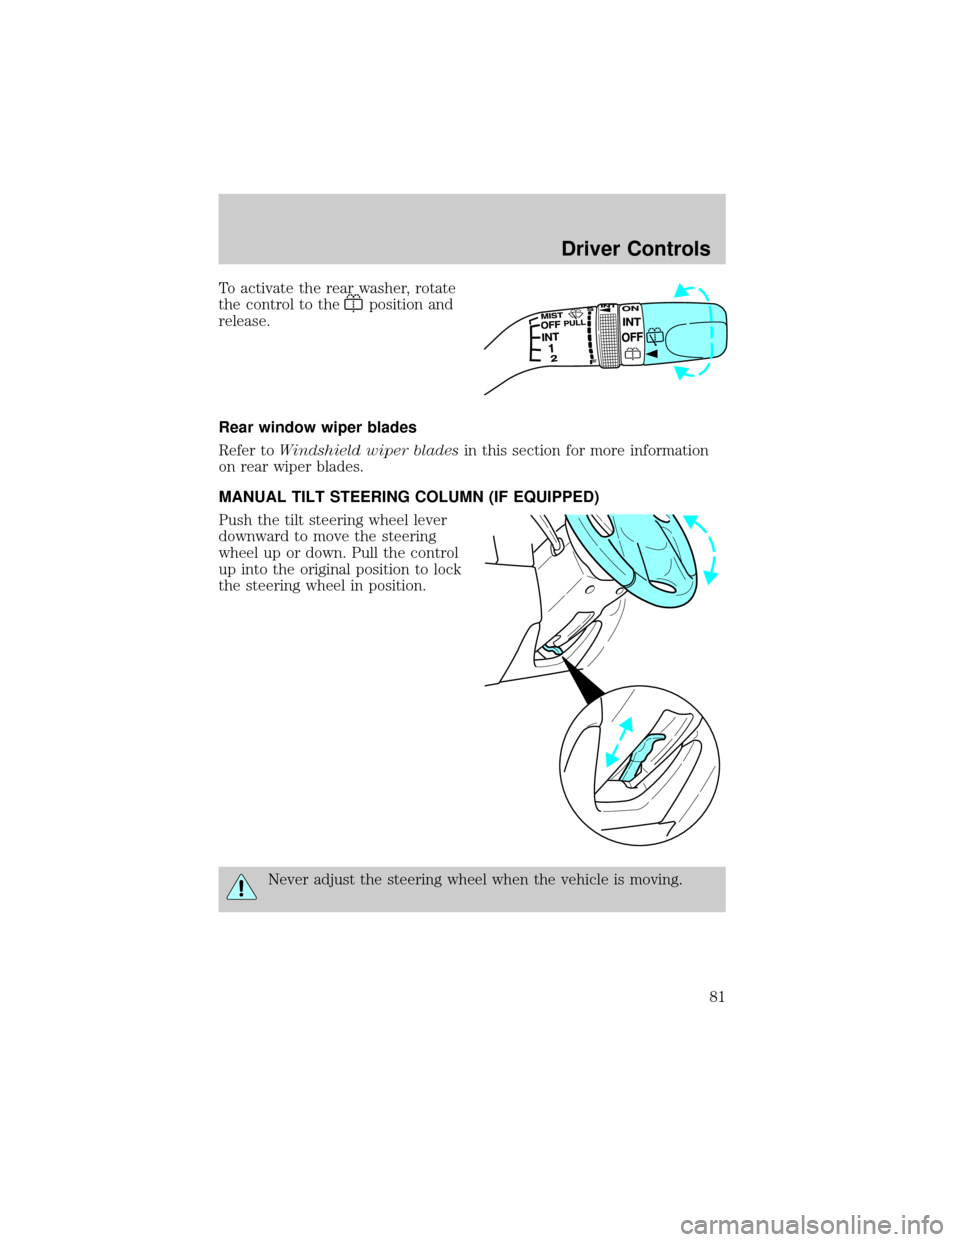
To activate the rear washer, rotate
the control to the
position and
release.
Rear window wiper blades
Refer toWindshield wiper bladesin this section for more information
on rear wiper blades.
MANUAL TILT STEERING COLUMN (IF EQUIPPED)
Push the tilt steering wheel lever
downward to move the steering
wheel up or down. Pull the control
up into the original position to lock
the steering wheel in position.
Never adjust the steering wheel when the vehicle is moving.
Driver Controls
81
Page 82 of 280
OVERHEAD CONSOLE (IF EQUIPPED)
The appearance of your vehicle's overhead console will vary according to
your option package.
Storage compartment (if equipped)
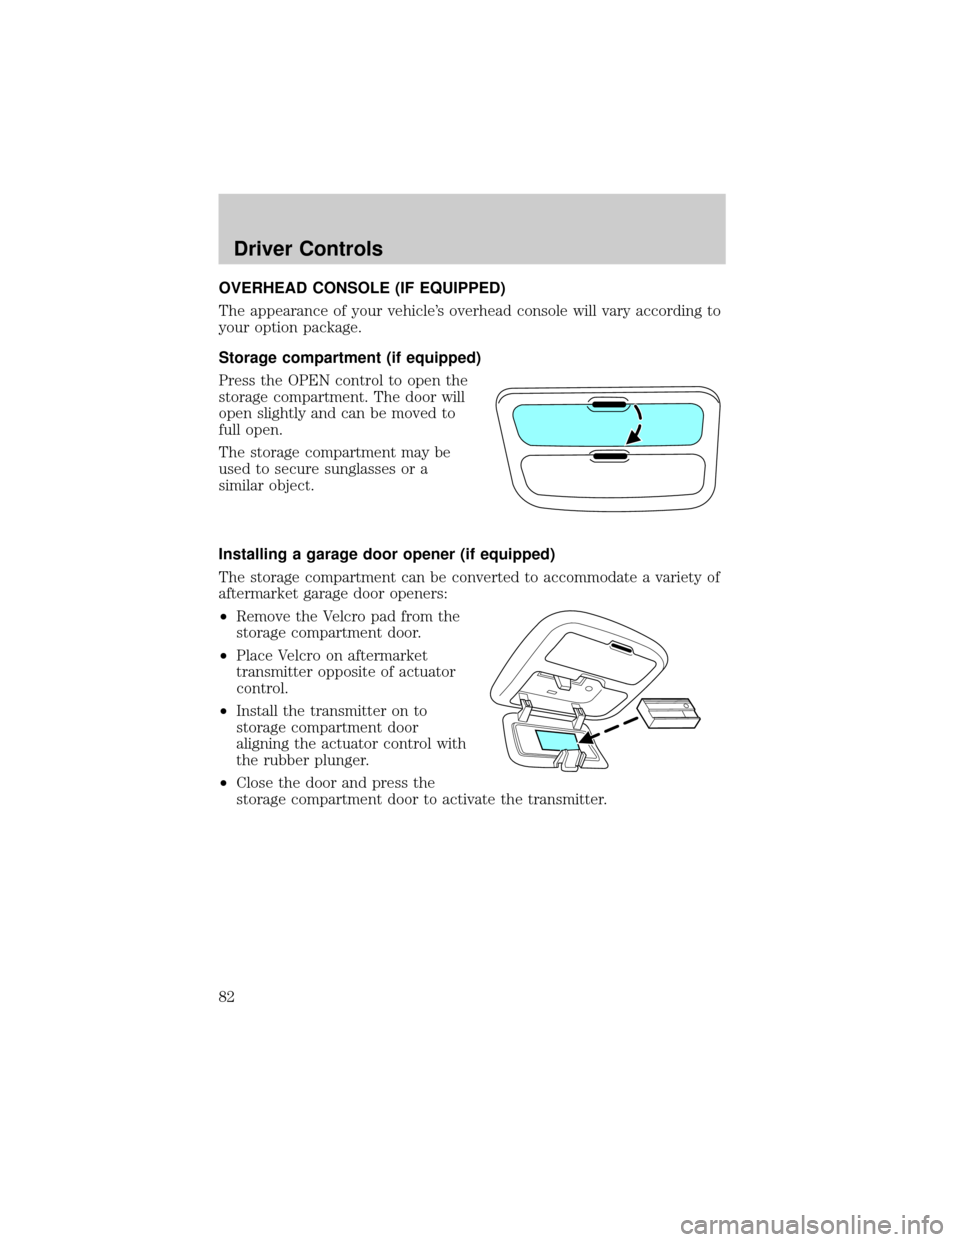
Press the OPEN control to open the
storage compartment. The door will
open slightly and can be moved to
full open.
The storage compartment may be
used to secure sunglasses or a
similar object.
Installing a garage door opener (if equipped)
The storage compartment can be converted to accommodate a variety of
aftermarket garage door openers:
²Remove the Velcro pad from the
storage compartment door.
²Place Velcro on aftermarket
transmitter opposite of actuator
control.
²Install the transmitter on to
storage compartment door
aligning the actuator control with
the rubber plunger.
²Close the door and press the
storage compartment door to activate the transmitter.
Driver Controls
82
Page 83 of 280
AUXILIARY POWER POINT
Power outlets are designed for
accessory plugs only. Do not
hang any type of accessory or
accessory bracket from the plug.
Improper use of the power
outlet can cause damage not
covered by your warranty.
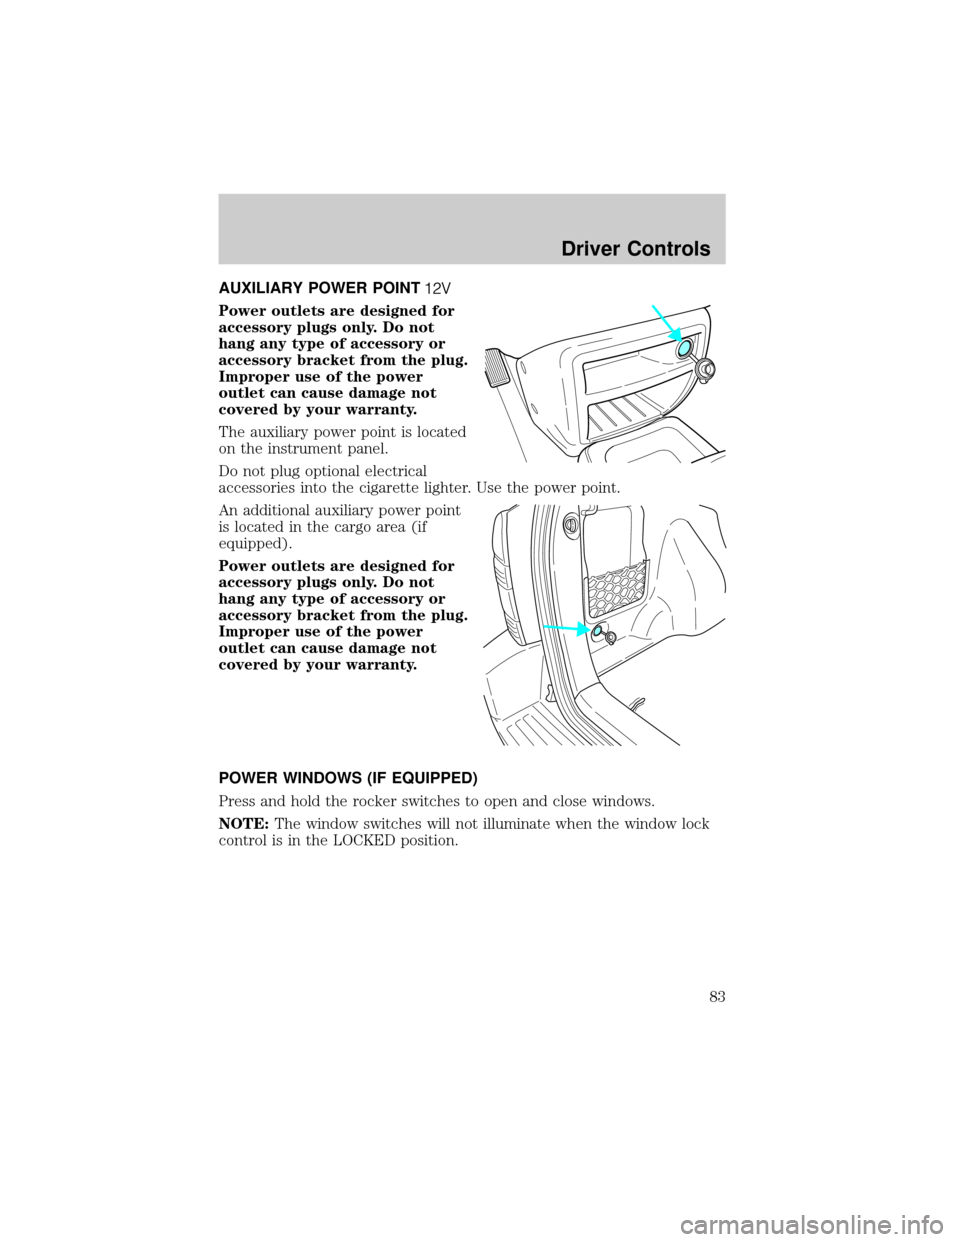
The auxiliary power point is located
on the instrument panel.
Do not plug optional electrical
accessories into the cigarette lighter. Use the power point.
An additional auxiliary power point
is located in the cargo area (if
equipped).
Power outlets are designed for
accessory plugs only. Do not
hang any type of accessory or
accessory bracket from the plug.
Improper use of the power
outlet can cause damage not
covered by your warranty.
POWER WINDOWS (IF EQUIPPED)
Press and hold the rocker switches to open and close windows.
NOTE:The window switches will not illuminate when the window lock
control is in the LOCKED position.
Driver Controls
83
Page 84 of 280
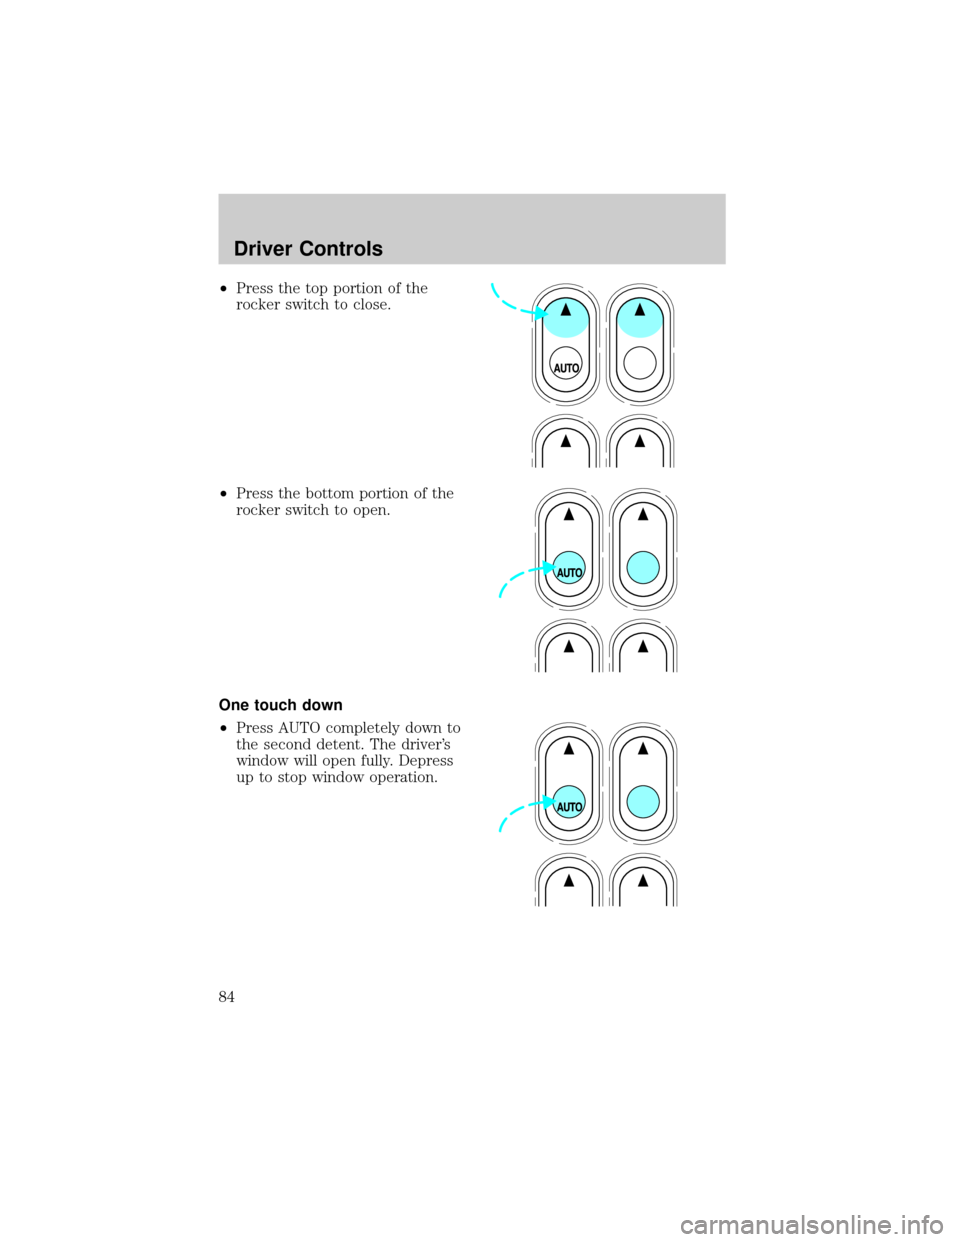
²Press the top portion of the
rocker switch to close.
²Press the bottom portion of the
rocker switch to open.
One touch down
²Press AUTO completely down to
the second detent. The driver's
window will open fully. Depress
up to stop window operation.
Driver Controls
84
Page 85 of 280
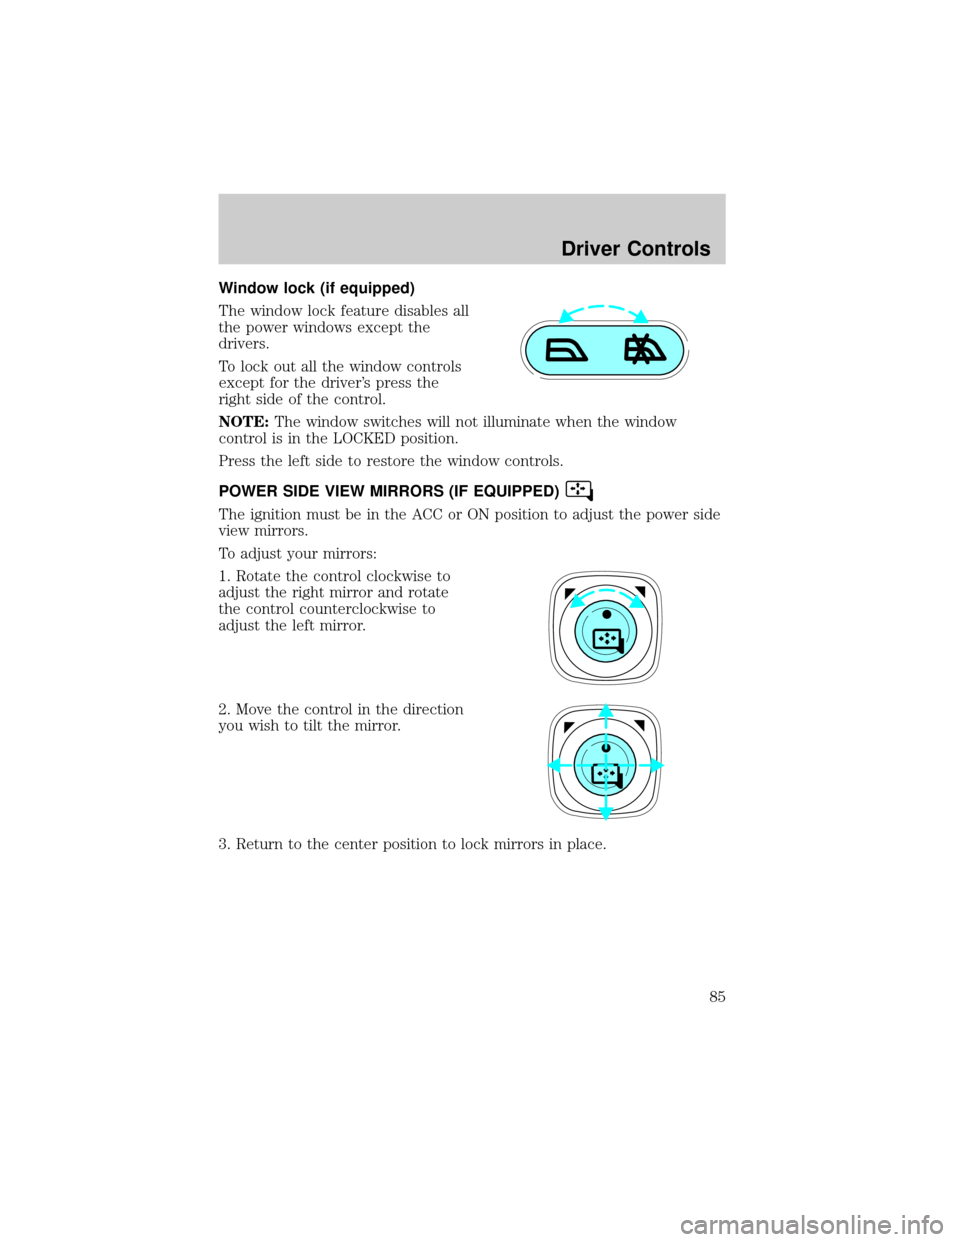
Window lock (if equipped)
The window lock feature disables all
the power windows except the
drivers.
To lock out all the window controls
except for the driver's press the
right side of the control.
NOTE:The window switches will not illuminate when the window
control is in the LOCKED position.
Press the left side to restore the window controls.
POWER SIDE VIEW MIRRORS (IF EQUIPPED)
The ignition must be in the ACC or ON position to adjust the power side
view mirrors.
To adjust your mirrors:
1. Rotate the control clockwise to
adjust the right mirror and rotate
the control counterclockwise to
adjust the left mirror.
2. Move the control in the direction
you wish to tilt the mirror.
3. Return to the center position to lock mirrors in place.
Driver Controls
85
Page 86 of 280
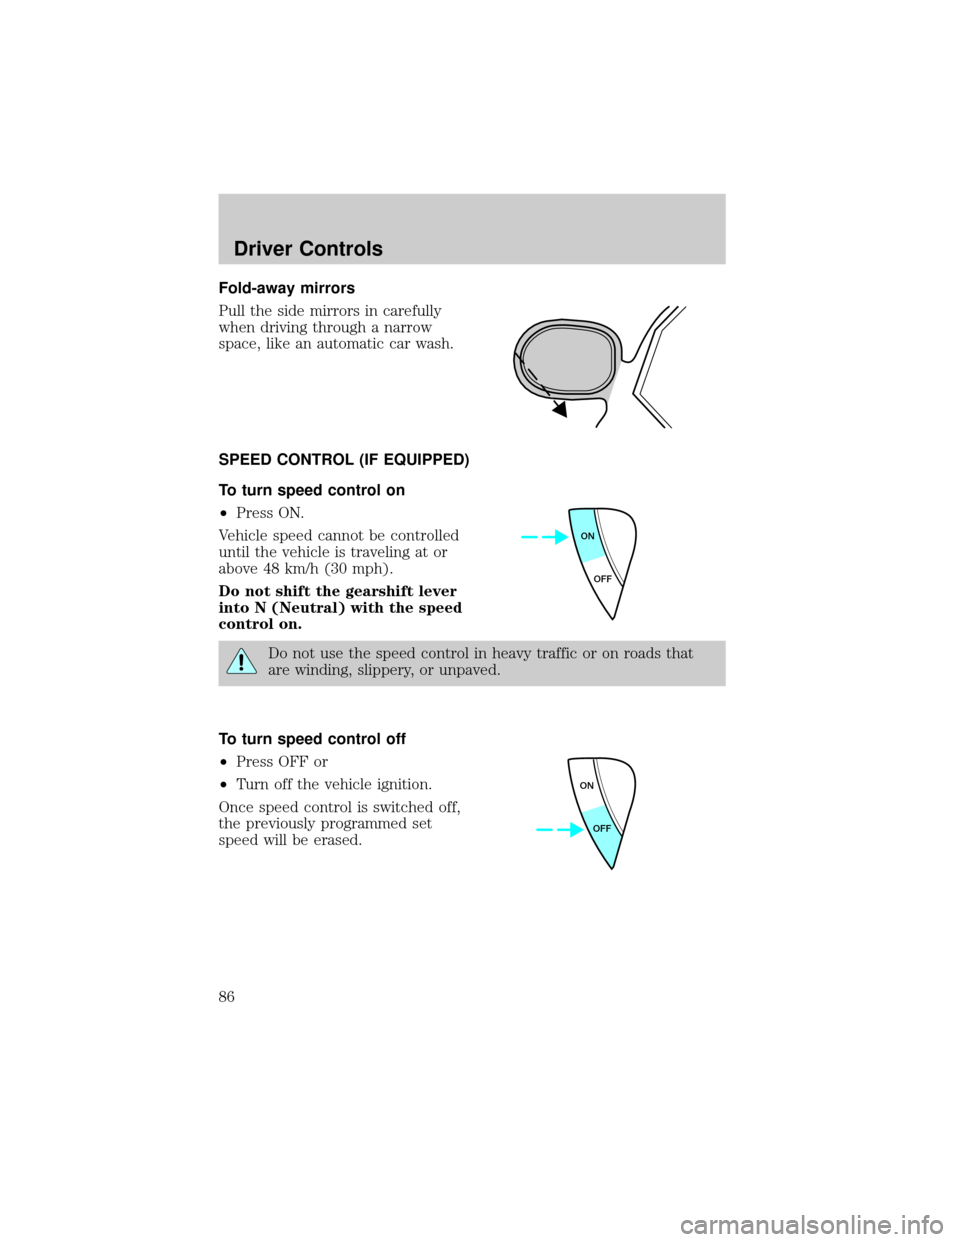
Fold-away mirrors
Pull the side mirrors in carefully
when driving through a narrow
space, like an automatic car wash.
SPEED CONTROL (IF EQUIPPED)
To turn speed control on
²Press ON.
Vehicle speed cannot be controlled
until the vehicle is traveling at or
above 48 km/h (30 mph).
Do not shift the gearshift lever
into N (Neutral) with the speed
control on.
Do not use the speed control in heavy traffic or on roads that
are winding, slippery, or unpaved.
To turn speed control off
²Press OFF or
²Turn off the vehicle ignition.
Once speed control is switched off,
the previously programmed set
speed will be erased.
ON
OFF
ON
OFF
Driver Controls
86
Page 87 of 280
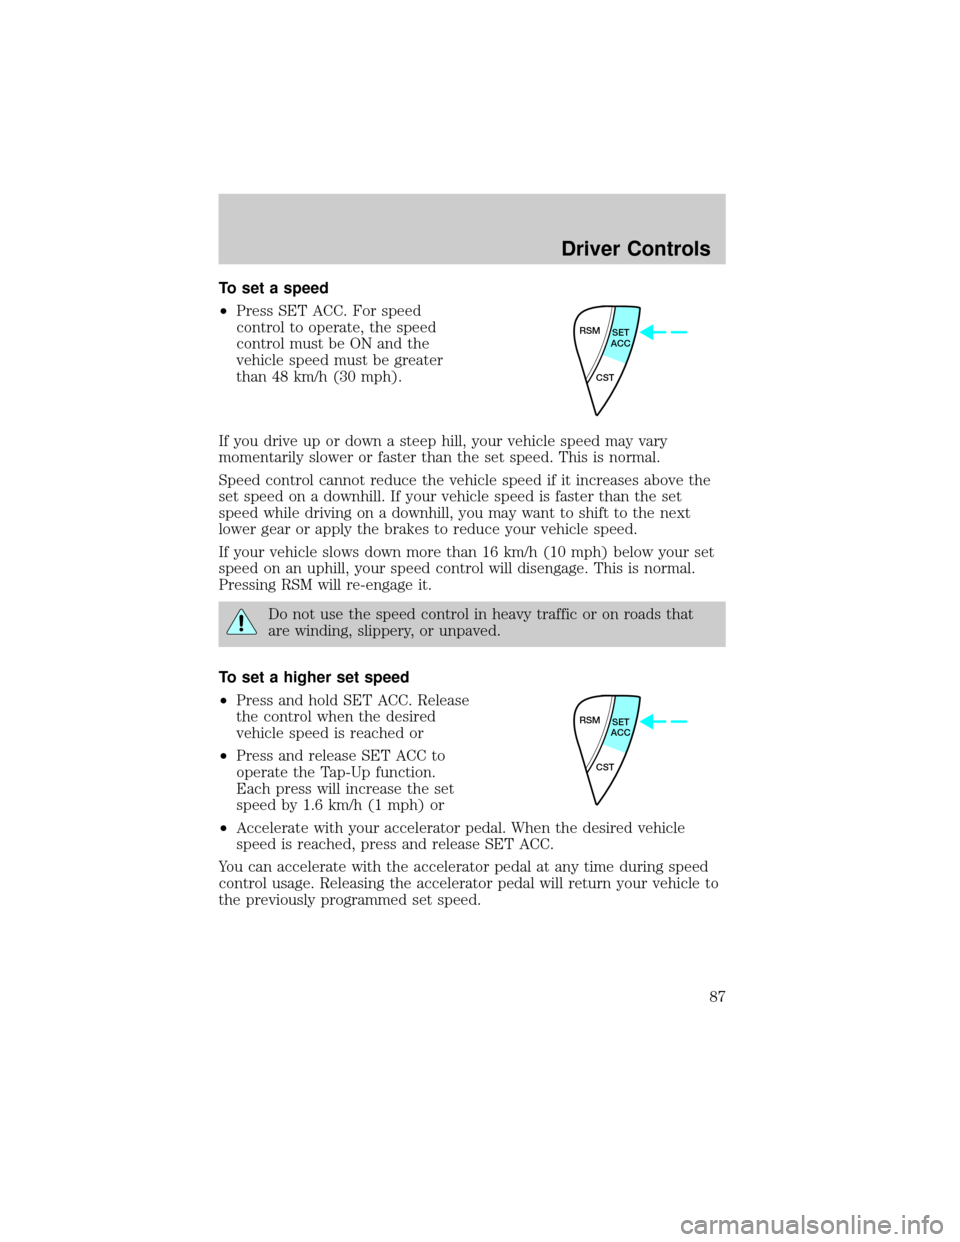
To set a speed
²Press SET ACC. For speed
control to operate, the speed
control must be ON and the
vehicle speed must be greater
than 48 km/h (30 mph).
If you drive up or down a steep hill, your vehicle speed may vary
momentarily slower or faster than the set speed. This is normal.
Speed control cannot reduce the vehicle speed if it increases above the
set speed on a downhill. If your vehicle speed is faster than the set
speed while driving on a downhill, you may want to shift to the next
lower gear or apply the brakes to reduce your vehicle speed.
If your vehicle slows down more than 16 km/h (10 mph) below your set
speed on an uphill, your speed control will disengage. This is normal.
Pressing RSM will re-engage it.
Do not use the speed control in heavy traffic or on roads that
are winding, slippery, or unpaved.
To set a higher set speed
²Press and hold SET ACC. Release
the control when the desired
vehicle speed is reached or
²Press and release SET ACC to
operate the Tap-Up function.
Each press will increase the set
speed by 1.6 km/h (1 mph) or
²Accelerate with your accelerator pedal. When the desired vehicle
speed is reached, press and release SET ACC.
You can accelerate with the accelerator pedal at any time during speed
control usage. Releasing the accelerator pedal will return your vehicle to
the previously programmed set speed.
RSM
SET
ACC
CST
RSM
SET
ACC
CST
Driver Controls
87
Page 88 of 280
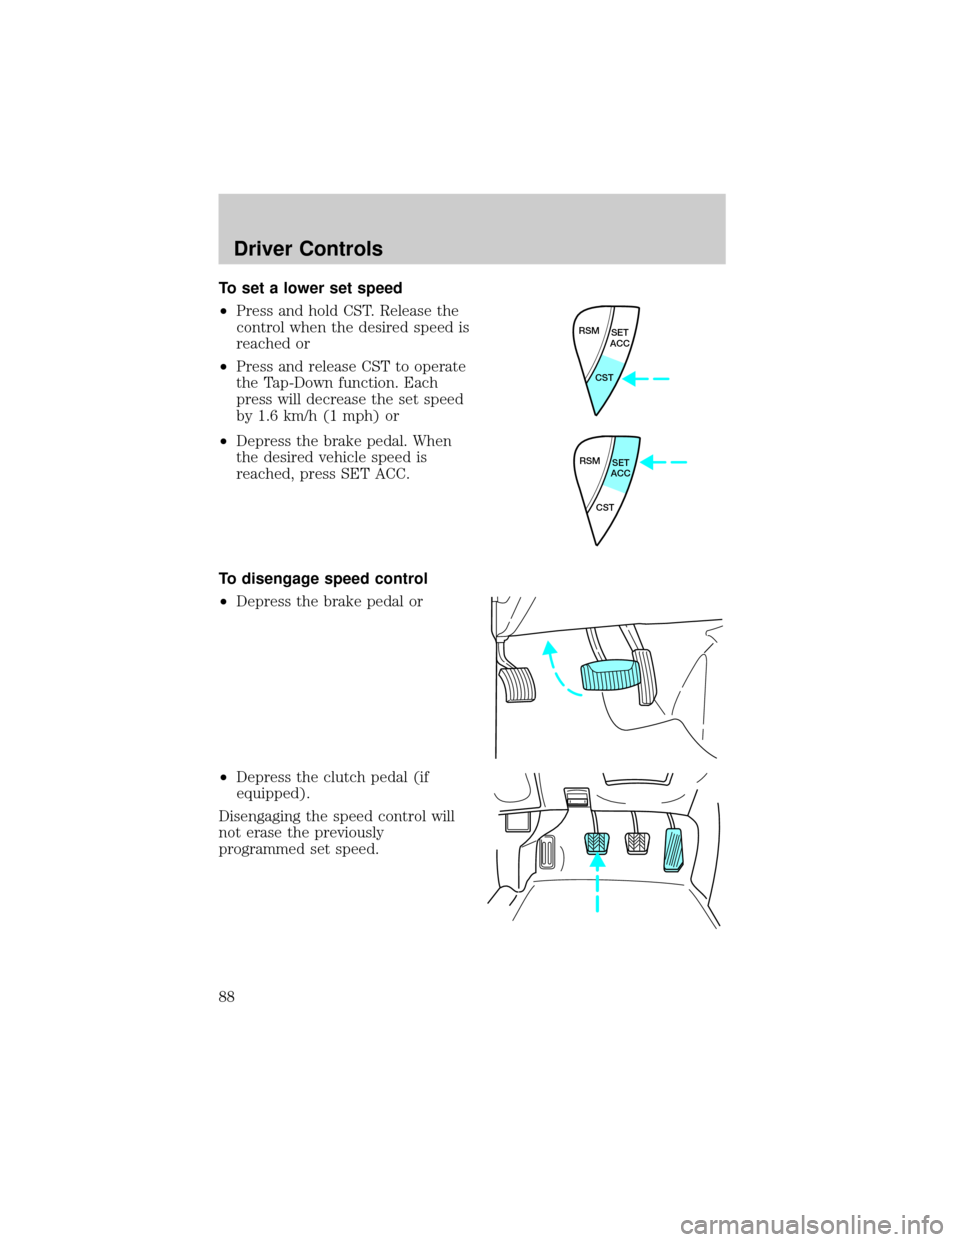
To set a lower set speed
²Press and hold CST. Release the
control when the desired speed is
reached or
²Press and release CST to operate
the Tap-Down function. Each
press will decrease the set speed
by 1.6 km/h (1 mph) or
²Depress the brake pedal. When
the desired vehicle speed is
reached, press SET ACC.
To disengage speed control
²Depress the brake pedal or
²Depress the clutch pedal (if
equipped).
Disengaging the speed control will
not erase the previously
programmed set speed.
RSM
SET
ACC
CST
RSM
SET
ACC
CST
Driver Controls
88
Page 89 of 280
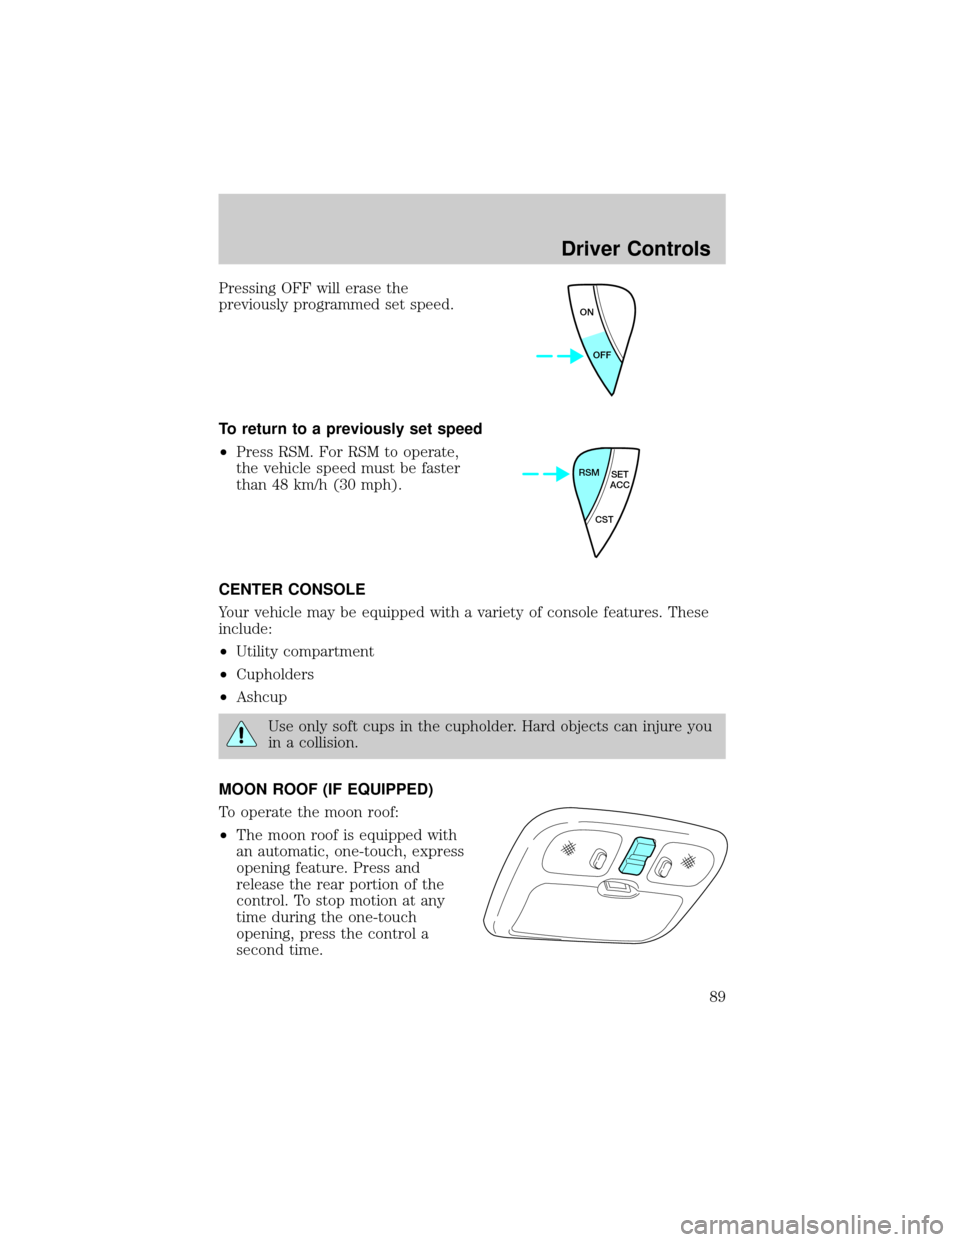
Pressing OFF will erase the
previously programmed set speed.
To return to a previously set speed
²Press RSM. For RSM to operate,
the vehicle speed must be faster
than 48 km/h (30 mph).
CENTER CONSOLE
Your vehicle may be equipped with a variety of console features. These
include:
²Utility compartment
²Cupholders
²Ashcup
Use only soft cups in the cupholder. Hard objects can injure you
in a collision.
MOON ROOF (IF EQUIPPED)
To operate the moon roof:
²The moon roof is equipped with
an automatic, one-touch, express
opening feature. Press and
release the rear portion of the
control. To stop motion at any
time during the one-touch
opening, press the control a
second time.
ON
OFF
RSM
SET
ACC
CST
Driver Controls
89
Page 90 of 280
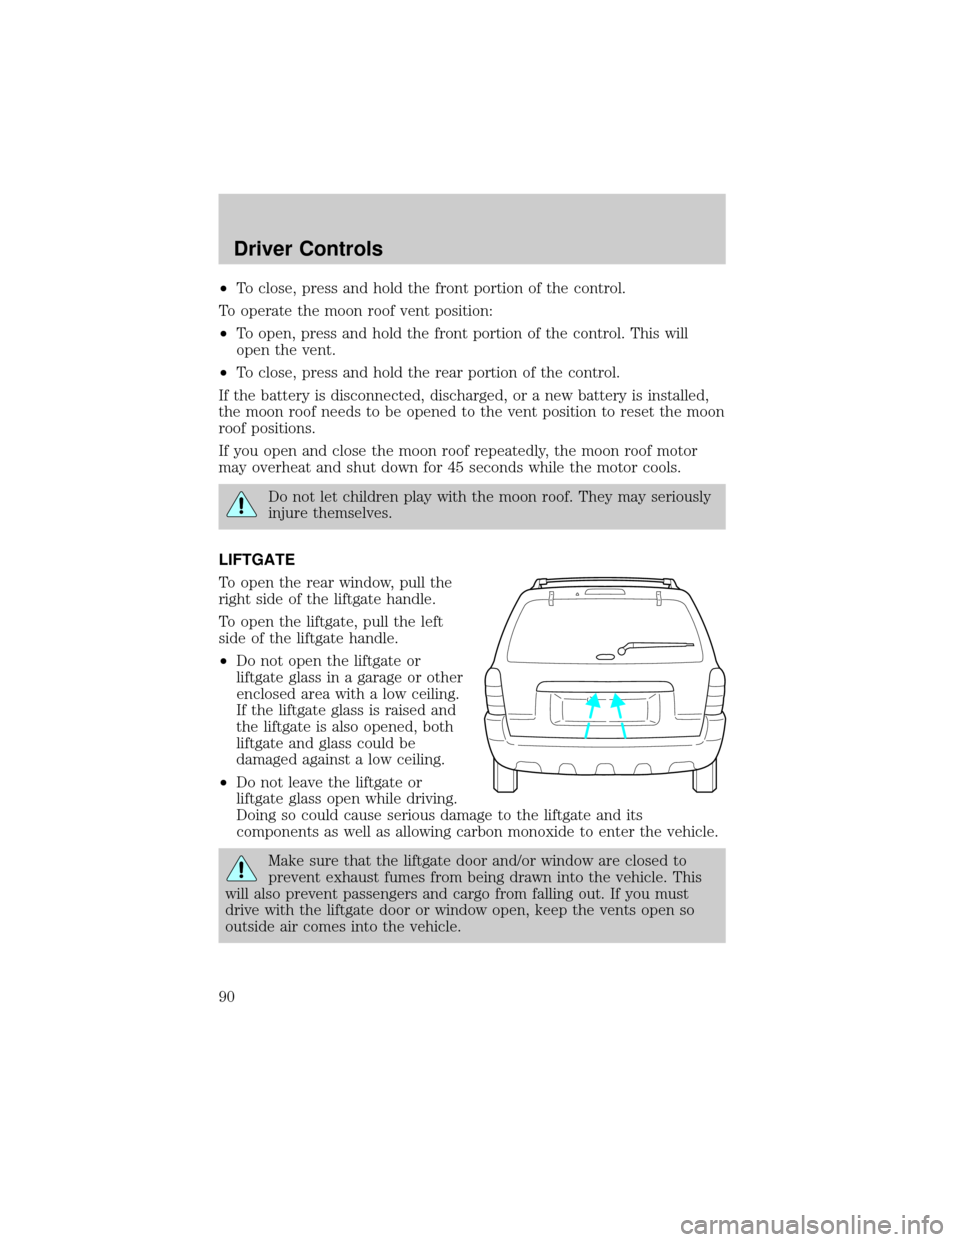
²To close, press and hold the front portion of the control.
To operate the moon roof vent position:
²To open, press and hold the front portion of the control. This will
open the vent.
²To close, press and hold the rear portion of the control.
If the battery is disconnected, discharged, or a new battery is installed,
the moon roof needs to be opened to the vent position to reset the moon
roof positions.
If you open and close the moon roof repeatedly, the moon roof motor
may overheat and shut down for 45 seconds while the motor cools.
Do not let children play with the moon roof. They may seriously
injure themselves.
LIFTGATE
To open the rear window, pull the
right side of the liftgate handle.
To open the liftgate, pull the left
side of the liftgate handle.
²Do not open the liftgate or
liftgate glass in a garage or other
enclosed area with a low ceiling.
If the liftgate glass is raised and
the liftgate is also opened, both
liftgate and glass could be
damaged against a low ceiling.
²Do not leave the liftgate or
liftgate glass open while driving.
Doing so could cause serious damage to the liftgate and its
components as well as allowing carbon monoxide to enter the vehicle.
Make sure that the liftgate door and/or window are closed to
prevent exhaust fumes from being drawn into the vehicle. This
will also prevent passengers and cargo from falling out. If you must
drive with the liftgate door or window open, keep the vents open so
outside air comes into the vehicle.
Driver Controls
90