Ev button FORD ESCAPE 2022 Owners Manual
[x] Cancel search | Manufacturer: FORD, Model Year: 2022, Model line: ESCAPE, Model: FORD ESCAPE 2022Pages: 585, PDF Size: 6.15 MB
Page 255 of 585
Note:Adaptive cruise control must be
switched on before you can switch lane
centering on.
When the system is active and the
direction indicator is switched on, the
system immediately cancels. The system
remains in standby mode as long as the
direction indicator is engaged. The system
automatically re-activates once the vehicle
is centered in a lane and the direction
indicator is switched off.
LANE CENTERING ALERTS
You must keep your hands on the steering
wheel at all times.
When the system is active and detects no
steering activity for a period of time, the
system alerts you to put your hands on the
steering wheel. If you do not react to the
warnings the system cancels and slows
your vehicle down to idle speeds while
maintaining steering control.
The system also alerts you if your vehicle
crosses lane markings without detected
steering activity.
Note: The system could detect a light grip
or touch on the steering wheel as hands-off
driving.
When the system cancels due to an
external condition, for example, no lane
markings are available and your hands are
not on the steering wheel, the system
immediately alerts you to take control of
the vehicle. If you ignore this alert, the
system slows the vehicle while maintaining
steering control.
LANE CENTERING AUTOMATIC
CANCELLATION
When an external condition cancels the
system, for example, no lane markings
available, a tone sounds and a message
appears in the instrument cluster display.
E308130
If your vehicle starts to slow
down, you must provide steering
input to the wheel and press and
release the button to regain full system
performance.
Automatic cancellation can also occur if:
• The lane becomes too wide or too narrow.
• The system cannot detect valid lane markings.
• Lane markings cross over one another.
Note: The system disables until the next
key cycle if your vehicle slows down due to
driver inactivity twice within a key cycle.
LANE CENTERING INDICATORS
E297977
Illuminates when you switch
lane centering on. The color of
the indicator changes to indicate
the system status.
Gray indicates the system is on but
inactive.
Green indicates the system is active and
applying steering torque assistance input
to keep your vehicle in the center of the
lane.
Amber with an audible tone and then gray
indicates a system automatic cancellation.
252
Adaptive Cruise Control (If Equipped)
Page 260 of 585
WHAT IS DRIVE MODE
CONTROL
The system delivers a driving experience
through a suite of sophisticated electronic
vehicle systems. These systems optimize
steering, handling and powertrain
response. This provides a single location
to control multiple systems performance
settings.
Changing the drive mode changes the
functionality of the following systems:
• Electric power-assisted steeringsystem adjusts steering effort and feel
based on the mode you select. See
Electric Power Steering
Precautions (page 229).
• Electronic stability control and traction control maintain your vehicle control
in adverse conditions or high
performance driving. See Stability
Control (page 227).
• Electronic throttle control enhances the powertrain response to your driving
inputs.
• Transmission controls become optimized with shift schedules tuned
to each mode.
• Four-wheel drive settings are optimized and tuned to each mode.
• Electric vehicle mode selections may be limited.
The system tailors your vehicle
configuration for each mode you select.
Note: Not all settings may be available.
Note: The system has diagnostic checks
that continuously monitor the system for
proper operation. If a mode is unavailable
due to a system fault or change in gear
shifter position, the mode defaults to
Normal.
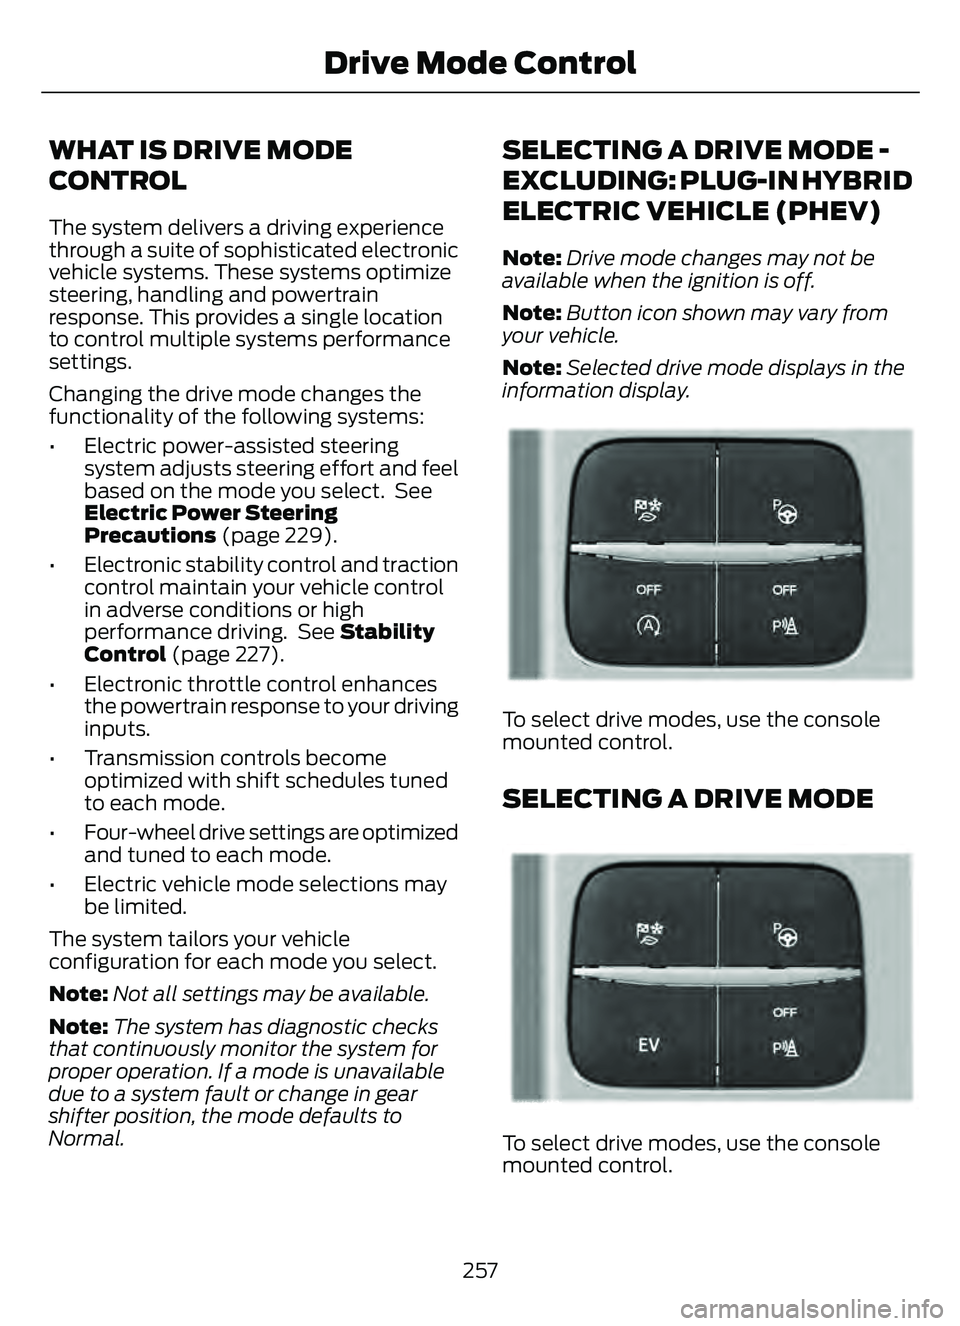
SELECTING A DRIVE MODE -
EXCLUDING: PLUG-IN HYBRID
ELECTRIC VEHICLE (PHEV)
Note: Drive mode changes may not be
available when the ignition is off.
Note: Button icon shown may vary from
your vehicle.
Note: Selected drive mode displays in the
information display.
E306303E306303E306E306EE306E306E306E306E3063066E306EE306EE3063333333303033033033033303303303
To select drive modes, use the console
mounted control.
SELECTING A DRIVE MODE
E356781E356EEE356E356EE356E356E3566E356E356EE3566777777787817817817817817781781
To select drive modes, use the console
mounted control.
257
Drive Mode Control
Page 261 of 585
Note:Drive mode changes may not be
available when the ignition is off.
Note: Button icon shown may vary from
your vehicle.
Note: Selected drive mode displays in the
information cluster display.
DRIVE MODES
DEEP SNOW/SAND (If Equipped)
E295420
Use this mode to aid you in
getting your vehicle unstuck
from deep snow or sand.
Note: The intent of your all-wheel drive
vehicle is not for off-road use. The all-wheel
drive feature allows for driving on relatively
level surfaces, obstruction free and similar
to normal on-road driving conditions.
Operating your vehicle in other conditions
could lead to excessive stress that could
result in damage not covered by the
warranty.
Note: This mode is not intended for driving
on snowy roads. For snowy roads use
slippery mode.
Note: Using deep snow/sand mode on dry,
hard surfaces could produce some vibration,
driveline bind up, and potential excessive
tire wear. This mode is for slippery and loose
surfaces.
ECO
E295413
For efficient driving. This mode
helps deliver maximum fuel
efficiency and helps to increase
driving range.
NORMAL
E225310
For everyday driving. This mode
is a perfect balance of
excitement, comfort and
convenience. This is the default mode after
each ignition cycle.
SLIPPERY
E295414
For less than ideal road
conditions such as snow or ice
covered roads. T his mode lowers
throttle response, adjusts transmission
shift points, and optimizes vehicle stability
controls to help mitigate wheel spin and
maintain vehicle control when driving in
winter conditions.
Note: Using slippery mode on dry, hard
surfaces could produce some vibration,
driveline bind up, and potential excessive
tire wear.
SPORT
E246593
For sporty driving with improved
performance handling and
response. This mode increases
accelerator pedal response, enhances
steering to provide a sportier feel, and
adjusts transmission shift points for quicker
vehicle acceleration.
258
Drive Mode Control
Page 262 of 585
PLUG-IN HYBRID ELECTRIC
VEHICLE DRIVE MODES
SELECTING A PLUG-IN HYBRID
ELECTRIC VEHICLE DRIVE MODE
E327677E327E327E327E327E327E3273327327277777E32733272767767676776677767677676677677
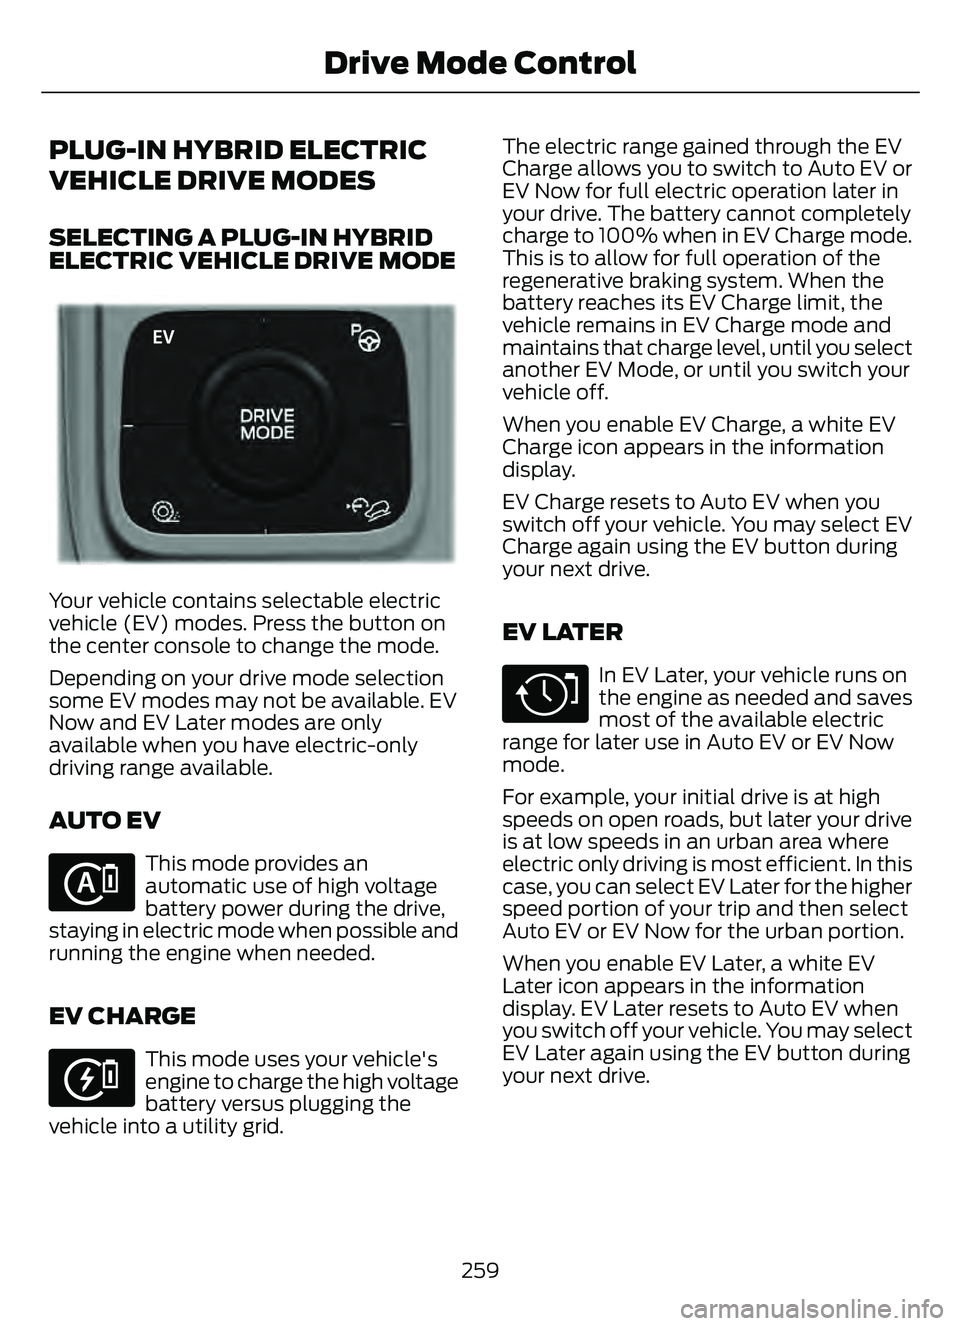
Your vehicle contains selectable electric
vehicle (EV) modes. Press the button on
the center console to change the mode.
Depending on your drive mode selection
some EV modes may not be available. EV
Now and EV Later modes are only
available when you have electric-only
driving range available.
AUTO EV
E287836
This mode provides an
automatic use of high voltage
battery power during the drive,
staying in electric mode when possible and
running the engine when needed.
EV CHARGE
E287822
This mode uses your vehicle's
engine to charge the high voltage
battery versus plugging the
vehicle into a utility grid. The electric range gained through the EV
Charge allows you to switch to Auto EV or
EV Now for full electric operation later in
your drive. The battery cannot completely
charge to 100% when in EV Charge mode.
This is to allow for full operation of the
regenerative braking system. When the
battery reaches its EV Charge limit, the
vehicle remains in EV Charge mode and
maintains that charge level, until you select
another EV Mode, or until you switch your
vehicle off.
When you enable EV Charge, a white EV
Charge icon appears in the information
display.
EV Charge resets to Auto EV when you
switch off your vehicle. You may select EV
Charge again using the EV button during
your next drive.
EV LATER
E287824
In EV Later, your vehicle runs on
the engine as needed and saves
most of the available electric
range for later use in Auto EV or EV Now
mode.
For example, your initial drive is at high
speeds on open roads, but later your drive
is at low speeds in an urban area where
electric only driving is most efficient. In this
case, you can select EV Later for the higher
speed portion of your trip and then select
Auto EV or EV Now for the urban portion.
When you enable EV Later, a white EV
Later icon appears in the information
display. EV Later resets to Auto EV when
you switch off your vehicle. You may select
EV Later again using the EV button during
your next drive.
259
Drive Mode Control
Page 263 of 585
When you select EV Later with the vehicle
fully charged or near fully charged, some
electric-only driving range is used to
discharge the battery. This is to allow for
full operation of the regenerative braking
system.
EV NOW
E287826
This mode provides an electric
only driving experience. Do not
use EV Now when towing a
trailer. The electric drive system is not
designed for towing. An EV Now
information on demand screen appears.
This screen allows you to enable your
engine while in EV Now mode.
Your vehicle could accelerate slower and
the top speed could be lower than when
in Auto EV mode.
You can enable your engine at any time by
using one of the following methods:
• Press the OK button on the steering wheel when viewing the EV Now
information on demand screen. Your
vehicle enables the engine as needed
and returns to EV Now mode when no
longer needed.
• Fully press the accelerator pedal. A pop-up message appears. Press the
OK button on the steering wheel to
enable the engine. When the engine is
no longer needed, your vehicle returns
to EV Now. The message disappears if
you release the accelerator pedal.
• Press the EV button. This exits EV Now mode and permits engine operation.
To return to EV Now mode, select it
again using the EV button. Your vehicle could enter Engine Enabled
mode if system conditions require it. A
message displays if this occurs. This is a
normal function of the system and your
vehicle returns to EV Now mode when
possible.
When you enable EV Now mode, a blue EV
Now icon appears in the information
display. If your vehicle is in Engine Enabled
mode, the EV Now icon is amber. EV Now
exits when your available electric range
reaches zero.
260
Drive Mode Control
Page 265 of 585
• You apply direct steering, acceleratefast or brake hard.
• The vehicle speed is less than 40 mph (64 km/h).
• The anti-lock brake, stability control or traction control system activates.
• The lane is too narrow.
• Something is obscuring the camera or it is unable to detect the lane markings
due to environment, traffic or vehicle
conditions.
The lane keeping system may not correct
lane positioning in any of the following
conditions:
• High winds.
• Uneven road surfaces.
• Heavy or uneven loads.
• Incorrect tire pressure.
SWITCHING THE LANE
KEEPING SYSTEM ON AND
OFF
E288067
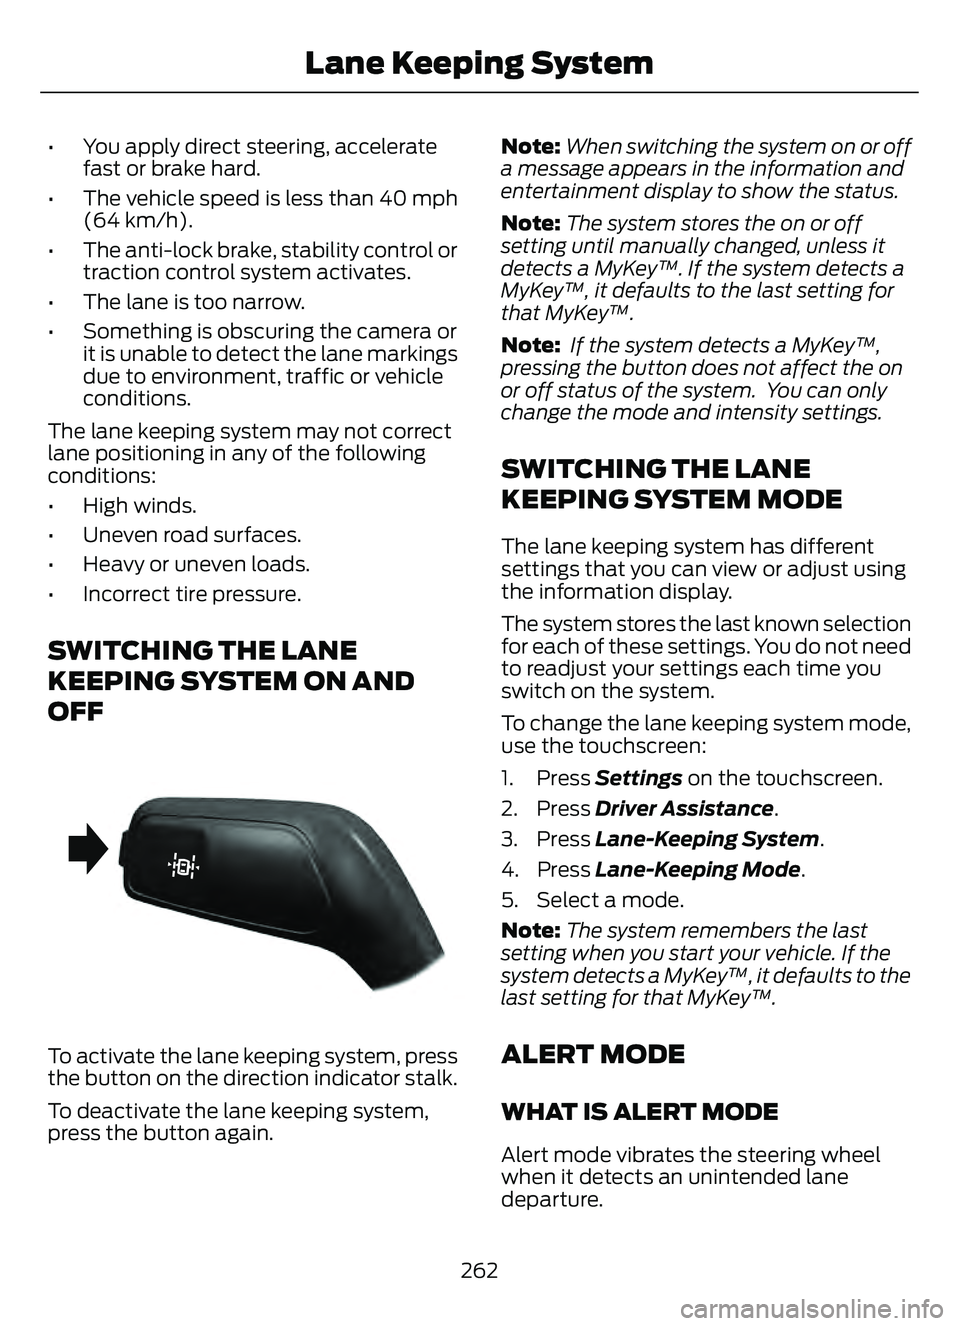
To activate the lane keeping system, press
the button on the direction indicator stalk.
To deactivate the lane keeping system,
press the button again. Note:
When switching the system on or off
a message appears in the information and
entertainment display to show the status.
Note: The system stores the on or off
setting until manually changed, unless it
detects a MyKey™. If the system detects a
MyKey™, it defaults to the last setting for
that MyKey™.
Note: If the system detects a MyKey™,
pressing the button does not affect the on
or off status of the system. You can only
change the mode and intensity settings.
SWITCHING THE LANE
KEEPING SYSTEM MODE
The lane keeping system has different
settings that you can view or adjust using
the information display.
The system stores the last known selection
for each of these settings. You do not need
to readjust your settings each time you
switch on the system.
To change the lane keeping system mode,
use the touchscreen:
1. Press Settings on the touchscreen.
2. Press Driver Assistance.
3. Press Lane-Keeping System .
4. Press Lane-Keeping Mode .
5. Select a mode.
Note: The system remembers the last
setting when you start your vehicle. If the
system detects a MyKey™, it defaults to the
last setting for that MyKey™.
ALERT MODE
WHAT IS ALERT MODE
Alert mode vibrates the steering wheel
when it detects an unintended lane
departure.
262
Lane Keeping System
Page 313 of 585
1. Exit the vehicle immediately.
2. Advise emergency assistance that anelectric or hybrid-electric vehicle is
involved.
3. As with any vehicle fire, do not inhale smoke, vapors or gas from the vehicle,
as they may be hazardous.
Post-Incident
1. Do not store a severely damagedvehicle with a lithium-ion battery inside
a structure or within 49 ft (15 m) of any
structure or vehicle.
2. Make sure that passenger and luggage compartments remain ventilated.
3. Call emergency assistance if you observe leaking fluids, sparks, smoke
or flames, or hear gurgling or bubbling
from the high-voltage battery.
SWITCHING THE HAZARD
FLASHERS ON AND OFF
The hazard flashers operate when the
ignition is in any position, or if the key is not
in the ignition. The battery loses charge
and may have insufficient power to restart
your vehicle if your vehicle is in use or if the
key is not in the ignition.
E308147E308147E308EEEEE308E308EEEEEEEE308308EEEE30808EE308E330008147147147147147147147147
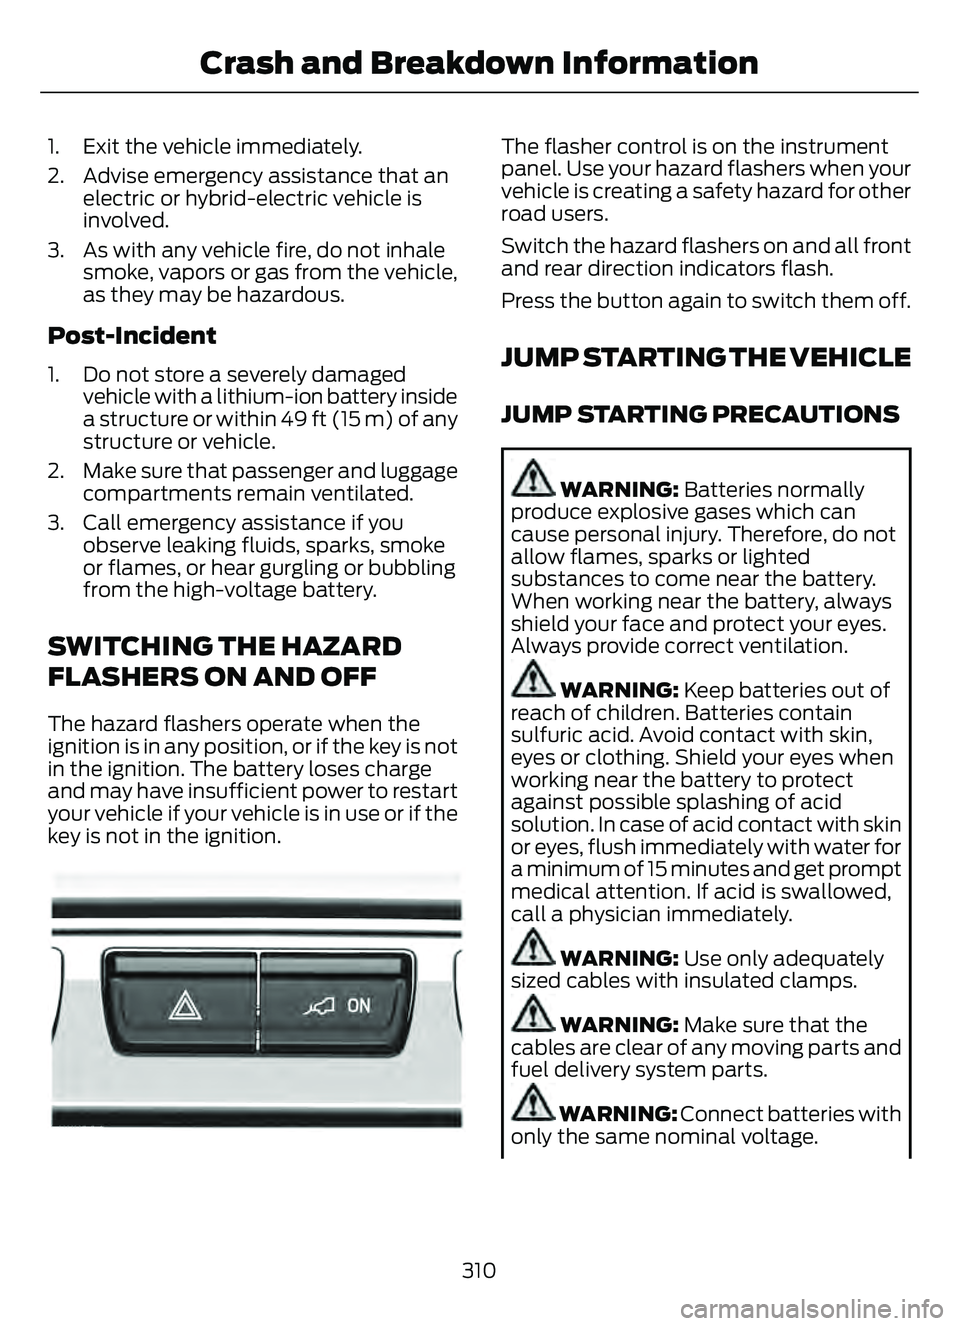
The flasher control is on the instrument
panel. Use your hazard flashers when your
vehicle is creating a safety hazard for other
road users.
Switch the hazard flashers on and all front
and rear direction indicators flash.
Press the button again to switch them off.
JUMP STARTING THE VEHICLE
JUMP STARTING PRECAUTIONS
WARNING: Batteries normally
produce explosive gases which can
cause personal injury. Therefore, do not
allow flames, sparks or lighted
substances to come near the battery.
When working near the battery, always
shield your face and protect your eyes.
Always provide correct ventilation.
WARNING: Keep batteries out of
reach of children. Batteries contain
sulfuric acid. Avoid contact with skin,
eyes or clothing. Shield your eyes when
working near the battery to protect
against possible splashing of acid
solution. In case of acid contact with skin
or eyes, flush immediately with water for
a minimum of 15 minutes and get prompt
medical attention. If acid is swallowed,
call a physician immediately.
WARNING: Use only adequately
sized cables with insulated clamps.
WARNING: Make sure that the
cables are clear of any moving parts and
fuel delivery system parts.
WARNING: Connect batteries with
only the same nominal voltage.
310
Crash and Breakdown Information
Page 316 of 585
2. Connect the other end of the positive(+) jumper cable to the positive (+)
terminal of the booster vehicle battery.
3. Connect the negative (-) jumper cable to the negative (-) terminal of the
booster vehicle battery.
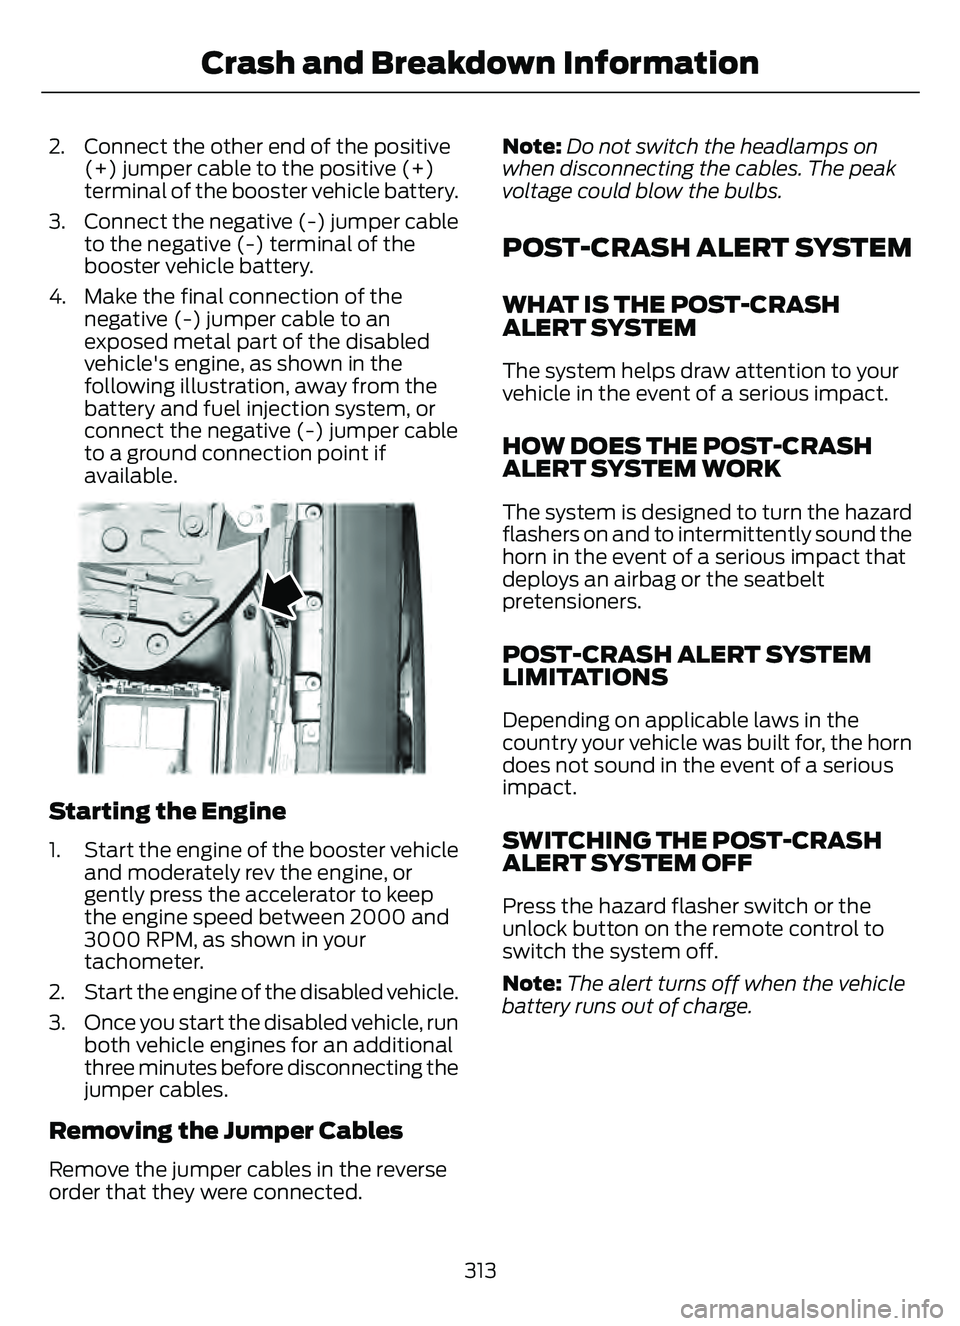
4. Make the final connection of the negative (-) jumper cable to an
exposed metal part of the disabled
vehicle's engine, as shown in the
following illustration, away from the
battery and fuel injection system, or
connect the negative (-) jumper cable
to a ground connection point if
available.
E338715E338715
Starting the Engine
1. Start the engine of the booster vehicleand moderately rev the engine, or
gently press the accelerator to keep
the engine speed between 2000 and
3000 RPM, as shown in your
tachometer.
2. Start the engine of the disabled vehicle.
3. Once you start the disabled vehicle, run both vehicle engines for an additional
three minutes before disconnecting the
jumper cables.
Removing the Jumper Cables
Remove the jumper cables in the reverse
order that they were connected. Note:
Do not switch the headlamps on
when disconnecting the cables. The peak
voltage could blow the bulbs.
POST-CRASH ALERT SYSTEM
WHAT IS THE POST-CRASH
ALERT SYSTEM
The system helps draw attention to your
vehicle in the event of a serious impact.
HOW DOES THE POST-CRASH
ALERT SYSTEM WORK
The system is designed to turn the hazard
flashers on and to intermittently sound the
horn in the event of a serious impact that
deploys an airbag or the seatbelt
pretensioners.
POST-CRASH ALERT SYSTEM
LIMITATIONS
Depending on applicable laws in the
country your vehicle was built for, the horn
does not sound in the event of a serious
impact.
SWITCHING THE POST-CRASH
ALERT SYSTEM OFF
Press the hazard flasher switch or the
unlock button on the remote control to
switch the system off.
Note: The alert turns off when the vehicle
battery runs out of charge.
313
Crash and Breakdown Information
Page 319 of 585
TOWING YOUR VEHICLE
PRECAUTIONS
Use the following guidelines when towing
your vehicle. Failure to follow this
instruction could result in vehicle damage
not covered by the vehicle warranty.
Note: Make sure you properly secure your
vehicle to the tow vehicle.
Note: If you are unsure of the vehicle’s
configuration, contact an authorized dealer.
RECREATIONALLY TOWING
YOUR VEHICLE - GASOLINE,
AWD
You cannot recreational tow your vehicle
with all wheels on the ground because
vehicle or transmission damage could
occur. You must recreational tow your
vehicle with all four wheels off the ground,
such as when using a car-hauling trailer.
Otherwise, you cannot recreational tow
your vehicle.
RECREATIONALLY TOWING
YOUR VEHICLE - GASOLINE,
FWD
You cannot recreational tow your vehicle
with all wheels on the ground because
vehicle or transmission damage could
occur. Place the front wheels on a
two-wheel tow dolly. If you are using a tow
dolly, follow the instructions specified by
the equipment provider.
Note: Release the parking brake before
towing your vehicle. See Manually
Releasing the Electric Parking Brake
(page 220).
RECREATIONALLY TOWING
YOUR VEHICLE - HYBRID
ELECTRIC VEHICLE (HEV)/
PLUG-IN HYBRID ELECTRIC
VEHICLE (PHEV)
Follow these guidelines if you have a need
for recreational towing. An example of
recreational towing is towing your vehicle
behind a motorhome. These guidelines
ensure that you do not damage the
transmission.
Note: Put your climate control system in
recirculated air mode to prevent exhaust
fumes from entering your vehicle. See
Climate Control (page 137).
You can tow your vehicle with all four
wheels on the ground under the following
conditions:
• You switch Neutral Tow on.
• Your vehicle is facing forward for towing in a forward direction.
• You release the parking brake.
• You do not exceed 70 mph (113 km/h).
Switching Neutral Tow On
1. Switch your vehicle on in accessory mode.
2. Press the menu button on the steering wheel to enter the information display
main menu.
3. Select Settings .
4. Select Neutral Tow.
5. Follow the instructions on the information display.
6. Fully press the brake pedal.
7. Shift into neutral (N).
8. Switch the ignition off.
Note: Switching neutral tow on requires
battery power.
316
Towing Your Vehicle
Page 320 of 585
Note:If the parking brake is applied, a
message appears in the information display.
Note: If your vehicle has an ignition key, you
cannot remove the key from the ignition
when the transmission is in neutral (N) and
your vehicle is off.
Note: Start the engine and allow it to run
for a few minutes at the beginning of each
day, and every six hours or fewer. With the
engine running and your foot on the brake,
shift into drive (D) and then into reverse (R)
before shifting back into neutral (N). Before
continuing to tow, switch neutral tow on.
EMERGENCY TOWING -
HYBRID ELECTRIC VEHICLE
(HEV)/PLUG-IN HYBRID
ELECTRIC VEHICLE (PHEV)
If your vehicle becomes inoperable without
access to wheel dollies or a vehicle
transport trailer, it can be flat-towed with
all wheels on the ground, regardless of the
powertrain and transmission configuration,
under the following conditions:
• Your vehicle is facing forward for towing in a forward direction.
• You switch Neutral Tow on.
• You release the parking brake.
• Maximum speed is 35 mph (55 km/h).
• Maximum distance is 50 mi (80 km).
Switching Neutral Tow On
1. Switch your vehicle on in accessory mode.
2. Press the menu button on the steering wheel to enter the instrument cluster
display main menu.
3. Select Settings .
4. Select Neutral Tow.
5. Follow the instructions on the information display. 6. Fully press the brake pedal.
7. Shift into neutral (N).
8. Switch the ignition off.
Note:
Failure to follow these instructions
could result in damage to the transmission.
Note: Switching neutral tow on requires
battery power.
Note: Put your climate control system in
recirculated air mode to prevent exhaust
fumes from entering your vehicle. See
Climate Control (page 137).
Switching Neutral Tow Off
1. Switch your vehicle on in accessory
mode.
2. Fully press the brake pedal.
3. Shift into park (P).
EMERGENCY TOWING - 8-
SPEED AUTOMATIC
TRANSMISSION – 8F24
If you need to tow your vehicle, contact a
professional towing service or, if you are a
member of a roadside assistance program,
your roadside assistance service provider.
317
Towing Your Vehicle