FORD ESCORT 1997 7.G Owners Manual
Manufacturer: FORD, Model Year: 1997, Model line: ESCORT, Model: FORD ESCORT 1997 7.GPages: 191, PDF Size: 2.02 MB
Page 141 of 191
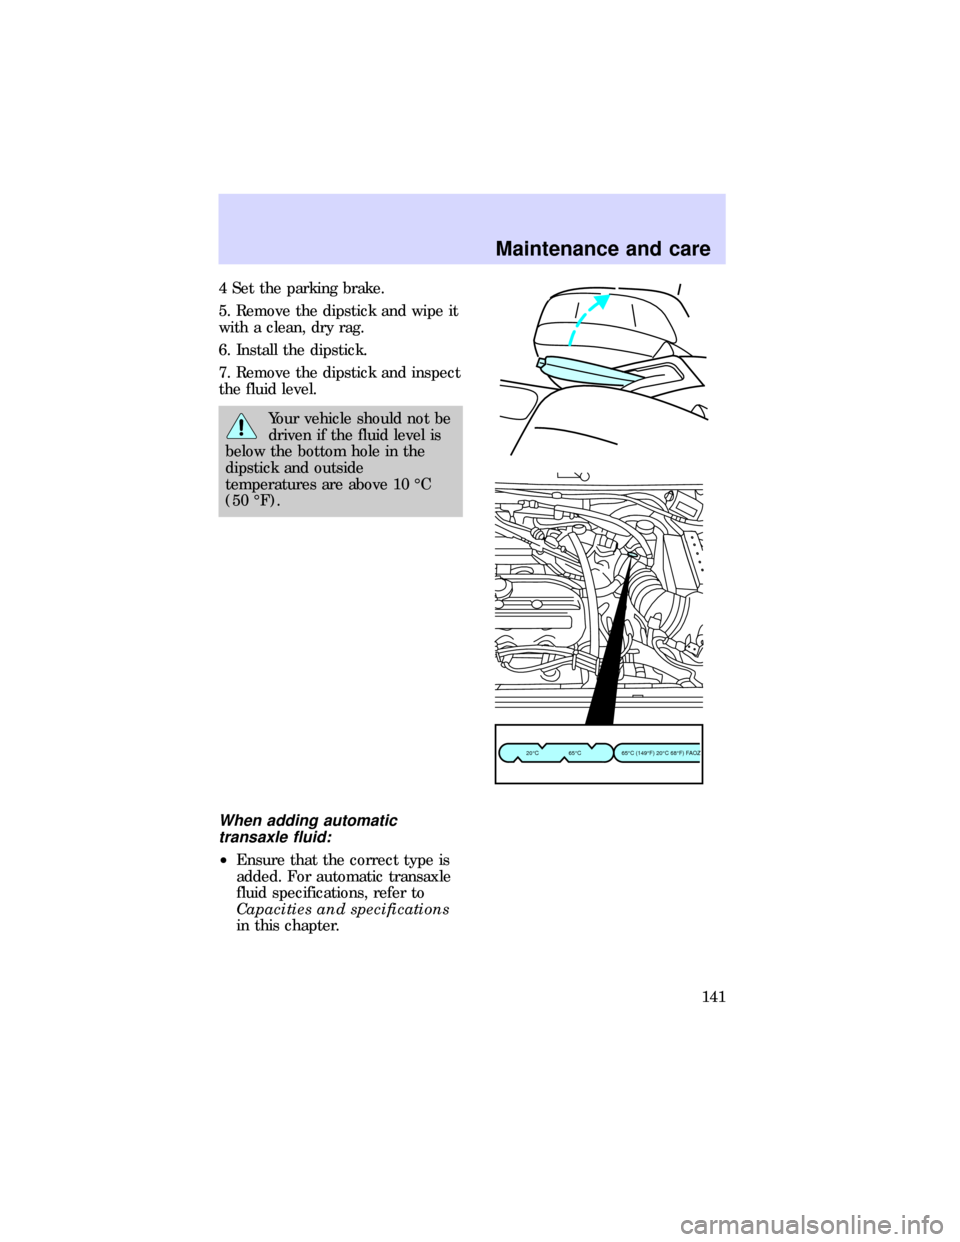
4 Set the parking brake.
5. Remove the dipstick and wipe it
with a clean, dry rag.
6. Install the dipstick.
7. Remove the dipstick and inspect
the fluid level.
Your vehicle should not be
driven if the fluid level is
below the bottom hole in the
dipstick and outside
temperatures are above 10 ÉC
(50 ÉF).
When adding automatic
transaxle fluid:
²Ensure that the correct type is
added. For automatic transaxle
fluid specifications, refer to
Capacities and specifications
in this chapter.
20¡C65¡C65¡C (149¡F) 20¡C 68¡F) FAOZ
Maintenance and care
141
Page 142 of 191

²Add the fluid in 250 ml (1¤2pint)
increments through the filler
tube. Do not overfill the
automatic transaxle fluid
reservoir. If this occurs, the
excess fluid should be removed
by a qualified technician.
Always dispose of used
automotive fluids in a responsible
manner. Follow your community's
standards for disposing of these
types of fluids. Call your local
recycling center to find out more
about recycling automotive fluids.
Checking and adding manual
transaxle fluid
For information on checking and
adding manual transaxle fluid,
refer toChecking and adding
clutch fluidin this section.
WHAT YOU SHOULD KNOW
ABOUT YOUR BATTERY
If the original equipment
maintenance-free battery needs
replacing, it may be replaced with
a low-maintenance battery. For
information on appropriate
replacement batteries, refer to
Motorcraft part numbersin the
Capacities and specifications
chapter.
Maintenance and care
142
Page 143 of 191
Batteries normally produce
explosive gases that can
cause personal injury. Do not
allow flames, sparks, or lit
smoking materials to come near
the battery. When charging or
working near a battery, always
cover your face, protect your
eyes, and provide ventilation.
Batteries contain sulfuric
acid that can burn skin,
eyes, and clothing.
Applying too much
pressure on the ends when
lifting a battery could cause acid
to spill. Lift the battery with a
carrier or with your hands on
opposite corners.
Servicing your battery
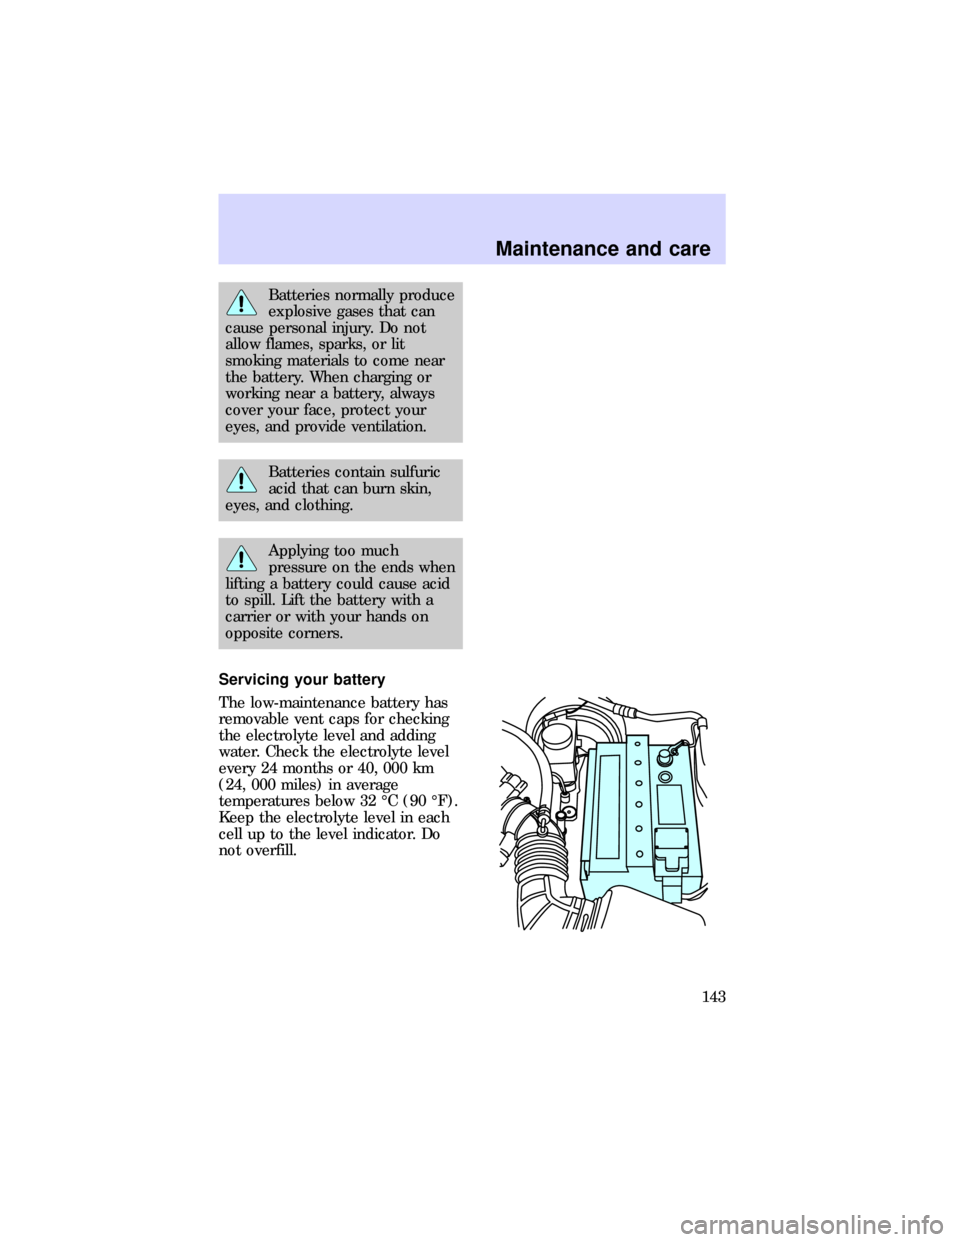
The low-maintenance battery has
removable vent caps for checking
the electrolyte level and adding
water. Check the electrolyte level
every 24 months or 40, 000 km
(24, 000 miles) in average
temperatures below 32 ÉC (90 ÉF).
Keep the electrolyte level in each
cell up to the level indicator. Do
not overfill.
Maintenance and care
143
Page 144 of 191

If the electrolyte level becomes
low, refill the battery with distilled
water. If necessary, distilled water
may be substituted with tap water
that is not hard and does not have
a high mineral or alkali content. If
the battery needs water quite
often, have the charging system
checked for a possible malfunction.
Your vehicle is equipped with a
battery saver control feature
designed to prevent your battery
from accidental wear down due to
doors left ajar. For information on
the system and how it works, see
Interior overhead lampin this
chapter.
Because your vehicle's engine is
electronically controlled, some
control conditions are maintained
by power from the battery. When
the battery is disconnected or a
new battery is installed, the
computer must ªrelearnº its idle
conditions before your vehicle will
drive properly. To begin this
process:
1. Put the gearshift in P
(automatic transaxle) or N
(manual transaxle).
2. Turn off all accessories and start
the vehicle.
3. Let the engine idle for at least
one minute.
4. The relearning process will
automatically complete as you
drive the vehicle.
²If you do not allow the engine to
relearn its idle, the idle quality
Maintenance and care
144
Page 145 of 191
of your vehicle may be adversely
affected until the idle is
eventually relearned.
²If the battery has been
disconnected or a new battery
has been installed, the clock and
preset radio stations must be
reset once the battery is
reconnected.
²Always dispose of used
automotive batteries in a
responsible manner. Follow your
community's standards for
disposal. Call your local
recycling center to find out
more about recycling automotive
batteries.
CHECKING AND CHANGING
YOUR AIR FILTER
If the vehicle is operated in very
dusty or sandy areas, replace the
filter more often than the
recommended intervals.
Do not drive without an air
filter; this could result in
excessive engine wear.
Maintenance and care
145
Page 146 of 191
Changing your air filter
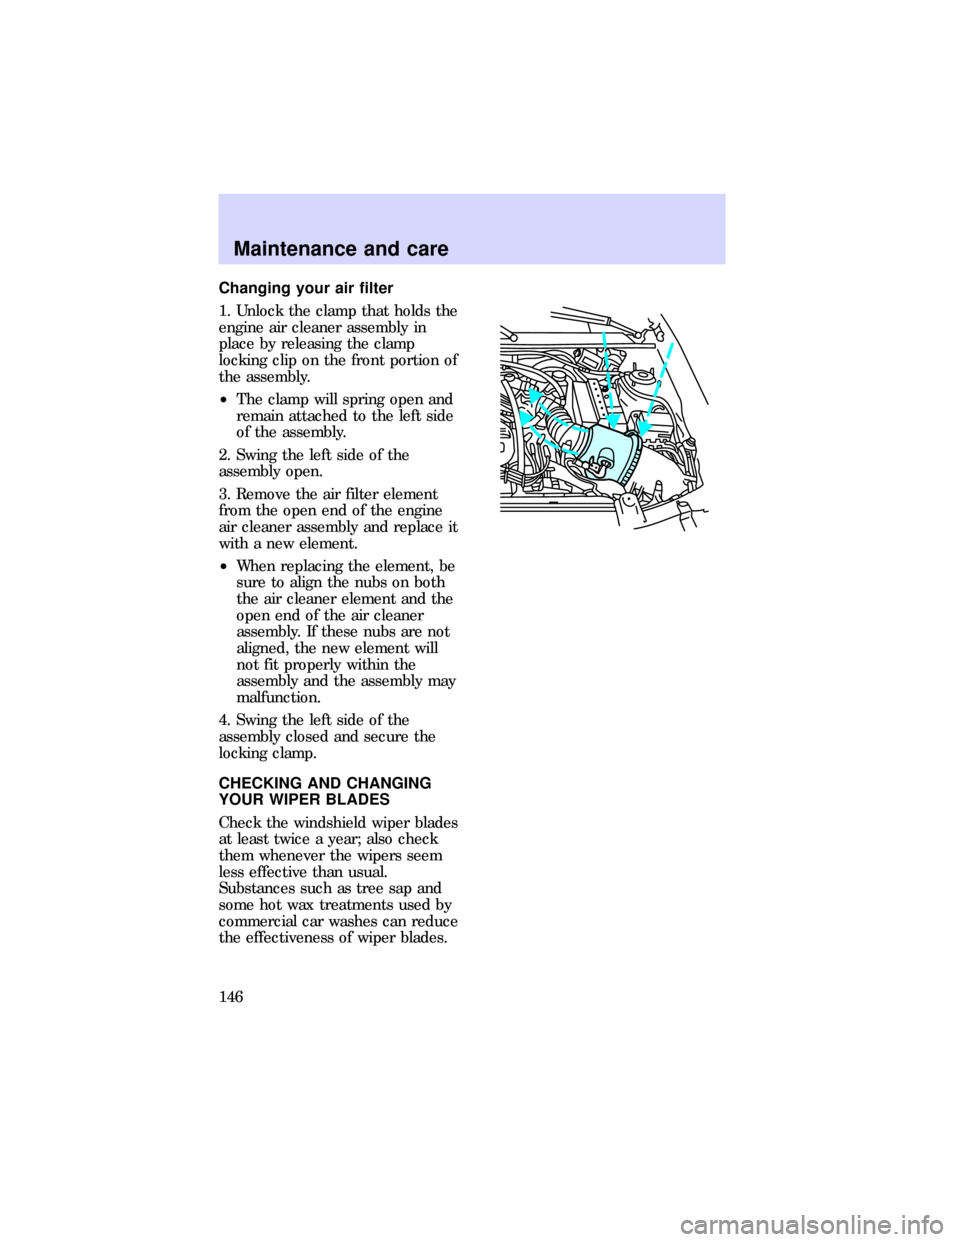
1. Unlock the clamp that holds the
engine air cleaner assembly in
place by releasing the clamp
locking clip on the front portion of
the assembly.
²The clamp will spring open and
remain attached to the left side
of the assembly.
2. Swing the left side of the
assembly open.
3. Remove the air filter element
from the open end of the engine
air cleaner assembly and replace it
with a new element.
²When replacing the element, be
sure to align the nubs on both
the air cleaner element and the
open end of the air cleaner
assembly. If these nubs are not
aligned, the new element will
not fit properly within the
assembly and the assembly may
malfunction.
4. Swing the left side of the
assembly closed and secure the
locking clamp.
CHECKING AND CHANGING
YOUR WIPER BLADES
Check the windshield wiper blades
at least twice a year; also check
them whenever the wipers seem
less effective than usual.
Substances such as tree sap and
some hot wax treatments used by
commercial car washes can reduce
the effectiveness of wiper blades.
Maintenance and care
146
Page 147 of 191

To make reaching the wiper blades
easy, simply turn the ignition to
the ON position and turn the
wipers on. Wait for them to reach
a vertical position and turn the
ignition to LOCK. Do not move the
wipers manually across the
windshield, this may cause damage
to the wipers.
Inspect the wiper arm pivots on a
regular basis to ensure that the
wiper arms move freely. Lubricate
the pivot points as necessary.
Replacing wiper blades
If the wiper blades do not work
properly after cleaning,
replacement of the blade assembly
or the blade element may be
necessary.
There are three different lengths
of wiper blades on your vehicle.
The driver side wiper blade is 51
cm (20 in) long, and the passenger
side wiper blade is 44.5 cm (17.5
in) long, and the rear window
wiper is 35 cm (13.75 in) long.
Ensure that you install the correct
length wiper blade in the correct
location.
To replace the wiper blades:
Maintenance and care
147
Page 148 of 191

1. Pull the wiper arm away from
the windshield and lock into the
service position.
2. Turn the blade at an angle from
the wiper arm. Push the lock pin
with a screwdriver to release the
blade and pull the wiper blade
down toward the windshield to
remove it from the arm.
3. Attach the new wiper to the
wiper arm and press it into place
until a click is heard.
WHAT YOU SHOULD KNOW
ABOUT TIRE GRADES
The U.S. Department of
Transportation (DOT) requires
Ford to give its customers the
following tire information:
Treadwear
The treadwear grade is a
comparative rating based on the
wear rate of the tire when tested
under controlled conditions on a
specified government test course.
For example, a tire graded 150
would wear 1
1¤2times as well on
the government course as a tire
graded 100. The relative
performance of tires depends upon
the actual conditions of their use,
however, and may depart
significantly from the norm due to
variations in driving habits, service
practices, and differences in road
characteristics and climate.
Maintenance and care
148
Page 149 of 191
Traction A B C
The traction grades, from highest
to lowest, are A, B, and C; they
represent the tire's ability to stop
on wet pavement as measured
under controlled conditions on
specified government test surfaces
of asphalt and concrete. A tire
marked C may have poor traction
performance.
The traction grade
assigned to this tire is
based on braking (straightahead)
traction tests and does not
include cornering (turning)
traction.
Temperature A B C
The temperature grades are A (the
highest), B, and C; they represent
the tire's resistance to the
generation of heat and its ability to
dissipate heat when tested under
controlled conditions on a
specified indoor laboratory test
wheel. Sustained high temperature
can cause the material of the tire
to degenerate and reduce tire life.
Excessive temperature can lead to
sudden tire failure. The grade C
corresponds to a level of
performance which all passenger
car tires must meet under the
Federal Motor Vehicle Safety
Standard No. 109. Grades A and B
represent higher levels of
performance on the laboratory test
wheel than the minimum required
by law.
Maintenance and care
149
Page 150 of 191
The temperature grade for
this tire is established for a
tire that is properly inflated and
not overloaded. Excessive speed,
underinflation, or excessive
loading, either separately or in
combination, can cause heat
build up and possible tire failure.
SERVICING YOUR TIRES
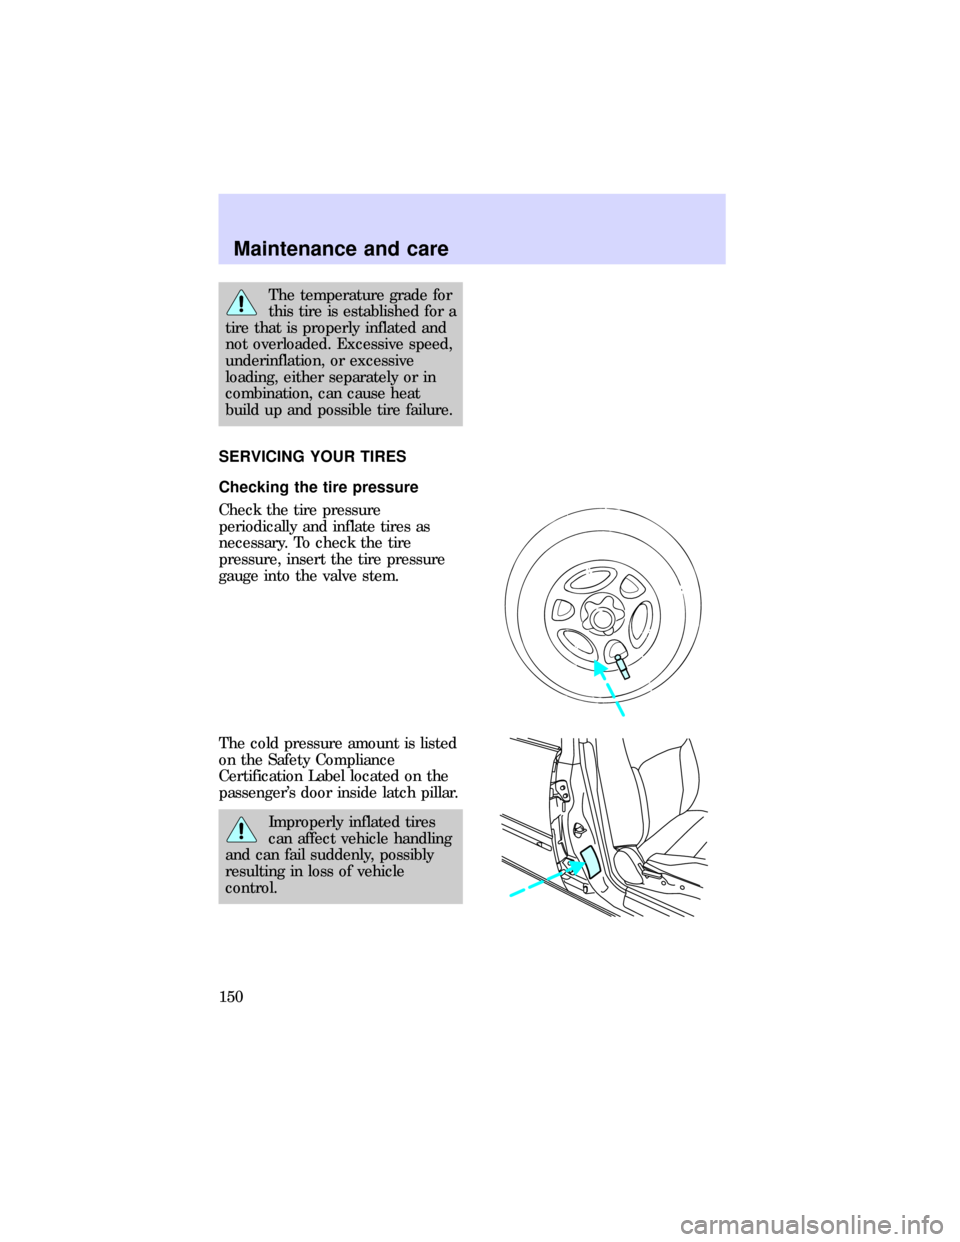
Checking the tire pressure
Check the tire pressure
periodically and inflate tires as
necessary. To check the tire
pressure, insert the tire pressure
gauge into the valve stem.
The cold pressure amount is listed
on the Safety Compliance
Certification Label located on the
passenger's door inside latch pillar.
Improperly inflated tires
can affect vehicle handling
and can fail suddenly, possibly
resulting in loss of vehicle
control.
Maintenance and care
150