window FORD MUSTANG 2001 4.G Owners Manual
[x] Cancel search | Manufacturer: FORD, Model Year: 2001, Model line: MUSTANG, Model: FORD MUSTANG 2001 4.GPages: 240, PDF Size: 2.11 MB
Page 4 of 240
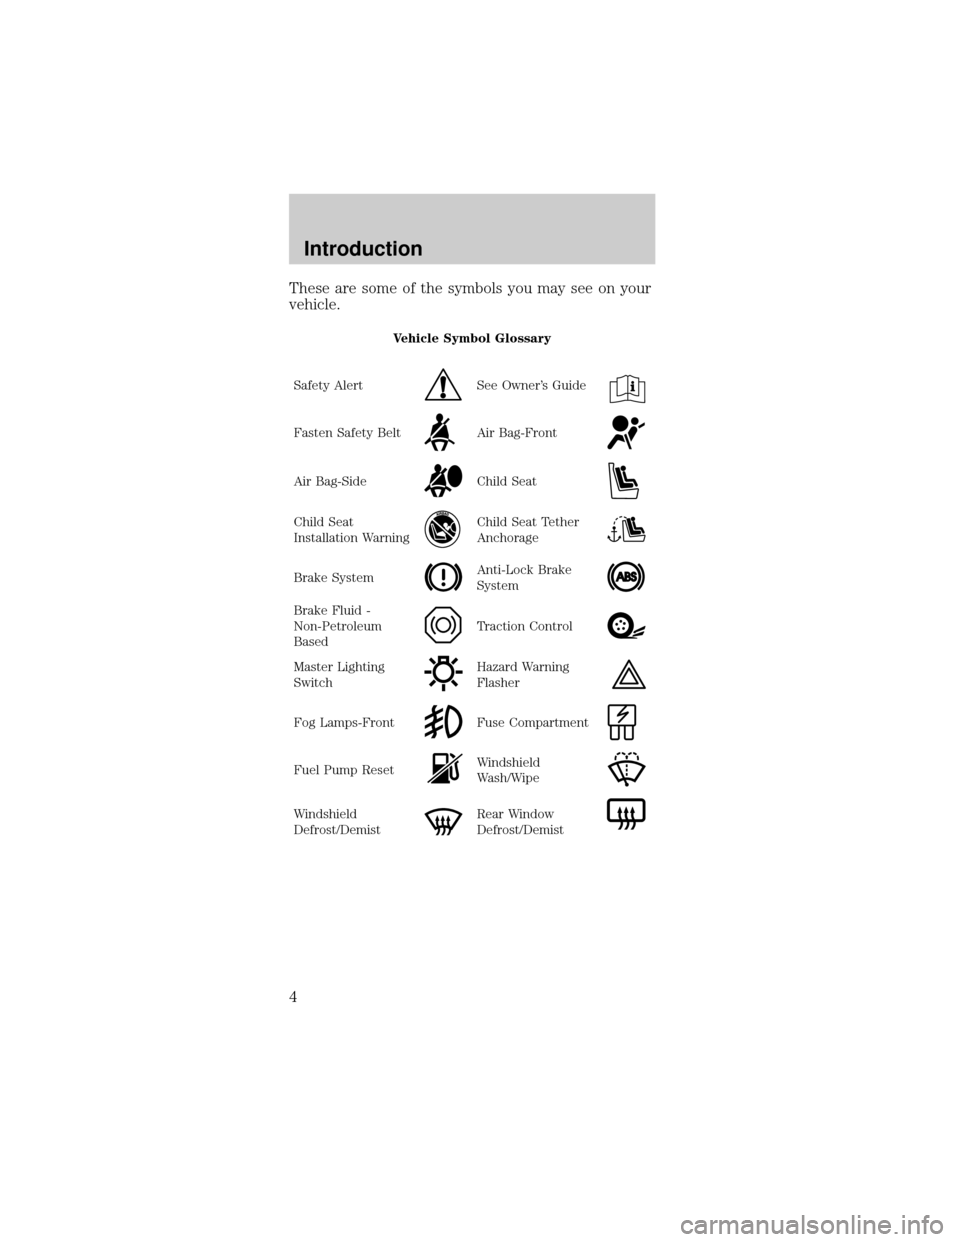
These are some of the symbols you may see on your
vehicle.
Vehicle Symbol Glossary
Safety Alert
See Owner's Guide
Fasten Safety BeltAir Bag-Front
Air Bag-SideChild Seat
Child Seat
Installation WarningChild Seat Tether
Anchorage
Brake SystemAnti-Lock Brake
System
Brake Fluid -
Non-Petroleum
BasedTraction Control
Master Lighting
SwitchHazard Warning
Flasher
Fog Lamps-FrontFuse Compartment
Fuel Pump ResetWindshield
Wash/Wipe
Windshield
Defrost/DemistRear Window
Defrost/Demist
Introduction
4
Page 5 of 240
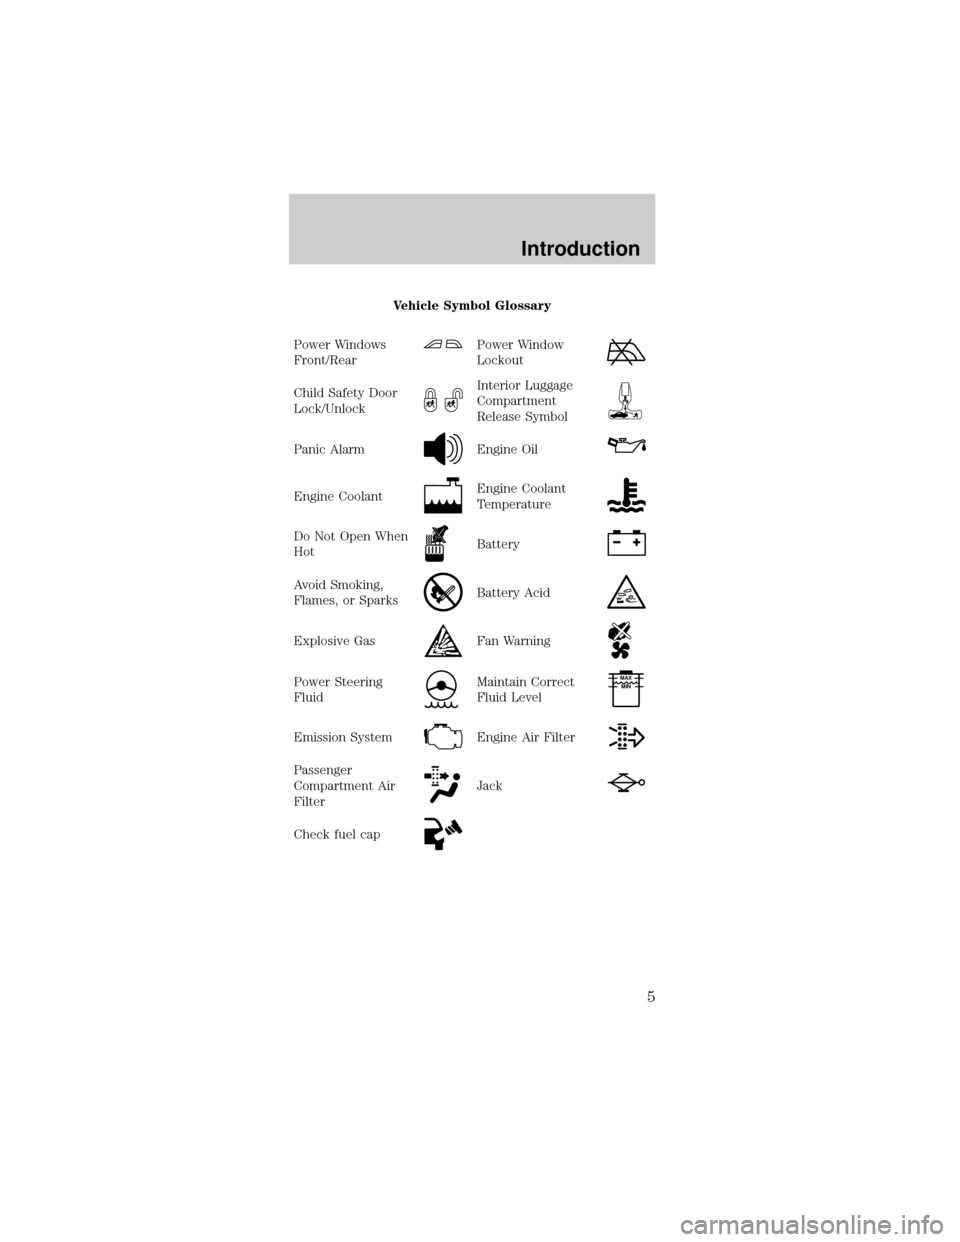
Vehicle Symbol Glossary
Power Windows
Front/Rear
Power Window
Lockout
Child Safety Door
Lock/UnlockInterior Luggage
Compartment
Release Symbol
Panic AlarmEngine Oil
Engine CoolantEngine Coolant
Temperature
Do Not Open When
HotBattery
Avoid Smoking,
Flames, or SparksBattery Acid
Explosive GasFan Warning
Power Steering
FluidMaintain Correct
Fluid LevelMAX
MIN
Emission SystemEngine Air Filter
Passenger
Compartment Air
FilterJack
Check fuel cap
Introduction
5
Page 19 of 240
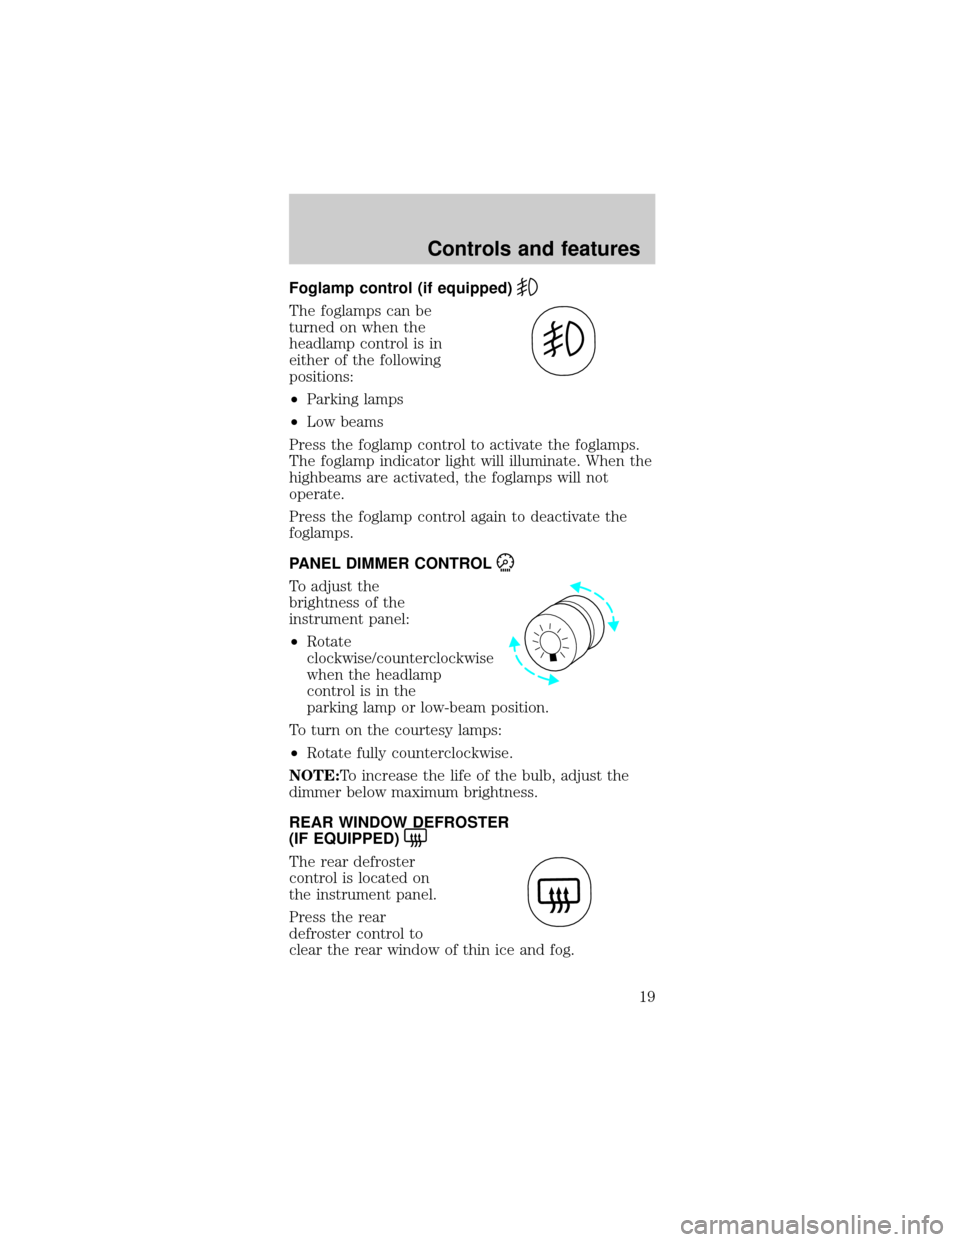
Foglamp control (if equipped)
The foglamps can be
turned on when the
headlamp control is in
either of the following
positions:
²Parking lamps
²Low beams
Press the foglamp control to activate the foglamps.
The foglamp indicator light will illuminate. When the
highbeams are activated, the foglamps will not
operate.
Press the foglamp control again to deactivate the
foglamps.
PANEL DIMMER CONTROL
To adjust the
brightness of the
instrument panel:
²Rotate
clockwise/counterclockwise
when the headlamp
control is in the
parking lamp or low-beam position.
To turn on the courtesy lamps:
²Rotate fully counterclockwise.
NOTE:To increase the life of the bulb, adjust the
dimmer below maximum brightness.
REAR WINDOW DEFROSTER
(IF EQUIPPED)
The rear defroster
control is located on
the instrument panel.
Press the rear
defroster control to
clear the rear window of thin ice and fog.
Controls and features
19
Page 20 of 240
²A small LED will illuminate when the rear
defroster is activated.
The ignition must be in the ON position to operate
the rear window defroster.
The defroster turns off automatically after 10
minutes or when the ignition is turned to the OFF
position. To manually turn off the defroster before
10 minutes have passed, push the control again.
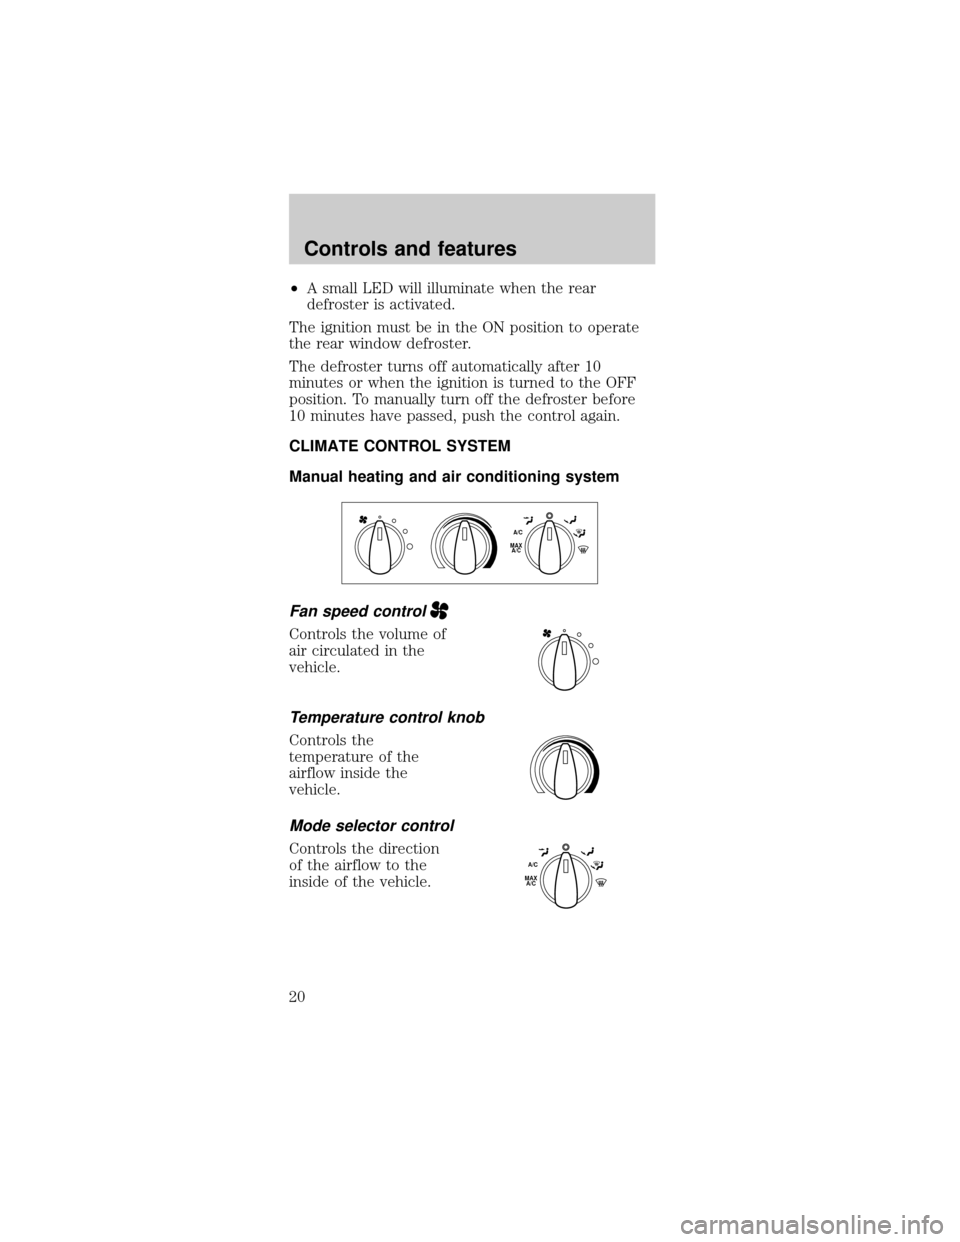
CLIMATE CONTROL SYSTEM
Manual heating and air conditioning system
Fan speed control
Controls the volume of
air circulated in the
vehicle.
Temperature control knob
Controls the
temperature of the
airflow inside the
vehicle.
Mode selector control
Controls the direction
of the airflow to the
inside of the vehicle.
MAX
A/CA/C
MAX
A/CA/C
Controls and features
20
Page 22 of 240
cold positions, the air distributed through the
floor ducts will be slightly warmer than the air
sent to the windshield defroster ducts. If the
temperature is about 6ÉC (43ÉF) or higher, the air
conditioner will automatically dehumidify the air
to reduce fogging.
²
-Distributes outside air through the
windshield defroster ducts. It can be used to clear
ice or fog from the windshield. If the temperature
is about 6ÉC (43ÉF) or higher, the air conditioner
will automatically dehumidify the air to reduce
fogging.
Operating tips
²In humid weather, place the climate control
system in
before driving. This will reduce
fogging on your windshield. Once the windshield
has been cleared, operate the climate control
system as desired.
²To reduce humidity buildup inside the vehicle in
cold weather conditions, do not drive with the
climate control system in the OFF or MAX A/C
position.
²To reduce humidity buildup inside the vehicle in
warm weather conditions, do not drive with the
climate control system in the OFF position.
²Under normal weather conditions, your vehicle's
climate control system should be left in any
position other than MAX A/C or OFF when the
vehicle is parked. This allows the vehicle to
ªbreatheº through the outside air inlet duct.
²Under snowy or dirty weather conditions, your
vehicle's climate control system should be left in
the OFF position when the vehicle is parked. This
allows the climate control system to be free from
contamination of outside pollutants.
²If your vehicle has been parked with the windows
closed during warm weather conditions, the air
conditioner will perform more efficiently in
Controls and features
22
Page 23 of 240
cooling the vehicle if driven for two or three
minutes with the windows open. This will force
most of the hot, stale air out of the vehicle. Once
the vehicle has been ªaired outº, operate the
climate control system as desired.
²Do not place objects under the front seat that
may interfere with the airflow to the rear seats.
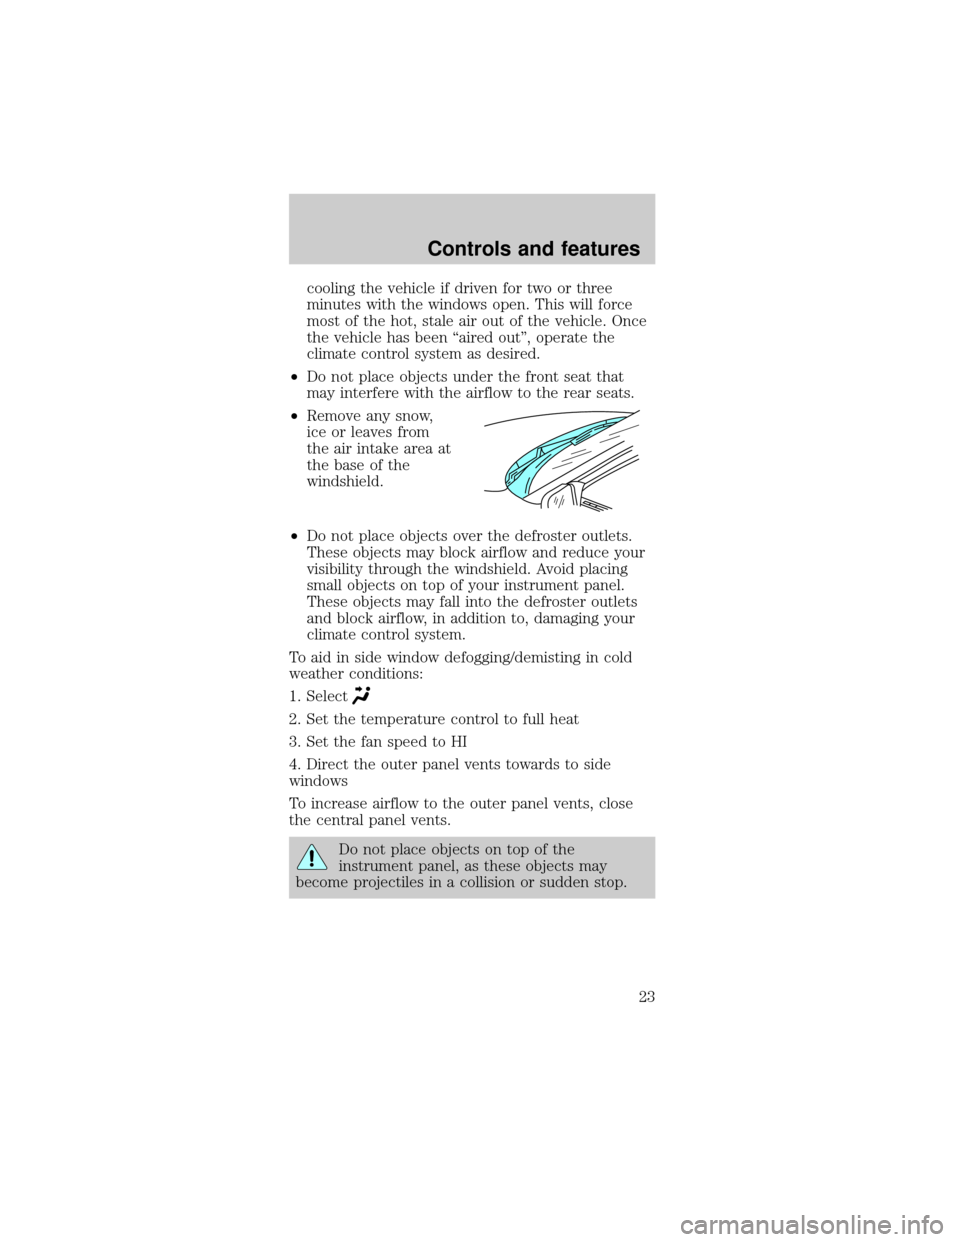
²Remove any snow,
ice or leaves from
the air intake area at
the base of the
windshield.
²Do not place objects over the defroster outlets.
These objects may block airflow and reduce your
visibility through the windshield. Avoid placing
small objects on top of your instrument panel.
These objects may fall into the defroster outlets
and block airflow, in addition to, damaging your
climate control system.
To aid in side window defogging/demisting in cold
weather conditions:
1. Select
2. Set the temperature control to full heat
3. Set the fan speed to HI
4. Direct the outer panel vents towards to side
windows
To increase airflow to the outer panel vents, close
the central panel vents.
Do not place objects on top of the
instrument panel, as these objects may
become projectiles in a collision or sudden stop.
Controls and features
23
Page 56 of 240
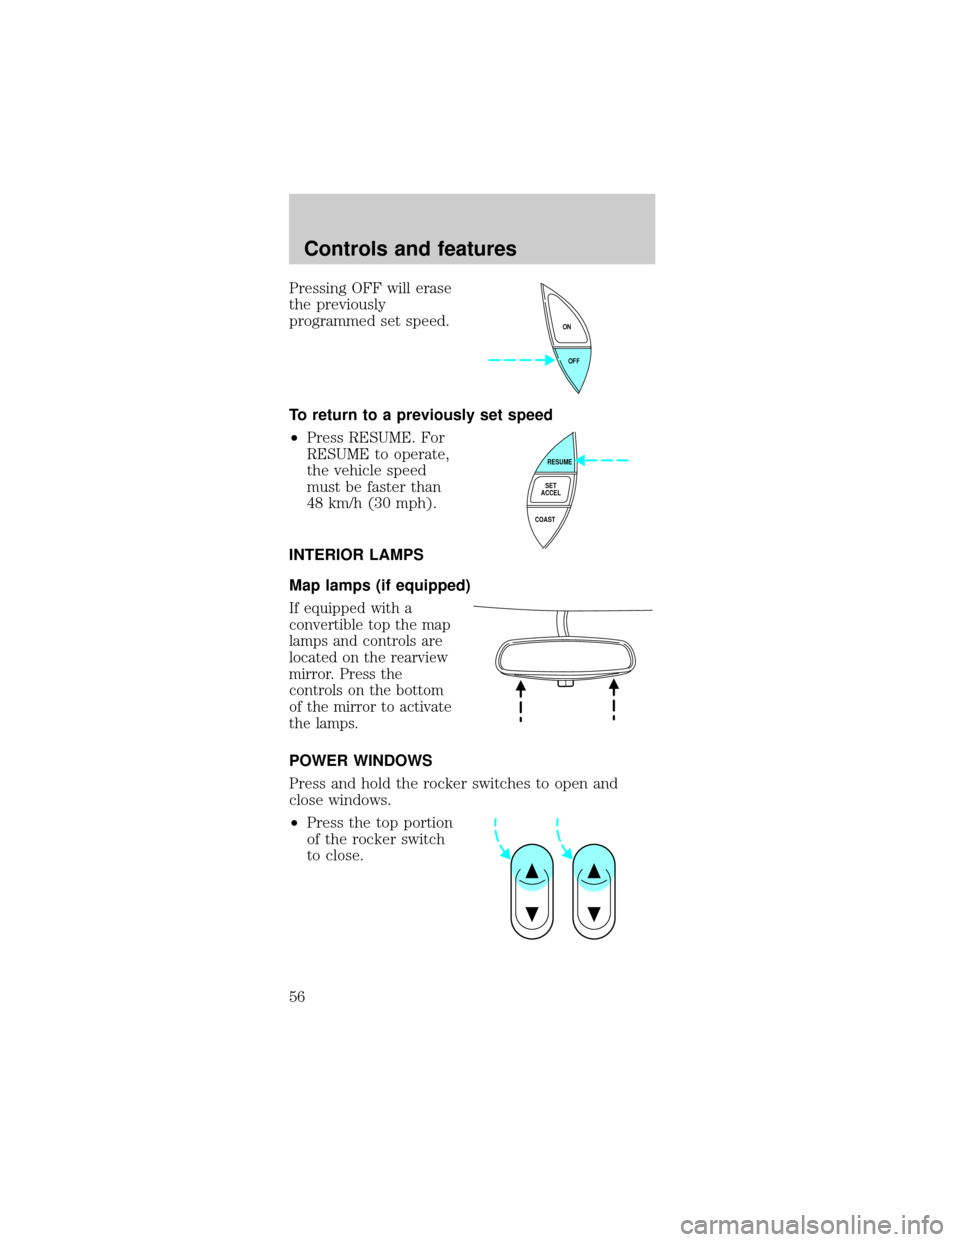
Pressing OFF will erase
the previously
programmed set speed.
To return to a previously set speed
²Press RESUME. For
RESUME to operate,
the vehicle speed
must be faster than
48 km/h (30 mph).
INTERIOR LAMPS
Map lamps (if equipped)
If equipped with a
convertible top the map
lamps and controls are
located on the rearview
mirror. Press the
controls on the bottom
of the mirror to activate
the lamps.
POWER WINDOWS
Press and hold the rocker switches to open and
close windows.
²Press the top portion
of the rocker switch
to close.
OFF ON
RESUME
SET
ACCEL
COAST
Controls and features
56
Page 57 of 240
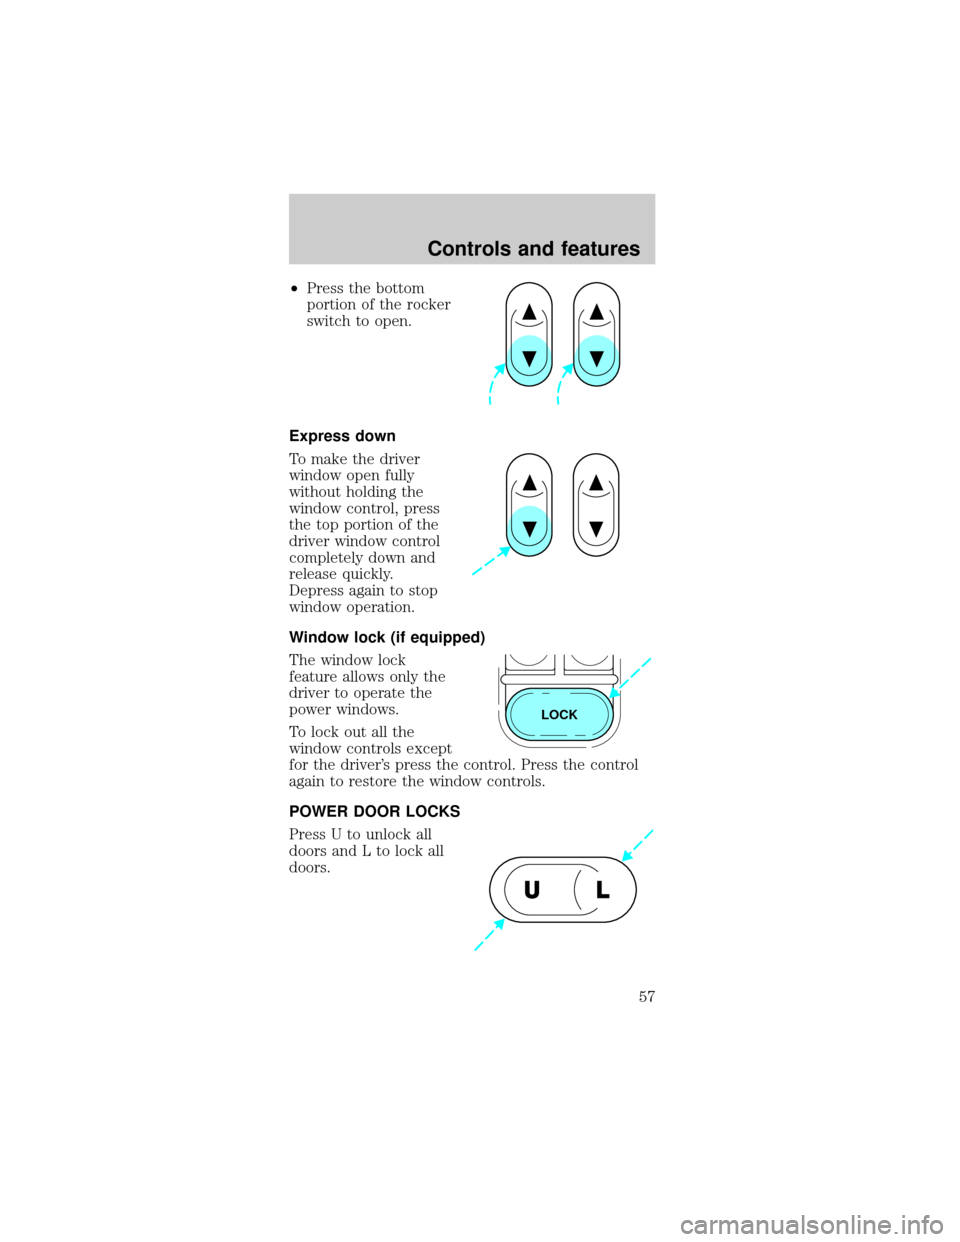
²Press the bottom
portion of the rocker
switch to open.
Express down
To make the driver
window open fully
without holding the
window control, press
the top portion of the
driver window control
completely down and
release quickly.
Depress again to stop
window operation.
Window lock (if equipped)
The window lock
feature allows only the
driver to operate the
power windows.
To lock out all the
window controls except
for the driver's press the control. Press the control
again to restore the window controls.
POWER DOOR LOCKS
Press U to unlock all
doors and L to lock all
doors.
LOCK
UL
Controls and features
57
Page 61 of 240
CONVERTIBLE (IF EQUIPPED)
Do not store articles behind rear seat. Articles
stored in the convertible top stowage compartment
may break the rear glass window when the top is
lowered.
Lowering the convertible top
The convertible top can be lowered with the side
windows either up or down.
The convertible top will not operate unless the
parking brake is engaged. Do not lower the top while
the vehicle is moving because the top may be
severely damaged. Also, do not lower the top when
the top material is wet.
To lower the convertible top:
1. Bring vehicle to a complete stop. Engage the
parking brake. Key must be in the ON position.
2. Check the convertible top stowage compartment
behind the rear seat to be sure it is empty and ready
to receive the top.
3. Unclamp the top from the windshield header at
both the right and left sides by pulling each clamp
rearward until the hook in the windshield header is
free. The clamps are flush with the header when in
the closed position.
4. Close the windshield header clamps immediately
after disengagement, to avoid cutting the top
material and to permit installation of the vinyl boot.
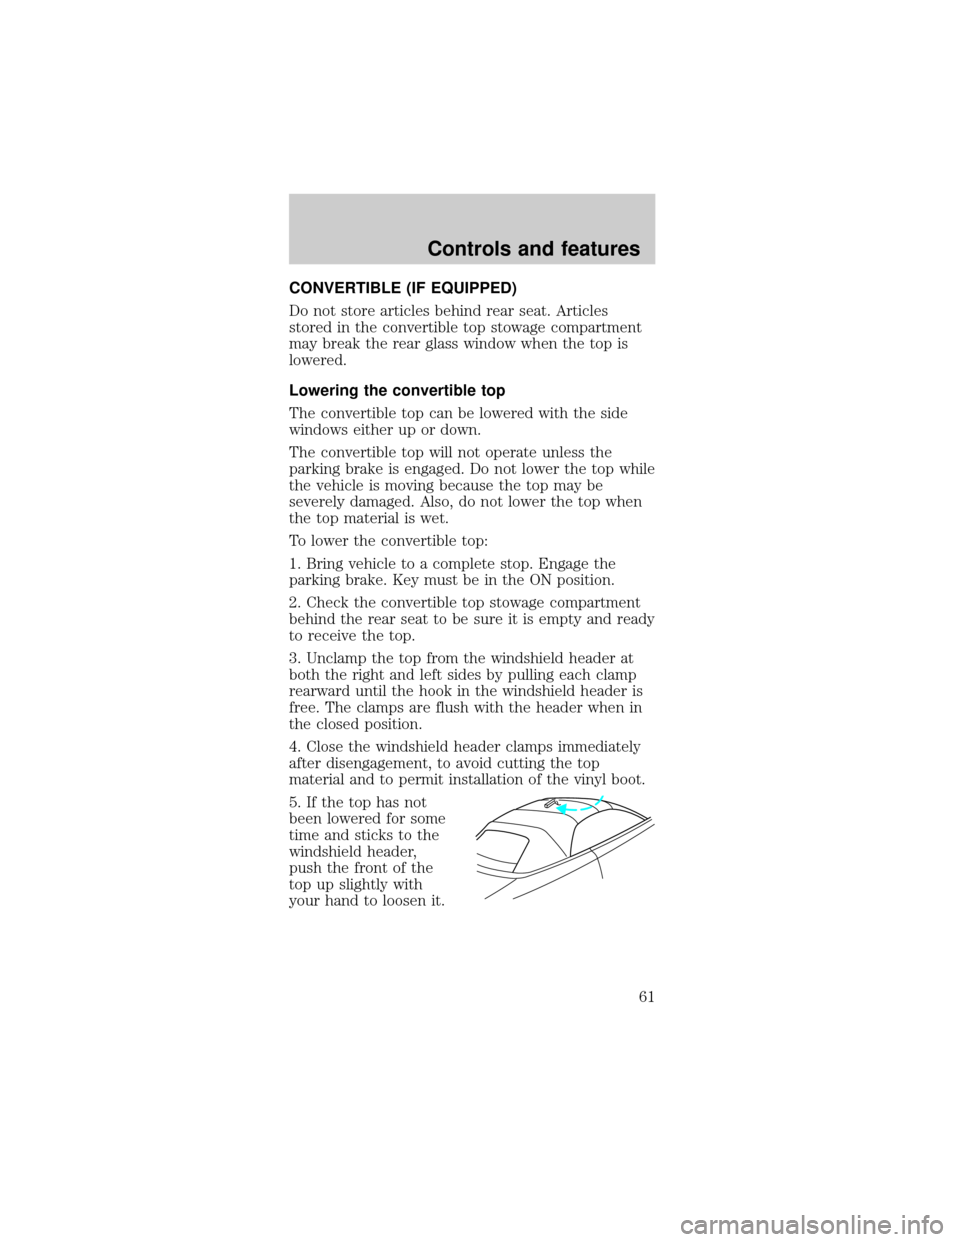
5. If the top has not
been lowered for some
time and sticks to the
windshield header,
push the front of the
top up slightly with
your hand to loosen it.
Controls and features
61
Page 63 of 240
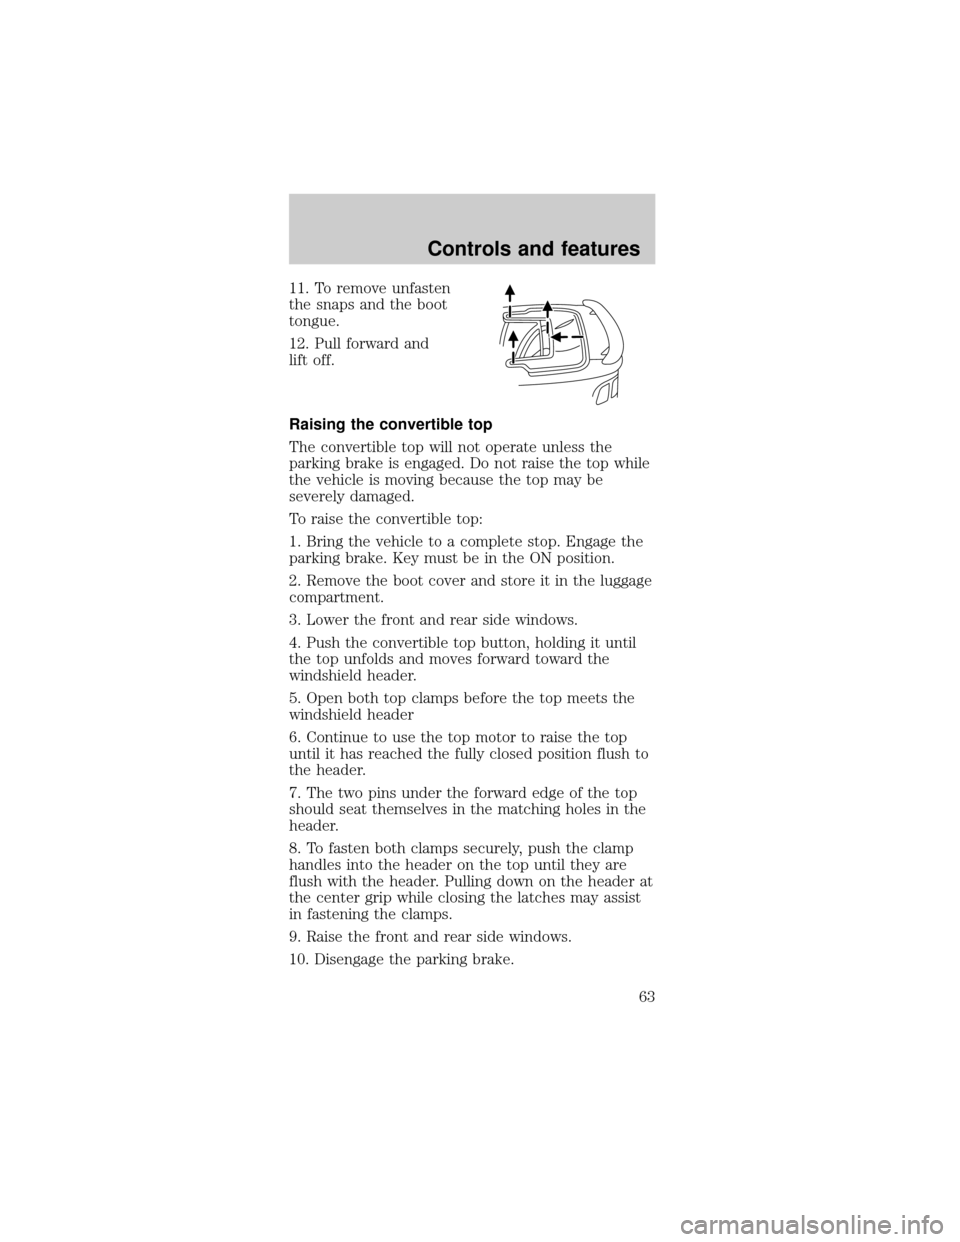
11. To remove unfasten
the snaps and the boot
tongue.
12. Pull forward and
lift off.
Raising the convertible top
The convertible top will not operate unless the
parking brake is engaged. Do not raise the top while
the vehicle is moving because the top may be
severely damaged.
To raise the convertible top:
1. Bring the vehicle to a complete stop. Engage the
parking brake. Key must be in the ON position.
2. Remove the boot cover and store it in the luggage
compartment.
3. Lower the front and rear side windows.
4. Push the convertible top button, holding it until
the top unfolds and moves forward toward the
windshield header.
5. Open both top clamps before the top meets the
windshield header
6. Continue to use the top motor to raise the top
until it has reached the fully closed position flush to
the header.
7. The two pins under the forward edge of the top
should seat themselves in the matching holes in the
header.
8. To fasten both clamps securely, push the clamp
handles into the header on the top until they are
flush with the header. Pulling down on the header at
the center grip while closing the latches may assist
in fastening the clamps.
9. Raise the front and rear side windows.
10. Disengage the parking brake.
Controls and features
63