chapter 6 GENESIS G90 2021 Owner's Manual
[x] Cancel search | Manufacturer: GENESIS, Model Year: 2021, Model line: G90, Model: GENESIS G90 2021Pages: 538, PDF Size: 13.02 MB
Page 6 of 538
Introduction
F6
We want to help you get the greatest possible driving pleasure from your vehi-
cle. Your Owner's Manual can assist you in many ways. To gain an overview
of the contents of your Owner's Manual, use the Table of Contents in the front
of the manual. The first page of each Chapter includes a detailed Table of
Contents of the topics in that Chapter.
To quickly locate information about your vehicle, use the Index in the back of
the manual. It is an alphabetical list of what is in this manual and the page
number where it can be found.
For your convenience, we have incorporated tabs on the right-hand page
edges. These tabs are coded with the Chapter titles to assist you with navi-
gating through the manual.
HOW TO USE THIS MANUAL
SAFETY MESSAGES
Your safety, and the safety of others, is very important. This Owner's Manual
provides you with many safety precautions and operating procedures. This
information alerts you to potential hazards that may hurt you or others, as well
as damage to your vehicle.
Safety messages found on vehicle labels and in this manual describe these
hazards and what to do to avoid or reduce the risks.
Warnings and instructions contained in this manual are for your safety. Failure
to follow safety warnings and instructions can lead to serious injury or death.
Throughout this manual DANGER, WARNING, CAUTION, NOTICE and the
SAFETY ALERT SYMBOL will be used.
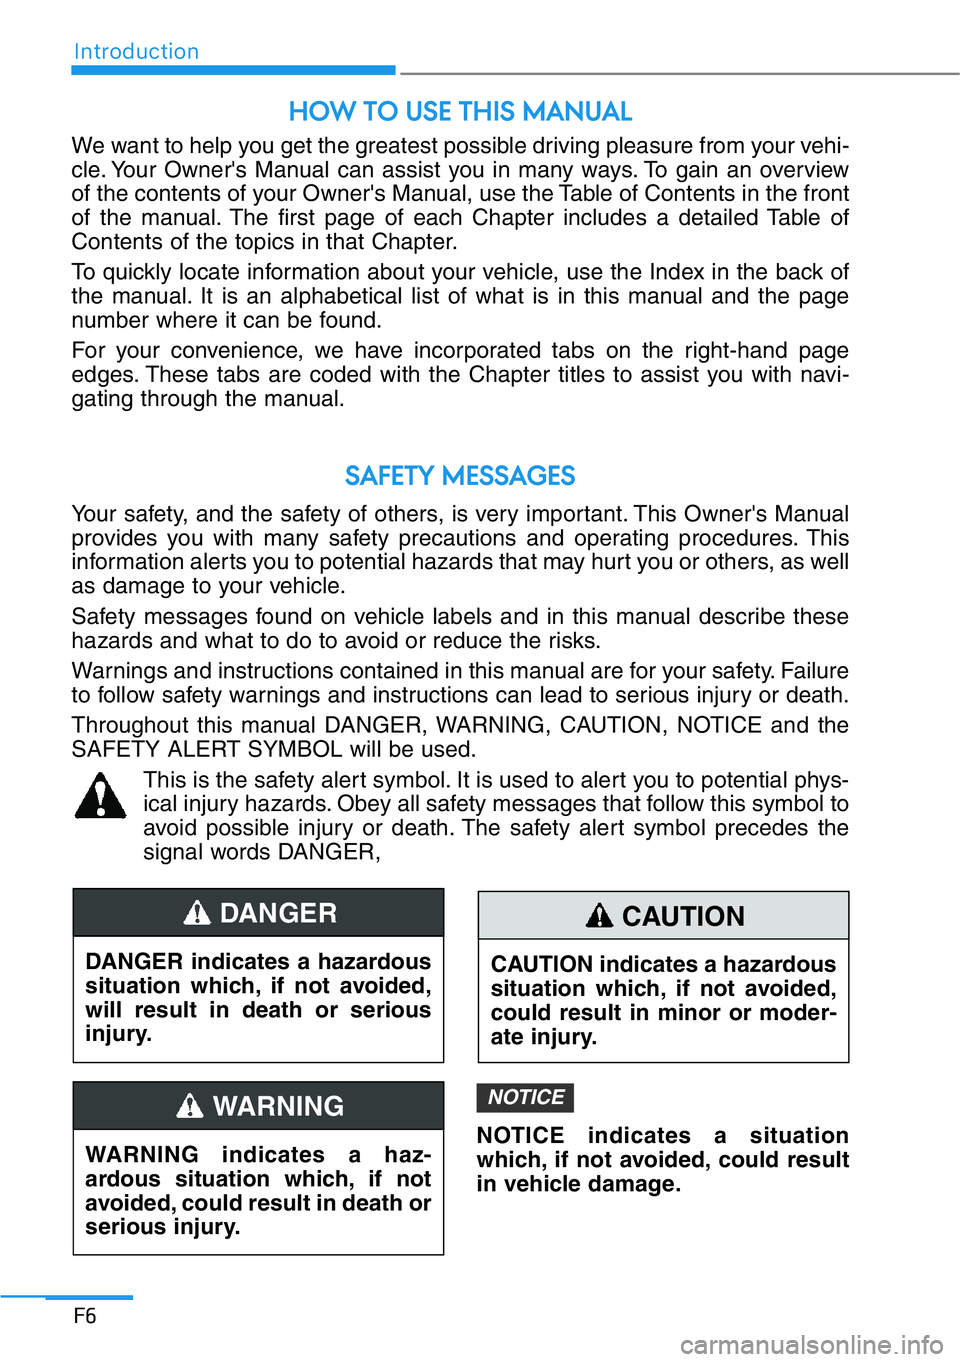
This is the safety alert symbol. It is used to alert you to potential phys-
ical injury hazards. Obey all safety messages that follow this symbol to
avoid possible injury or death. The safety alert symbol precedes the
signal words DANGER,
DANGER indicates a hazardous
situation which, if not avoided,
will result in death or serious
injury.
DANGER
CAUTION indicates a hazardous
situation which, if not avoided,
could result in minor or moder-
ate injury.
CAUTION
WARNING indicates a haz-
ardous situation which, if not
avoided, could result in death or
serious injury.
WARNING
NOTICE indicates a situation
which, if not avoided, could result
in vehicle damage.
NOTICE
Page 25 of 538

2-5
02
OHI039090N
Rear seat
(11) Seat sliding forward or rearward
/Seat cushion tilt adjustment
(right side)
(12) Seat sliding or shoulder adjust-
ment
(13) Lumbar support adjustment
(14) Head restraint adjustment
(15) FRONT button
(to control front passenger seat)
(16) Seat mode switches(17) Seat warmer
(18) Seat cooler
(19) RSE (Rear Seat Entertainment)
LOCKED indicator
(20) Rear window sunshade control
(details in Chapter 3)
(21) Armrest
(22) Ski through
(23) Seat position memory system
(details in Chapter 3)
[A] : Type A, [B] : Type B, [C] : Type C
Page 41 of 538
2-21
02
Armrest
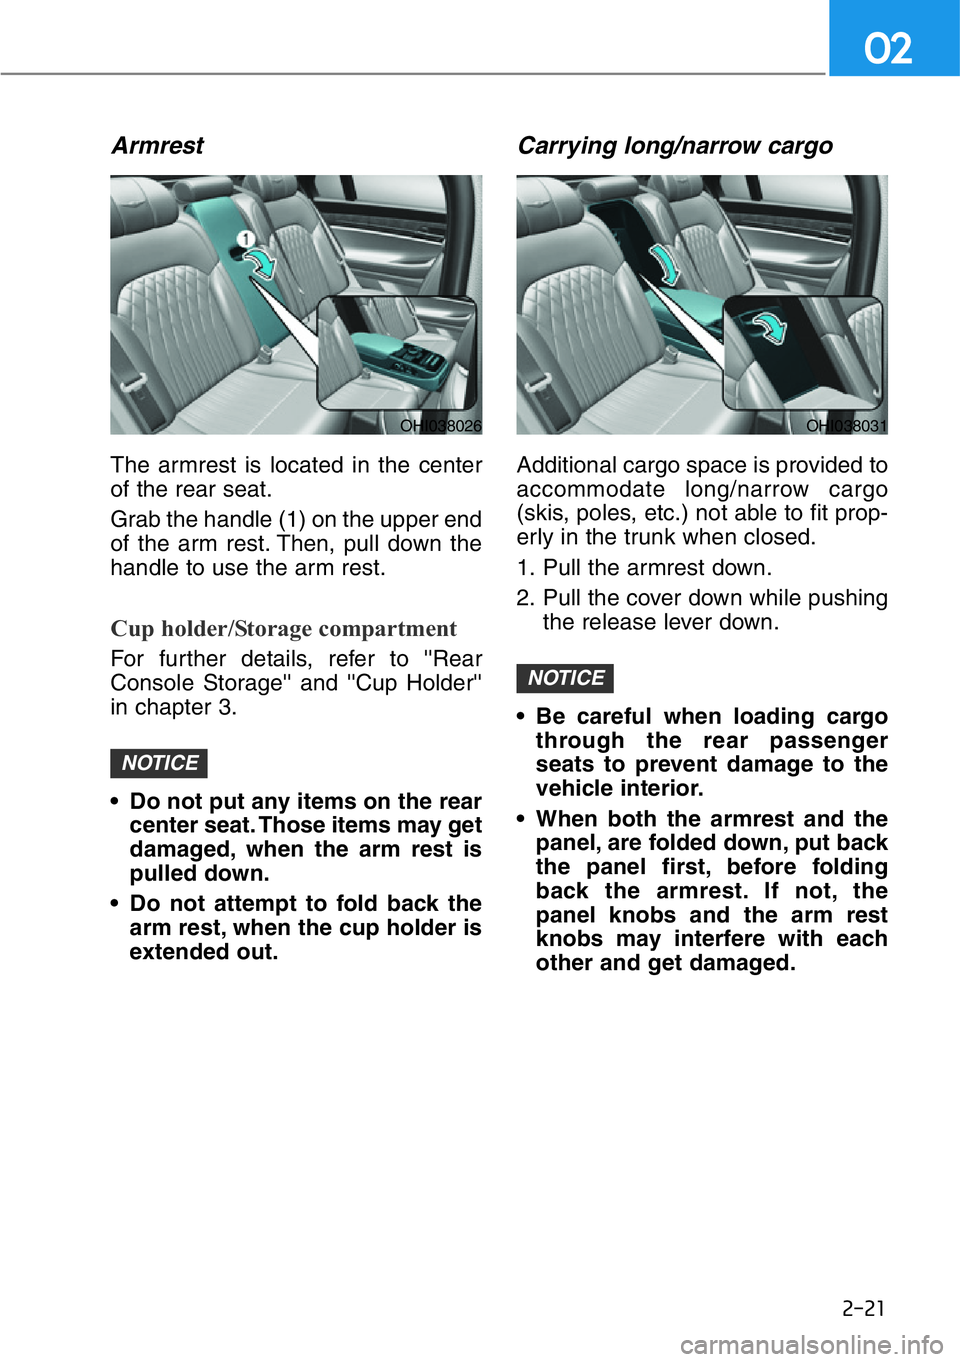
The armrest is located in the center
of the rear seat.
Grab the handle (1) on the upper end
of the arm rest. Then, pull down the
handle to use the arm rest.
Cup holder/Storage compartment
For further details, refer to ''Rear
Console Storage'' and ''Cup Holder''
in chapter 3.
• Do not put any items on the rear
center seat. Those items may get
damaged, when the arm rest is
pulled down.
• Do not attempt to fold back the
arm rest, when the cup holder is
extended out.
Carrying long/narrow cargo
Additional cargo space is provided to
accommodate long/narrow cargo
(skis, poles, etc.) not able to fit prop-
erly in the trunk when closed.
1. Pull the armrest down.
2. Pull the cover down while pushing
the release lever down.
• Be careful when loading cargo
through the rear passenger
seats to prevent damage to the
vehicle interior.
• When both the armrest and the
panel, are folded down, put back
the panel first, before folding
back the armrest. If not, the
panel knobs and the arm rest
knobs may interfere with each
other and get damaged.
NOTICE
NOTICE
OHI038031OHI038026
Page 57 of 538
2-37
02
Rear Seat Belt – Passenger's 3-
point system with convertible
locking retractor
This type of seat belt combines the
features of both an emergency lock-
ing retractor seat belt and an auto-
matic locking retractor seat belt.
Convertible retractor type seat belts
are installed in the rear seat posi-
tions to help accommodate the
installation of child restraint systems.
Although a convertible retractor is
also installed in the front passenger
seat position, NEVER place any
infant/child restraint system in the
front seat of the vehicle.
To fasten your seat belt:
Pull the seat belt out of the retractor
and insert the metal tab into the
buckle. There will be an audible
"click" when the tab locks into the
buckle. When not securing a child
restraint, the seat belt operates in the
same way as the driver's seat belt
(Emergency Locking Retractor
Type). It automatically adjusts to the
proper length only after the lap belt
portion of the seat belt is adjusted
manually so that it fits snugly across
your hips.
When the seat belt is fully extended
from the retractor to allow the instal-
lation of a child restraint system, the
seat belt operation changes to allow
the belt to retract, but not to extend
(Automatic Locking Retractor Type).
Refer to the "Using a Child Restraint
System" section in this chapter.
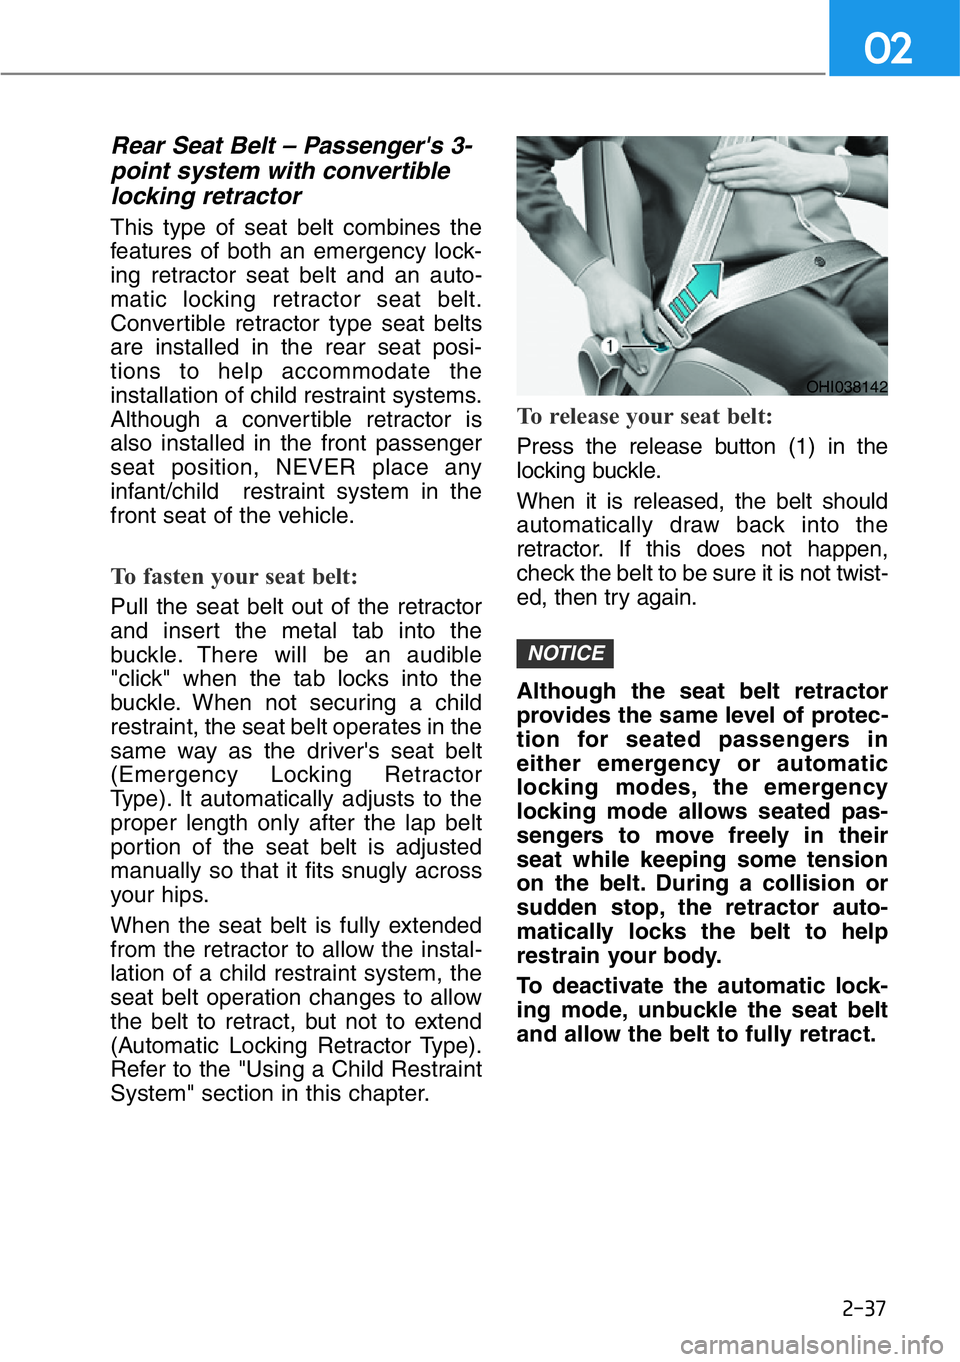
To release your seat belt:
Press the release button (1) in the
locking buckle.
When it is released, the belt should
automatically draw back into the
retractor. If this does not happen,
check the belt to be sure it is not twist-
ed, then try again.
Although the seat belt retractor
provides the same level of protec-
tion for seated passengers in
either emergency or automatic
locking modes, the emergency
locking mode allows seated pas-
sengers to move freely in their
seat while keeping some tension
on the belt. During a collision or
sudden stop, the retractor auto-
matically locks the belt to help
restrain your body.
To deactivate the automatic lock-
ing mode, unbuckle the seat belt
and allow the belt to fully retract.
NOTICE
OHI038142
Page 63 of 538

2-43
02
Seat belt use and children
Infant and small children
All 50 states have child restraint laws
which require children to travel in
approved child restraint devices,
including booster seats. The age at
which seat belts can be used instead
of child restraints differs among
states, so you should be aware of the
specific requirements in your state,
and where you are travelling. Infant
and child restraints must be properly
placed and installed in a rear seat.
For more information refer to the
"Child Restraint Systems" section in
this chapter.Small children are best protected
from injury in an accident when prop-
erly restrained in the rear seat by a
child restraint system that meets the
requirements of the Federal Motor
Vehicle Safety Standards. Before
buying any child restraint system,
make sure that it has a label certify-
ing that it meets Federal Motor
Vehicle Safety Standard FMVSS
213. The restraint must be appropri-
ate for your child’s height and weight.
Check the label on the child restraint
for this information. Refer to the
"Child Restraint Systems" section in
this chapter.
ALWAYS properly restrain
infants and small children in a
child restraint appropriate for
the child's height and weight.
To reduce the risk of serious
injury or death to a child and
other passengers, NEVER hold
a child in your lap or arms when
the vehicle is moving. The vio-
lent forces created during an
accident will tear the child from
your arms and throw the child
against the interior of the vehi-
cle.
WARNING
Page 75 of 538

2-55
02
Automatic locking mode
Since all passenger seat belts move
freely under normal conditions and
only lock under extreme or emer-
gency conditions (emergency locking
mode), you must manually pull the
seat belt all the way out to shift the
retractor to the "Automatic Locking"
mode to secure a child restraint.
The "Automatic Locking" mode will
help prevent the normal movement
of the child in the vehicle from caus-
ing the seat belt to loosen and com-
promise the child restraint system. To
secure a child restraint system, use
the following procedure.
To install a child restraint system on
the rear seats, do the following:
1. Place the child restraint system on
a rear seat and route the lap/
shoulder belt around or through
the child restraint, following the
restraint manufacturer's instruc-
tions.
Be sure the seat belt webbing is
not twisted.
Information
When using the rear center seat belt,
you should also refer to the "Rear
Seat Belt – Passenger's 3-point sys-
tem" section in this chapter.2. Fasten the lap/shoulder belt latch
into the buckle. Listen for the dis-
tinct "click" sound.
Information
Position the release button so that it is
easy to access in case of an emergency.
3. Pull the shoulder portion of the
seat belt all the way out. When the
shoulder portion of the seat belt is
fully extended, it will shift the
retractor to the "Automatic
Locking" (child restraint) mode.
i
i
OHI038145OHI038146
OHI038147
Page 106 of 538
3-5
03
Information
• The doors may unlock if the inner
sensor of the outer door handle is
recognized while washing your car
or due to heavy rain. However, the
doors are automatically locked in 30
seconds unless a door is opened
after they are unlocked.
• The doors may not unlock if you put
your hand in the outside door han-
dle with gloves on.
• The doors may not unlock if you
suddenly approach the door and put
your hand in the outside door han-
dle.
Opening the trunk
To unlock and open the trunk:
1. Make sure you have the smart key
in your possession.
2. Press either the trunk open switch
on the outside of the trunk or
press and hold the Trunk Unlock
button (3) on the smart key for
more than one second. The haz-
ard warning lights will blink two
times and the trunk will open.
3. Once the trunk is opened and then
closed, the trunk will automatically
re-lock after 30 seconds.
Information
The trunk open switch will only oper-
ate when the smart key is within 28
inches (0.7 m) from the trunk.
Panic button
Press and hold the Panic button (4)
for more than one second. The horn
sounds and hazard warning lights
blink for about 30 seconds. To cancel
the panic mode, press any button on
the Smart Key.
Start-up
You can start the engine without
inserting the key.
For more information, refer to the
"Engine Start/Stop Button" section
in chapter 5.
To prevent damaging the smart
key:
• Keep the smart key in a cool, dry
place to avoid damage or mal-
function. Exposure to moisture
or high temperature may cause
the internal circuit of the smart
key to malfunction which may
not be covered under warranty.
• Avoid dropping or throwing the
smart key.
• Protect the smart key from
extreme temperatures.
Always have the smart key with
you when leaving the vehicle. If
the smart key is left near the vehi-
cle, the vehicle battery may be dis-
charged.
NOTICE
NOTICE
i
i
Page 115 of 538

3-14
Convenient features of your vehicle
Safe Exit Assist (SEA) System
(If equipped)
Once the system decides it is danger-
ous for a passenger to open a vehicle
door by sensing the approaching of a
vehicle from behind when the person
is opening the door, the warning mes-
sage “Watch for traffic” appears and
the alarming sound will continue for
maximum of five seconds.
This function works for ten minutes
even after the ignition is turned off.
The function will be released as soon
as the vehicle doors are locked with
the smart key.
The alarming sound will continue
while the Safe Exit Assist system is
in activation.
The Safe Exit Assist system is acti-
vated when you select ‘Setup →
Vehicle Settings →Driver Assistance
→Blind-Spot Safety →Safe Exit
Assist’ from the Settings menu in the
AVN system screen.
For detailed information, scan the
QR code in a separately supplied
simple manual.
OHI048561L
If a vehicle is approaching from
behind is too fast or a door is
opened too suddenly the alarm
system may not set off in time,
which can increase the chance
of an accident. Therefore, when
exiting the vehicle, always check
your surroundings to make sure
that there are no vehicles or
objects approaching.
WARNING
The safe Exist Assist system
may not operate normally when a
vehicle is coming rapidly two
lanes over from your vehicle or a
vehicle is approaching at a fast
speed from the rear in the lane
next to your vehicle.
The Safe Exist Assist system
may be activated later than nor-
mal or may not operate normally
if a vehicle is approaching fast
from the rear of your vehicle.
The Safe Exist Assist system will
not operate if there is a malfunc-
tion with the Blind-Spot Collision
Warning system as follows:
- When the BCW warning mes-
sage appears
- When the BCW sensor or the
sensor surrounding is polluted
or covered
- When the BCW does not warn
or warns wrongly
For more details, refer to cau-
tions and limitations in “Blind-
Spot Collision Warning/Blind-
Spot Collision-Avoidance
Assist” in chapter 5.
WARNING
Page 119 of 538

3-18
Convenient features of your vehicle
Information
• Reattempt to do the resetting proce-
dure again when the resetting proce-
dure incompletely stops or the noti-
fication sound do not stop.
• Make sure that there is no obstacle
around the driver's seat in advance
of resetting the seat position memo-
ry system.
Easy Access Function
The system will move the driver's seat
and steering wheel automatically as
follows:
• Exiting the vehicle:
The driver’s seat will move rear-
ward and the steering wheel will
move upward when the driver’s
door is opened and the Engine
Start/Stop button is in the OFF
positon with the gear in P (Park).
However, the driver’s seat may not
move rearward if there is not
enough space between the driver’s
seat and the rear seats.
Also, on a regular basis, the steer-
ing wheel will also move forward to
adjust its location by itself.
• Entering the vehicle:
The driver’s seat and steering
wheel will move back to its original
position when the Engine Start/Stop
button is in the OFF position and the
driver’s door is closed with the
smart key in possession or when
the Engine Start/Stop button is
changed to the ACC, ON or START
position from the OFF position.• When you enter or exit the vehicle,
the seat bolster is automatically
adjusted (if equipped).
- When you enter, the seat bolter is
adjusted to the position set by the
driver.
- When you exit, the seat bolster is
adjusted to the default position.
You can activate or deactivate the
Easy Access Function from the
Settings menu in the AVN system
screen. Select:
- Seat Easy Access : Setup →
Vehicle Settings →Convenience →
Seat/ Steering Wheel →Seat Easy
Access →Off/Normal/Extended
- Steering Easy Access: Setup →
Vehicle Settings →Convenience →
Seat/ Steering Wheel →Steering
Easy Access →On/Off
For detailed information, scan the
QR code in a separately supplied
simple manual.
❈Details for the Easy Access func-
tion for the front and rear passen-
gers seat is explained in chapter 2.
i
Page 153 of 538
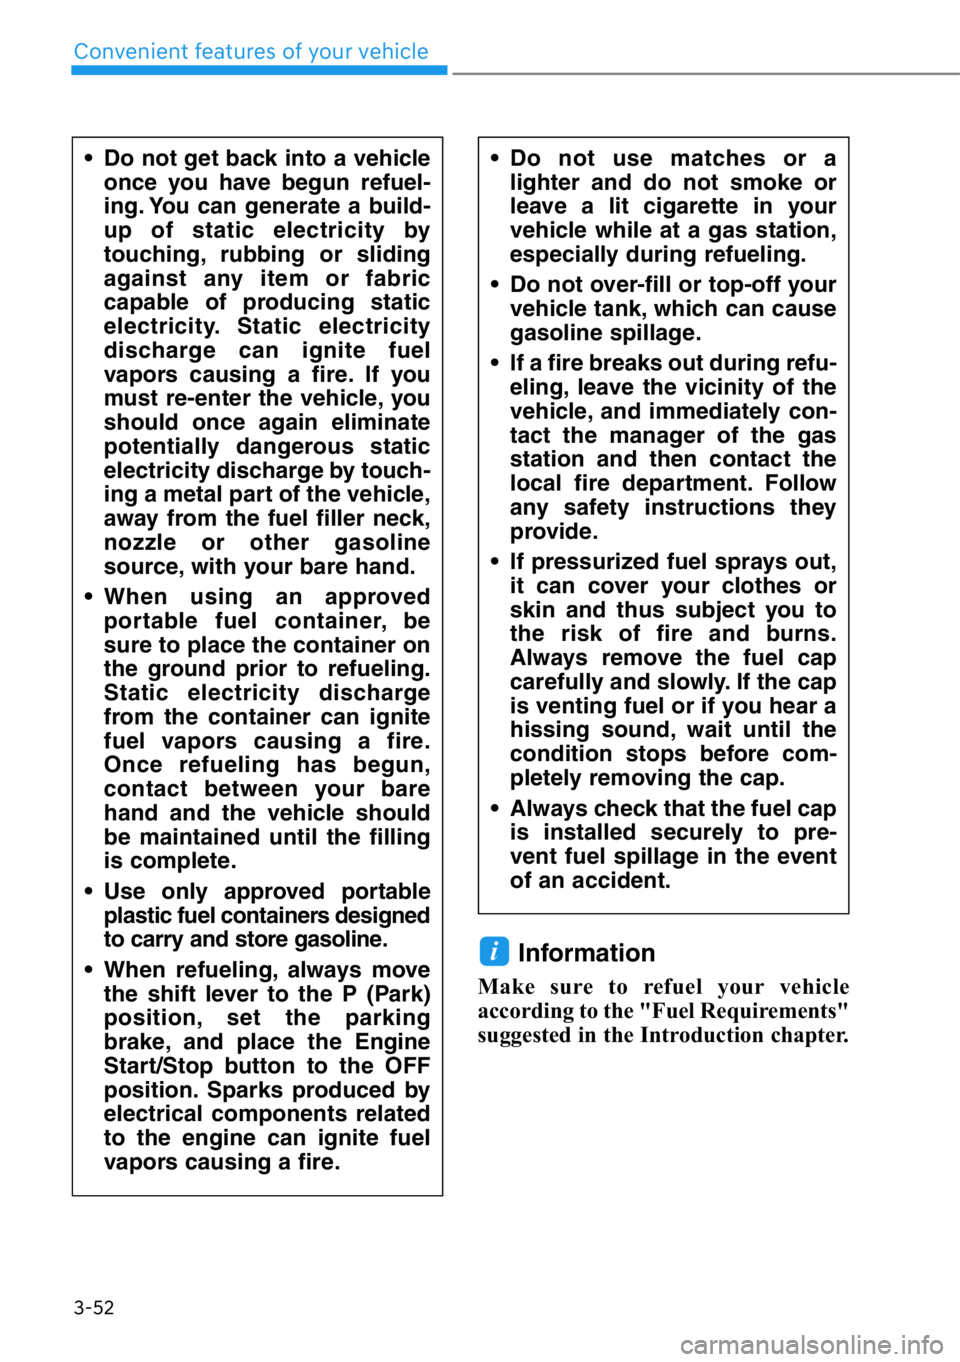
3-52
Convenient features of your vehicle
Information
Make sure to refuel your vehicle
according to the "Fuel Requirements"
suggested in the Introduction chapter.
i
• Do not get back into a vehicle
once you have begun refuel-
ing. You can generate a build-
up of static electricity by
touching, rubbing or sliding
against any item or fabric
capable of producing static
electricity. Static electricity
discharge can ignite fuel
vapors causing a fire. If you
must re-enter the vehicle, you
should once again eliminate
potentially dangerous static
electricity discharge by touch-
ing a metal part of the vehicle,
away from the fuel filler neck,
nozzle or other gasoline
source, with your bare hand.
• When using an approved
portable fuel container, be
sure to place the container on
the ground prior to refueling.
Static electricity discharge
from the container can ignite
fuel vapors causing a fire.
Once refueling has begun,
contact between your bare
hand and the vehicle should
be maintained until the filling
is complete.
• Use only approved portable
plastic fuel containers designed
to carry and store gasoline.
• When refueling, always move
the shift lever to the P (Park)
position, set the parking
brake, and place the Engine
Start/Stop button to the OFF
position. Sparks produced by
electrical components related
to the engine can ignite fuel
vapors causing a fire.• Do not use matches or a
lighter and do not smoke or
leave a lit cigarette in your
vehicle while at a gas station,
especially during refueling.
• Do not over-fill or top-off your
vehicle tank, which can cause
gasoline spillage.
• If a fire breaks out during refu-
eling, leave the vicinity of the
vehicle, and immediately con-
tact the manager of the gas
station and then contact the
local fire department. Follow
any safety instructions they
provide.
• If pressurized fuel sprays out,
it can cover your clothes or
skin and thus subject you to
the risk of fire and burns.
Always remove the fuel cap
carefully and slowly. If the cap
is venting fuel or if you hear a
hissing sound, wait until the
condition stops before com-
pletely removing the cap.
• Always check that the fuel cap
is installed securely to pre-
vent fuel spillage in the event
of an accident.