light HONDA ACCORD HYBRID 2014 9.G Owner's Guide
[x] Cancel search | Manufacturer: HONDA, Model Year: 2014, Model line: ACCORD HYBRID, Model: HONDA ACCORD HYBRID 2014 9.GPages: 561, PDF Size: 20.3 MB
Page 140 of 561
139
uuOperating the Switches Around the Steering WheeluDaytime Running Lights
Controls
Daytime Running Lights
The parking/daytime running lights come on when the following conditions have
been met: •The power mode is ON.
• The headlight switch is off, or in .
• The parking brake is released.
The lights remain on even if you set the parking brake. Setting the power mode to
VEHICLE OFF will turn off the daytime running lights.
Main MenuTable of Contents
Page 142 of 561
141
uuOperating the Switches Around the Steering WheeluBrightness Control
Controls
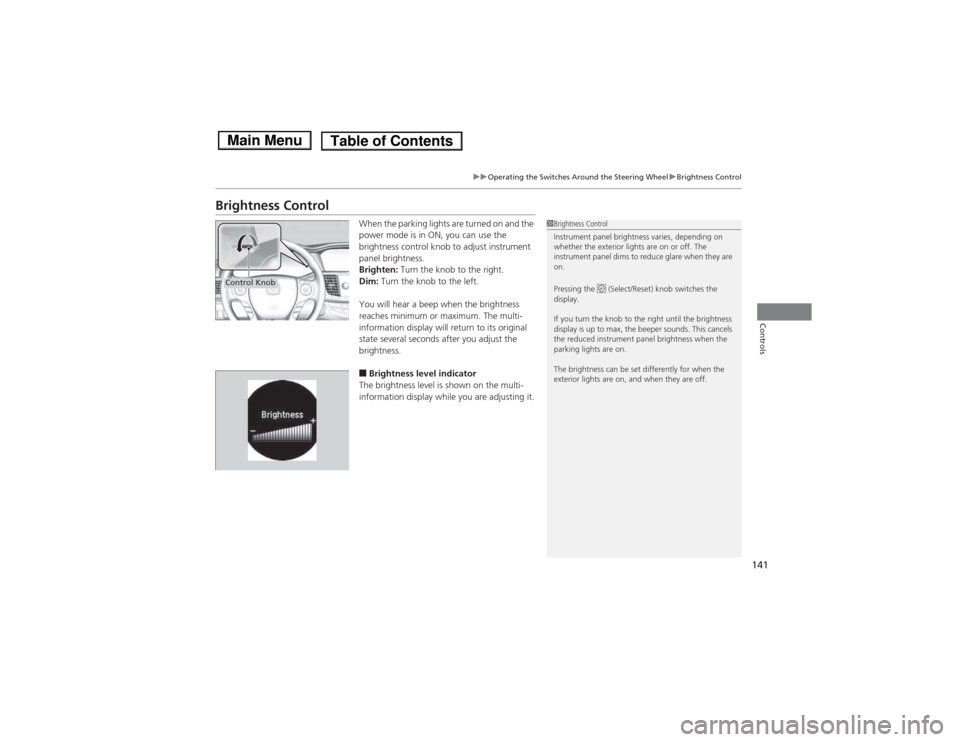
Brightness ControlWhen the parking lights are turned on and the
power mode is in ON, you can use the
brightness control knob to adjust instrument
panel brightness.
Brighten: Turn the knob to the right.
Dim: Turn the knob to the left.
You will hear a beep when the brightness
reaches minimum or maximum. The multi-
information display will return to its original
state several seconds after you adjust the
brightness. ■ Brightness level indicator
The brightness level is shown on the multi-
information display while you are adjusting it.
1Brightness Control
Instrument panel brightness varies, depending on
whether the exterior lights are on or off. The
instrument panel dims to reduce glare when they are on.
Pressing the (Select/Reset) knob switches the
display.
If you turn the knob to the right until the brightness
display is up to max, the beeper sounds. This cancels
the reduced instrument panel brightness when the
parking lights are on.
The brightness can be set differently for when the
exterior lights are on, and when they are off.
Control Knob
Main MenuTable of Contents
Page 145 of 561
uuOperating the Switches Around the Steering WheeluDriving Position Memory System*
144
Controls
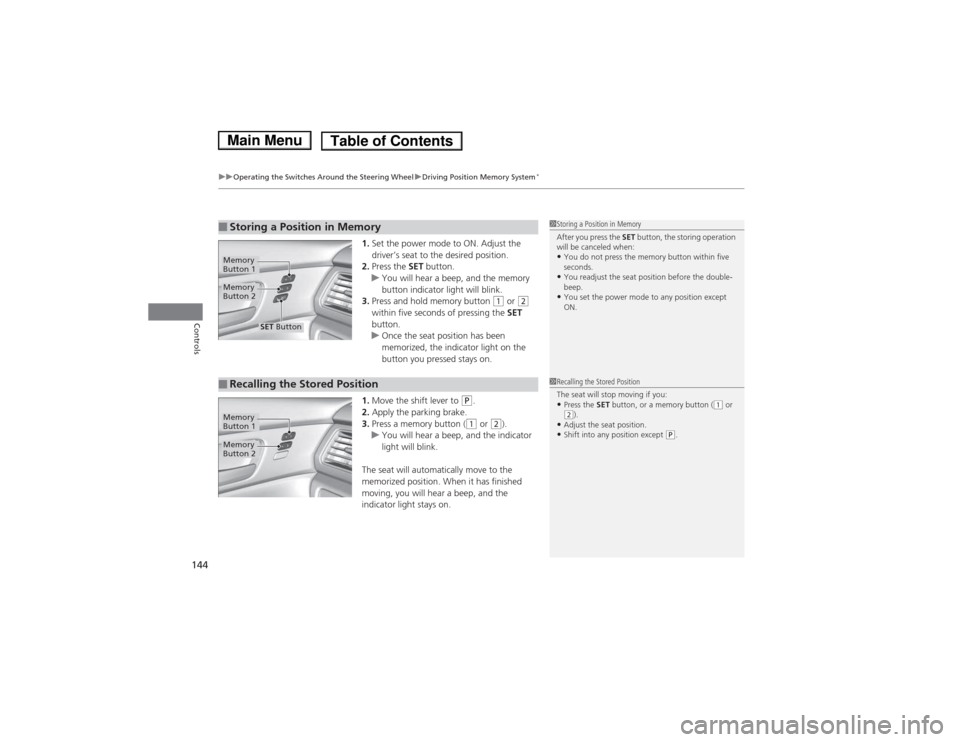
1. Set the power mode to ON. Adjust the
driver’s seat to the desired position.
2. Press the SET button.
uYou will hear a beep, and the memory
button indicator light will blink.
3. Press and hold memory button
(1 or (2
within five seconds of pressing the SET
button.
uOnce the seat position has been
memorized, the indicator light on the
button you pressed stays on.
1. Move the shift lever to
(P .
2. Apply the parking brake.
3. Press a memory button (
(1 or (2).uYou will hear a beep, and the indicator
light will blink.
The seat will automatically move to the
memorized position. When it has finished
moving, you will hear a beep, and the
indicator light stays on.
■Storing a Position in Memory1Storing a Position in Memory
After you press the SET button, the storing operation
will be canceled when: • You do not press the memory button within five
seconds.
• You readjust the seat position before the double-beep.
• You set the power mode to any position except
ON.
Memory
Button 1
Memory
Button 2
SET Button
■Recalling the Stored Position1Recalling the Stored Position
The seat will stop moving if you: •Press the SET button, or a memory button (
(1 or (2).
• Adjust the seat position.
• Shift into any position except
(P .
Memory
Button 1
Memory
Button 2
Main MenuTable of Contents
Page 147 of 561
146
Controls
Adjusting the Mirrors
Interior Rearview Mirror
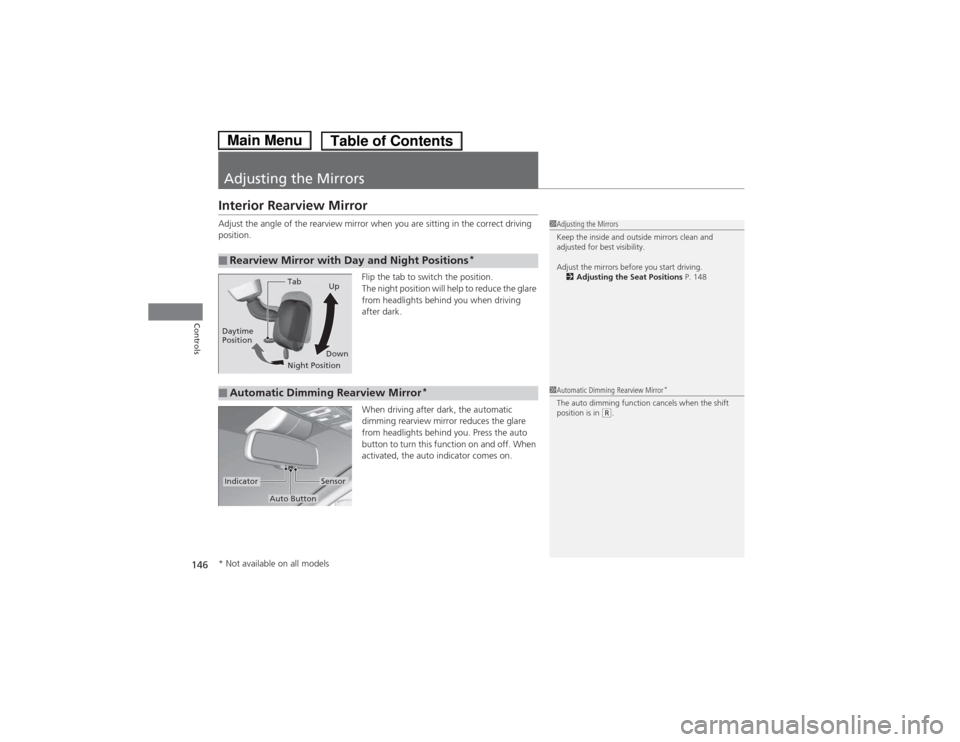
Adjust the angle of the rearview mirror when you are sitting in the correct driving
position.
Flip the tab to switch the position.
The night position will help to reduce the glare
from headlights behind you when driving
after dark.
When driving after dark, the automatic
dimming rearview mirror reduces the glare
from headlights behind you. Press the auto
button to turn this function on and off. When
activated, the auto indicator comes on.
■Rearview Mirror with Day and Night Positions *
1Adjusting the Mirrors
Keep the inside and outside mirrors clean and
adjusted for best visibility.
Adjust the mirrors before you start driving.
2 Adjusting the Seat Positions P. 148
Tab
Daytime
Position
Night PositionUp
Down
■Automatic Dimming Rearview Mirror *1Automatic Dimming Rearview Mirror
*
The auto dimming function cancels when the shift
position is in
(R .
Sensor
Auto Button
Indicator
* Not available on all models
Main MenuTable of Contents
Page 148 of 561
147
uuAdjusting the MirrorsuPower Door Mirrors
Controls
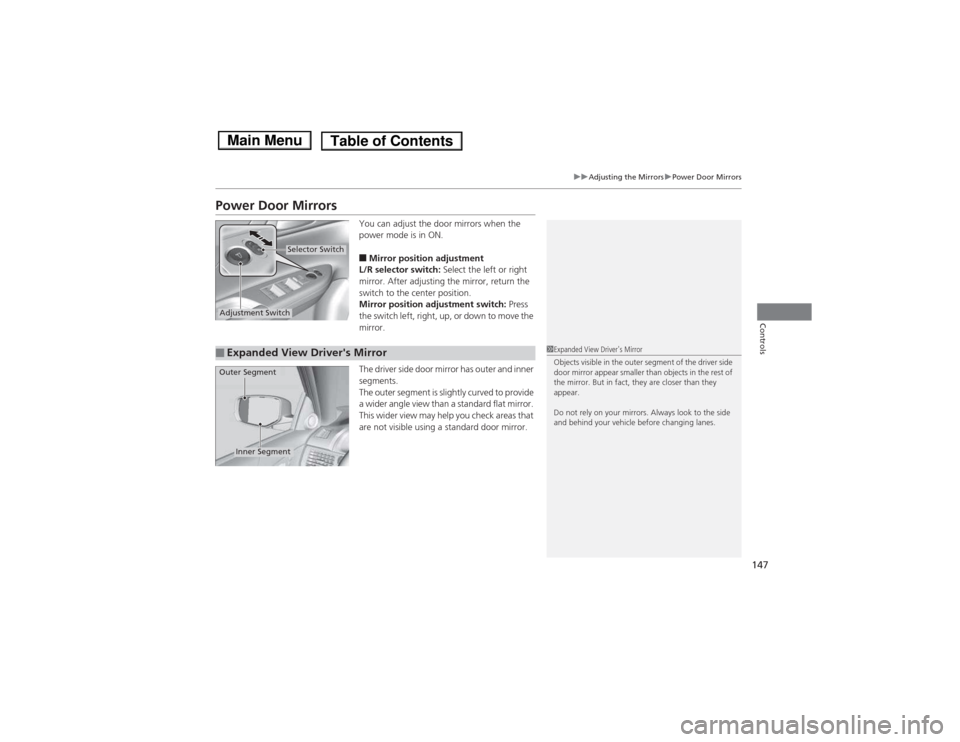
Power Door MirrorsYou can adjust the door mirrors when the
power mode is in ON. ■Mirror position adjustment
L/R selector switch: Select the left or right
mirror. After adjusting the mirror, return the
switch to the center position.
Mirror position adjustment switch: Press
the switch left, right, up, or down to move the
mirror.
The driver side door mirror has outer and inner segments.
The outer segment is slightly curved to provide
a wider angle view than a standard flat mirror.
This wider view may help you check areas that
are not visible using a standard door mirror.
Selector Switch
Adjustment Switch
■Expanded View Driver's Mirror1Expanded View Driver's Mirror
Objects visible in the outer segment of the driver side
door mirror appear smaller than objects in the rest of
the mirror. But in fact, they are closer than they
appear.
Do not rely on your mirrors. Always look to the side
and behind your vehicle before changing lanes.
Inner Segment
Outer Segment
Main MenuTable of Contents
Page 156 of 561
155
Continued
Controls
Interior Lights/Interior Convenience Items
Interior Lights
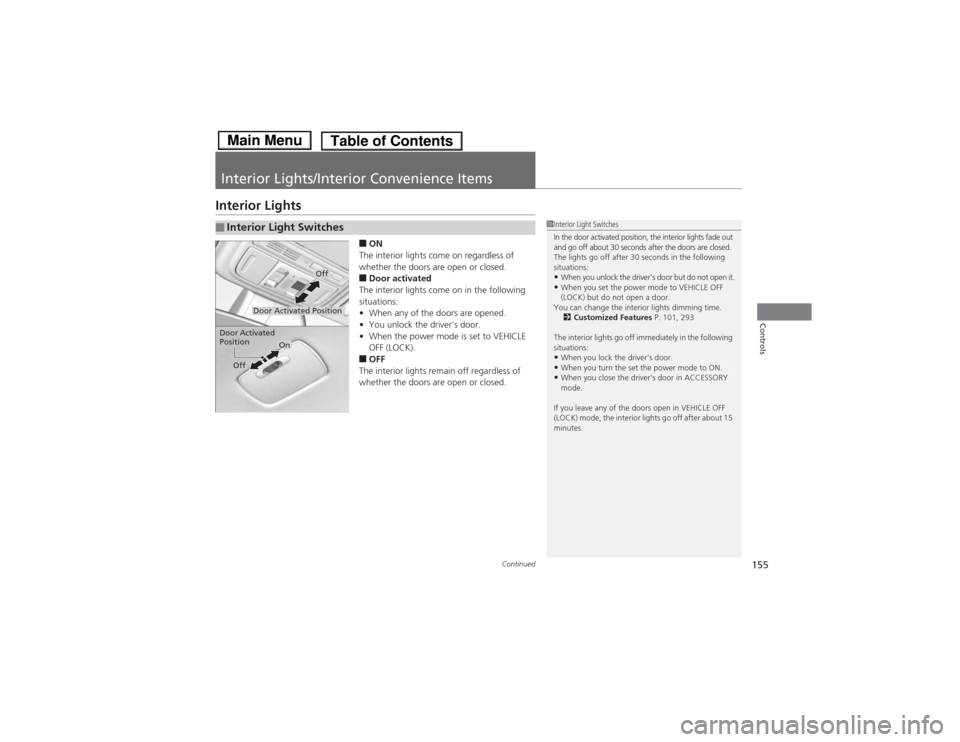
■ON
The interior lights come on regardless of
whether the doors are open or closed. ■ Door activated
The interior lights come on in the following situations: • When any of the doors are opened.
• You unlock the driver's door.
• When the power mode is set to VEHICLE
OFF (LOCK).
■ OFF
The interior lights remain off regardless of
whether the doors are open or closed.
■Interior Light Switches1Interior Light Switches
In the door activated position, the interior lights fade out
and go off about 30 seconds after the doors are closed.
The lights go off after 30 seconds in the following
situations: • When you unlock the driver's door but do not open it.
• When you set the power mode to VEHICLE OFF
(LOCK) but do not open a door.
You can change the interior lights dimming time. 2 Customized Features P. 101, 293
The interior lights go off immediately in the following
situations:
• When you lock the driver's door.
• When you turn the set the power mode to ON.
• When you close the driver's door in ACCESSORY
mode.
If you leave any of the doors open in VEHICLE OFF
(LOCK) mode, the interior lights go off after about 15
minutes.
Door Activated Position
Off
Door Activated Position
On
Off
Main MenuTable of Contents
Page 157 of 561
uuInterior Lights/Interior Convenience ItemsuInterior Lights
156
Controls
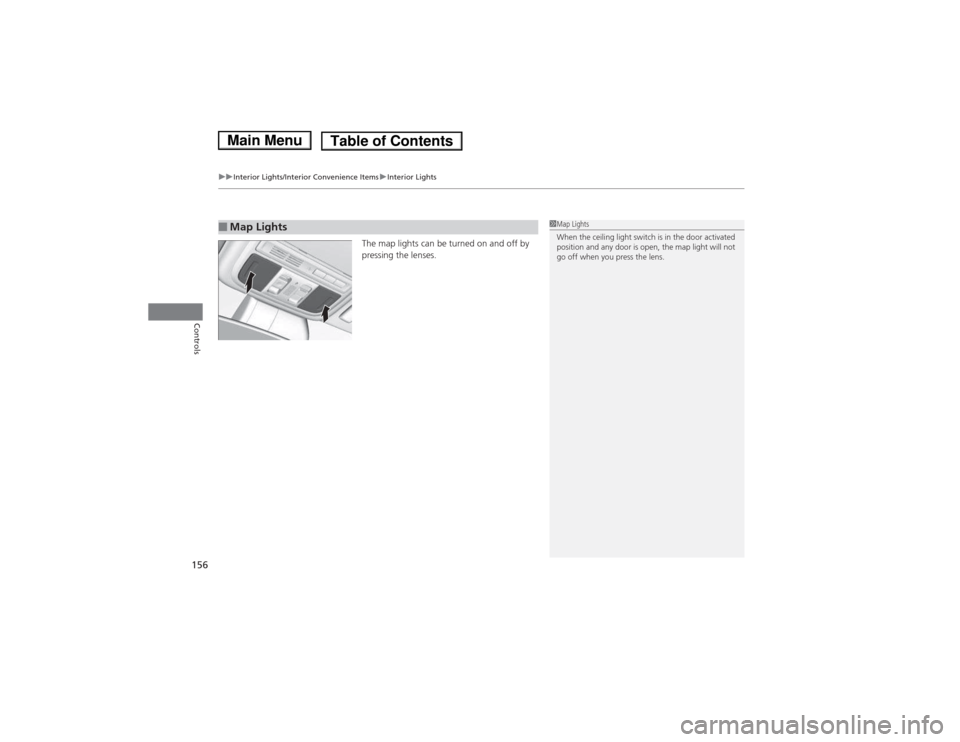
The map lights can be turned on and off by
pressing the lenses.
■Map Lights1Map Lights
When the ceiling light switch is in the door activated
position and any door is open, the map light will not
go off when you press the lens.
Main MenuTable of Contents
Page 158 of 561
157
uuInterior Lights/Interior Convenience ItemsuInterior Convenience Items
Continued
Controls
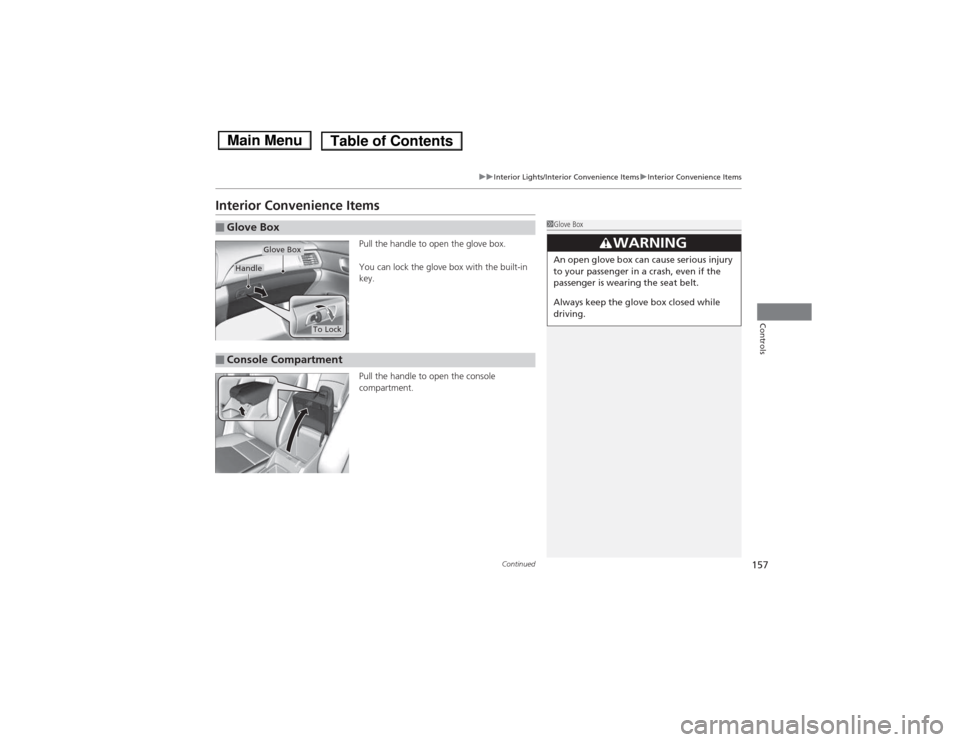
Interior Convenience ItemsPull the handle to open the glove box.
You can lock the glove box with the built-in key.
Pull the handle to open the console compartment.
■Glove Box1Glove Box
3WARNING
An open glove box can cause serious injury
to your passenger in a crash, even if the
passenger is wearing the seat belt.
Always keep the glove box closed while
driving.Glove Box
Handle
To Lock
■Console Compartment
Main MenuTable of Contents
Page 159 of 561
158
uuInterior Lights/Interior Convenience ItemsuInterior Convenience Items
Controls
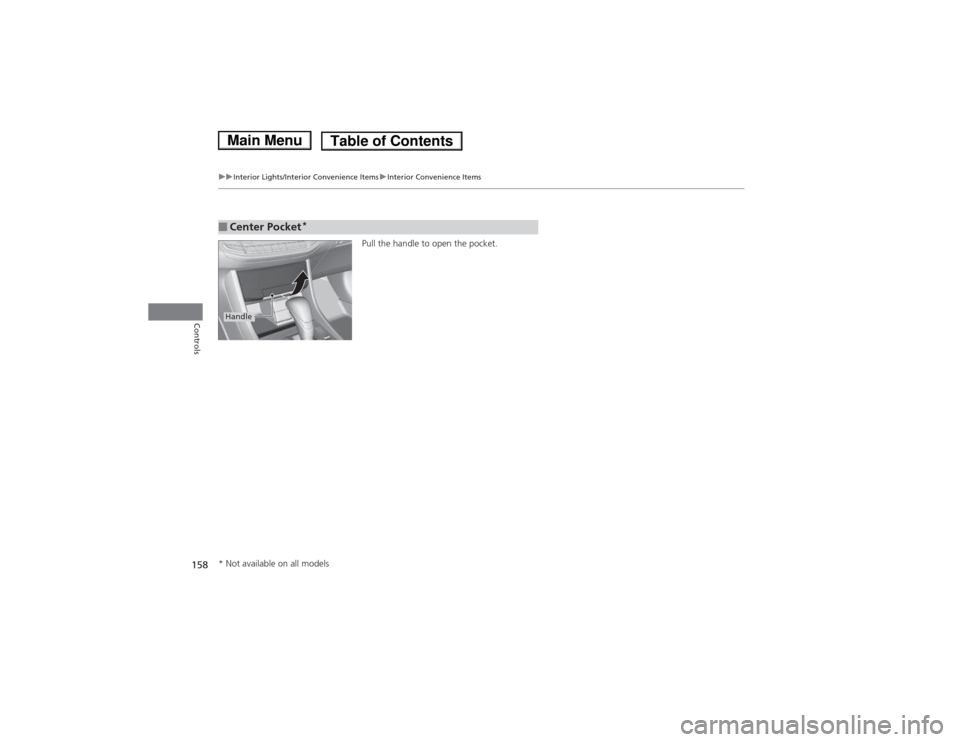
Pull the handle to open the pocket.
■Center Pocket*
Handle
* Not available on all models
Main MenuTable of Contents
Page 160 of 561
Continued159
uuInterior Lights/Interior Convenience ItemsuInterior Convenience Items
Controls
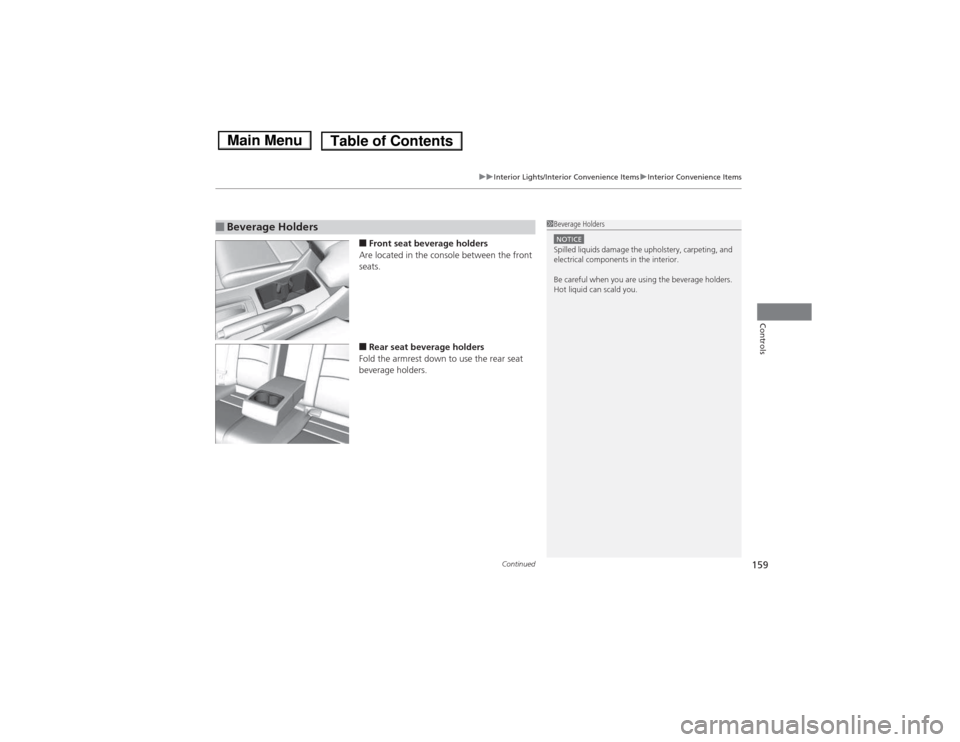
■Front seat beverage holders
Are located in the console between the front
seats. ■ Rear seat beverage holders
Fold the armrest down to use the rear seat
beverage holders.
■Beverage Holders1Beverage Holders
NOTICESpilled liquids damage the upholstery, carpeting, and
electrical components in the interior.
Be careful when you are using the beverage holders.
Hot liquid can scald you.
Main MenuTable of Contents