HONDA HR-V 2018 Navigation Manual (in English)
Manufacturer: HONDA, Model Year: 2018, Model line: HR-V, Model: HONDA HR-V 2018Pages: 263, PDF Size: 56.63 MB
Page 21 of 263
19
System Setup
This section describes the start-up procedure and the navigation and setup functions.
Start-up................................................... 20
Voice Control System............................. 22
Command Input .................................... 22
Voice Recognition .................................. 23
Siri Eyes Free .......................................... 24
Display Mode Settings........................... 25
Turning Off the Display .......................... 25
Switching Display Mode Manually .......... 25
Personal Information.............................. 27
Address Book ......................................... 28
Home Addresses .................................... 33
PIN Numbers .......................................... 34
User Name ............................................. 35
Previous Destination ............................... 36
Category History .................................... 37Routing.....................................................38
Route Preference ....................................39
Unverified Routing ..................................40
Traffic Rerouting .....................................42
Edit POI Search Radius Along Route ........43
Avoided Area ..........................................44
Guidance..................................................46
Map...........................................................49
Showing Icons on the Map .....................51
Color ......................................................53
View (Map Orientation) ...........................54
3D Angle Adjustment .............................55
Straight Line Guide .................................55
Current Location .....................................56
Map Legend ...........................................57Off-road Tracking ................................... 61
Correct Vehicle Position ......................... 62
System Settings...................................... 63
Display Settings...................................... 65
Display ................................................... 65
Background Color .................................. 66
Sound and Beep Settings....................... 67
Voice Recognition Settings.................... 69
Clock Adjustment.................................... 70
Clock Type ............................................. 71
Wallpaper Settings ................................. 72
Adjust Time............................................ 75
Resetting the Clock Settings ................... 75
Other Settings......................................... 76
Data Reset............................................... 78
Page 22 of 263
20
System Setup
Start-up
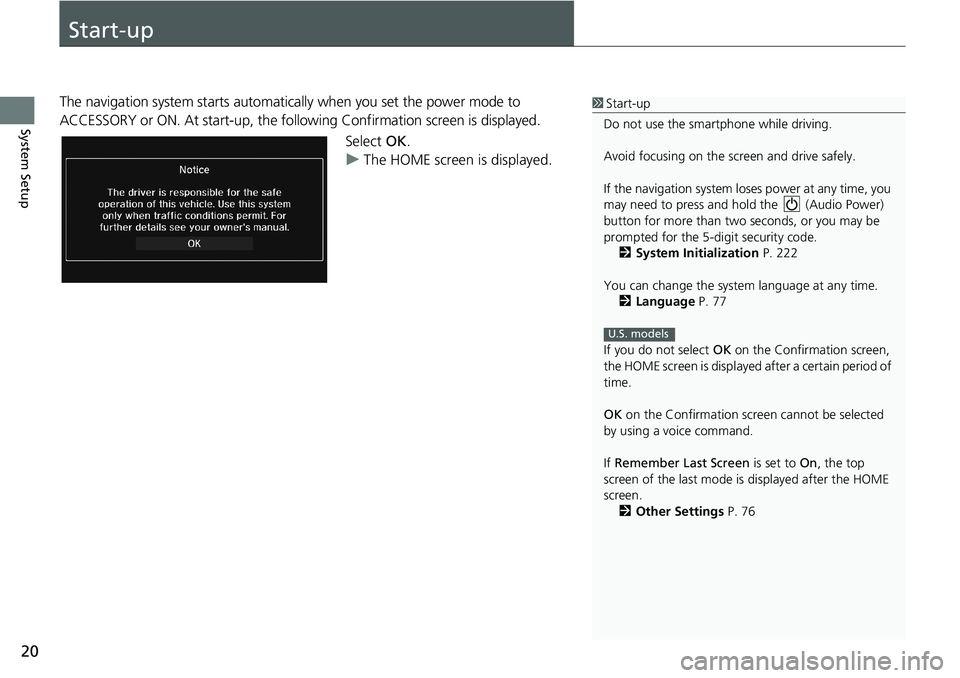
The navigation system starts automatically when you set the power mode to
ACCESSORY or ON. At start-up, the following Confirmation screen is displayed.
Select OK.
uThe HOME screen is displayed.1Start-up
Do not use the smartphone while driving.
Avoid focusing on the screen and drive safely.
If the navigation system loses power at any time, you
may need to press and hold the (Audio Power)
button for more than two seconds, or you may be
prompted for the 5-digit security code.
2System Initialization P. 222
You can change the system language at any time.
2Language P. 77
If you do not select OK on the Confirmation screen,
the HOME screen is displayed after a certain period of
time.
OK on the Confirmation screen cannot be selected
by using a voice command.
If Remember Last Screen is set to On, the top
screen of the last mode is displayed after the HOME
screen.
2Other Settings P. 76
U.S. models
Page 23 of 263
21
uuStart-upu
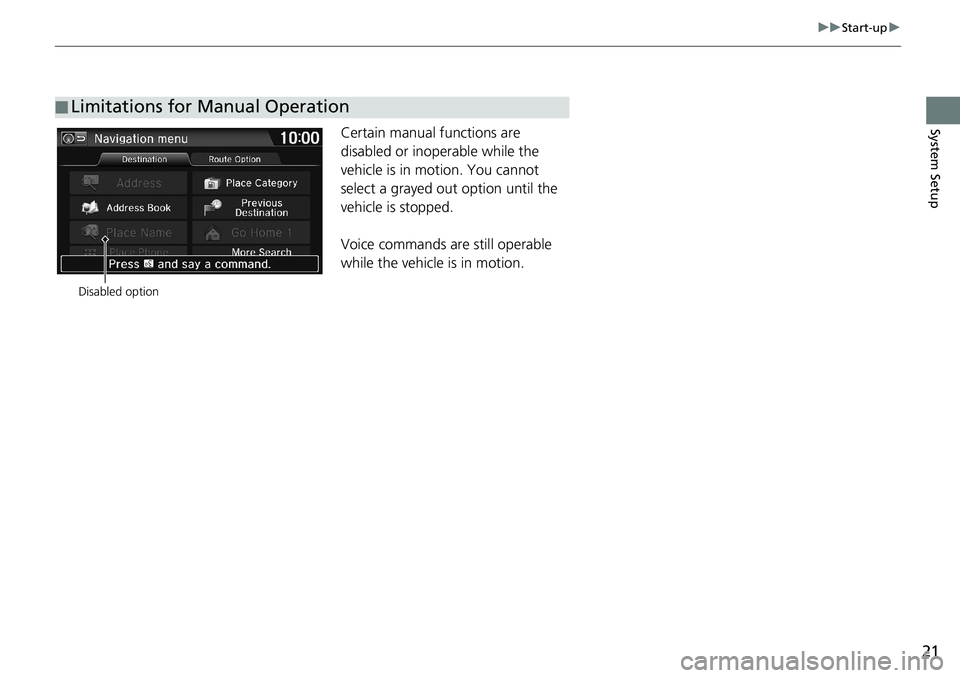
System SetupCertain manual functions are
disabled or inoperable while the
vehicle is in motion. You cannot
select a grayed out option until the
vehicle is stopped.
Voice commands are still operable
while the vehicle is in motion.
■Limitations for Manual Operation
Disabled option
Page 24 of 263
22
System Setup
Voice Control System
Your vehicle has a voice control system that allows hands-free operation of most of
the navigation system functions. You can also control the audio and climate control
system, and make and receive phone calls using Bluetooth® HandsFreeLink®.
The voice control system uses the (Talk) and (Hang-Up/Back) buttons on the
steering wheel and microphones at the top of the navigation screen.
A “Getting Started” feature provides a tutorial that explains how to use the voice
control system.
2Voice Help P. 15
Command Input
If the system does not understand a command or you wait too long to give a
command, the system asks you to repeat the command.
When you give a command, the system generally either repeats the command as a
confirmation or asks you for further information. If you do not wish to hear this
feedback, you can turn it off. However, listening to the feedback will help familiarize
you with the way the system expects commands to be phrased.
2Voice Recognition Settings P. 69
On character input screens, a list of possible characters is displayed if the system
does not recognize your command.
You can find out which voice commands are available for a particular screen using
the “Voice Help” command. The system will display and read the list of available
commands to you.
2Voice Help P. 15
1Voice Control System
When you press the (Talk) button, a helpful
prompt asks what you would like to do. Press and
release the (Talk) button again to bypass this
prompt and give a command.
1Command Input
The audio system is muted while using the voice
control system.
Page 25 of 263
23
uuVoice Control SystemuVoice Recognition
System Setup
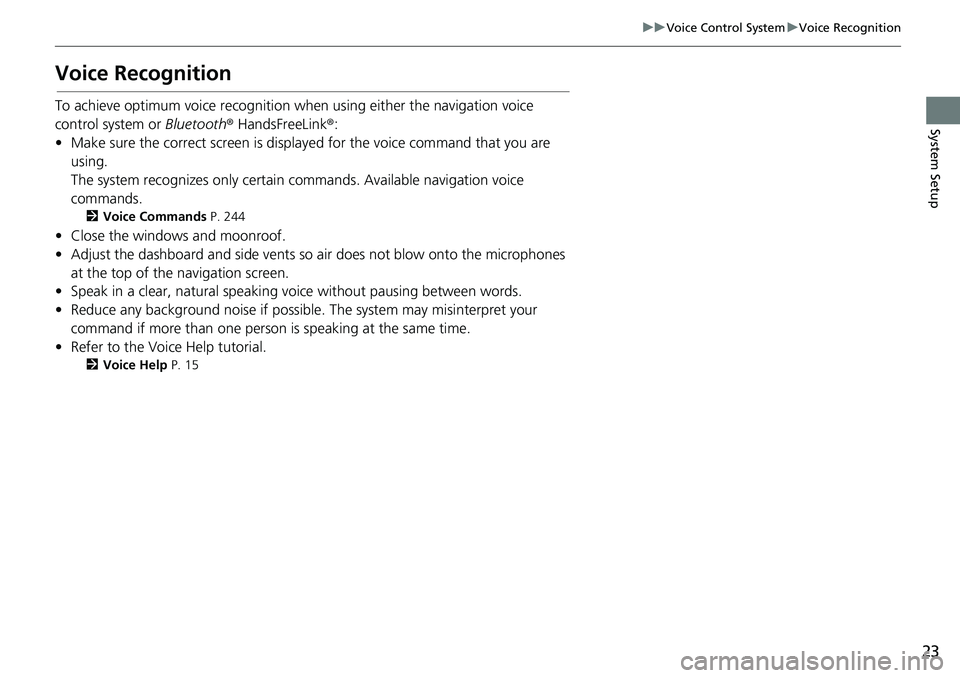
Voice Recognition
To achieve optimum voice recognition when using either the navigation voice
control system or Bluetooth® HandsFreeLink®:
• Make sure the correct screen is displayed for the voice command that you are
using.
The system recognizes only certain commands. Available navigation voice
commands.
2Voice Commands P. 244
• Close the windows and moonroof.
• Adjust the dashboard and side vents so air does not blow onto the microphones
at the top of the navigation screen.
• Speak in a clear, natural speaking voice without pausing between words.
• Reduce any background noise if possible. The system may misinterpret your
command if more than one person is speaking at the same time.
• Refer to the Voice Help tutorial.
2Voice Help P. 15
Page 26 of 263
24
uuVoice Control SystemuSiri Eyes Free
System Setup
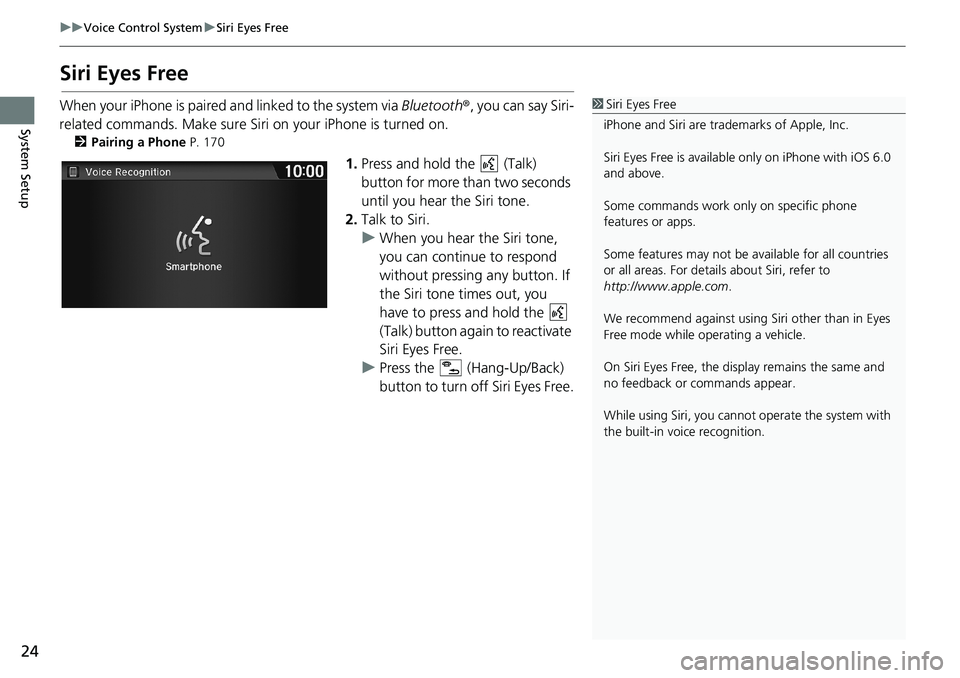
Siri Eyes Free
When your iPhone is paired and linked to the system via Bluetooth®, you can say Siri-
related commands. Make sure Siri on your iPhone is turned on.
2Pairing a Phone P. 170
1.Press and hold the (Talk)
button for more than two seconds
until you hear the Siri tone.
2.Talk to Siri.
uWhen you hear the Siri tone,
you can continue to respond
without pressing any button. If
the Siri tone times out, you
have to press and hold the
(Talk) button again to reactivate
Siri Eyes Free.
uPress the (Hang-Up/Back)
button to turn off Siri Eyes Free.
1Siri Eyes Free
iPhone and Siri are trademarks of Apple, Inc.
Siri Eyes Free is available only on iPhone with iOS 6.0
and above.
Some commands work only on specific phone
features or apps.
Some features may not be available for all countries
or all areas. For details about Siri, refer to
http://www.apple.com.
We recommend against using Siri other than in Eyes
Free mode while operating a vehicle.
On Siri Eyes Free, the display remains the same and
no feedback or commands appear.
While using Siri, you cannot operate the system with
the built-in voice recognition.
Page 27 of 263
25Continued
System Setup
Display Mode Settings
Turning Off the Display
Press the (Display mode) button for more than two seconds.
uSelect HOME or BACK, or press the (Display mode) button to turn on the
display.
Switching Display Mode Manually
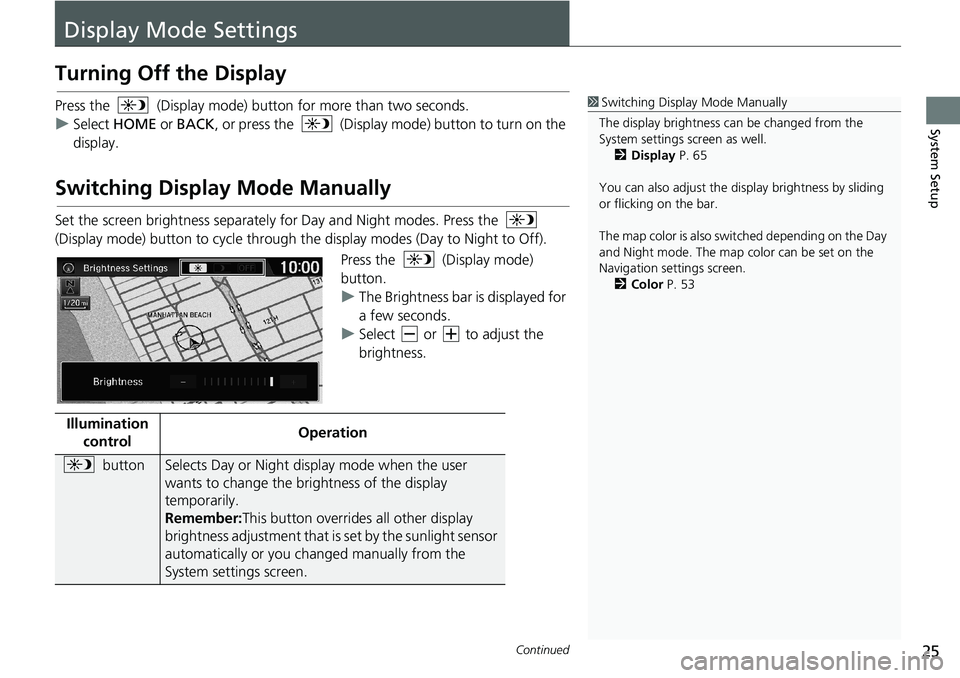
Set the screen brightness separately for Day and Night modes. Press the
(Display mode) button to cycle through the display modes (Day to Night to Off).
Press the (Display mode)
button.
uThe Brightness bar is displayed for
a few seconds.
uSelect or to adjust the
brightness.
1Switching Display Mode Manually
The display brightness can be changed from the
System settings screen as well.
2Display P. 65
You can also adjust the display brightness by sliding
or flicking on the bar.
The map color is also switched depending on the Day
and Night mode. The map color can be set on the
Navigation settings screen.
2Color P. 53
Illumination
controlOperation
buttonSelects Day or Night display mode when the user
wants to change the brightness of the display
temporarily.
Remember:This button overrides all other display
brightness adjustment that is set by the sunlight sensor
automatically or you changed manually from the
System settings screen.
Page 28 of 263
26
uuDisplay Mode SettingsuSwitching Display Mode Manually
System SetupIllumination
controlOperation
Sunlight sensor
(see your
Owner’s
Manual for
location)If the sunlight sensor detects daylight and the
headlights are turned on, the system automatically
overrides the Night display and displays the Day display
mode.
Remember: If desired, use the (Display Mode)
button to override this automatic choice.
Dash
illumination
adjustment
buttons (see
your Owner’s
Manual for
location)When the headlights are turned on, and you wish to
have the Day display mode, adjust the illumination to
the full brightness (beeps).
Remember: Adjust the dash brightness back to mid-
range to allow auto switching by sensing the
headlights are on or off.
Headlights
(Auto/On/Off)When turned on, the display changes to Night display
mode. The previous three controls listed above can
“cancel” this function.
Remember: Use the (Display Mode) button to
adjust the brightness of the display.
Screen color
choiceThe user can select the color of the screen that will be
displayed for the Day and Night display modes
described above.
Remember: For best contrast, ensure that the map
color is white for Day and black for Night.
Page 29 of 263
27
System Setup
Personal Information
HHOMEuSettingsuNavigationuPersonal Info tab
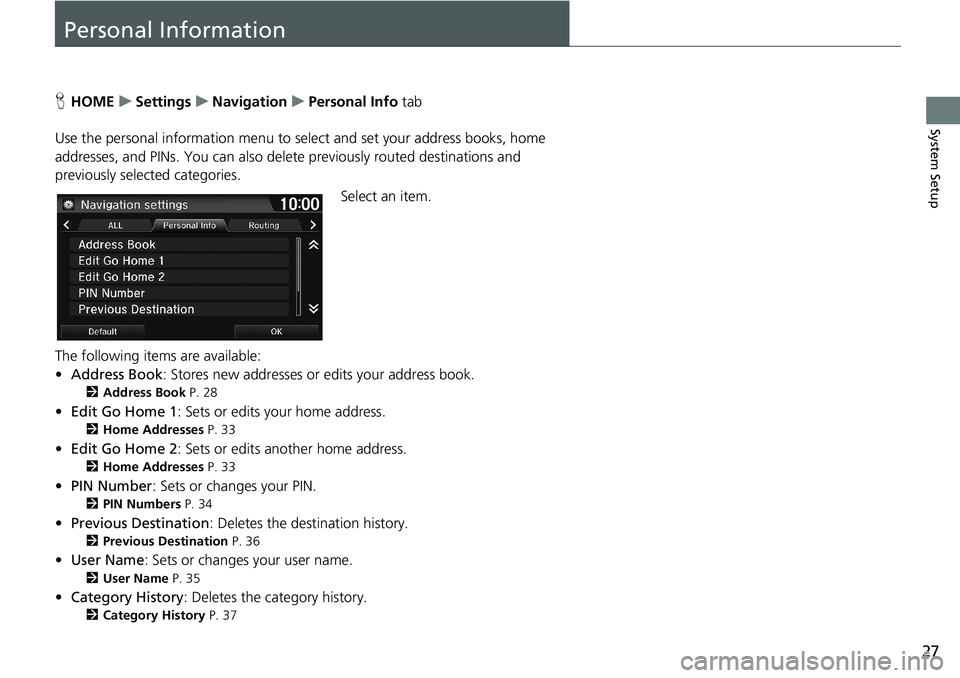
Use the personal information menu to select and set your address books, home
addresses, and PINs. You can also delete previously routed destinations and
previously selected categories.
Select an item.
The following items are available:
•Address Book: Stores new addresses or edits your address book.
2Address Book P. 28
•Edit Go Home 1: Sets or edits your home address.
2Home Addresses P. 33
•Edit Go Home 2: Sets or edits another home address.
2Home Addresses P. 33
•PIN Number: Sets or changes your PIN.
2PIN Numbers P. 34
•Previous Destination: Deletes the destination history.
2Previous Destination P. 36
•User Name: Sets or changes your user name.
2User Name P. 35
•Category History: Deletes the category history.
2Category History P. 37
Page 30 of 263
28
uuPersonal InformationuAddress Book
System Setup
Address Book
HHOMEuSettingsuNavigationuPersonal Info tabuAddress Book
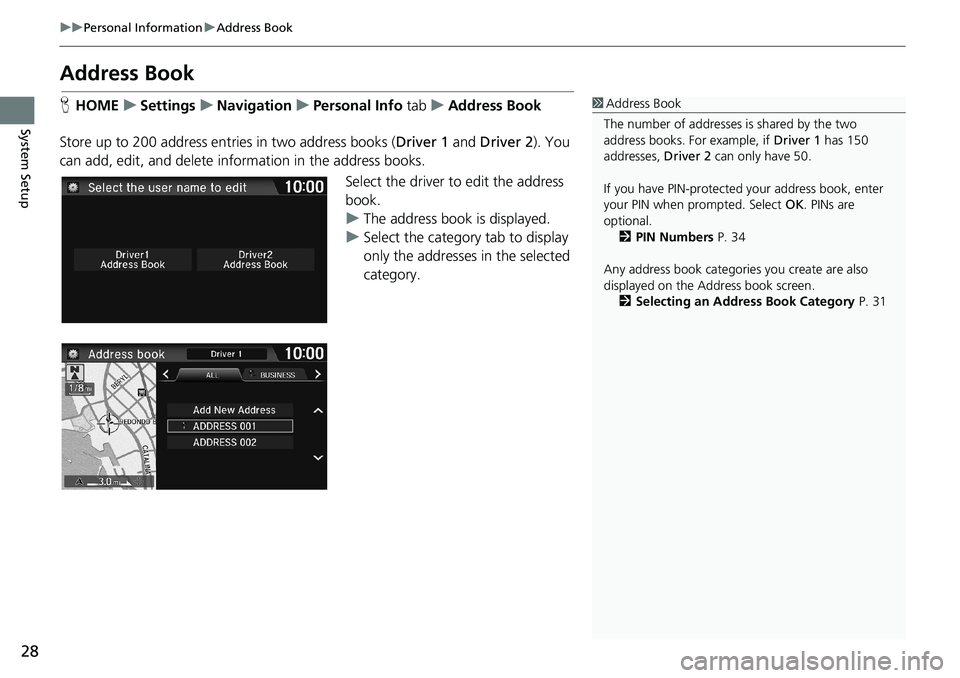
Store up to 200 address entries in two address books (Driver 1 and Driver 2). You
can add, edit, and delete information in the address books.
Select the driver to edit the address
book.
uThe address book is displayed.
uSelect the category tab to display
only the addresses in the selected
category.1Address Book
The number of addresses is shared by the two
address books. For example, if Driver 1 has 150
addresses, Driver 2 can only have 50.
If you have PIN-protected your address book, enter
your PIN when prompted. Select OK. PINs are
optional.
2PIN Numbers P. 34
Any address book categories you create are also
displayed on the Address book screen.
2Selecting an Address Book Category P. 31