USB HONDA ODYSSEY 2015 RC1-RC2 / 5.G Navigation Manual
[x] Cancel search | Manufacturer: HONDA, Model Year: 2015, Model line: ODYSSEY, Model: HONDA ODYSSEY 2015 RC1-RC2 / 5.GPages: 325, PDF Size: 17.97 MB
Page 2 of 325
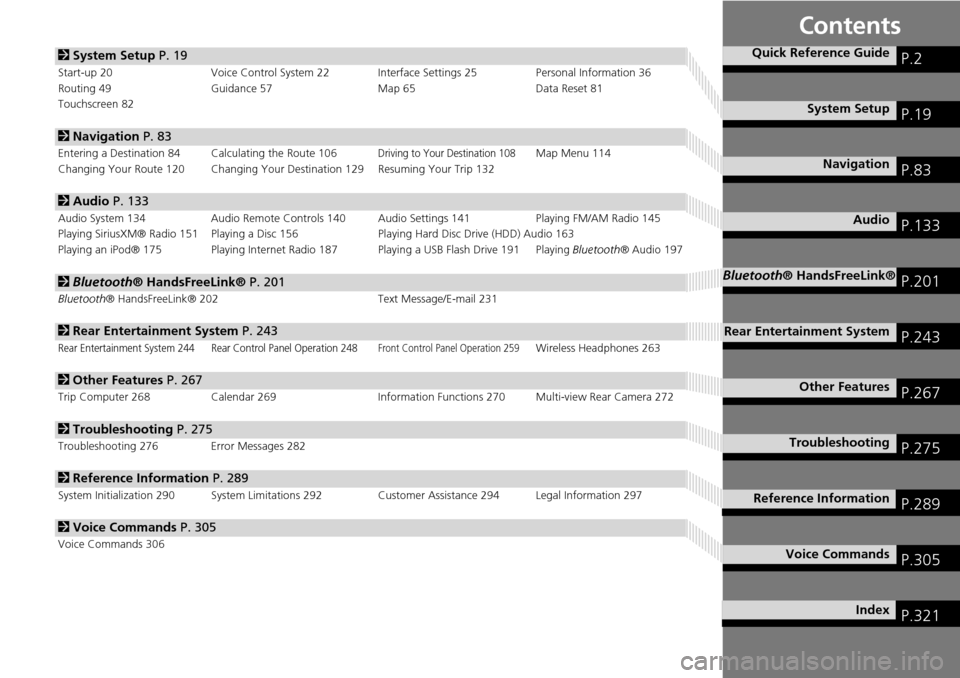
Contents
2System Setup P. 19
Start-up 20 Voice Control System 22 Interface Settings 25 Personal Information 36
Routing 49 Guidance 57 Map 65Data Reset 81
Touchscreen 82
2 Navigation P. 83
Entering a Destination 84 Calculating the Route 106Driving to Your Destination 108Map Menu 114
Changing Your Route 120 Changing Your De stination 129 Resuming Your Trip 132
2Audio P. 133
Audio System 134 Audio Remote Controls 140 Audio Settings 141 Playing FM/AM Radio 145
Playing SiriusXM® Radio 151 Playing a Disc 156 Playing Hard Disc Drive (HDD) Audio 163
Playing an iPod® 175 Playing Internet Radio 187 Playing a USB Flash Drive 191 Playing Bluetooth® Audio 197
2Bluetooth® HandsFreeLink® P. 201
Bluetooth® HandsFreeLink® 202 Text Message/E-mail 231
2Rear Entertainment System P. 243
Rear Entertainment System 244 Rear Control Panel Operation 248Front Control Panel Operation 259Wireless Headphones 263
2Other Features P. 267
Trip Computer 268 Calendar 269 Information Functions 270 Multi-view Rear Camera 272
2Troubleshooting P. 275
Troubleshooting 276 Error Messages 282
2Reference Information P. 289
System Initialization 290 System Limitations 292 Customer Assistance 294 Legal Information 297
2Voice Commands P. 305
Voice Commands 306
Quick Reference GuideP.2
System SetupP.19
NavigationP.83
AudioP.133
Bluetooth® HandsFreeLink®P.201
Rear Entertainment SystemP.243
Other FeaturesP.267
TroubleshootingP.275
Reference InformationP.289
Voice CommandsP.305
IndexP.321
Page 4 of 325
3
Quick Reference Guide
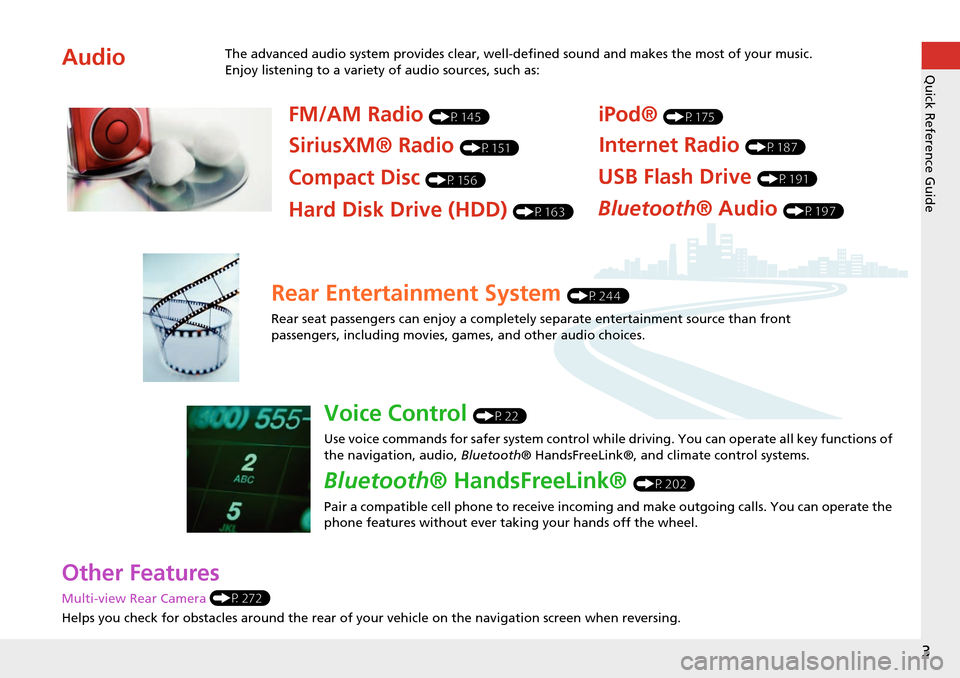
Other Features
Multi-view Rear Camera (P272)
Helps you check for obstacles around the rear of your vehicle on the navigation screen when reversing.
AudioThe advanced audio system provides clear, well-defined sound and makes the most of your music.
Enjoy listening to a variety of audio sources, such as:
FM/AM Radio (P145)
SiriusXM® Radio (P151)
Compact Disc (P156)
iPod® (P175)
USB Flash Drive (P191)
Bluetooth® Audio (P197)Hard Disk Drive (HDD) (P163)
Internet Radio (P187)
Rear Entertainment System (P244)
Rear seat passengers can enjoy a completely separate entertainment source than front
passengers, including movies, games, and other audio choices.
Voice Control (P22)
Use voice commands for safer system control while driving. You can operate all key functions of
the navigation, audio, Bluetooth® HandsFreeLink®, and climate control systems.
Bluetooth® HandsFreeLink® (P202)
Pair a compatible cell phone to receive incoming and make outgoing calls. You can operate the
phone features without ever taking your hands off the wheel.
Page 7 of 325
6
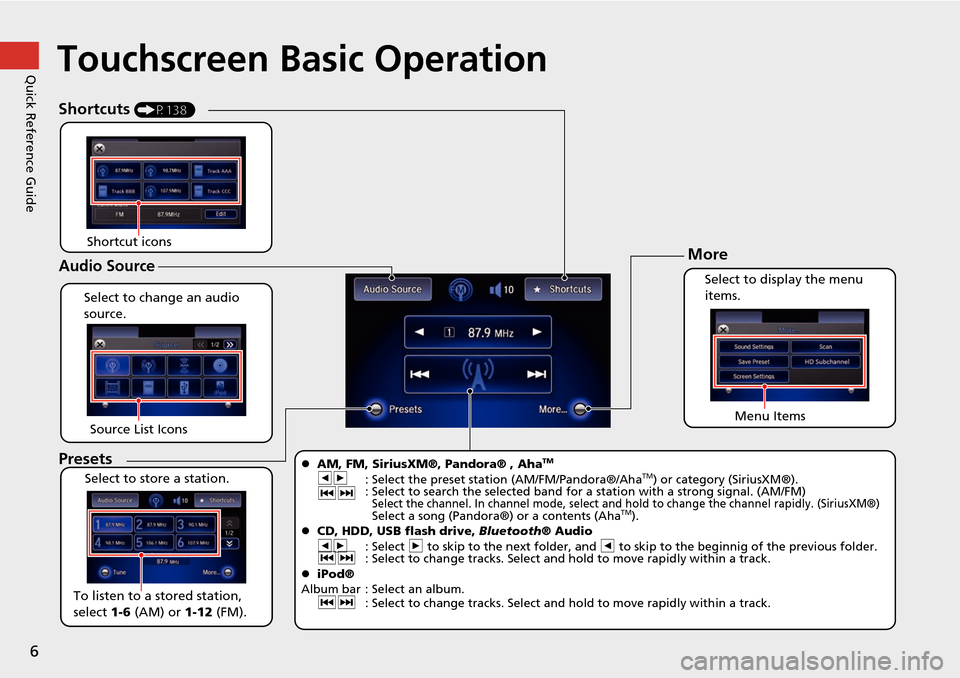
Quick Reference GuideTouchscreen Basic Operation
Select to change an audio
source.
Shortcuts (P138)
Audio Source
Presets
To listen to a stored station,
select 1-6 (AM) or 1-12 (FM).
Source List Icons
Select to store a station. Select to display the menu
items.
Menu Items
More
AM, FM, SiriusXM®, Pandora® , AhaTM
bn
: Select the preset station (AM/FM/Pandora®/AhaTM) or category (SiriusXM®).
cx : Select to search the selected band for a station with
a strong signal. (AM/FM)
Select the channel. In channel mode, select and hold to change the channel rapidly. (SiriusXM®) Select a song (Pandora®) or a contents (AhaTM).
CD, HDD, USB flash drive, Bluetooth® Audio
bn : Select n to skip to the next folder, and b to skip to the beginnig of the previous folder.
cx : Select to change tracks. Select and hold to move rapidly within a track.
iPod®
Album bar : Select an album. cx : Select to change tracks. Select and hold to move rapidly within a track.
Shortcut icons
Page 15 of 325
14
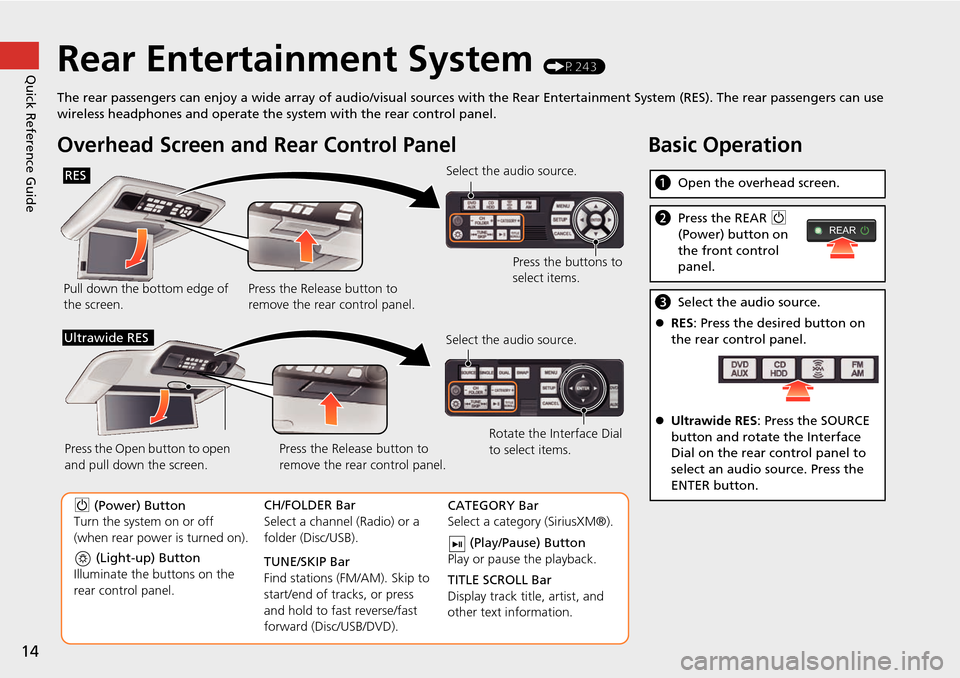
Quick Reference GuideRear Entertainment System (P243)
The rear passengers can enjoy a wide array of audio/visual source s with the Rear Entertainment System (RES). The rear passengers can use
wireless headphones and operate the system with the rear control panel.
Overhead Screen a nd Rear Control Panel
Pull down the bottom edge of
the screen. Select the audio source.
Press the buttons to
select items.
Press the Release button to
remove the rear control panel.
RES
(Light-up) Button
Illuminate the buttons on the
rear control panel.
9 (Power) Button
Turn the system on or off
(when rear power is turned on). CH/FOLDER Bar
Select a channel (Radio) or a
folder (Disc/USB).
TUNE/SKIP Bar
Find stations (FM/AM). Skip to
start/end of tracks, or press
and hold to fast reverse/fast
forward (Disc/USB/DVD).CATEGORY Bar
Select a category (SiriusXM®).
(Play/Pause) Button
Play or pause the playback.
TITLE SCROLL Bar
Display track title, artist, and
other text information.
Select the audio source.
Rotate the Interface Dial
to select items.
Press the Release button to
remove the rear control panel.
Press the Open button to open
and pull down the screen.
Ultrawide RES
Basic Operation
a
Open the overhead screen.
bPress the REAR 9
(Power) button on
the front control
panel.
c Select the audio source.
RES : Press the desired button on
the rear control panel.
Ultrawide RES : Press the SOURCE
button and rotate the Interface
Dial on the rear control panel to
select an audio source. Press the
ENTER button.
REAR
Page 30 of 325
29
Interface SettingsWallpaper Settings
System Setup
Wallpaper Settings
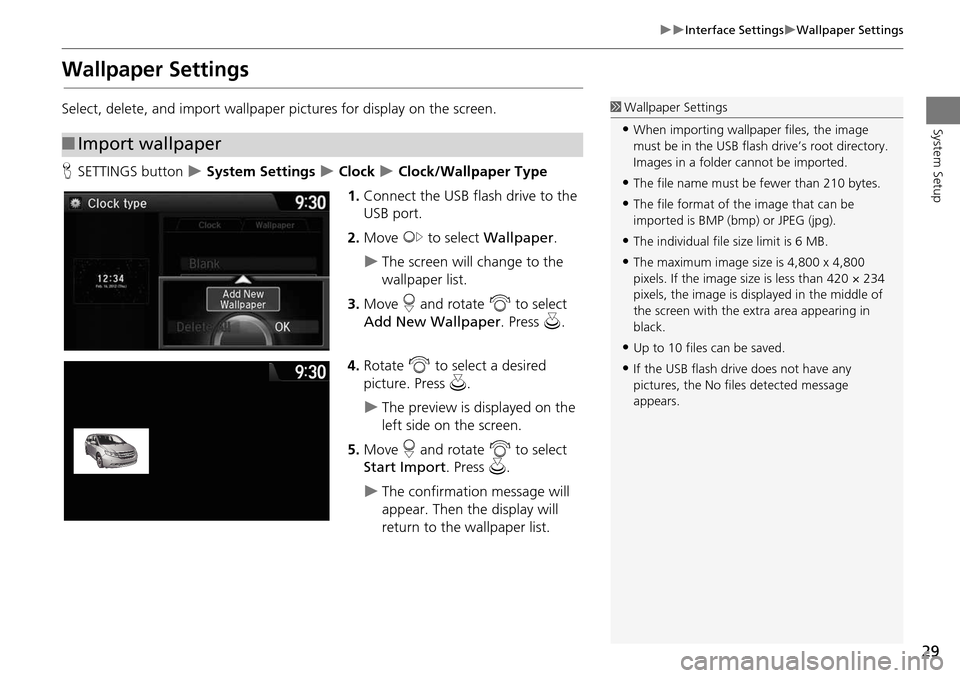
Select, delete, and import wallpaper pictures for display on the screen.
HSETTINGS button
System Settings Clock Clock/Wallpaper Type
1. Connect the USB flash drive to the
USB port.
2. Move y to select Wallpaper .
The screen will change to the
wallpaper list.
3. Move r and rotate i to select
Add New Wallpaper. Press u.
4. Rotate i to select a desired
picture. Press u.
The preview is displayed on the
left side on the screen.
5. Move r and rotate i to select
Start Import . Press u.
The confirmation message will
appear. Then the display will
return to the wallpaper list.
■Import wallpaper
1 Wallpaper Settings
•When importing wallpaper files, the image
must be in the USB flash drive’s root directory.
Images in a folder cannot be imported.
•The file name must be fewer than 210 bytes.
•The file format of the image that can be
imported is BMP (bmp) or JPEG (jpg).
•The individual file size limit is 6 MB.
•The maximum image size is 4,800 x 4,800
pixels. If the image size is less than 420 × 234
pixels, the image is displayed in the middle of
the screen with the extra area appearing in
black.
•Up to 10 files can be saved.
•If the USB flash driv e does not have any
pictures, the No file s detected message
appears.
Page 47 of 325
46
Personal InformationDownload POI
System Setup
Download POI
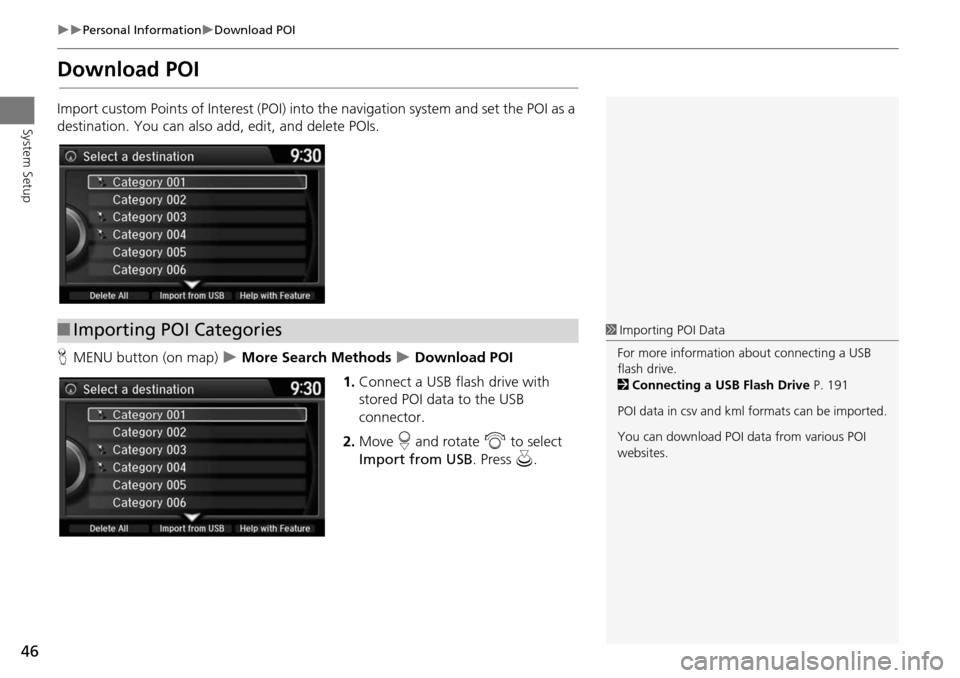
Import custom Points of Interest (POI) into the navigation system and set the POI as a
destination. You can also ad d, edit, and delete POIs.
H MENU button (on map)
More Search Methods Download POI
1. Connect a USB flash drive with
stored POI data to the USB
connector.
2. Move r and rotate i to select
Import from USB . Press u.
■Importing POI Categories1 Importing POI Data
For more information about connecting a USB
flash drive.
2 Connecting a USB Flash Drive P. 191
POI data in csv and kml formats can be imported.
You can download POI data from various POI
websites.
Page 101 of 325
100
Entering a DestinationDownload POI
Navigation
Download POI
HMENU button More Search Methods Download POI
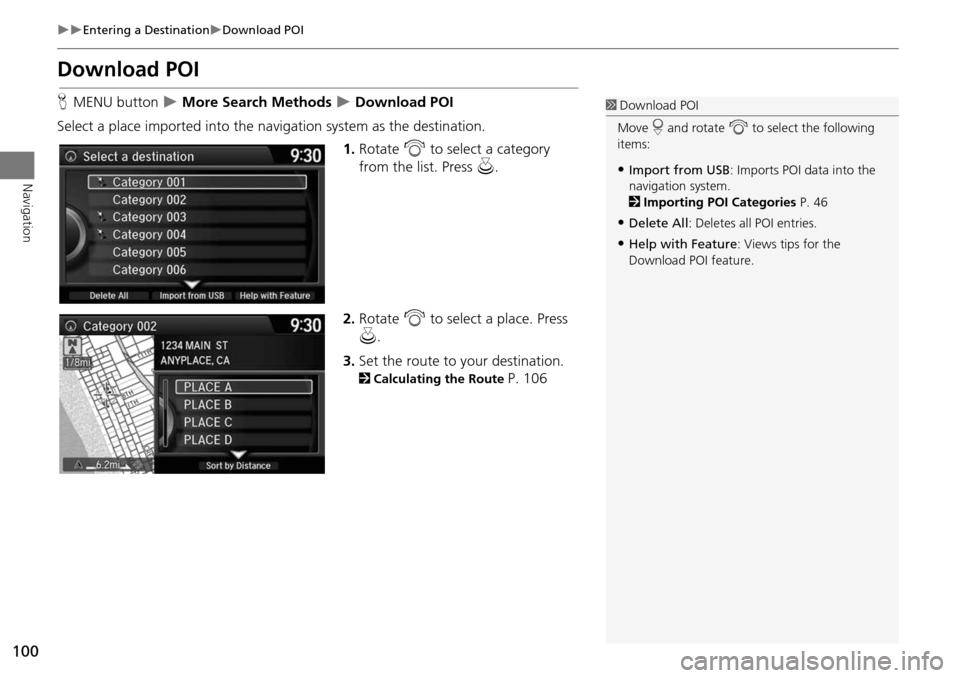
Select a place imported into the navi gation system as the destination.
1.Rotate i to select a category
from the list. Press u.
2. Rotate i to select a place. Press
u .
3. Set the route to your destination.
2 Calculating the Route P. 106
1Download POI
Move r and rotate i to select the following
items:
•Import from USB : Imports POI data into the
navigation system.
2 Importing POI Categories P. 46
•Delete All: Deletes all POI entries.
•Help with Feature : Views tips for the
Download POI feature.
Page 134 of 325
133
Audio
This section describes how to operate the audio system. You can play
music from a wide array of media s ources, and control the audio system
using the audio buttons, the Interface Dial, or voice control.
Audio System .................................................. 134
About Your Audio System .............................. 134
USB Port ........................................................ 135
Auxiliary Input Jack ......... .......................... ..... 136
Audio System Theft Protection ....................... 137
Setting Audio Shortcuts ................................. 138
Audio Remote Controls .................................. 140
Steering Wheel Controls ................................ 140
Audio Settings ................................................. 141
Adjusting the Sound ...................................... 143
Playing FM/AM Radio ..................................... 145
Selecting FM/AM Mode.................................. 145
Audio Screen Control ..................................... 145
Audio Menu .................................................. 147
Playing SiriusXM® Radio ................................ 151
Selecting SiriusXM® Mode............................. 151
Audio Screen Control ..................................... 151
Audio Menu .................................................. 153 SiriusXM® Radio Service................................. 155
Playing a Disc ................................................... 156
Selecting Disc Mode ....................................... 156
Audio Screen Control ..................................... 157
Audio Menu ................................................... 158
Recommended CDs ........................................ 161
Playing Hard Disc Drive (HDD) Audio ............ 163
Selecting HDD Mode ...................................... 163
Recording a Music CD to HDD........................ 164
Audio Screen Control ..................................... 165
Audio Menu ................................................... 166
Playing an iPod® ............................................. 175
Selecting iPod® Mode .................................... 176
Audio Screen Control ..................................... 177
Audio Menu ................................................... 179
Song By Voice
TM (SBV) .................................... 182
Playing Internet Radio ..................................... 187
Selecting Internet Radio Mode........................ 187 Pandora® Menu ............................................ 188
Aha
TM Radio Menu ......................................... 189
Playing a USB Flash Drive ............................... 191
Selecting USB Mode....................................... 192
Audio Screen Control..................................... 193
Audio Menu .................................................. 194
Playing Bluetooth ® Audio............................. 197
Selecting Bluetooth ® Audio Mode ................ 197
Audio Screen Control..................................... 198
Page 135 of 325
134
Audio
Audio System
About Your Audio System
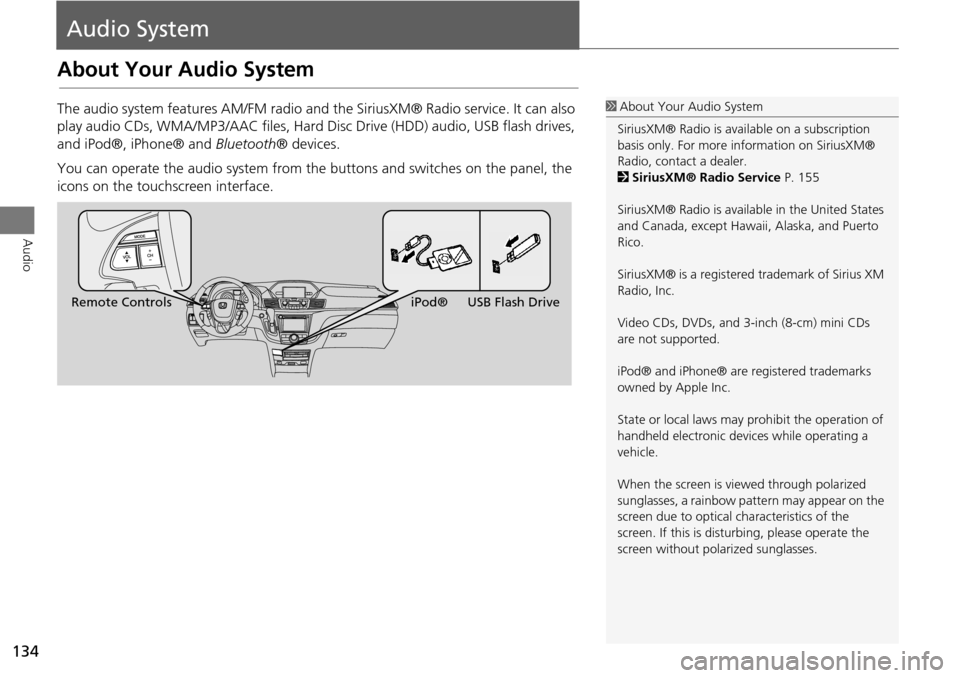
The audio system features AM/FM radio and the SiriusXM® Radio service. It can also
play audio CDs, WMA/MP3/AAC fi les, Hard Disc Drive (HDD) audio, USB flash drives,
and iPod®, iPhone® and Bluetooth® devices.
You can operate the audio system from the buttons and switches on the panel, the
icons on the touchscreen interface.1 About Your Audio System
SiriusXM® Radio is avai lable on a subscription
basis only. For more information on SiriusXM®
Radio, contact a dealer.
2 SiriusXM® Radio Service P. 155
SiriusXM® Radio is available in the United States
and Canada, except Hawa ii, Alaska, and Puerto
Rico.
SiriusXM® is a registered trademark of Sirius XM
Radio, Inc.
Video CDs, DVDs, and 3-inch (8-cm) mini CDs
are not supported.
iPod® and iPhone® are registered trademarks
owned by Apple Inc.
State or local laws may prohibit the operation of
handheld electronic devices while operating a
vehicle.
When the screen is vi ewed through polarized
sunglasses, a rainbow pattern may appear on the
screen due to optical characteristics of the
screen. If this is distur bing, please operate the
screen without polarized sunglasses.
Remote Controls iPod® USB Flash Drive
Page 136 of 325
135
Audio SystemUSB Port
Audio
USB Port
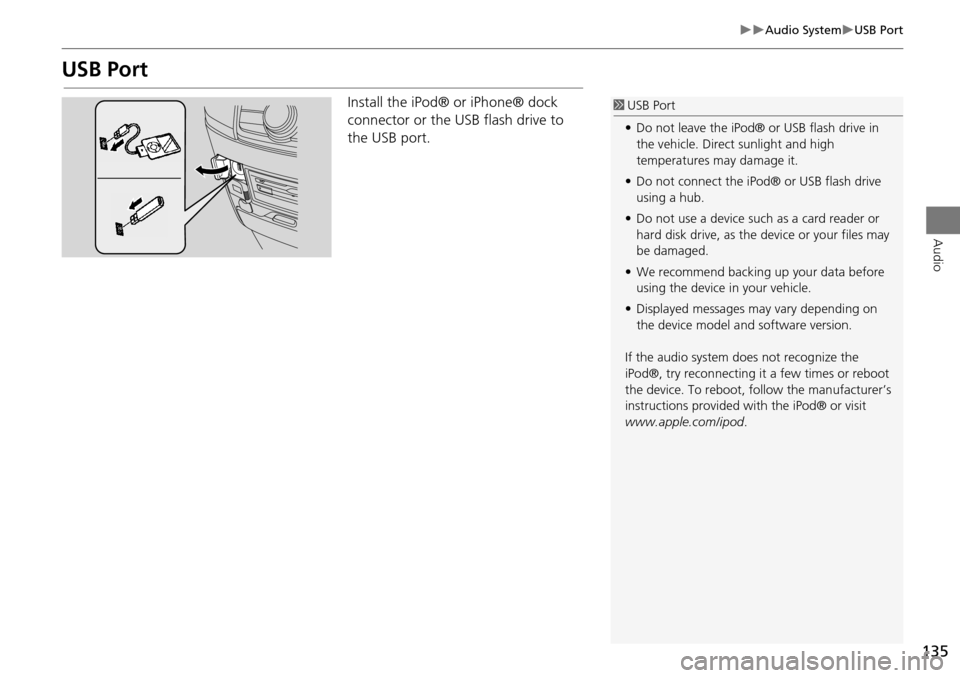
Install the iPod® or iPhone® dock
connector or the USB flash drive to
the USB port.1 USB Port
• Do not leave the iPod® or USB flash drive in
the vehicle. Direct sunlight and high
temperatures may damage it.
• Do not connect the iPod® or USB flash drive
using a hub.
• Do not use a device such as a card reader or
hard disk drive, as the device or your files may
be damaged.
• We recommend backing up your data before
using the device in your vehicle.
• Displayed messages may vary depending on
the device model a nd software version.
If the audio system does not recognize the
iPod®, try reconnecting it a few times or reboot
the device. To reboot, fo llow the manufacturer’s
instructions provided wi th the iPod® or visit
www.apple.com/ipod.