HONDA S2000 2000 1.G Owners Manual
Manufacturer: HONDA, Model Year: 2000, Model line: S2000, Model: HONDA S2000 2000 1.GPages: 273, PDF Size: 21.58 MB
Page 131 of 273

128
Page 132 of 273
This section gives you tips on
starting the engine under various
conditions, and how to operate the
manual transmission.
It also includes
important information on parking
your car, and
the braking system.
Driving
Preparing to Drive ......................... 130
Starting the Engine ........................ 131
Starting in Cold Weather
at High Altitude .....................
132
6-speed Manual Transmission ..... 133
Recommended Shift Points ...... 134
Engine
Speed Limiter ............... 134
Reverse Lockout.. ...................... 134
Parking ............................................ 135
The Braking System ...................... 136
Brake Wear Indicators ..............
136
Brake System Design ................ 137
Anti-lock Brakes ........................ 137
Important Safety
Reminders ..........................
138
ABS Indicator ......................... 139
Driving in Bad Weather ................ 140
Towing a Trailer ............................ 141
Driving 129
Page 133 of 273
Preparing to Drive
You should do the following checks
and adjustments every day before
you drive
your car.
1. Make sure all windows, mirrors,
and outside lights
are clean and
unobstructed. Remove frost, snow,
or ice.
2. Check that the hood and trunk are
fully closed.
3. Visually check the tires. If a tire
looks low,
use a gauge to check its
pressure.
130 Driving
4. Check that any items you may be
carrying with you inside are stored
properly or fastened down
securely.
5. Check the adjustment of the seat
(see page 68 ) .
6. Check the adjustment of the
inside and outside mirrors (see
page
79 ).
7. Make sure the doors are securely
closed and locked.
8. Fasten your seat belt. Check that
your passenger has fastened his
seat belt (see page 15 ) .
9. Turn the ignition switch ON (II).
Check
the indicator lights in the
instrument panel.
10.Start
the engine (see page 131 ) .
1l.Check the gauges and indicator
lights in
the instrument panel (see
page
43 ).
Page 134 of 273
1. Apply the parking brake.
2. In cold weather, turn off all
electrical accessories to reduce
the drain on the battery.
3. Push the clutch pedal down all the
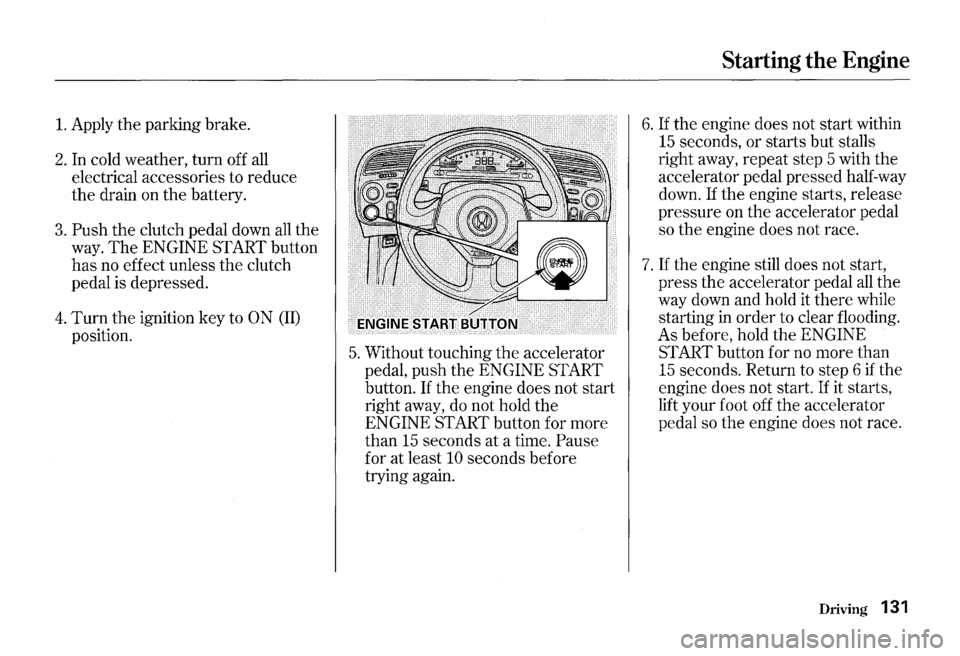
way. The ENGINE SfARTbutton
has no effect unless the clutch
pedal is depressed.
4. Turn the ignition key to ON (II)
position.
5. Without touching the accelerator
pedal, push
the ENGINE Sf ART
button.
If the engine does not start
right away, do not hold the
ENGINE Sf ART button for more
than
15 seconds at a time. Pause
for at least 10 seconds before
trying again.
Starting the Engine
6. If the engine does not start within
15 seconds, or starts but stalls
right away, repeat step 5 with
the
accelerator pedal pressed half-way
down.
If the engine starts, release
pressure on the accelerator pedal
so
the engine does not race.
7. If the engine still does not start,
press the accelerator pedal all the
way down and hold it there while
starting in
order to clear flooding.
As before, hold
the ENGINE
Sf ART button for no more than
15 seconds. Return to step 6 if the
engine does not start. If it starts,
lift your foot off
the accelerator
pedal so
the engine does not race.
Driving 131
Page 135 of 273
Starting the Engine
Starting in Cold Weather at High
Altitude (Above
8,000 feet/
2,400 meters)
An engine is harder to start in cold
weather.
The thinner air found at
high altitude above
8,000 feet (2,400
meters) adds to the problem.
132 Driving
Use the following procedure:
1. Turn off all electrical accessories
to reduce the drain on
the battery.
2. Push the accelerator pedal half
way to
the floor and hold it there
while starting the engine. Do not
hold the ENGINE START button
for more than
15 seconds. When
the engine starts, release
the
accelerator pedal gradually as the
engine speeds up and smooths out.
3. If the engine fails to start in step 2,
push the accelerator pedal to the
floor and hold it there while you
try to start the engine for no more
than
15 seconds. If the engine
does not start, return to step
2.
Page 136 of 273
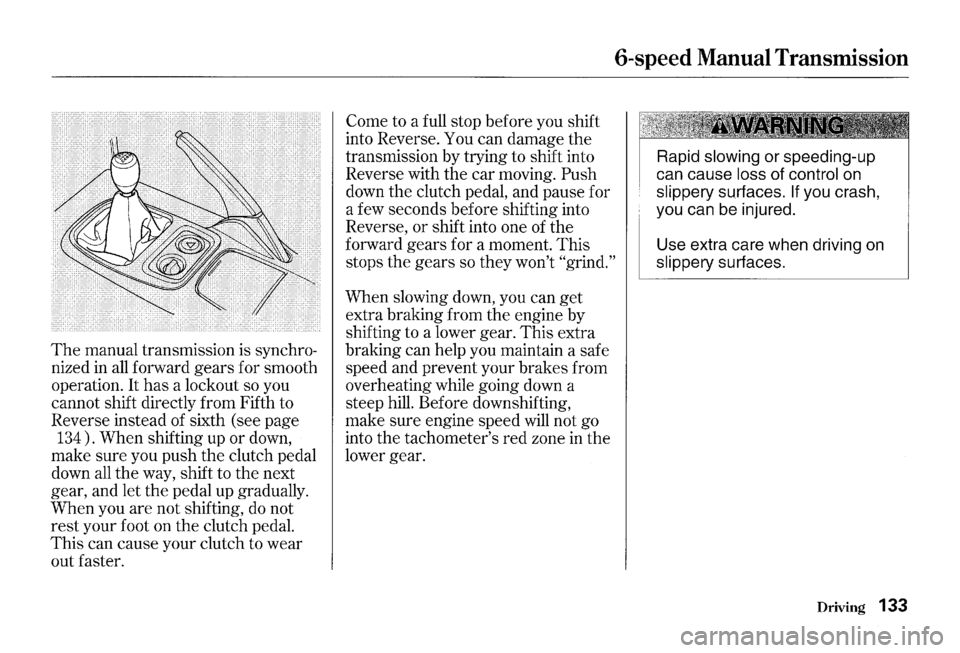
The manual transmission is synchro
nized
in all forward gears for smooth
operation.
It has a lockout so you
cannot shift directly from Fifth to
Reverse instead of sixth (see page
134). When shifting up or down,
make sure you push the clutch pedal
down all the way, shift to the next
gear, and let the pedal up gradually.
When you are not shifting,
do not
rest your foot on the clutch pedal.
This can cause your clutch to wear
out faster.
6-speed Manual Transmission
Come to a full stop before you shift
into Reverse.
You can damage the
transmission by trying to shift into
Reverse with the car moving.
Push
down the clutch pedal, and pause for
a few seconds before shifting into
Reverse, or shift into one of the
forward gears for a moment. This
stops the gears so they won't
"grind."
When slowing down, you can get
extra braking from the engine by
shifting to a lower gear. This extra
braking can help you maintain a safe
speed and prevent your brakes from
overheating while going down a
steep hill. Before downshifting,
make sure engine speed will not go
into the tachometer's red zone
in the
lower gear.
Rapid slowing or speeding-up
can cause
loss of control on
slippery surfaces. If you crash,
you can be injured.
Use extra care when driving
on
slippery surfaces.
Driving 133
Page 137 of 273
6-speed Manual Transmission
Recommended Shift Points
Drive in the highest gear that lets
the engine run and accelerate
smoothly. This
will give you the best
fuel economy and effective emis
sions control.
The following shift
points are recommended:
Shift
Up Normal Acceleration
1st to 2nd
15 mph (24 km/h)
2nd to 3rd 25 mph (40 km/h)
3rd to 4th 40 mph (64 km/h)
4th to 5th 47 mph (75 km/h)
5th to 6th 52 mph (83 km/h)
134 Driving
Engine Speed Limiter Reverse Lockout
If you exceed the maximum speed
for the gear you are in, the engine
speed will enter into the tachometer's
red zone. If this occurs, you may feel
the engine cut
in and out. This is
caused by a limiter in the engine's
computer controls.
The engine will
run normally when you reduce the
RPM below the red zone.
Before downshifting, make sure the
engine will not go into
the
tachometer's red zone in the lower
gear.
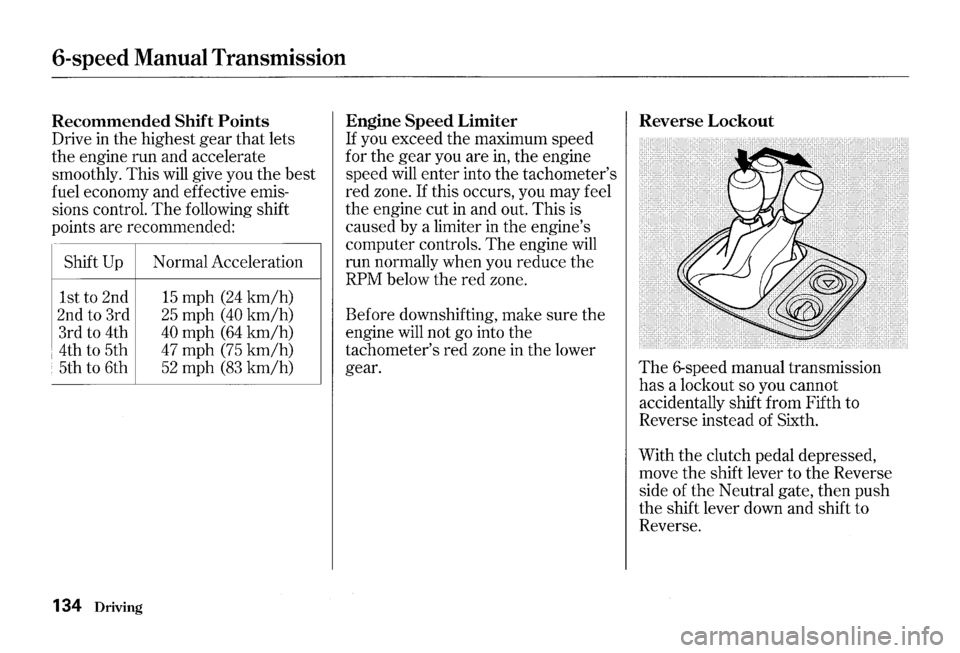
The 6-speed manual transmission
has a lockout so you cannot
accidentally shift from Fifth to
Reverse instead of Sixth.
With the clutch pedal depressed,
move
the shift lever to the Reverse
side of
the Neutral gate, then push
the shift lever down and shift to
Reverse.
Page 138 of 273
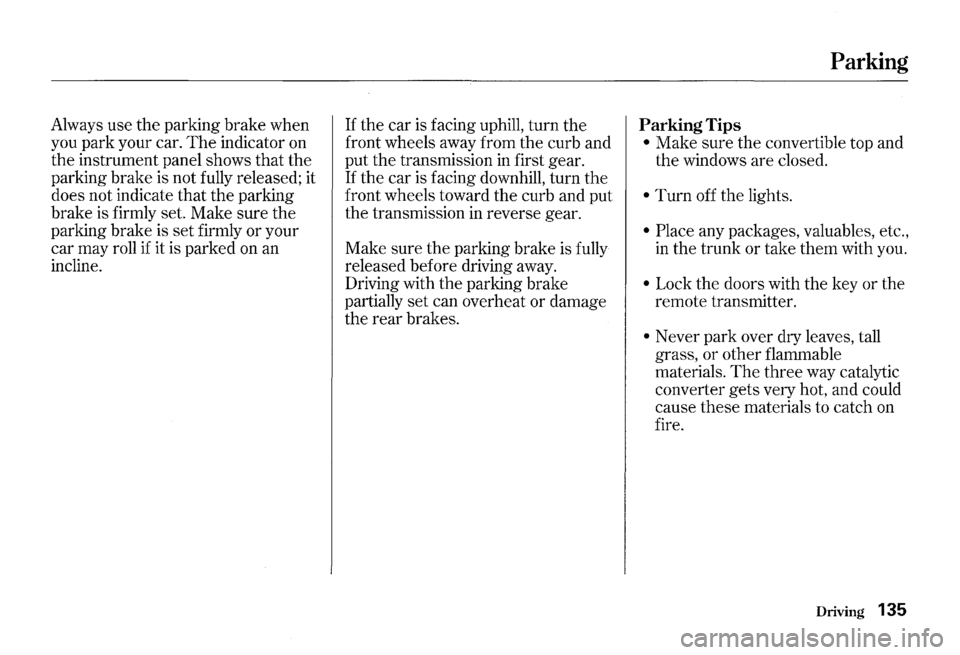
Always use the parking brake when
you park your car.
The indicator on
the instrument panel shows that the
parking brake is not fully released; it
does not indicate that the parking
brake is firmly set. Make sure the
parking brake is set firmly or your
car may roll
if it is parked on an
incline. If
the car is facing uphill, turn the
front wheels away from the curb and
put
the transmission in first gear.
If the car is facing downhill, turn the
front wheels toward the curb and put
the transmission
in reverse gear.
Make sure the parking brake is fully
released before driving away.
Driving with the parking brake
partially set can overheat or damage
the rear brakes.
Parking
Parking Tips
• Make sure the convertible top and
the windows are closed.
• Turn off the lights.
• Place any packages, valuables, etc.,
in the trunk or take them with you.
• Lock the doors with the key or the
remote transmitter.
• Never park over dry leaves, tall
grass, or other flammable
materials.
The three way catalytic
converter gets very hot, and could
cause these materials to catch on
fire.
Driving 135
Page 139 of 273
The Braking System
Your Honda is equipped with disc
brakes at
all four wheels. A power
assist helps reduce the effort needed
on the brake pedal.
The ABS helps
you retain steering control when
braking very hard.
Put your foot on the brake pedal only
when you intend to brake. Resting
your foot on the pedal keeps the
brakes applied lightly, causing them
to build up heat. Heat build-up can
reduce how well your brakes work.
It
also keeps your brake lights on all
the time, confusing drivers behind
you.
136 Driving
Constant application of the brakes
when going down a long hill builds
up heat and reduces their effective
ness.
Use the engine to assist the
brakes by downshifting to a lower
gear and taking your foot off the
accelerator pedal.
Check your brakes after driving
through deep water. Apply the
brakes moderately to see
if they feel
normal.
If not, apply them gently and
frequently until they
do. Since a
longer distance is needed to stop
with wet brakes, be extra cautious
and alert in your driving.
Brake Wear Indicators
All four brakes have audible brake
wear indicators.
When the brake pads need replacing,
you will
hear a distinctive metallic
"screeching" sound when you apply
the brakes.
If you do not have the
brake pads replaced, they will begin
screeching
all the time.
Your brakes may sometimes squeal
or squeak when you apply
them
lightly. Do not confuse this with the
brake wear indicators.
They make a
very audible
"screeching."
Page 140 of 273
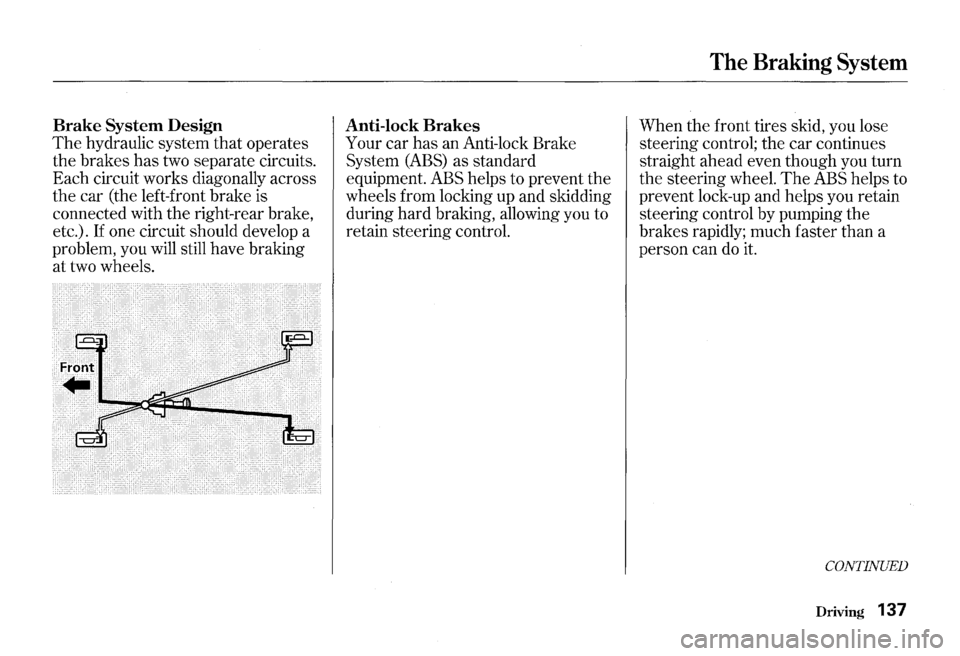
Brake System Design
The hydraulic system that operates
the brakes has two separate circuits.
Each circuit works diagonally across
the car (the left-front brake is
connected with the right-rear brake,
etc.).
If one circuit should develop a
problem, you will still have braking
at two wheels.
Anti-lock Brakes
Your car has an Anti-lock Brake
System
(ABS) as standard
equipment. ABS helps to prevent the
wheels from locking up and skidding
during hard braking, allowing you to
retain steering control.
The Braking System
When the front tires skid, you lose
steering control; the car continues
straight ahead even though you turn
the steering wheel.
The ABS helps to
prevent lock-up and helps you retain
steering control by pumping the
brakes rapidly; much faster than a
person can do
it.
CONTINUED
Driving 137