lock Hyundai Atos 2002 Repair Manual
[x] Cancel search | Manufacturer: HYUNDAI, Model Year: 2002, Model line: Atos, Model: Hyundai Atos 2002Pages: 249, PDF Size: 3.11 MB
Page 168 of 249
FEATURES OF YOUR HYUNDAI 1-31
o Always drive your vehicle at a moderate
speed.
o To use the roof rails as a roof rack, you must fit the roof rails with two or more crossrails or equivalent.
WARNING:
o In case of hectical steering movements or bad fixation the luggage can fall fromthe vehicle and injure persons or prop-erty. Make sure that the luggage is prop-erly fixed and avoid sudden movement(e.g.dashing start, fast turningmanoeuvres, hard cornering, suddenbraking) Check frequently whether theroof rack is properly fastened.
o Voluminous, large, long or flat objects can change the aerodynamic drag of ve-hicle or can suddenly been lifted by thewind. The driver could lose control of thecar and provoke an accident and injuries.For this reason, drive at reduced speedwhen you transport such objects.
o The maximum load limit of the roof rack including luggage load is 66 lb.
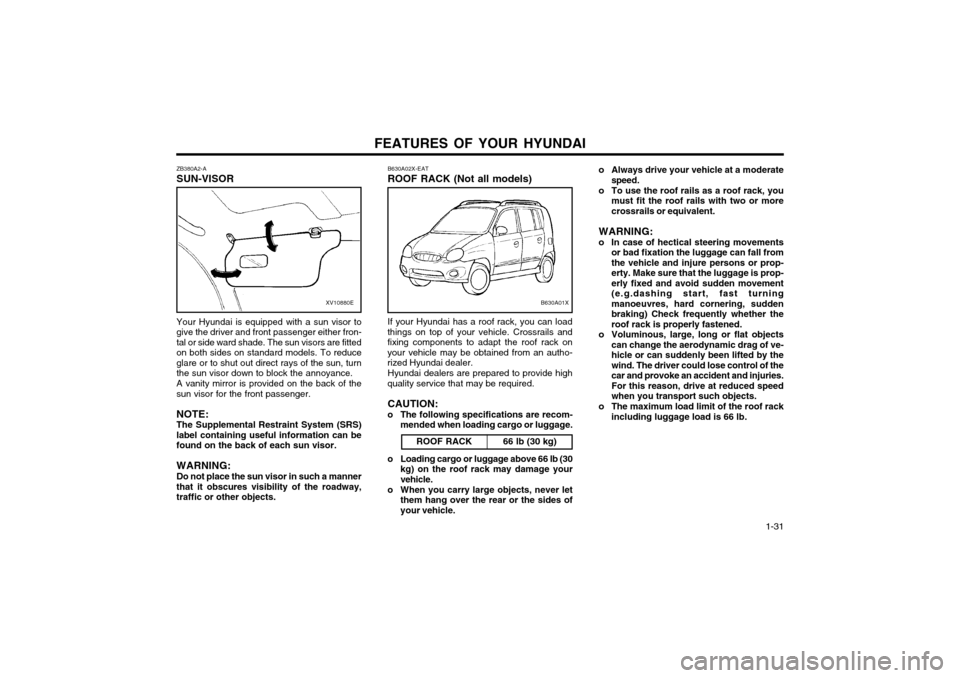
ZB380A2-A SUN-VISOR
XV10880E
Your Hyundai is equipped with a sun visor to give the driver and front passenger either fron-tal or side ward shade. The sun visors are fittedon both sides on standard models. To reduceglare or to shut out direct rays of the sun, turnthe sun visor down to block the annoyance. A vanity mirror is provided on the back of the sun visor for the front passenger. NOTE: The Supplemental Restraint System (SRS)label containing useful information can befound on the back of each sun visor. WARNING: Do not place the sun visor in such a manner that it obscures visibility of the roadway,traffic or other objects. B630A02X-EAT ROOF RACK (Not all models)
ROOF RACKIf your Hyundai has a roof rack, you can load
things on top of your vehicle. Crossrails and fixing components to adapt the roof rack onyour vehicle may be obtained from an autho-rized Hyundai dealer.
Hyundai dealers are prepared to provide high
quality service that may be required.
CAUTION:
o The following specifications are recom- mended when loading cargo or luggage.
66 lb (30 kg)
B630A01X
o Loading cargo or luggage above 66 lb (30kg) on the roof rack may damage your vehicle.
o When you carry large objects, never let them hang over the rear or the sides ofyour vehicle.
Page 173 of 249
FEATURES OF YOUR HYUNDAI
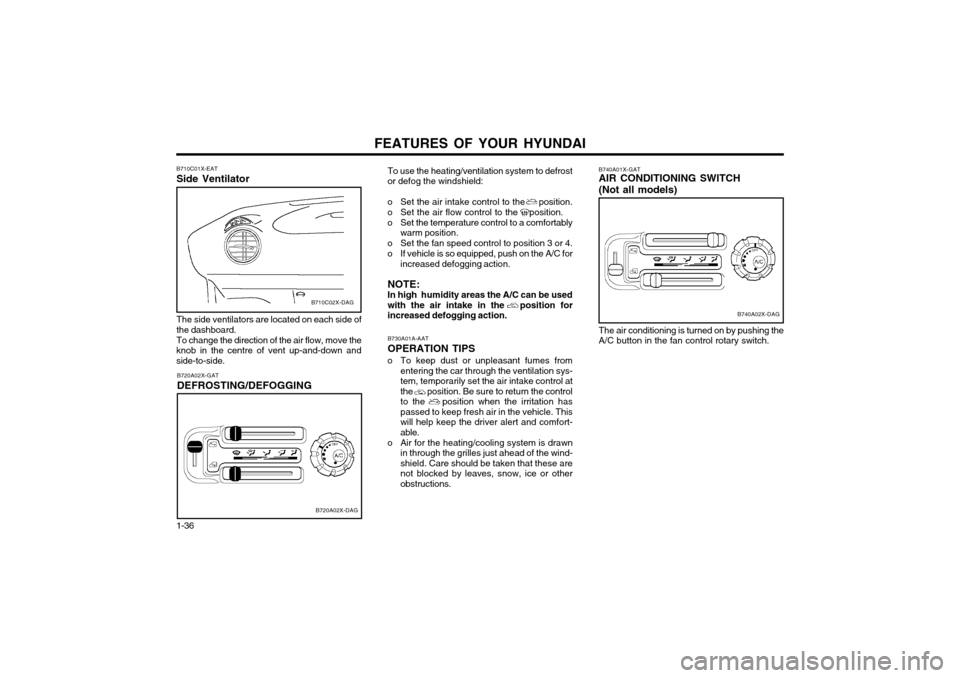
1-36 To use the heating/ventilation system to defrost or defog the windshield:
o Set the air intake control to the position.
o Set the air flow control to the position.
o Set the temperature control to a comfortably warm position.
o Set the fan speed control to position 3 or 4.
o If vehicle is so equipped, push on the A/C for increased defogging action.
NOTE: In high humidity areas the A/C can be usedwith the air intake in the position forincreased defogging action.
B730A01A-AAT OPERATION TIPS
o To keep dust or unpleasant fumes from entering the car through the ventilation sys-
tem, temporarily set the air intake control atthe position. Be sure to return the controlto the position when the irritation haspassed to keep fresh air in the vehicle. Thiswill help keep the driver alert and comfort-able.
o Air for the heating/cooling system is drawn in through the grilles just ahead of the wind-shield. Care should be taken that these arenot blocked by leaves, snow, ice or otherobstructions.
B740A01X-GAT AIR CONDITIONING SWITCH (Not all models)
B740A02X-DAG
The air conditioning is turned on by pushing the A/C button in the fan control rotary switch.
B710C02X-DAG
B710C01X-EAT Side Ventilator
B720A02X-DAG
B720A02X-GAT DEFROSTING/DEFOGGING
The side ventilators are located on each side of the dashboard.To change the direction of the air flow, move the
knob in the centre of vent up-and-down and side-to-side.
Page 176 of 249
FEATURES OF YOUR HYUNDAI 1-39
B750B02Y-AAT Using a cellular phone or a two-way radio When a cellular phone is used inside the vehi- cle, noise may be produced from the audioequipment. This does not mean that somethingis wrong with the audio equipment. In such acase, use the cellular phone at a place as far aspossible from the audio equipment. CAUTION: When using a communication system sucha cellular phone or a radio set inside thevehicle, a separate external antenna mustbe fitted. When a cellular phone or a radioset is used by using an internal antennaalone, it may interfere with the vehicle'selectrical system and adversely affect safeoperation of the vehicle. WARNING: Don't use a cellular phone when you are driving, you must stop the car at the safeplace to use a cellular phone.
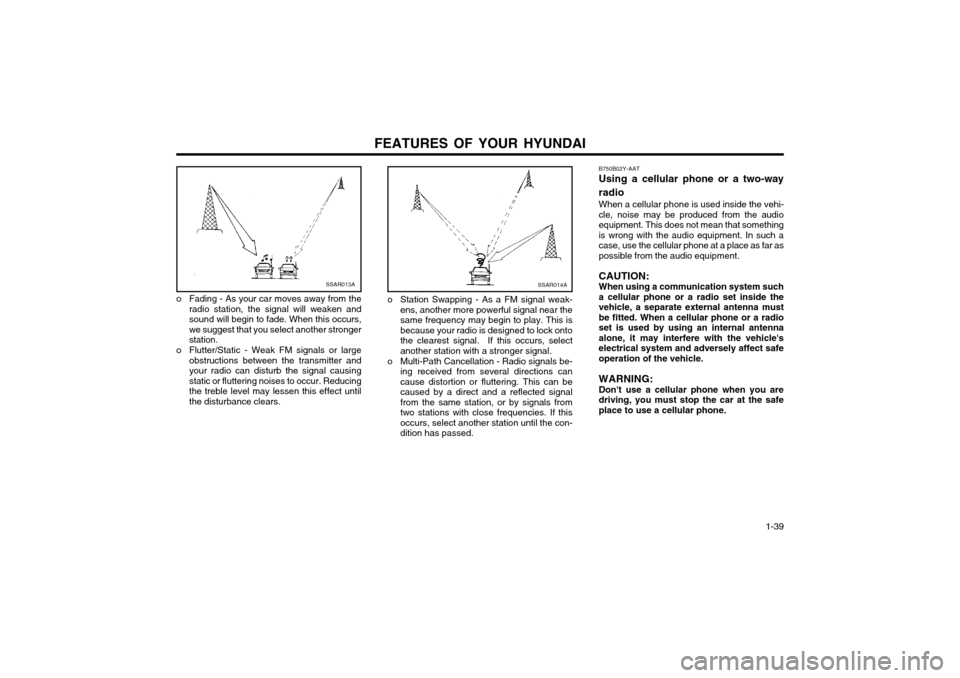
SSAR013A
o Fading - As your car moves away from the radio station, the signal will weaken and sound will begin to fade. When this occurs,we suggest that you select another strongerstation.
o Flutter/Static - Weak FM signals or large obstructions between the transmitter andyour radio can disturb the signal causingstatic or fluttering noises to occur. Reducingthe treble level may lessen this effect untilthe disturbance clears.SSAR014A
o Station Swapping - As a FM signal weak-ens, another more powerful signal near the same frequency may begin to play. This isbecause your radio is designed to lock ontothe clearest signal. If this occurs, selectanother station with a stronger signal.
o Multi-Path Cancellation - Radio signals be- ing received from several directions cancause distortion or fluttering. This can becaused by a direct and a reflected signalfrom the same station, or by signals fromtwo stations with close frequencies. If thisoccurs, select another station until the con-dition has passed.
Page 178 of 249
FEATURES OF YOUR HYUNDAI 1-41
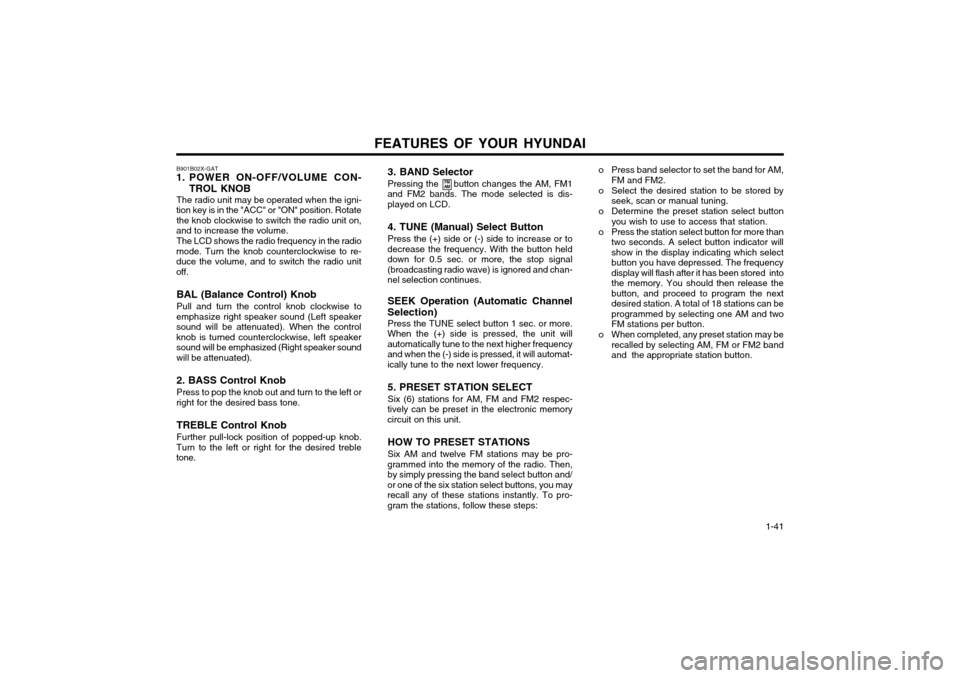
3. BAND Selector Pressing the button changes the AM, FM1
and FM2 bands. The mode selected is dis- played on LCD.
4. TUNE (Manual) Select Button Press the (+) side or (-) side to increase or to
decrease the frequency. With the button held down for 0.5 sec. or more, the stop signal(broadcasting radio wave) is ignored and chan-nel selection continues.
SEEK Operation (Automatic Channel
Selection) Press the TUNE select button 1 sec. or more.
When the (+) side is pressed, the unit willautomatically tune to the next higher frequencyand when the (-) side is pressed, it will automat-ically tune to the next lower frequency.
5. PRESET STATION SELECT Six (6) stations for AM, FM and FM2 respec-
tively can be preset in the electronic memory circuit on this unit.
HOW TO PRESET STATIONS Six AM and twelve FM stations may be pro-
grammed into the memory of the radio. Then, by simply pressing the band select button and/or one of the six station select buttons, you mayrecall any of these stations instantly. To pro-gram the stations, follow these steps:
B901B02X-GAT
1. POWER ON-OFF/VOLUME CON-
TROL KNOB
The radio unit may be operated when the igni-
tion key is in the "ACC" or "ON" position. Rotate the knob clockwise to switch the radio unit on,
and to increase the volume.
The LCD shows the radio frequency in the radio
mode. Turn the knob counterclockwise to re-duce the volume, and to switch the radio unitoff.
BAL (Balance Control) Knob Pull and turn the control knob clockwise to
emphasize right speaker sound (Left speaker sound will be attenuated). When the controlknob is turned counterclockwise, left speakersound will be emphasized (Right speaker sound
will be attenuated). 2. BASS Control Knob Press to pop the knob out and turn to the left or
right for the desired bass tone.
TREBLE Control Knob Further pull-lock position of popped-up knob.
Turn to the left or right for the desired treble tone.
FM
AMo Press band selector to set the band for AM,
FM and FM2.
o Select the desired station to be stored by seek, scan or manual tuning.
o Determine the preset station select button you wish to use to access that station.
o Press the station select button for more than two seconds. A select button indicator will show in the display indicating which selectbutton you have depressed. The frequencydisplay will flash after it has been stored intothe memory. You should then release thebutton, and proceed to program the nextdesired station. A total of 18 stations can beprogrammed by selecting one AM and twoFM stations per button.
o When completed, any preset station may be recalled by selecting AM, FM or FM2 bandand the appropriate station button.
Page 180 of 249
FEATURES OF YOUR HYUNDAI 1-43
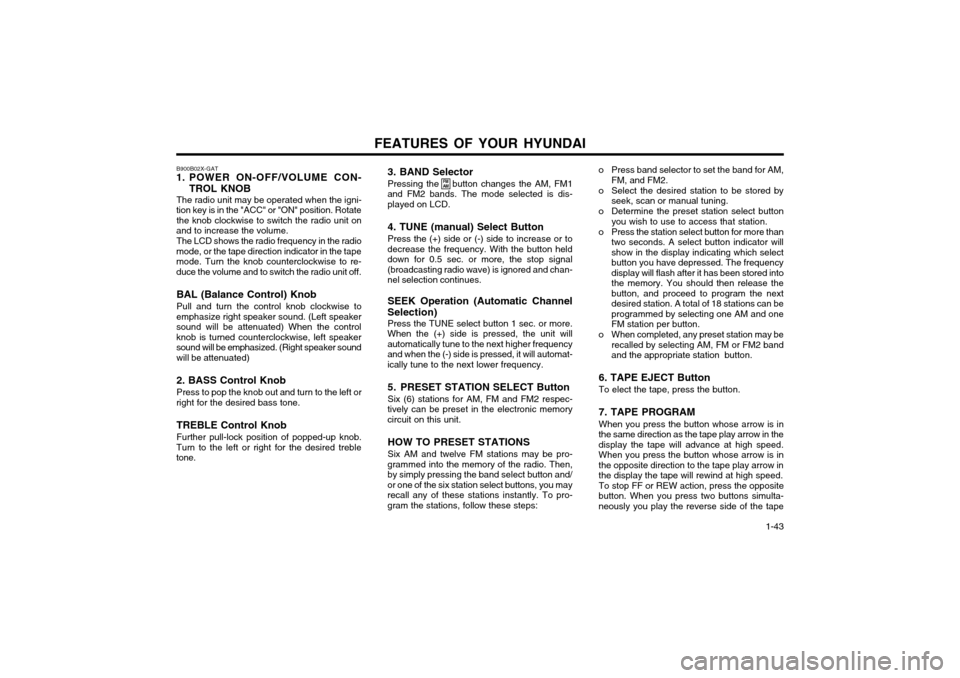
B900B02X-GAT
1. POWER ON-OFF/VOLUME CON-
TROL KNOB
The radio unit may be operated when the igni-
tion key is in the "ACC" or "ON" position. Rotate the knob clockwise to switch the radio unit on
and to increase the volume.
The LCD shows the radio frequency in the radio
mode, or the tape direction indicator in the tape mode. Turn the knob counterclockwise to re-duce the volume and to switch the radio unit off.
BAL (Balance Control) Knob Pull and turn the control knob clockwise to
emphasize right speaker sound. (Left speaker sound will be attenuated) When the controlknob is turned counterclockwise, left speakersound will be emphasized. (Right speaker sound
will be attenuated) 2. BASS Control Knob Press to pop the knob out and turn to the left or
right for the desired bass tone.
TREBLE Control Knob Further pull-lock position of popped-up knob.
Turn to the left or right for the desired treble tone. 3. BAND Selector Pressing the button changes the AM, FM1
and FM2 bands. The mode selected is dis- played on LCD.
4. TUNE (manual) Select Button Press the (+) side or (-) side to increase or to
decrease the frequency. With the button held down for 0.5 sec. or more, the stop signal(broadcasting radio wave) is ignored and chan-nel selection continues.
SEEK Operation (Automatic Channel
Selection) Press the TUNE select button 1 sec. or more.
When the (+) side is pressed, the unit willautomatically tune to the next higher frequencyand when the (-) side is pressed, it will automat-ically tune to the next lower frequency.
5. PRESET STATION SELECT Button Six (6) stations for AM, FM and FM2 respec-
tively can be preset in the electronic memory circuit on this unit.
HOW TO PRESET STATIONS Six AM and twelve FM stations may be pro-
grammed into the memory of the radio. Then, by simply pressing the band select button and/or one of the six station select buttons, you mayrecall any of these stations instantly. To pro-gram the stations, follow these steps:
FM AMo Press band selector to set the band for AM, FM, and FM2.
o Select the desired station to be stored by seek, scan or manual tuning.
o Determine the preset station select button you wish to use to access that station.
o Press the station select button for more than two seconds. A select button indicator will show in the display indicating which selectbutton you have depressed. The frequencydisplay will flash after it has been stored intothe memory. You should then release thebutton, and proceed to program the nextdesired station. A total of 18 stations can beprogrammed by selecting one AM and oneFM station per button.
o When completed, any preset station may be recalled by selecting AM, FM or FM2 bandand the appropriate station button.
6. TAPE EJECT Button To elect the tape, press the button. 7. TAPE PROGRAM When you press the button whose arrow is in
the same direction as the tape play arrow in the display the tape will advance at high speed.When you press the button whose arrow is inthe opposite direction to the tape play arrow inthe display the tape will rewind at high speed. To stop FF or REW action, press the opposite
button. When you press two buttons simulta-neously you play the reverse side of the tape
Page 181 of 249
FEATURES OF YOUR HYUNDAI
1-44
and an arrow will appear in the display to show tape direction.
8. FAD (Fader Control) Knob Turn the control knob clockwise to emphasize
front speaker sound (Rear speaker sound will be attenuated). When the control knob is turnedcounterclockwise, rear speaker sound will beemphasized (Front speaker sound will be atten-uated).
Page 183 of 249
FEATURES OF YOUR HYUNDAI
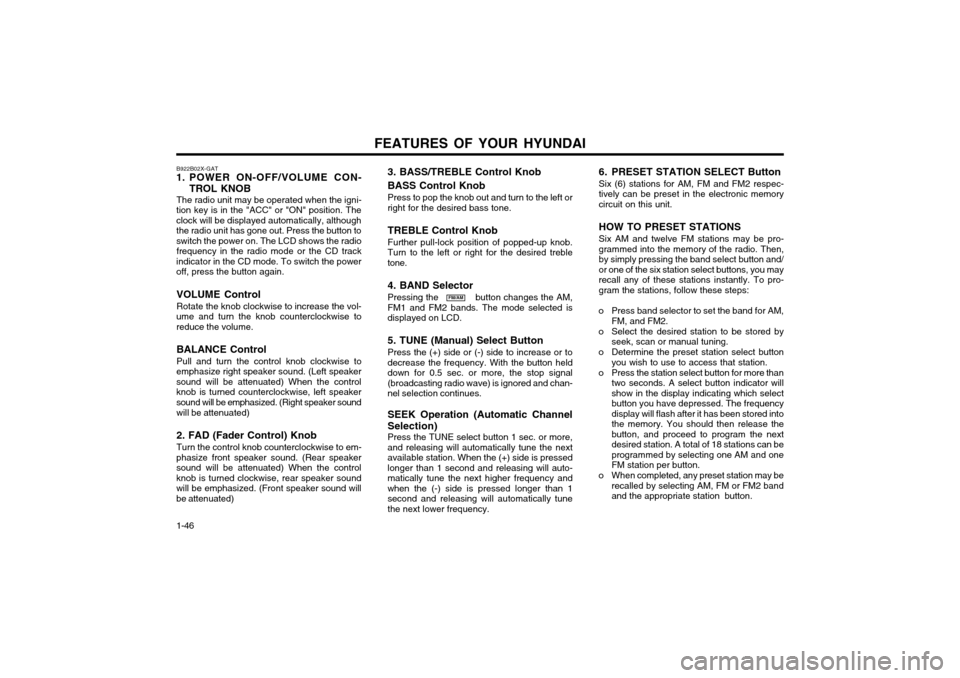
1-46 B922B02X-GAT
1. POWER ON-OFF/VOLUME CON-
TROL KNOB
The radio unit may be operated when the igni-
tion key is in the "ACC" or "ON" position. The clock will be displayed automatically, althoughthe radio unit has gone out. Press the button toswitch the power on. The LCD shows the radio frequency in the radio mode or the CD track
indicator in the CD mode. To switch the poweroff, press the button again.
VOLUME Control Rotate the knob clockwise to increase the vol-
ume and turn the knob counterclockwise to reduce the volume.
BALANCE Control Pull and turn the control knob clockwise to
emphasize right speaker sound. (Left speaker sound will be attenuated) When the controlknob is turned counterclockwise, left speakersound will be emphasized. (Right speaker sound
will be attenuated) 2. FAD (Fader Control) Knob Turn the control knob counterclockwise to em-
phasize front speaker sound. (Rear speaker sound will be attenuated) When the controlknob is turned clockwise, rear speaker soundwill be emphasized. (Front speaker sound willbe attenuated)
FM/AM 6. PRESET STATION SELECT Button Six (6) stations for AM, FM and FM2 respec- tively can be preset in the electronic memorycircuit on this unit. HOW TO PRESET STATIONS Six AM and twelve FM stations may be pro- grammed into the memory of the radio. Then,by simply pressing the band select button and/or one of the six station select buttons, you mayrecall any of these stations instantly. To pro-gram the stations, follow these steps:
o Press band selector to set the band for AM, FM, and FM2.
o Select the desired station to be stored by seek, scan or manual tuning.
o Determine the preset station select button you wish to use to access that station.
o Press the station select button for more than two seconds. A select button indicator willshow in the display indicating which selectbutton you have depressed. The frequencydisplay will flash after it has been stored intothe memory. You should then release thebutton, and proceed to program the nextdesired station. A total of 18 stations can beprogrammed by selecting one AM and oneFM station per button.
o When completed, any preset station may be recalled by selecting AM, FM or FM2 bandand the appropriate station button.
3. BASS/TREBLE Control Knob BASS Control Knob Press to pop the knob out and turn to the left or right for the desired bass tone. TREBLE Control Knob Further pull-lock position of popped-up knob. Turn to the left or right for the desired trebletone. 4. BAND Selector Pressing the button changes the AM, FM1 and FM2 bands. The mode selected isdisplayed on LCD. 5. TUNE (Manual) Select Button Press the (+) side or (-) side to increase or to decrease the frequency. With the button helddown for 0.5 sec. or more, the stop signal(broadcasting radio wave) is ignored and chan-nel selection continues. SEEK Operation (Automatic Channel Selection) Press the TUNE select button 1 sec. or more, and releasing will automatically tune the nextavailable station. When the (+) side is pressedlonger than 1 second and releasing will auto-matically tune the next higher frequency andwhen the (-) side is pressed longer than 1second and releasing will automatically tunethe next lower frequency.
Page 191 of 249
DRIVING YOUR HYUNDAI
2- 2 C020A01A-EAT
BEFORE STARTING THE ENGINE
Before you start the engine, you should always:
o Look around the vehicle to be sure there are no flat tyres, puddles of oil or water or other indications of possible trouble.
o After entering the car, check to be sure the parking brake is engaged.
o Check that all windows, and lights are clean.
o Check that the interior and exterior mirrors are clean and in position.
o Check your seat, seatback and headrestraint to be sure they are in their proper positions.
o Lock all the doors.
o Fasten your seat belt and be sure that all other occupants have fastened theirs.
o Turn off all lights and accessories that are not needed.
o When you turn the ignition switch to "ON", check that all appropriate warning lights are operating and that you have sufficient fuel.
o Check the operation of warning lights and all bulbs when key is in the "ON" position. o To start the engine, insert the ignition key
and turn it to the "START" position. Releaseit as soon as the engine starts. Do not hold
the key in the "START" position for morethan 15 seconds.
NOTE: For safety, the engine will not start if the
shift lever is not in "P" or "N" Position (AutoT/A). ZC050A2-E
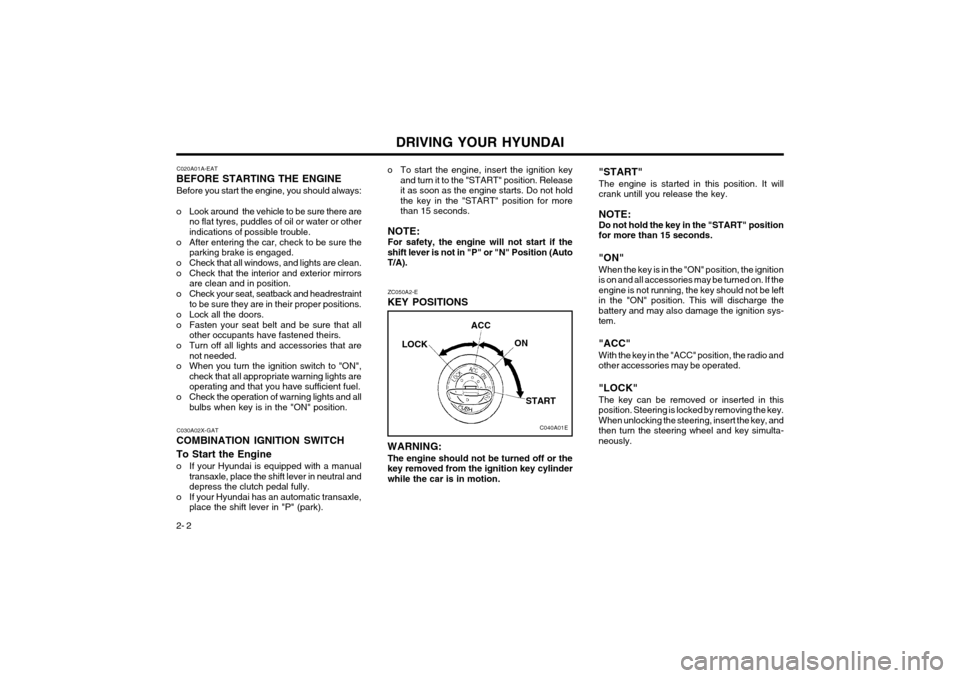
KEY POSITIONS "START"
The engine is started in this position. It will crank untill you release the key. NOTE: Do not hold the key in the "START" position for more than 15 seconds.
"ON" When the key is in the "ON" position, the ignition is on and all accessories may be turned on. If theengine is not running, the key should not be leftin the "ON" position. This will discharge thebattery and may also damage the ignition sys-tem. "ACC" With the key in the "ACC" position, the radio and other accessories may be operated. "LOCK" The key can be removed or inserted in this position. Steering is locked by removing the key.When unlocking the steering, insert the key, andthen turn the steering wheel and key simulta-neously.
C040A01E
LOCK
ACC
ON
STARTC030A02X-GAT
COMBINATION IGNITION SWITCH To Start the Engine
o If your Hyundai is equipped with a manual transaxle, place the shift lever in neutral and depress the clutch pedal fully.
o If your Hyundai has an automatic transaxle, place the shift lever in "P" (park). WARNING:
The engine should not be turned off or thekey removed from the ignition key cylinderwhile the car is in motion.
Page 193 of 249
DRIVING YOUR HYUNDAI
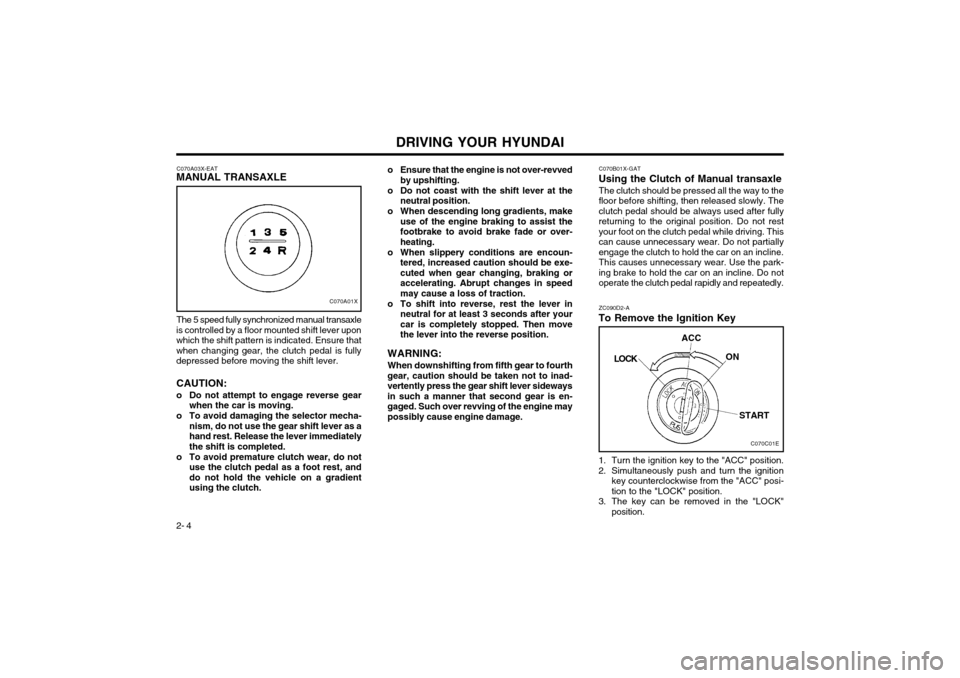
2- 4 1. Turn the ignition key to the "ACC" position.
2. Simultaneously push and turn the ignition
key counterclockwise from the "ACC" posi- tion to the "LOCK" position.
3. The key can be removed in the "LOCK" position.
C070B01X-GAT
Using the Clutch of Manual transaxle
The clutch should be pressed all the way to thefloor before shifting, then released slowly. Theclutch pedal should be always used after fullyreturning to the original position. Do not restyour foot on the clutch pedal while driving. Thiscan cause unnecessary wear. Do not partiallyengage the clutch to hold the car on an incline.This causes unnecessary wear. Use the park-
ing brake to hold the car on an incline. Do not
operate the clutch pedal rapidly and repeatedly. ZC090D2-A
To Remove the Ignition Key
C070A03X-EAT
MANUAL TRANSAXLE
C070A01X
The 5 speed fully synchronized manual transaxle
is controlled by a floor mounted shift lever upon which the shift pattern is indicated. Ensure thatwhen changing gear, the clutch pedal is fullydepressed before moving the shift lever. CAUTION:
o Do not attempt to engage reverse gear when the car is moving.
o To avoid damaging the selector mecha- nism, do not use the gear shift lever as a hand rest. Release the lever immediatelythe shift is completed.
o To avoid premature clutch wear, do not use the clutch pedal as a foot rest, anddo not hold the vehicle on a gradientusing the clutch. o Ensure that the engine is not over-revved
by upshifting.
o Do not coast with the shift lever at the neutral position.
o When descending long gradients, make use of the engine braking to assist thefootbrake to avoid brake fade or over-heating.
o When slippery conditions are encoun- tered, increased caution should be exe-cuted when gear changing, braking oraccelerating. Abrupt changes in speedmay cause a loss of traction.
o To shift into reverse, rest the lever in neutral for at least 3 seconds after yourcar is completely stopped. Then movethe lever into the reverse position.
WARNING: When downshifting from fifth gear to fourth
gear, caution should be taken not to inad-vertently press the gear shift lever sidewaysin such a manner that second gear is en-gaged. Such over revving of the engine maypossibly cause engine damage.
C070C01E
LOCK
ACC
ON
START
Page 194 of 249
DRIVING YOUR HYUNDAI 2- 5
1-2 2-3 3-44-5
Recommended
mph (km/h)
C070E02-GAT
RECOMMENDED SHIFT POINTS
The following shift speeds are recommended
for optimum fuel economy.
C090A01A-GAT
AUTOMATIC TRANSAXLE
(Not all models)
C090B01X-DAG
Condition
15 (20) 25 (40) 35 (55)45 (75)The highly efficient Hyundai automatic transaxle
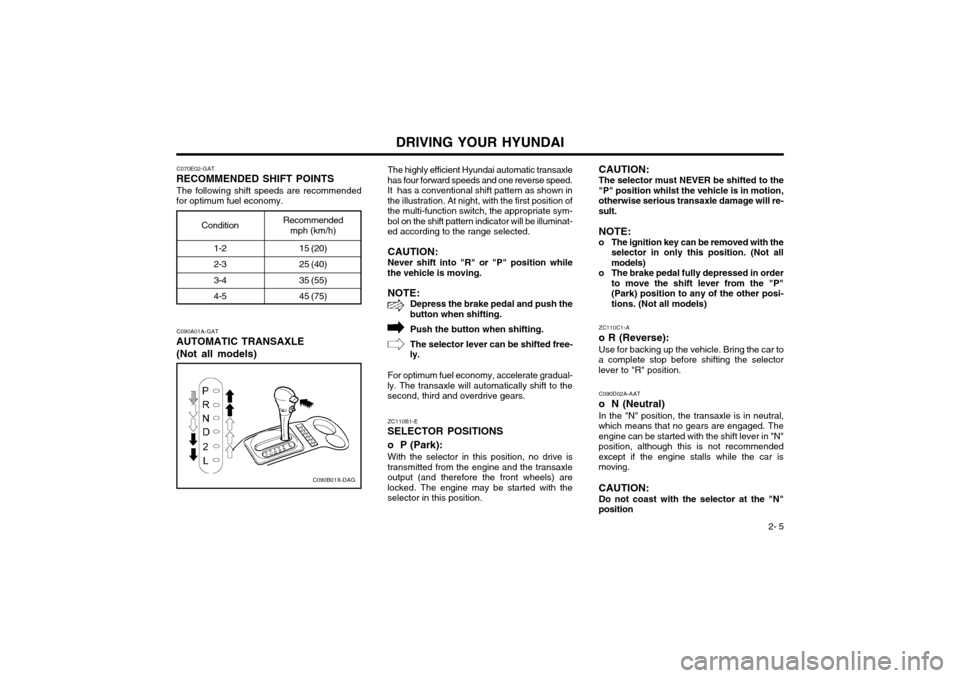
has four forward speeds and one reverse speed. It has a conventional shift pattern as shown inthe illustration. At night, with the first position ofthe multi-function switch, the appropriate sym-bol on the shift pattern indicator will be illuminat-ed according to the range selected.
CAUTION: Never shift into "R" or "P" position while
the vehicle is moving.
NOTE: Depress the brake pedal and push the
button when shifting.
Push the button when shifting. The selector lever can be shifted free-
ly.
For optimum fuel economy, accelerate gradual-
ly. The transaxle will automatically shift to the second, third and overdrive gears.
CAUTION: The selector must NEVER be shifted to the
"P" position whilst the vehicle is in motion, otherwise serious transaxle damage will re-sult.
NOTE:
o The ignition key can be removed with the selector in only this position. (Not allmodels)
o The brake pedal fully depressed in order to move the shift lever from the "P"(Park) position to any of the other posi-tions. (Not all models)
ZC110B1-E
SELECTOR POSITIONS o P (Park):
With the selector in this position, no drive is
transmitted from the engine and the transaxle output (and therefore the front wheels) arelocked. The engine may be started with theselector in this position. ZC110C1-A
o R (Reverse):
Use for backing up the vehicle. Bring the car to
a complete stop before shifting the selectorlever to "R" position.
C090D02A-AAT
o N (Neutral) In the "N" position, the transaxle is in neutral,
which means that no gears are engaged. Theengine can be started with the shift lever in "N"position, although this is not recommendedexcept if the engine stalls while the car ismoving. CAUTION:
Do not coast with the selector at the "N"
position