Hyundai H-1 (Grand Starex) 2006 Owner's Manual
Manufacturer: HYUNDAI, Model Year: 2006, Model line: H-1 (Grand Starex), Model: Hyundai H-1 (Grand Starex) 2006Pages: 284, PDF Size: 12.21 MB
Page 101 of 284
2 INSTRUMENTS AND CONTROLS
32
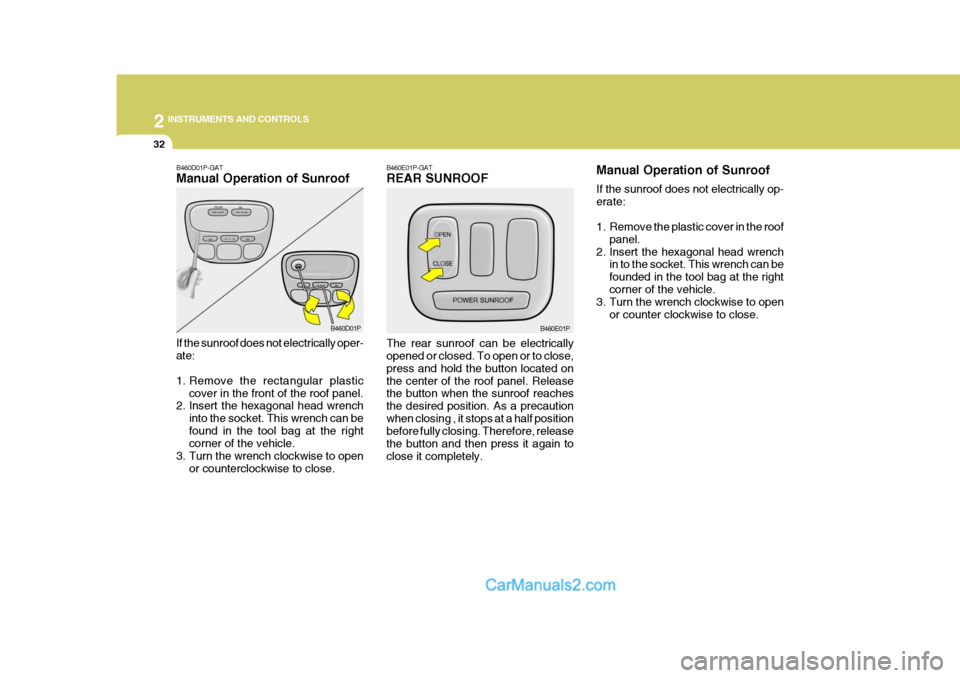
B460E01P-GAT REAR SUNROOF The rear sunroof can be electrically opened or closed. To open or to close, press and hold the button located onthe center of the roof panel. Release the button when the sunroof reaches the desired position. As a precautionwhen closing , it stops at a half position before fully closing. Therefore, release the button and then press it again toclose it completely. B460E01PManual Operation of Sunroof If the sunroof does not electrically op- erate:
1. Remove the plastic cover in the roof
panel.
2. Insert the hexagonal head wrench in to the socket. This wrench can be founded in the tool bag at the rightcorner of the vehicle.
3. Turn the wrench clockwise to open
or counter clockwise to close.B460D01P-GAT Manual Operation of Sunroof If the sunroof does not electrically oper- ate:
1. Remove the rectangular plasticcover in the front of the roof panel.
2. Insert the hexagonal head wrench
into the socket. This wrench can be found in the tool bag at the right corner of the vehicle.
3. Turn the wrench clockwise to open
or counterclockwise to close. B460D01P
Page 102 of 284
2
INSTRUMENTS AND CONTROLS
33SUNVISOR
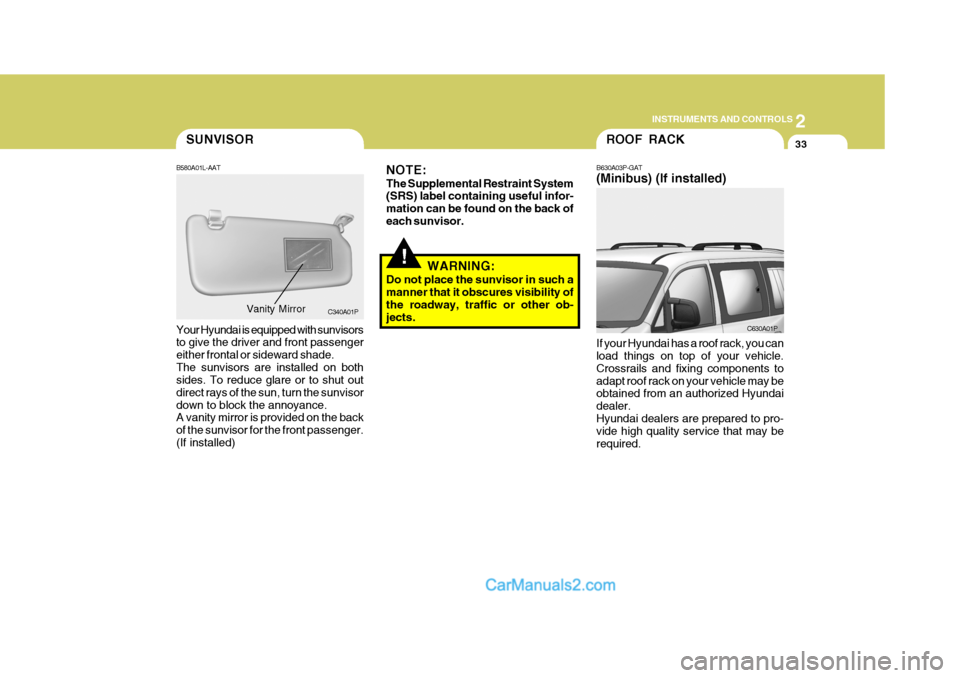
B580A01L-AAT Your Hyundai is equipped with sunvisors to give the driver and front passenger either frontal or sideward shade.The sunvisors are installed on both sides. To reduce glare or to shut out direct rays of the sun, turn the sunvisordown to block the annoyance. A vanity mirror is provided on the back of the sunvisor for the front passenger.(If installed) Vanity Mirror
C340A01PROOF RACK
B630A03P-GAT (Minibus) (If installed) If your Hyundai has a roof rack, you can load things on top of your vehicle. Crossrails and fixing components toadapt roof rack on your vehicle may be obtained from an authorized Hyundai dealer.Hyundai dealers are prepared to pro- vide high quality service that may be required. C630A01P
!
NOTE: The Supplemental Restraint System (SRS) label containing useful infor- mation can be found on the back ofeach sunvisor.
WARNING:
Do not place the sunvisor in such amanner that it obscures visibility of the roadway, traffic or other ob- jects.
Page 103 of 284
2 INSTRUMENTS AND CONTROLS
34MIRROR
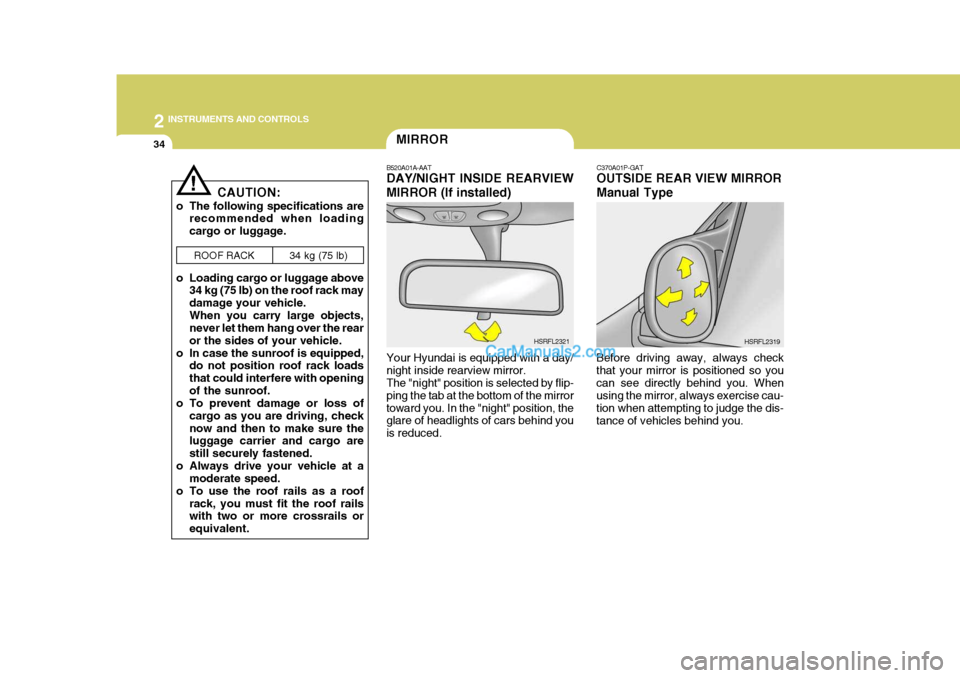
B520A01A-AAT DAY/NIGHT INSIDE REARVIEW MIRROR (If installed) Your Hyundai is equipped with a day/ night inside rearview mirror. The "night" position is selected by flip- ping the tab at the bottom of the mirrortoward you. In the "night" position, the glare of headlights of cars behind you is reduced. HSRFL2321C370A01P-GAT OUTSIDE REAR VIEW MIRROR Manual Type
Before driving away, always check that your mirror is positioned so youcan see directly behind you. When using the mirror, always exercise cau- tion when attempting to judge the dis-tance of vehicles behind you. HSRFL2319
CAUTION:
o The following specifications are recommended when loadingcargo or luggage.
o Loading cargo or luggage above 34 kg (75 lb) on the roof rack maydamage your vehicle.When you carry large objects, never let them hang over the rear or the sides of your vehicle.
o In case the sunroof is equipped, do not position roof rack loadsthat could interfere with openingof the sunroof.
o To prevent damage or loss of
cargo as you are driving, checknow and then to make sure the luggage carrier and cargo are still securely fastened.
o Always drive your vehicle at a moderate speed.
o To use the roof rails as a roof rack, you must fit the roof rails with two or more crossrails or equivalent.ROOF RACK
34 kg (75 lb)
!
Page 104 of 284
2
INSTRUMENTS AND CONTROLS
35
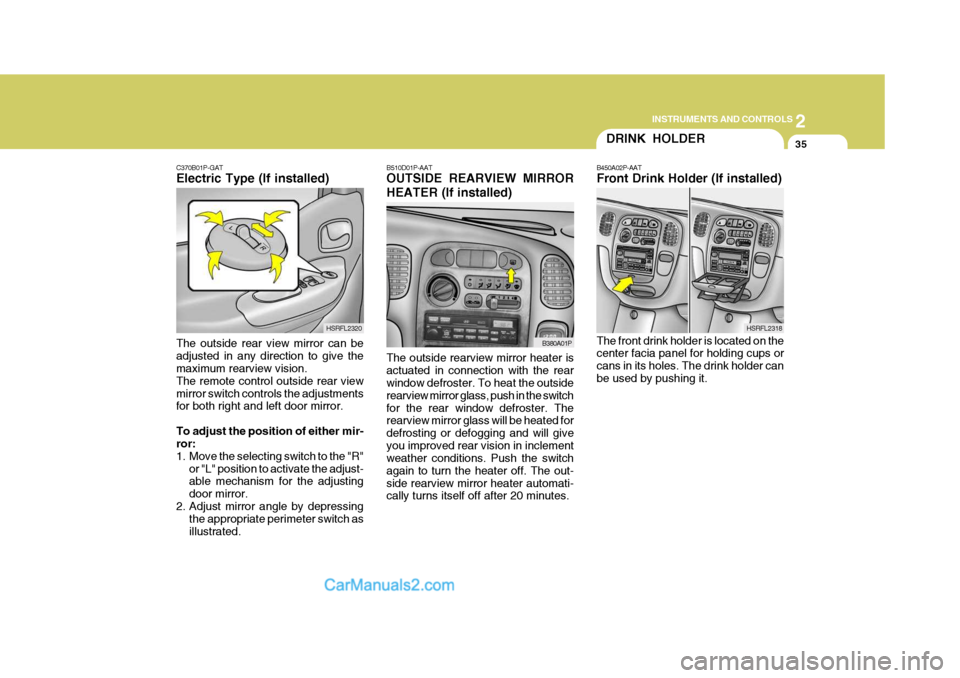
C370B01P-GAT Electric Type (If installed) The outside rear view mirror can be adjusted in any direction to give the maximum rearview vision. The remote control outside rear viewmirror switch controls the adjustments for both right and left door mirror. To adjust the position of either mir- ror:
1. Move the selecting switch to the "R"
or "L" position to activate the adjust- able mechanism for the adjusting door mirror.
2. Adjust mirror angle by depressing the appropriate perimeter switch asillustrated. HSRFL2320
DRINK HOLDER
The front drink holder is located on the center facia panel for holding cups or cans in its holes. The drink holder canbe used by pushing it.
B450A02P-AAT Front Drink Holder (If installed)
B510D01P-AAT OUTSIDE REARVIEW MIRROR HEATER (If installed) The outside rearview mirror heater is actuated in connection with the rear window defroster. To heat the outside rearview mirror glass, push in the switchfor the rear window defroster. The rearview mirror glass will be heated for defrosting or defogging and will giveyou improved rear vision in inclement weather conditions. Push the switch again to turn the heater off. The out-side rearview mirror heater automati- cally turns itself off after 20 minutes.
B380A01P
HSRFL2318
Page 105 of 284
2 INSTRUMENTS AND CONTROLS
36
HSRFL2317
!WARNING:
o Use caution when using the drink holders. A spilled beverage that is very hot can injure you or your passengers. Spilled liquids candamage interior trim and electri- cal components.
o Do not place anything except
drinks in the drink holder. Suchobjects can be thrown out, pos- sibly injuring persons in the ve-hicle during sudden braking or in the event of an accident.
ASHTRAY
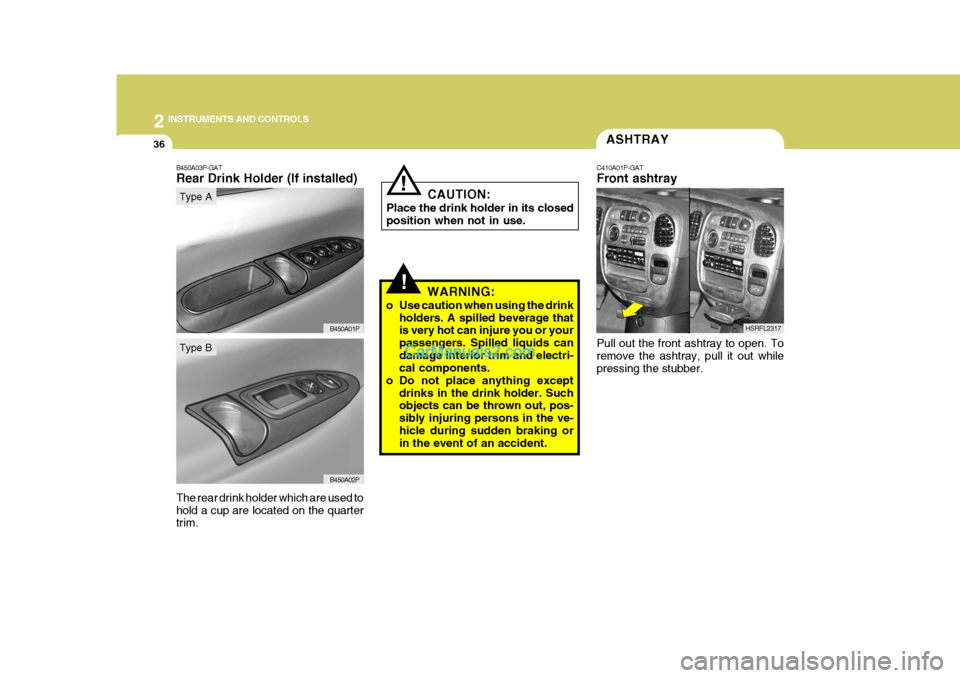
C410A01P-GAT Front ashtray Pull out the front ashtray to open. To remove the ashtray, pull it out while pressing the stubber.
! CAUTION:
Place the drink holder in its closed position when not in use.
B450A03P-GAT
Rear Drink Holder (If installed)
B450A01P
Type A
The rear drink holder which are used to hold a cup are located on the quarter trim.
B450A02P
Type B
Page 106 of 284
2
INSTRUMENTS AND CONTROLS
37
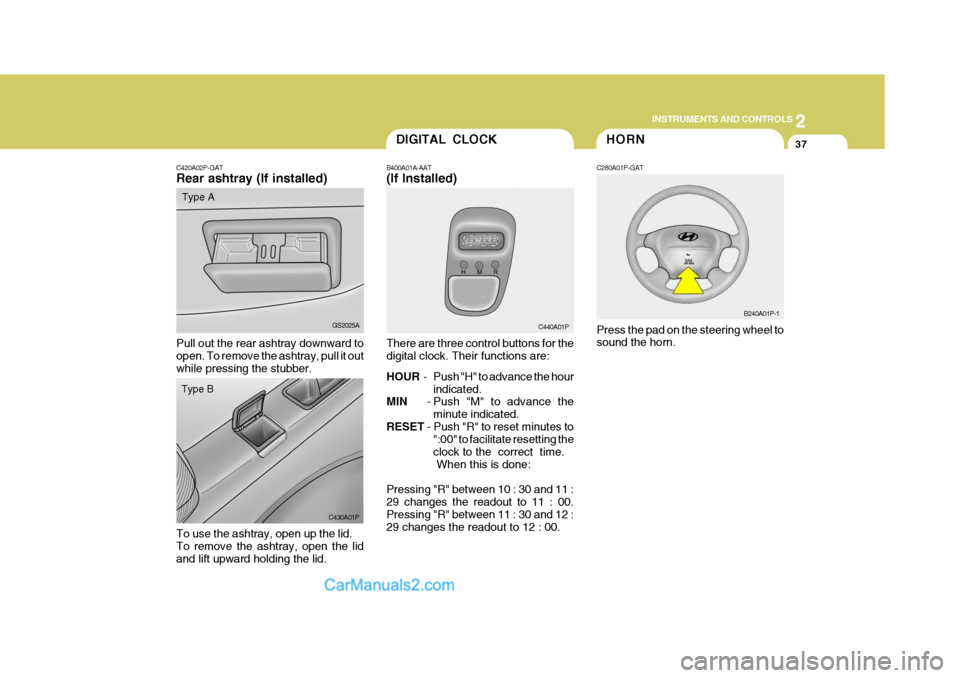
C420A02P-GAT Rear ashtray (If installed)
Pull out the rear ashtray downward to open. To remove the ashtray, pull it out while pressing the stubber. GS2025A
Type A
DIGITAL CLOCK
B400A01A-AAT (If Installed) There are three control buttons for the digital clock. Their functions are: HOUR - Push "H" to advance the hour
indicated.
MIN - Push "M" to advance the
minute indicated.
RESET - Push "R" to reset minutes to
":00" to facilitate resetting the clock to the correct time. When this is done:
Pressing "R" between 10 : 30 and 11 :29 changes the readout to 11 : 00. Pressing "R" between 11 : 30 and 12 : 29 changes the readout to 12 : 00. C440A01PHORN
C280A01P-GAT Press the pad on the steering wheel to sound the horn. B240A01P-1
C430A01P
Type B
To use the ashtray, open up the lid. To remove the ashtray, open the lidand lift upward holding the lid.
Page 107 of 284
2 INSTRUMENTS AND CONTROLS
38HEATING AND COOLING CONTROL
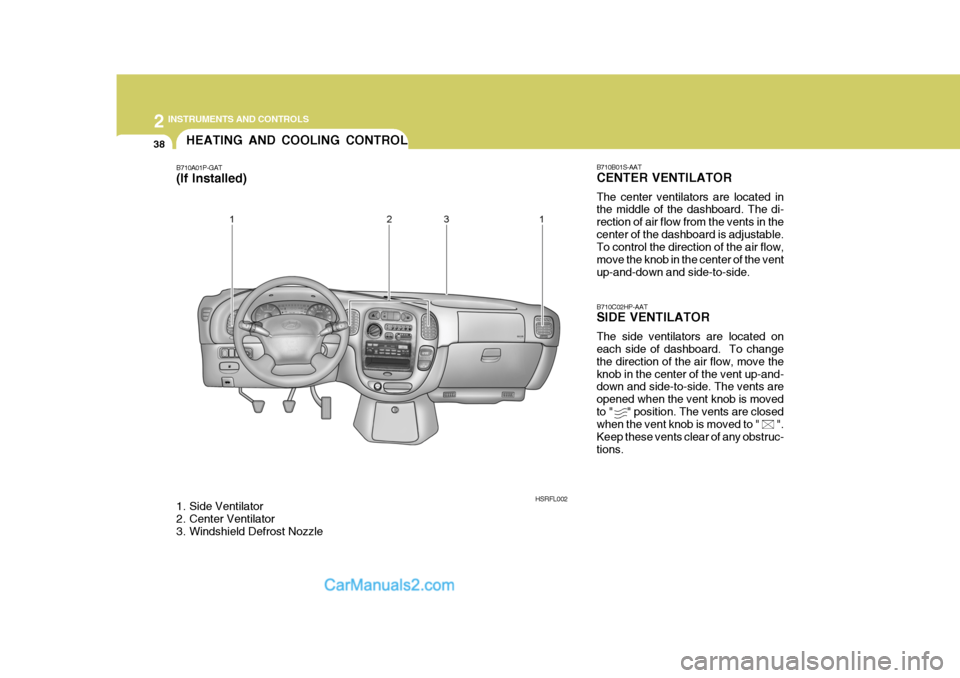
B710A01P-GAT
(If Installed)
1. Side Ventilator
2. Center Ventilator
3. Windshield Defrost Nozzle B710B01S-AAT CENTER VENTILATOR The center ventilators are located in the middle of the dashboard. The di- rection of air flow from the vents in thecenter of the dashboard is adjustable. To control the direction of the air flow, move the knob in the center of the ventup-and-down and side-to-side. B710C02HP-AAT SIDE VENTILATOR The side ventilators are located on each side of dashboard. To change the direction of the air flow, move theknob in the center of the vent up-and- down and side-to-side. The vents are opened when the vent knob is movedto " " position. The vents are closed when the vent knob is moved to " ". Keep these vents clear of any obstruc-tions.
HSRFL002
Page 108 of 284
2
INSTRUMENTS AND CONTROLS
39
Face-Level
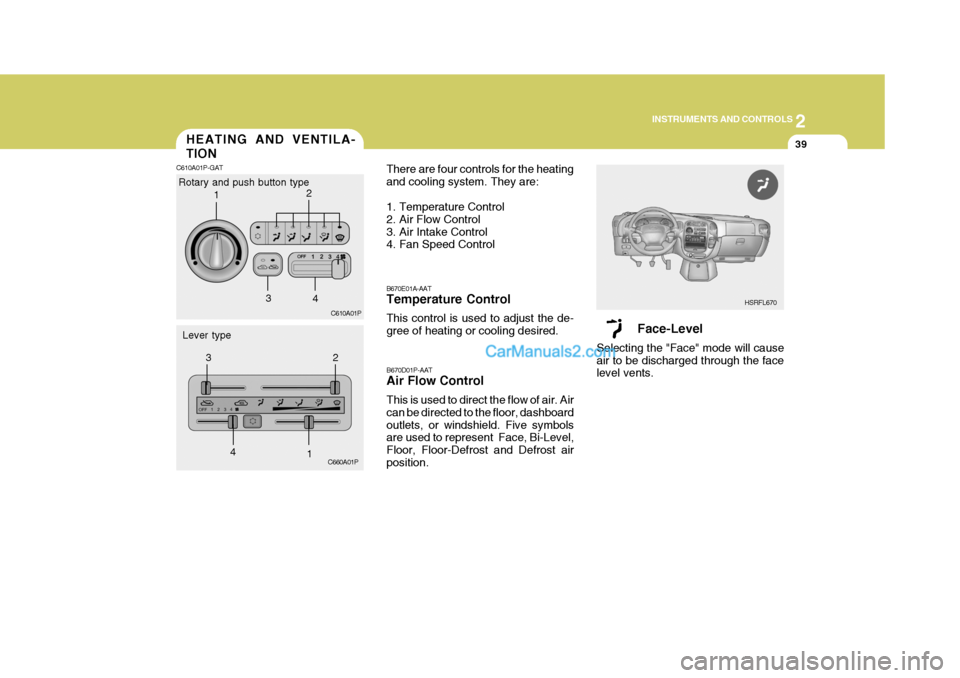
Selecting the "Face" mode will cause air to be discharged through the face level vents. HSRFL670
HEATING AND VENTILA- TION
C610A01P-GAT
Rotary and push button type
Lever type C610A01P
C660A01P B670D01P-AAT Air Flow Control This is used to direct the flow of air. Air can be directed to the floor, dashboardoutlets, or windshield. Five symbols are used to represent Face, Bi-Level, Floor, Floor-Defrost and Defrost airposition.
B670E01A-AAT Temperature Control This control is used to adjust the de- gree of heating or cooling desired.
There are four controls for the heatingand cooling system. They are:
1. Temperature Control
2. Air Flow Control
3. Air Intake Control
4. Fan Speed Control
1
2
3 4
12
3
4
Page 109 of 284
2 INSTRUMENTS AND CONTROLS
40
HSRFL672
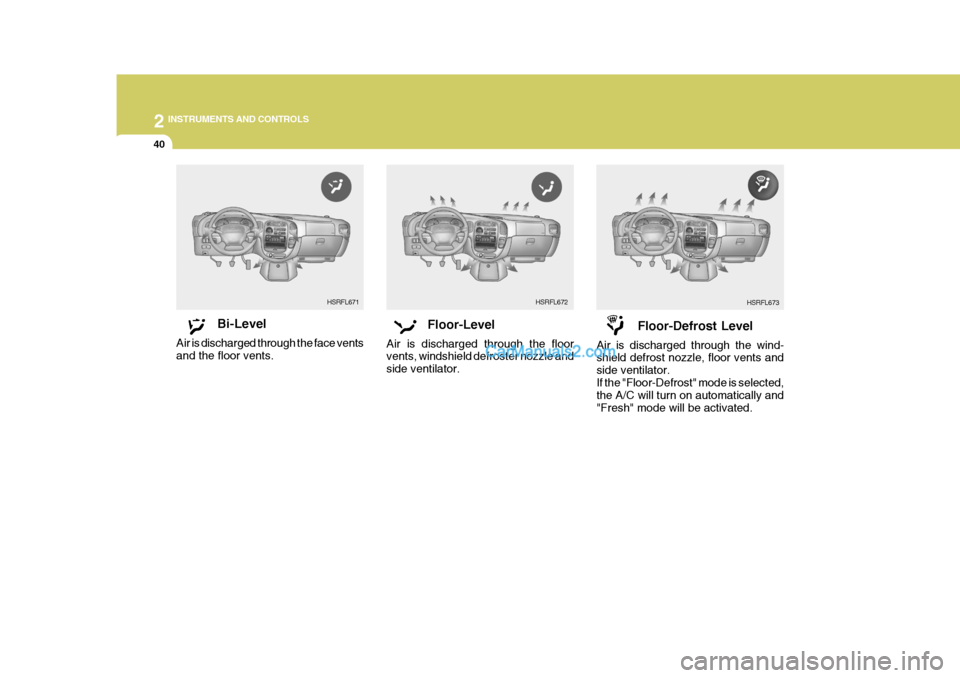
Bi-Level
Air is discharged through the face vents and the floor vents. Floor-Level
Air is discharged through the floor vents, windshield defroster nozzle and side ventilator.HSRFL671
Floor-Defrost Level
Air is discharged through the wind- shield defrost nozzle, floor vents and side ventilator.If the "Floor-Defrost" mode is selected, the A/C will turn on automatically and "Fresh" mode will be activated.HSRFL673
Page 110 of 284
2
INSTRUMENTS AND CONTROLS
41
B670B01A-AAT Fan Speed Control (Blower Control) This is used to turn the blower fan on or off and to select the fan speed.This blower fan speed, and therefore the volume of air delivered from the system, may be controlled manuallyby setting the blower control between the "1" and "4" positions.
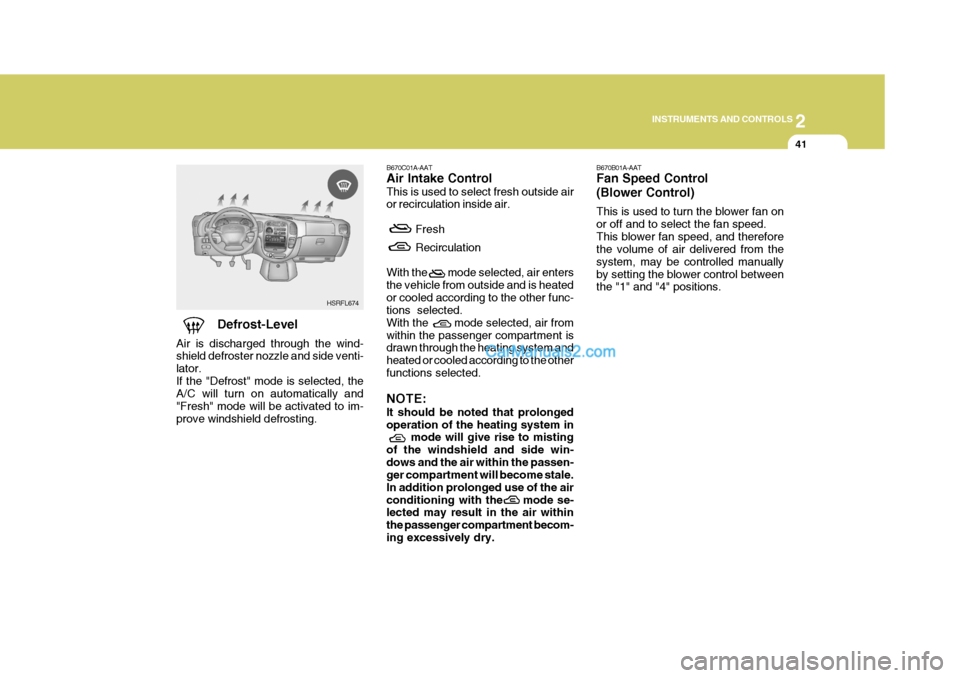
Defrost-Level
Air is discharged through the wind-shield defroster nozzle and side venti- lator.If the "Defrost" mode is selected, the A/C will turn on automatically and "Fresh" mode will be activated to im-prove windshield defrosting. HSRFL674B670C01A-AAT Air Intake Control This is used to select fresh outside air or recirculation inside air.
Fresh Recirculation
With the mode selected, air enters the vehicle from outside and is heatedor cooled according to the other func- tions selected. With the mode selected, air fromwithin the passenger compartment is drawn through the heating system and heated or cooled according to the otherfunctions selected. NOTE: It should be noted that prolonged operation of the heating system in mode will give rise to misting
of the windshield and side win-dows and the air within the passen- ger compartment will become stale. In addition prolonged use of the airconditioning with the mode se- lected may result in the air within the passenger compartment becom-ing excessively dry.