weight Hyundai Santa Fe Sport 2017 Owner's Manual
[x] Cancel search | Manufacturer: HYUNDAI, Model Year: 2017, Model line: Santa Fe Sport, Model: Hyundai Santa Fe Sport 2017Pages: 614, PDF Size: 18.99 MB
Page 56 of 614
Safety features of your vehicle
34
3
Seat belt precautionsInfant or small child
All 50 states have child restraint laws.
You should be aware of the specific
requirements in your state. Child
and/or infant seats must be properly
placed and installed in the rear seat.
For more information about the use of
these restraints, refer to “Child
restraint system” in this section.(Continued)
Improper handling of the pre-
tensioner seat belt assem-
blies, and failure to heed the
warnings not to strike, modify,
inspect, replace, service or
repair the pre-tensioner seat
belt assemblies may lead to
improper operation or inad-
vertent activation and serious
injury.
Always wear the seat belts when driving or riding in a
motor vehicle.
If the vehicle or pre-tensioner seat belt must be discarded,
contact an authorized
HYUNDAI dealer.
WARNING
All occupants of the vehicle
must wear their seat belts at all
times. Seat belts and child
restraints reduce the risk of
serious or fatal injuries for all
occupants in the event of a col-
lision or sudden stop. Without a
seat belt, occupants could be
shifted too close to a deploying
air bag, strike the interior struc-
ture or be thrown from the vehi-
cle. Properly worn seat belts
greatly reduce these hazards.
Even with advanced air bags,
unbelted occupants can be
severely injured by a deploying
air bag.
Always follow the precautions
about seat belts, air bags and
occupant seating contained in
this manual.
WARNING
Every person in your vehicle
needs to be properly restrained
at all times, including infants
and children. Never hold a child
in your arms or lap when riding
in a vehicle. The violent forces
created during a crash will tear
the child from your arms and
throw the child against the inte-
rior. Always use a child restraint
appropriate for your child's
height and weight.
Page 57 of 614
335
Safety features of your vehicle
✽
✽NOTICE
Small children are best protected
from injury in an accident when
properly restrained in the rear seat
by a child restraint system that
meets the requirements of the
Federal Motor Vehicle Safety
Standards. Before buying any child
restraint system, make sure that it
has a label certifying that it meets
Federal Motor Vehicle Safety
Standard 213. The restraint must be
appropriate for your child's height
and weight. Check the label on the
child restraint for this information.
Refer to “Child restraint system” in
this section.
Larger children
Children who are too large for child
restraint systems should always
occupy the rear seat and use the
available lap/shoulder belts. The lap
portion should be fastened snug on
the hips and as low as possible.
Check belt fit periodically. A child's
squirming could put the belt out of
position. Children are afforded the
most safety in the event of an acci-
dent when they are restrained by a
proper restraint system in the rear
seat. If a larger child (over age 12)
must be seated in the front seat, the
child should be securely restrained
by the available lap/shoulder belt and
the seat should be placed in the rear-
most position. Children age 12 and
under should be restrained securely
in the rear seat. NEVER place a child
age 12 and under in the front seat.
NEVER place a rear facing child seat
in the front seat of a vehicle. If the shoulder belt portion slightly
touches the child’s neck or face, try
placing the child closer to the center
of the vehicle. If the shoulder belt still
touches their face or neck they need
to be returned to a child restraint sys-
tem.
WARNING - Shoulder
belts on small children
Never allow a shoulder belt to be in contact with a child’s
neck or face while the vehicle
is in motion.
If seat belts are not properly worn and adjusted on chil-
dren, there is a risk of death or
serious injury.
Page 68 of 614
Safety features of your vehicle
46
3
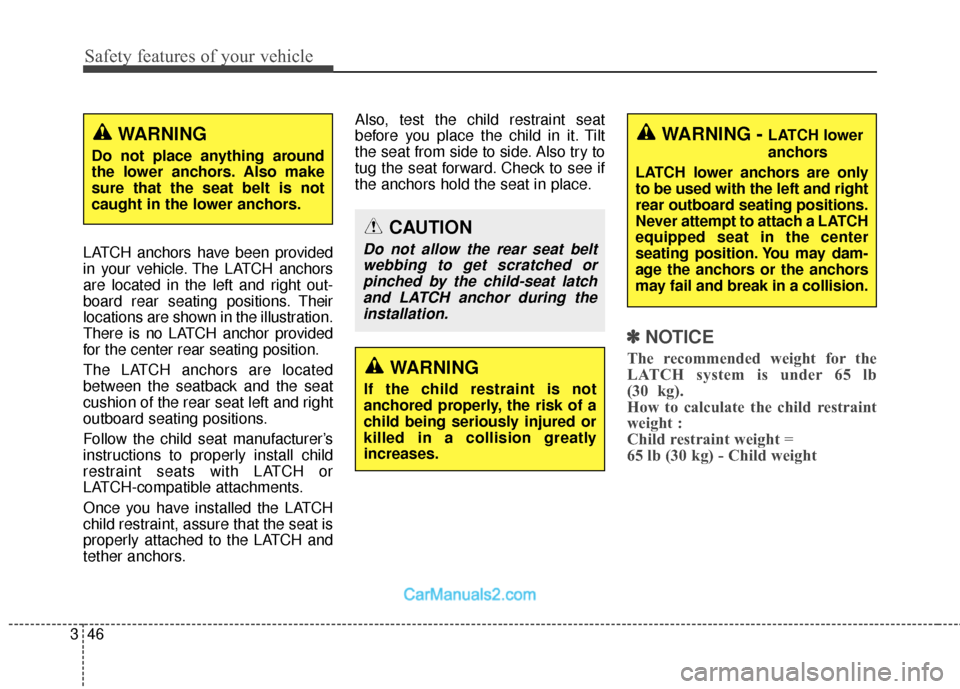
LATCH anchors have been provided
in your vehicle. The LATCH anchors
are located in the left and right out-
board rear seating positions. Their
locations are shown in the illustration.
There is no LATCH anchor provided
for the center rear seating position.
The LATCH anchors are located
between the seatback and the seat
cushion of the rear seat left and right
outboard seating positions.
Follow the child seat manufacturer’s
instructions to properly install child
restraint seats with LATCH or
LATCH-compatible attachments.
Once you have installed the LATCH
child restraint, assure that the seat is
properly attached to the LATCH and
tether anchors. Also, test the child restraint seat
before you place the child in it. Tilt
the seat from side to side. Also try to
tug the seat forward. Check to see if
the anchors hold the seat in place.
✽ ✽
NOTICE
The recommended weight for the
LATCH system is under 65 lb
(30 kg).
How to calculate the child restraint
weight :
Child restraint weight =
65 lb (30 kg) - Child weightWARNING
If the child restraint is not
anchored properly, the risk of a
child being seriously injured or
killed in a collision greatly
increases.
WARNING - LATCH lower
anchors
LATCH lower anchors are only
to be used with the left and right
rear outboard seating positions.
Never attempt to attach a LATCH
equipped seat in the center
seating position. You may dam-
age the anchors or the anchors
may fail and break in a collision.
CAUTION
Do not allow the rear seat belt webbing to get scratched orpinched by the child-seat latchand LATCH anchor during theinstallation.
WARNING
Do not place anything around
the lower anchors. Also make
sure that the seat belt is not
caught in the lower anchors.
Page 77 of 614
355
Safety features of your vehicle
Your vehicle is equipped with an
occupant classification system in the
front passenger's seat.
The occupant classification system
is designed to detect the presence of
a properly-seated front passenger
and determine if the passenger's
front air bag should be enabled (may
inflate) or not. The driver's front air
bag is not affected or controlled by
the occupant classification system.
Main components of occupant
classification system
A detection device located withinthe front passenger seat cushion.
Electronic system to determine whether the front passenger air
bag system should be activated or
deactivated.
An indicator light located on the instrument panel which illuminates
the words PASS AIR BAG "OFF"
indicating the front passenger air
bag system is deactivated.
The instrument panel air bag indi- cator light is interconnected with
the occupant classification system. If the front passenger seat is occu-
pied by a person that the system
determines to be of adult size, and
he/she sits properly (sitting upright
with the seatback in an upright posi-
tion, centered on the seat cushion
with their seat belt on, legs comfort-
ably extended and their feet on the
floor), the PASS AIR BAG "OFF"
indicator will be turned off and the
front passenger's air bag will be able
to inflate, if necessary, in frontal
crashes.
You will find the PASS AIR BAG
"OFF" indicator on the center facia
panel. This system detects the condi-
tions 1~4 in the following table and
activates or deactivates the front
passenger air bag based on these
conditions.
Always be sure that you and all vehi-
cle occupants are seated and
restrained properly (sitting upright
with the seat in an upright position,
centered on the seat cushion, with
the person's legs comfortably
extended, feet on the floor, and wear-
ing the safety belt properly) for the
most effective protection by the air
bag and the safety belt. The OCS may not function proper-
ly if the passenger takes actions
which can affect the classification
system. These include:
(1) Failing to sit in an upright posi- tion.
(2) Leaning against the door or center console.
(3) Sitting towards the sides or the front of the seat.
(4) Putting legs on the dashboard or resting them on other loca-
tions which reduce the passen-
ger weight on the front seat.
(5) Improperly wearing the safety belt.
(6) Reclining the seat back.
Page 82 of 614
Safety features of your vehicle
60
3
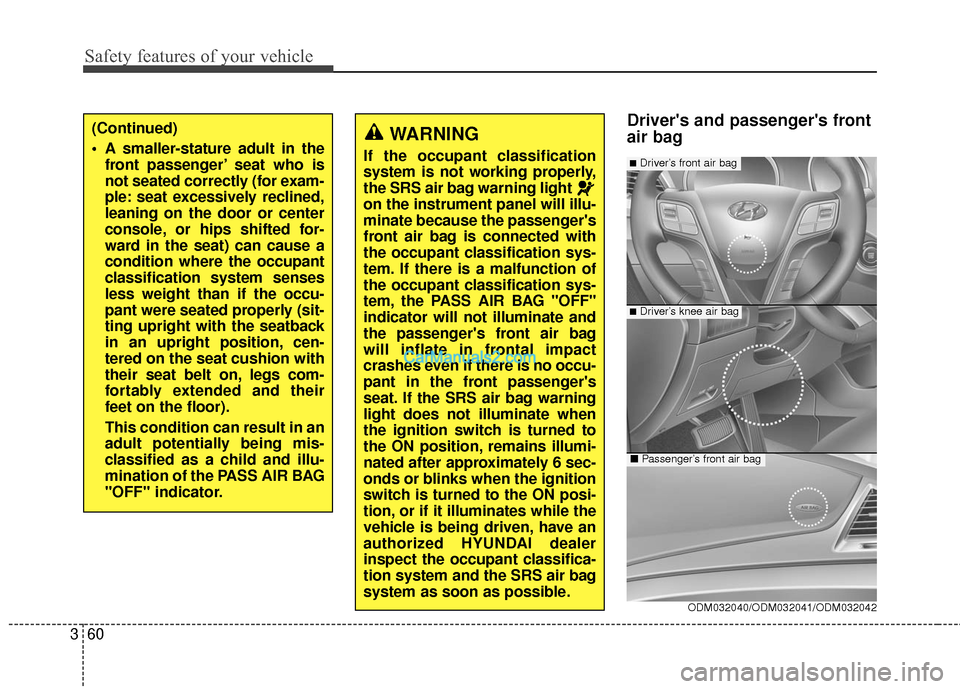
Driver's and passenger's front
air bagWARNING
If the occupant classification
system is not working properly,
the SRS air bag warning light
on the instrument panel will illu-
minate because the passenger's
front air bag is connected with
the occupant classification sys-
tem. If there is a malfunction of
the occupant classification sys-
tem, the PASS AIR BAG "OFF"
indicator will not illuminate and
the passenger's front air bag
will inflate in frontal impact
crashes even if there is no occu-
pant in the front passenger's
seat. If the SRS air bag warning
light does not illuminate when
the ignition switch is turned to
the ON position, remains illumi-
nated after approximately 6 sec-
onds or blinks when the ignition
switch is turned to the ON posi-
tion, or if it illuminates while the
vehicle is being driven, have an
authorized HYUNDAI dealer
inspect the occupant classifica-
tion system and the SRS air bag
system as soon as possible.
(Continued)
A smaller-stature adult in the
front passenger’ seat who is
not seated correctly (for exam-
ple: seat excessively reclined,
leaning on the door or center
console, or hips shifted for-
ward in the seat) can cause a
condition where the occupant
classification system senses
less weight than if the occu-
pant were seated properly (sit-
ting upright with the seatback
in an upright position, cen-
tered on the seat cushion with
their seat belt on, legs com-
fortably extended and their
feet on the floor).
This condition can result in an
adult potentially being mis-
classified as a child and illu-
mination of the PASS AIR BAG
"OFF" indicator.
ODM032040/ODM032041/ODM032042
■Driver’s knee air bag
■Driver’s front air bag
■ Passenger’s front air bag
Page 130 of 614
433
Features of your vehicle
How to reset the power liftgate(power tailgate)
If the battery has been discharged or
disconnected, or if the related fuse
has been replaced or disconnected,
for the power liftgate (power tailgate)
to operate normally, reset the power
liftgate (power tailgate) as follow:
1. Put the shift lever in P (Park).
2. While pressing the liftgate (tail- gate) inner switch, press the lift-
gate (tailgate) handle switch for
more than 3 seconds. (the chime
will sound)
3. Close the liftgate (tailgate) manu- ally.
If the power liftgate (power tailgate)
does not work properly after the
above procedure, have the system
checked by an authorized HYUNDAI
dealer.
✽ ✽ NOTICE
If the power liftgate (power tailgate)
does not operate normally, check
again if the gear position is in right
position.
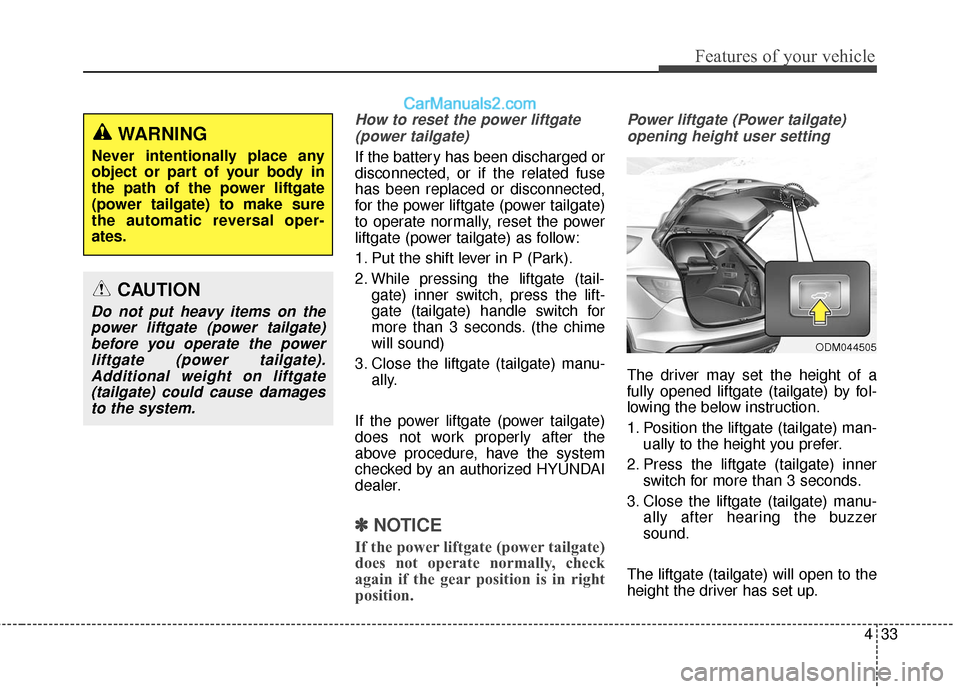
Power liftgate (Power tailgate)
opening height user setting
The driver may set the height of a
fully opened liftgate (tailgate) by fol-
lowing the below instruction.
1. Position the liftgate (tailgate) man- ually to the height you prefer.
2. Press the liftgate (tailgate) inner switch for more than 3 seconds.
3. Close the liftgate (tailgate) manu- ally after hearing the buzzer
sound.
The liftgate (tailgate) will open to the
height the driver has set up.
ODM044505
WARNING
Never intentionally place any
object or part of your body in
the path of the power liftgate
(power tailgate) to make sure
the automatic reversal oper-
ates.
CAUTION
Do not put heavy items on the power liftgate (power tailgate)before you operate the powerliftgate (power tailgate).Additional weight on liftgate(tailgate) could cause damagesto the system.
Page 276 of 614
4179
Features of your vehicle
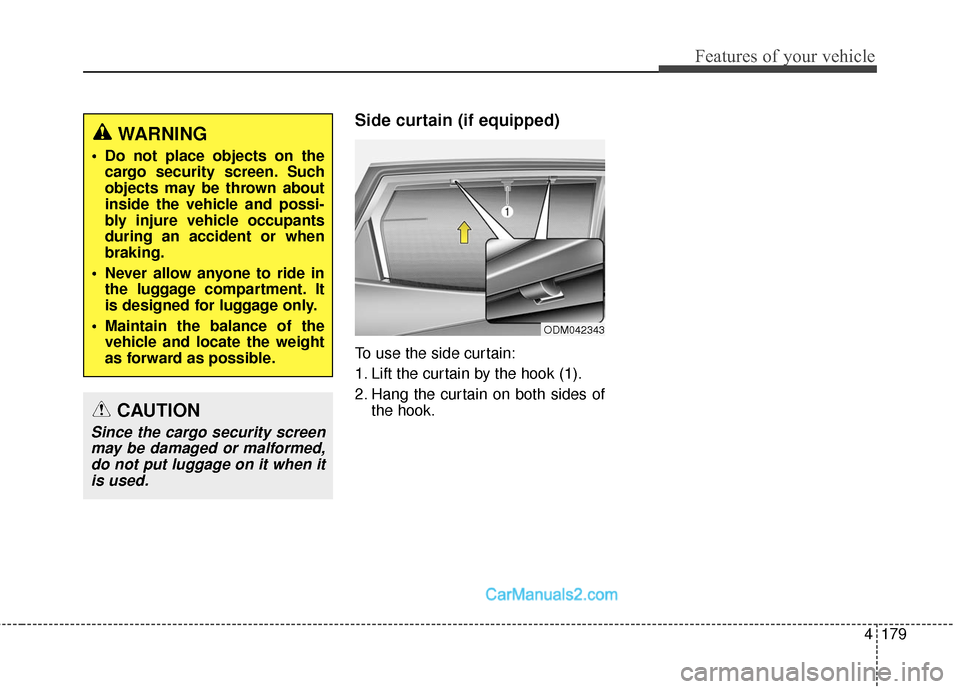
Side curtain (if equipped)
To use the side curtain:
1. Lift the curtain by the hook (1).
2. Hang the curtain on both sides ofthe hook.
WARNING
Do not place objects on thecargo security screen. Such
objects may be thrown about
inside the vehicle and possi-
bly injure vehicle occupants
during an accident or when
braking.
Never allow anyone to ride in the luggage compartment. It
is designed for luggage only.
Maintain the balance of the vehicle and locate the weight
as forward as possible.
CAUTION
Since the cargo security screenmay be damaged or malformed,do not put luggage on it when itis used.
ODM042343
Page 278 of 614
4181
Features of your vehicle
WARNING
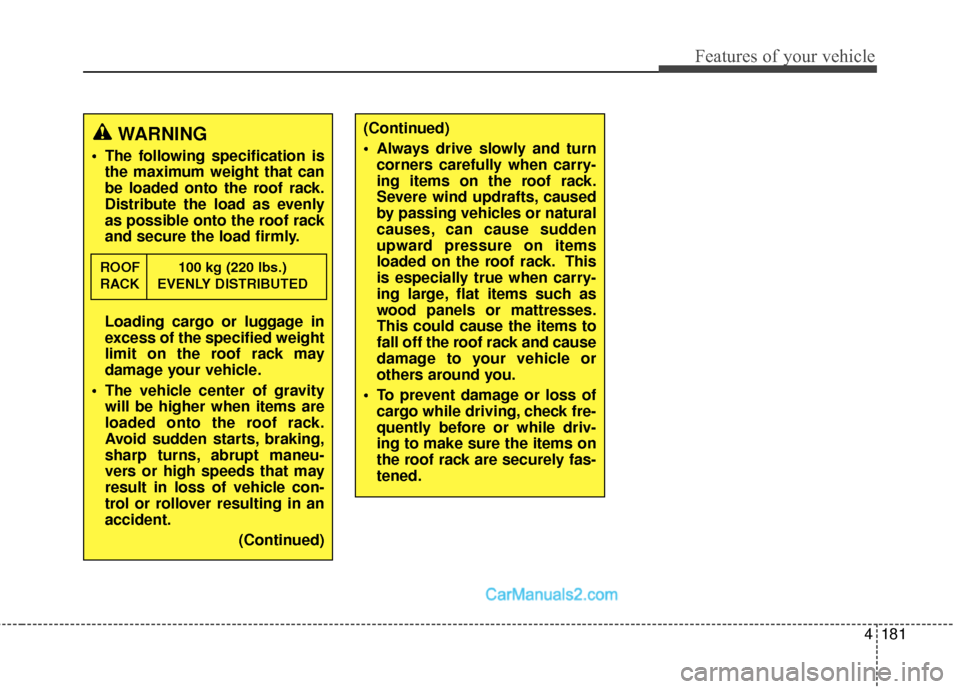
The following specification isthe maximum weight that can
be loaded onto the roof rack.
Distribute the load as evenly
as possible onto the roof rack
and secure the load firmly.
Loading cargo or luggage in
excess of the specified weight
limit on the roof rack may
damage your vehicle.
The vehicle center of gravity will be higher when items are
loaded onto the roof rack.
Avoid sudden starts, braking,
sharp turns, abrupt maneu-
vers or high speeds that may
result in loss of vehicle con-
trol or rollover resulting in an
accident.
(Continued)
ROOF 100 kg (220 lbs.)
RACK EVENLY DISTRIBUTED
(Continued)
Always drive slowly and turncorners carefully when carry-
ing items on the roof rack.
Severe wind updrafts, caused
by passing vehicles or natural
causes, can cause sudden
upward pressure on items
loaded on the roof rack. This
is especially true when carry-
ing large, flat items such as
wood panels or mattresses.
This could cause the items to
fall off the roof rack and cause
damage to your vehicle or
others around you.
To prevent damage or loss of cargo while driving, check fre-
quently before or while driv-
ing to make sure the items on
the roof rack are securely fas-
tened.
Page 342 of 614
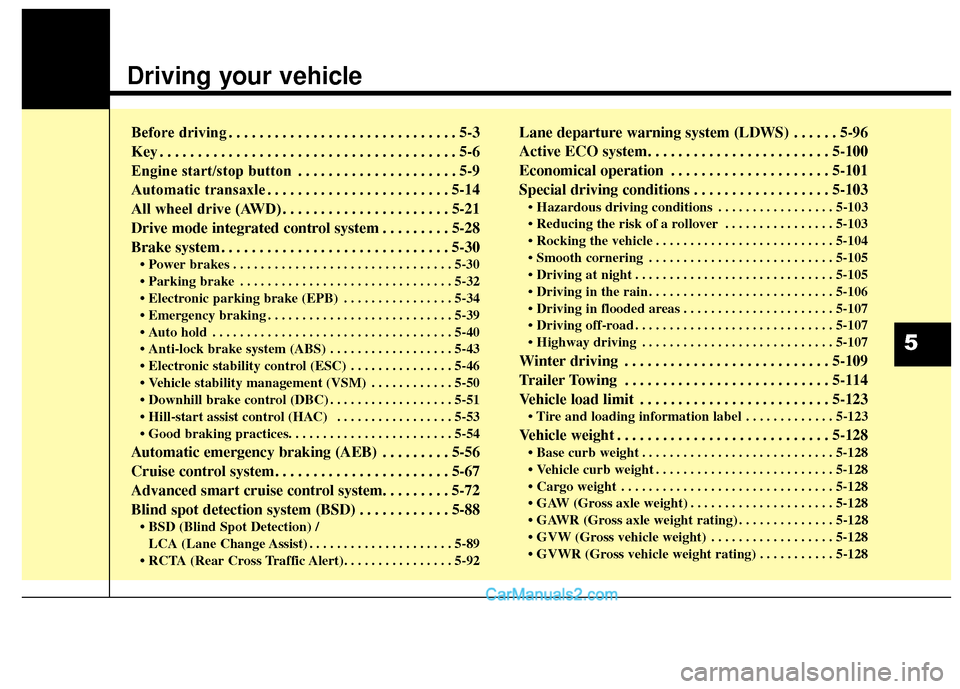
Driving your vehicle
Before driving. . . . . . . . . . . . . . . . . . . . . . . . . . . . . . 5-3
Key . . . . . . . . . . . . . . . . . . . . . . . . . . . . . . . . . . . . \
. . . 5-6
Engine start/stop button . . . . . . . . . . . . . . . . . . . . . 5-9
Automatic transaxle . . . . . . . . . . . . . . . . . . . . . . . . 5-14
All wheel drive (AWD) . . . . . . . . . . . . . . . . . . . . . . 5-21
Drive mode integrated control system . . . . . . . . . 5-28
Brake system . . . . . . . . . . . . . . . . . . . . . . . . . . . . . . 5-30
• Power brakes . . . . . . . . . . . . . . . . . . . . . . . . . . . . . . . . 5-30
• Parking brake . . . . . . . . . . . . . . . . . . . . . . . . . . . . . . . 5-32
• Electronic parking brake (EPB) . . . . . . . . . . . . . . . . 5-34
• Emergency braking . . . . . . . . . . . . . . . . . . . . . . . . . . . 5-39
• Auto hold . . . . . . . . . . . . . . . . . . . . . . . . . . . . . . . . . . . 5-\
40
• Anti-lock brake system (ABS) . . . . . . . . . . . . . . . . . . 5-43
• Electronic stability control (ESC) . . . . . . . . . . . . . . . 5-46
• Vehicle stability management (VSM) . . . . . . . . . . . . 5-50
• Downhill brake control (DBC) . . . . . . . . . . . . . . . . . . 5-51
• Hill-start assist control (HAC) . . . . . . . . . . . . . . . . . 5-53
• Good braking practices. . . . . . . . . . . . . . . . . . . . . . . . 5-54
Automatic emergency braking (AEB) . . . . . . . . . 5-56
Cruise control system. . . . . . . . . . . . . . . . . . . . . . . 5-67
Advanced smart cruise control system. . . . . . . . . 5-72
Blind spot detection system (BSD) . . . . . . . . . . . . 5-88
• BSD (Blind Spot Detection) /
LCA (Lane Change Assist) . . . . . . . . . . . . . . . . . . . . . 5-89
• RCTA (Rear Cross Traffic Alert). . . . . . . . . . . . . . . . 5-92
Lane departure warning system (LDWS) . . . . . . 5-96
Active ECO system. . . . . . . . . . . . . . . . . . . . . . . . 5-100
Economical operation . . . . . . . . . . . . . . . . . . . . . 5-101
Special driving conditions . . . . . . . . . . . . . . . . . . 5-103
• Hazardous driving conditions . . . . . . . . . . . . . . . . . 5-103
. . . . . . . . . . . . . . . . 5-103
. . . . . . . . . . . . . . . . . . . . . . . . . . 5-104
. . . . . . . . . . . . . . . . . . . . . . . . . . . 5-105
. . . . . . . . . . . . . . . . . . . . . . . . . . . . . 5-105
. . . . . . . . . . . . . . . . . . . . . . . . . . . 5-106
. . . . . . . . . . . . . . . . . . . . . . 5-107
. . . . . . . . . . . . . . . . . . . . . . . . . . . . . 5-107
. . . . . . . . . . . . . . . . . . . . . . . . . . . . 5-107
Winter driving . . . . . . . . . . . . . . . . . . . . . . . . . . . 5-109
Trailer Towing . . . . . . . . . . . . . . . . . . . . . . . . . . . 5-114
Vehicle load limit . . . . . . . . . . . . . . . . . . . . . . . . . 5-123
. . . . . . . . . . . . . 5-123
Vehicle weight . . . . . . . . . . . . . . . . . . . . . . . . . . . . 5-128
• Base curb weight . . . . . . . . . . . . . . . . . . . . . . . . . . . . 5-128
• Vehicle curb weight . . . . . . . . . . . . . . . . . . . . . . . . . . 5-128
• Cargo weight . . . . . . . . . . . . . . . . . . . . . . . . . . . . . . . 5-128
• GAW (Gross axle weight) . . . . . . . . . . . . . . . . . . . . . 5-128
• GAWR (Gross axle weight rating) . . . . . . . . . . . . . . 5-128
• GVW (Gross vehicle weight) . . . . . . . . . . . . . . . . . . 5-128
• GVWR (Gross vehicle weight rating) . . . . . . . . . . . 5-128
5
Page 442 of 614
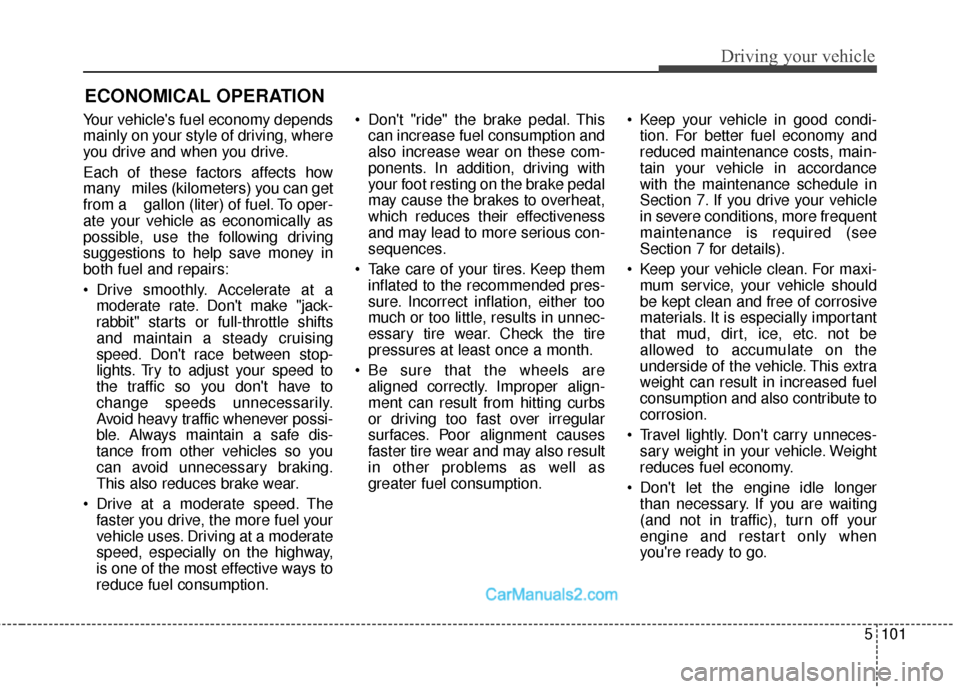
5101
Driving your vehicle
Your vehicle's fuel economy depends
mainly on your style of driving, where
you drive and when you drive.
Each of these factors affects how
many miles (kilometers) you can get
from a gallon (liter) of fuel. To oper-
ate your vehicle as economically as
possible, use the following driving
suggestions to help save money in
both fuel and repairs:
Drive smoothly. Accelerate at amoderate rate. Don't make "jack-
rabbit" starts or full-throttle shifts
and maintain a steady cruising
speed. Don't race between stop-
lights. Try to adjust your speed to
the traffic so you don't have to
change speeds unnecessarily.
Avoid heavy traffic whenever possi-
ble. Always maintain a safe dis-
tance from other vehicles so you
can avoid unnecessary braking.
This also reduces brake wear.
Drive at a moderate speed. The faster you drive, the more fuel your
vehicle uses. Driving at a moderate
speed, especially on the highway,
is one of the most effective ways to
reduce fuel consumption. Don't "ride" the brake pedal. This
can increase fuel consumption and
also increase wear on these com-
ponents. In addition, driving with
your foot resting on the brake pedal
may cause the brakes to overheat,
which reduces their effectiveness
and may lead to more serious con-
sequences.
Take care of your tires. Keep them inflated to the recommended pres-
sure. Incorrect inflation, either too
much or too little, results in unnec-
essary tire wear. Check the tire
pressures at least once a month.
Be sure that the wheels are aligned correctly. Improper align-
ment can result from hitting curbs
or driving too fast over irregular
surfaces. Poor alignment causes
faster tire wear and may also result
in other problems as well as
greater fuel consumption. Keep your vehicle in good condi-
tion. For better fuel economy and
reduced maintenance costs, main-
tain your vehicle in accordance
with the maintenance schedule in
Section 7. If you drive your vehicle
in severe conditions, more frequent
maintenance is required (see
Section 7 for details).
Keep your vehicle clean. For maxi- mum service, your vehicle should
be kept clean and free of corrosive
materials. It is especially important
that mud, dirt, ice, etc. not be
allowed to accumulate on the
underside of the vehicle. This extra
weight can result in increased fuel
consumption and also contribute to
corrosion.
Travel lightly. Don't carry unneces- sary weight in your vehicle. Weight
reduces fuel economy.
Don't let the engine idle longer than necessary. If you are waiting
(and not in traffic), turn off your
engine and restart only when
you're ready to go.
ECONOMICAL OPERATION