check engine INFINITI QX4 2001 Factory Owner's Manual
[x] Cancel search | Manufacturer: INFINITI, Model Year: 2001, Model line: QX4, Model: INFINITI QX4 2001Pages: 2395, PDF Size: 43.2 MB
Page 107 of 2395

Diagnostic ProcedureNBAT0029
1 CHECK PNP SWITCH CIRCUIT (WITH CONSULT-II)
With CONSULT-II
1. Turn ignition switch to ªONº position.
(Do not start engine.)
2. Select ªTCM INPUT SIGNALSº in ªDATA MONITORº mode for ªA/Tº with CONSULT-II.
3. Read out ªPº, ªRº, ªNº, ªDº, ª2º and ª1º position switches moving selector lever to each position. Check the signal of the
selector lever position is indicated properly.
SAT643J
OK or NG
OK©GO TO 4.
NG©GO TO 3.
2 CHECK PNP SWITCH CIRCUIT (WITHOUT CONSULT-II)
Without CONSULT-II
1. Turn ignition switch to ªONº position.
(Do not start engine.)
2. Check voltage between TCM terminals 26, 27, 34, 35, 36 and ground while moving selector lever through each posi-
tion.
MTBL0205
SAT517J
Does battery voltage exist (B) or non-existent (0)?
Ye s©GO TO 4.
No©GO TO 3.
DTC P0705 PARK/NEUTRAL POSITION SWITCH
Diagnostic Procedure
AT-102
Page 113 of 2395

Diagnostic ProcedureNBAT0032
1 INSPECTION START
Do you have CONSULT-II?
YesorNo
Ye s©GO TO 2.
No©GO TO 6.
2 CHECK INPUT SIGNAL OF A/T FLUID TEMPERATURE SENSOR (WITH CONSULT-II)
With CONSULT-II
1. Start engine.
2. Select ªTCM INPUT SIGNALSº in ªDATA MONITORº mode for ªA/Tº with CONSULT-II.
3. Read out the value of ªFLUID TEMP SEº.
Voltage:
Cold [20ÉC (68ÉF)]®Hot [80ÉC (176ÉF)]:
Approximately 1.5V®0.5V
SAT614J
OK or NG
OK©GO TO 4.
NG©GO TO 3.
3 DETECT MALFUNCTIONING ITEM
Check the following item:
IHarness for short to ground or short to power or open between TCM, ECM and terminal cord assembly (Main harness)
IGround circuit for ECM.
Refer to EC-142, ªWiring Diagramº.
OK or NG
OK©GO TO 4.
NG©Repair or replace damaged parts.
DTC P0710 A/T FLUID TEMPERATURE SENSOR CIRCUIT
Diagnostic Procedure
AT-108
Page 114 of 2395

4 CHECK A/T FLUID TEMPERATURE SENSOR WITH TERMINAL CORD ASSEMBLY
1. Turn ignition switch to ªOFFº position.
2. Disconnect terminal cord assembly connector on the right side of transfer assmebly.
3. Check resistance between terminals 8 and 9 when A/T is cold [20ÉC (68ÉF)].
SAT697I
Is resistance approx. 2.5 kW?
Ye s©GO TO 7.
No©GO TO 5.
5 DETECT MALFUNCTIONING ITEM
1. Remove oil pan.
2. Check the following items:
IA/T fluid temperature sensor
Refer to ªComponent Inspectionº, AT-110.
IHarness of terminal cord assembly for short or open
OK or NG
OK©GO TO 7.
NG©Repair or replace damaged parts.
6 CHECK INPUT SIGNAL OF A/T FLUID TEMPERATURE SENSOR (WITHOUT CONSULT-II)
Without CONSULT-II
1. Start engine.
2. Check voltage between TCM terminal 47 and ground while warming up A/T.
Voltage:
Cold [20ÉC (68ÉF)]®Hot [80ÉC (176ÉF)]:
Approximately 1.5V®0.5V
SAT518J
OK or NG
OK©GO TO 4.
NG©GO TO 3.
GI
MA
EM
LC
EC
FE
TF
PD
AX
SU
BR
ST
RS
BT
HA
SC
EL
IDX
DTC P0710 A/T FLUID TEMPERATURE SENSOR CIRCUIT
Diagnostic Procedure (Cont'd)
AT-109
Page 117 of 2395

SAT014K
SAT971J
SAT014K
SAT020K
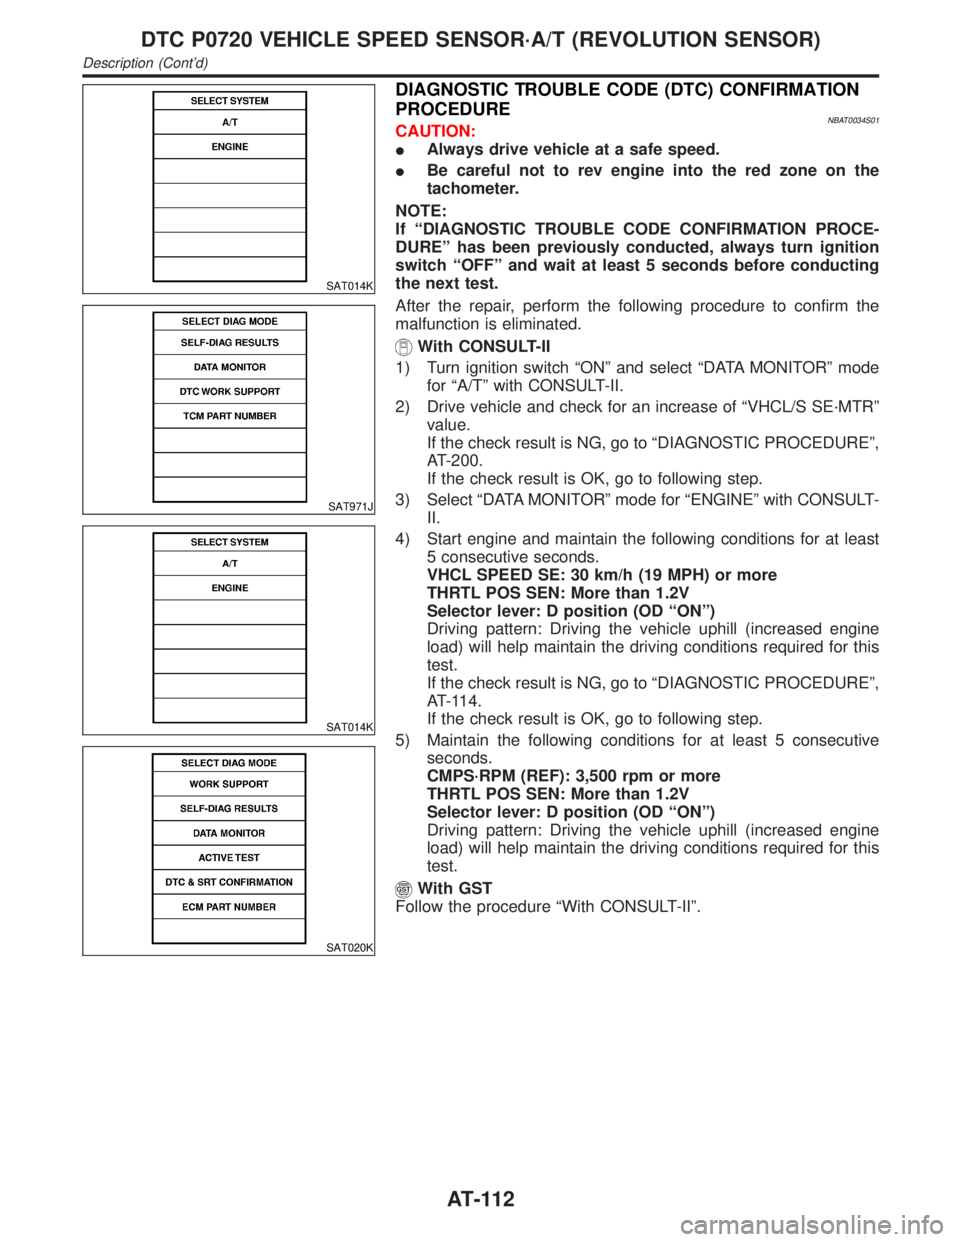
DIAGNOSTIC TROUBLE CODE (DTC) CONFIRMATION
PROCEDURE
NBAT0034S01CAUTION:
IAlways drive vehicle at a safe speed.
IBe careful not to rev engine into the red zone on the
tachometer.
NOTE:
If ªDIAGNOSTIC TROUBLE CODE CONFIRMATION PROCE-
DUREº has been previously conducted, always turn ignition
switch ªOFFº and wait at least 5 seconds before conducting
the next test.
After the repair, perform the following procedure to confirm the
malfunction is eliminated.
With CONSULT-II
1) Turn ignition switch ªONº and select ªDATA MONITORº mode
for ªA/Tº with CONSULT-II.
2) Drive vehicle and check for an increase of ªVHCL/S SE´MTRº
value.
If the check result is NG, go to ªDIAGNOSTIC PROCEDUREº,
AT-200.
If the check result is OK, go to following step.
3) Select ªDATA MONITORº mode for ªENGINEº with CONSULT-
II.
4) Start engine and maintain the following conditions for at least
5 consecutive seconds.
VHCL SPEED SE: 30 km/h (19 MPH) or more
THRTL POS SEN: More than 1.2V
Selector lever: D position (OD ªONº)
Driving pattern: Driving the vehicle uphill (increased engine
load) will help maintain the driving conditions required for this
test.
If the check result is NG, go to ªDIAGNOSTIC PROCEDUREº,
AT-114.
If the check result is OK, go to following step.
5) Maintain the following conditions for at least 5 consecutive
seconds.
CMPS´RPM (REF): 3,500 rpm or more
THRTL POS SEN: More than 1.2V
Selector lever: D position (OD ªONº)
Driving pattern: Driving the vehicle uphill (increased engine
load) will help maintain the driving conditions required for this
test.
With GST
Follow the procedure ªWith CONSULT-IIº.
DTC P0720 VEHICLE SPEED SENSOR´A/T (REVOLUTION SENSOR)
Description (Cont'd)
AT-112
Page 119 of 2395

Diagnostic ProcedureNBAT0035
1 INSPECTION START
Do you have CONSULT-II?
YesorNo
Yes (With CONSULT-II)©GO TO 2.
No (Without CONSULT-
II)©GO TO 5.
2 CHECK INPUT SIGNAL (WITH CONSULT-II)
With CONSULT-II
1. Start engine.
2. Select ªTCM INPUT SIGNALSº in ªDATA MONITORº mode for ªA/Tº with CONSULT-II.
3. Read out the value of ªVHCL/S SE´A/Tº while driving.
Check the value changes according to driving speed.
SAT614J
OK or NG
OK©GO TO 3.
NG©GO TO 4.
3 CHECK REVOLUTION SENSOR
Refer to ªComponent Inspectionº, AT-115.
OK or NG
OK©GO TO 6.
NG©Repair or replace revolution sensor.
4 DETECT MALFUNCTIONING ITEM
Check the following items:
IHarness for short or open between TCM and revolution sensor (Main harness)
IHarness for short or open between revolution sensor and ECM (Main harness)
IGround circuit for ECM
Refer to EC-142, ªWIRING DIAGRAMº.
OK or NG
OK©GO TO 6.
NG©GO TO 3.
DTC P0720 VEHICLE SPEED SENSOR´A/T (REVOLUTION SENSOR)
Diagnostic Procedure
AT-114
Page 120 of 2395

5 CHECK INPUT SIGNAL (WITHOUT CONSULT-II)
Without CONSULT-II
1. Start engine.
2. Check voltage between TCM terminal 29 and ground while driving.
(Measure with AC range.)
Voltage:
At 0 km/h (0 MPH):
0V
At 30 km/h (19 MPH):
1V or more
(Voltage rises gradually in response to vehicle speed.)
SAT519J
OK or NG
OK©GO TO 3.
NG©GO TO 4.
6 CHECK DTC
Perform Diagnostic Trouble Code (DTC) confirmation procedure, AT-112.
OK or NG
OK©INSPECTION END
NG©GO TO 7.
7 CHECK TCM INSPECTION
1. Perform TCM input/output signal inspection.
2. If NG, recheck TCM pin terminals for damage or loose connection with harness connector.
OK or NG
OK©INSPECTION END
NG©Repair or replace damaged parts.
SAT210IA
Component InspectionNBAT0036REVOLUTION SENSORNBAT0036S01IFor removal, refer to AT-273.
ICheck resistance between terminals 1, 2 and 3.
Terminal No. Resistance
1 2 500 - 650W
2 3 No continuity
1 3 No continuity
GI
MA
EM
LC
EC
FE
TF
PD
AX
SU
BR
ST
RS
BT
HA
SC
EL
IDX
DTC P0720 VEHICLE SPEED SENSOR´A/T (REVOLUTION SENSOR)
Diagnostic Procedure (Cont'd)
AT-115
Page 121 of 2395

DescriptionNBAT0037The engine speed signal is sent from the ECM to the TCM.
TCM TERMINALS AND REFERENCE VALUENBAT0037S02Remarks: Specification data are reference values.
Terminal
No.Wire color Item ConditionJudgement
standard
(Approx.)
39 W/BEngine speed sig-
nal
Refer to EC-127, ªECM INSPECTION
TABLEº.Ð
ON BOARD DIAGNOSIS LOGICNBAT0037S03
Diagnostic trouble code Malfunction is detected when ... Check item (Possible cause)
: ENGINE SPEED SIG
TCM does not receive the proper voltage
signal from ECM.IHarness or connectors
(The sensor circuit is open or shorted.)
: P0725
SAT014K
SAT020K
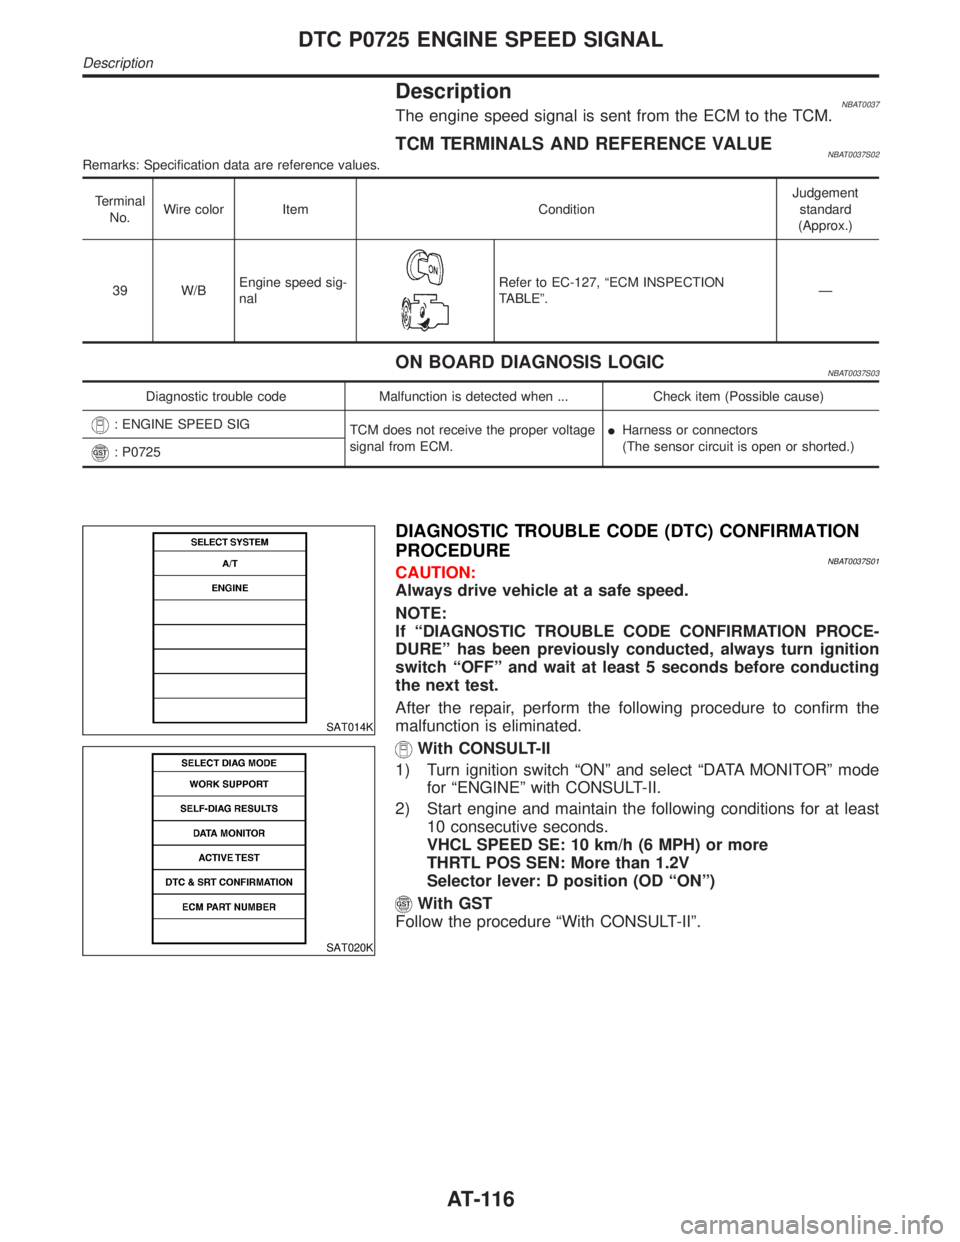
DIAGNOSTIC TROUBLE CODE (DTC) CONFIRMATION
PROCEDURE
NBAT0037S01CAUTION:
Always drive vehicle at a safe speed.
NOTE:
If ªDIAGNOSTIC TROUBLE CODE CONFIRMATION PROCE-
DUREº has been previously conducted, always turn ignition
switch ªOFFº and wait at least 5 seconds before conducting
the next test.
After the repair, perform the following procedure to confirm the
malfunction is eliminated.
With CONSULT-II
1) Turn ignition switch ªONº and select ªDATA MONITORº mode
for ªENGINEº with CONSULT-II.
2) Start engine and maintain the following conditions for at least
10 consecutive seconds.
VHCL SPEED SE: 10 km/h (6 MPH) or more
THRTL POS SEN: More than 1.2V
Selector lever: D position (OD ªONº)
With GST
Follow the procedure ªWith CONSULT-IIº.
DTC P0725 ENGINE SPEED SIGNAL
Description
AT-116
Page 123 of 2395

Diagnostic ProcedureNBAT0038
1 CHECK DTC WITH ECM
ICheck P code with CONSULT-II.
Turn ignition switch ªONº and select ªSELF-DIAG RESULTSº mode for ªENGINEº with CONSULT-II.
Refer to EC-74, ªDESCRIPTIONº.
OK or NG
OK (With CONSULT-II)©GO TO 2.
OK (Without CONSULT-
II)©GO TO 4.
NG©Check ignition signal circuit for engine control. Refer to EC-499, ªComponent Descrip-
tionº.
2 CHECK INPUT SIGNAL (WITH CONSULT-II)
With CONSULT-II
1. Start engine.
2. Select ªTCM INPUT SIGNALSº in ªDATA MONITORº mode for ªA/Tº with CONSULT-II.
3. Read out the value of ªENGINE SPEEDº.
Check engine speed changes according to throttle position.
SAT645J
Refer toEC-127, ªECM INSPECTION TABLEº.
Ye s©GO TO 5.
No©GO TO 3.
3 DETECT MALFUNCTIONING ITEM
Check the following items:
IHarness for short or open between TCM and ECM
IResistor
IIgnition coil
Refer to EC-499, ªComponent Descriptionº.
OK or NG
OK©GO TO 5.
NG©Repair or replace damaged parts.
DTC P0725 ENGINE SPEED SIGNAL
Diagnostic Procedure
AT-118
Page 124 of 2395

4 CHECK INPUT SIGNAL (WITHOUT CONSULT-II)
Without CONSULT-II
1. Start engine.
2. Check voltage between TCM terminal 39 and ground.
SAT520J
Refer toEC-127, ªECM INSPECTION TABLEº.
Ye s©GO TO 4.
No©GO TO 3.
5 CHECK DTC
Perform Diagnostic Trouble Code (DTC) confirmation procedure, AT-116.
OK or NG
OK©INSPECTION END
NG©GO TO 6.
6 CHECK TCM INSPECTION
1. Perform TCM input/output signal inspection.
2. If NG, recheck TCM pin terminals for damage or loose connection with harness connector.
OK or NG
OK©INSPECTION END
NG©Repair or replace damaged parts.
GI
MA
EM
LC
EC
FE
TF
PD
AX
SU
BR
ST
RS
BT
HA
SC
EL
IDX
DTC P0725 ENGINE SPEED SIGNAL
Diagnostic Procedure (Cont'd)
AT-119
Page 125 of 2395

DescriptionNBAT0039IThis is an OBD-II self-diagnostic item and not available in TCM
self-diagnosis.
IThis malfunction will not be detected while the O/D OFF indi-
cator lamp is indicating another self-diagnosis malfunction.
IThis malfunction is detected when the A/T does not shift into
first gear position as instructed by the TCM. This is not caused
by electrical malfunction (circuits open or shorted) but by
mechanical malfunction such as control valve sticking,
improper solenoid valve operation, etc.
Gear position1234
Shift solenoid valve A ON (Closed) OFF (Open) OFF (Open) ON (Closed)
Shift solenoid valve B ON (Closed) ON (Closed) OFF (Open) OFF (Open)
TCM TERMINALS AND REFERENCE VALUENBAT0039S02Remarks: Specification data are reference values.
Terminal
No.Wire color Item ConditionJudgement
standard
(Approx.)
11 L/WShift solenoid
valve A
When shift solenoid valve A operates.
(When driving in ªD
1ºorªD4º.)Battery volt-
age
When shift solenoid valve A does not operate.
(When driving in ªD
2ºorªD3º.)0V
12 L/RShift solenoid
valve BWhen shift solenoid valve B operates.
(When driving in ªD
1ºorªD2º.)Battery volt-
age
When shift solenoid valve B does not operate.
(When driving in ªD
3ºorªD4º.)0V
ON BOARD DIAGNOSIS LOGICNBAT0039S03This diagnosis monitors actual gear position by checking the torque
converter slip ratio calculated by TCM as follows:
Torque converter slip ratio = A x C/B
A: Output shaft revolution signal from revolution sensor
B: Engine speed signal from ECM
C: Gear ratio determined as gear position which TCM supposes
If the actual gear position is higher than the position (1st) supposed
by TCM, the slip ratio will be more than normal. In case the ratio
exceeds the specified value, TCM judges this diagnosis malfunc-
tion.
This malfunction will be caused when either shift solenoid valve A
is stuck open or shift solenoid valve B is stuck open.
Gear position supposed by TCM1234
In case of gear position with no malfunctions1234
In case of gear position with shift solenoid valve A stuck open 2* 2 3 3
In case of gear position with shift solenoid valve B stuck open 4* 3 3 4
*: P0731 is detected.
Diagnostic trouble code Malfunction is detected when ... Check item (Possible cause)
: A/T 1ST GR FNCTN
A/T cannot be shifted to the 1st gear
position even if electrical circuit is good.IShift solenoid valve A
IShift solenoid valve B
IEach clutch
IHydraulic control circuit
: P0731
DTC P0731 IMPROPER SHIFTING TO 1ST GEAR POSITION
Description
AT-120