JAGUAR XFR 2010 1.G Workshop Manual
XFR 2010 1.G
JAGUAR
JAGUAR
https://www.carmanualsonline.info/img/21/7642/w960_7642-0.png
JAGUAR XFR 2010 1.G Workshop Manual
Page 2679 of 3039
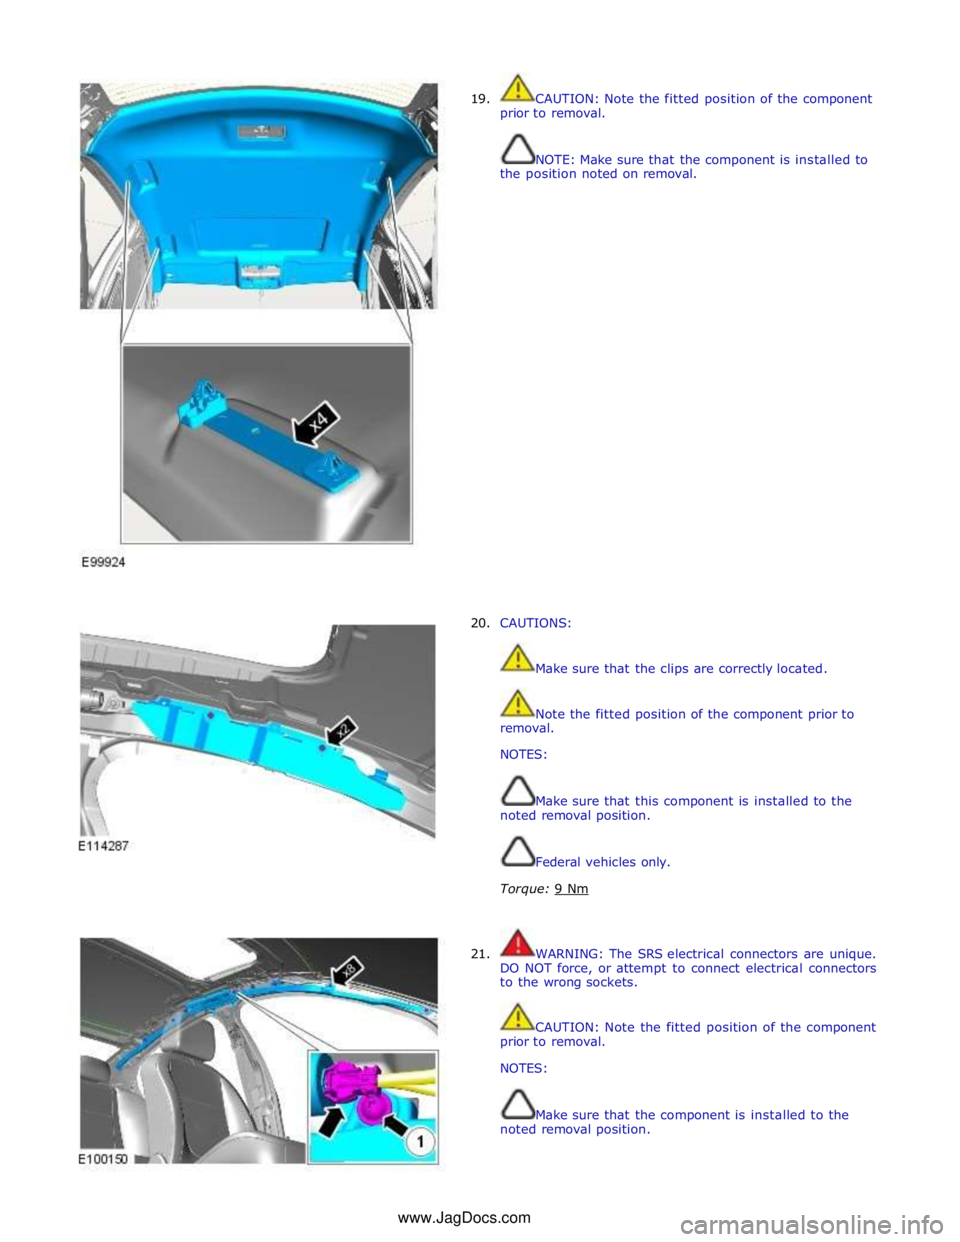
19.
20.
CAUTION: Note the fitted position of the component
prior to removal.
NOTE: Make sure that the component is installed to
the position noted on removal.
CAUTIONS:
Make sure that the clips are correctly located.
Note the fitted position of the component prior to
removal.
NOTES:
Make sure that this component is installed to the
noted removal position.
Federal vehicles only.
Torque: 9 Nm
21. WARNING: The SRS electrical connectors are unique.
DO NOT force, or attempt to connect electrical connectors
to the wrong sockets.
CAUTION: Note the fitted position of the component
prior to removal.
NOTES:
Make sure that the component is installed to the
noted removal position. www.JagDocs.com
Page 2680 of 3039
Some variation in the illustrations may occur, but the
essential information is always correct.
Torque: 9 Nm
Installation
1. CAUTION: Make sure that the component is correctly located on the
locating pegs.
To install, reverse the removal procedure.
2. If a new component has been installed, configure using Jaguar approved
diagnostic equipment.
Page 2689 of 3039
Pedestrian Protection System - Pedestrian Impact Sensor
Removal and Installation
Removal
NOTE: Removal steps in this procedure may contain installation details. Published: 11-May-2011
1. Refer to: Front Bumper Cover (501-19 Bumpers, Removal and Installation).
Installation
2. Torque: 3 Nm
1. To install, reverse the removal procedure. www.JagDocs.com
Page 2690 of 3039
Published: 11-May-2011
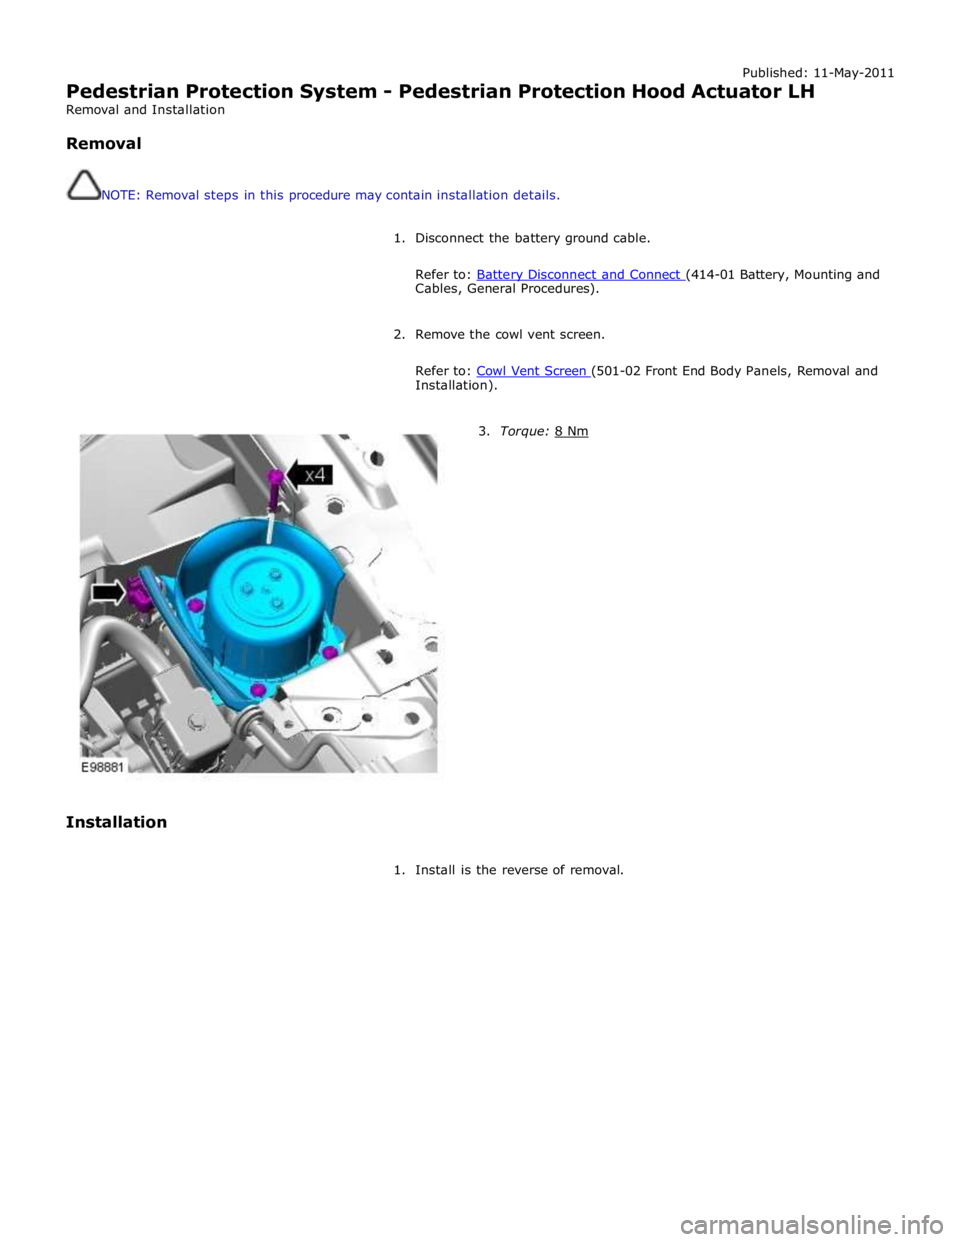
Pedestrian Protection System - Pedestrian Protection Hood Actuator LH
Removal and Installation
Removal
NOTE: Removal steps in this procedure may contain installation details.
1. Disconnect the battery ground cable.
Refer to: Battery Disconnect and Connect (414-01 Battery, Mounting and Cables, General Procedures).
2. Remove the cowl vent screen.
Refer to: Cowl Vent Screen (501-02 Front End Body Panels, Removal and Installation).
Installation
3. Torque: 8 Nm
1. Install is the reverse of removal.
Page 2691 of 3039
Published: 11-May-2011
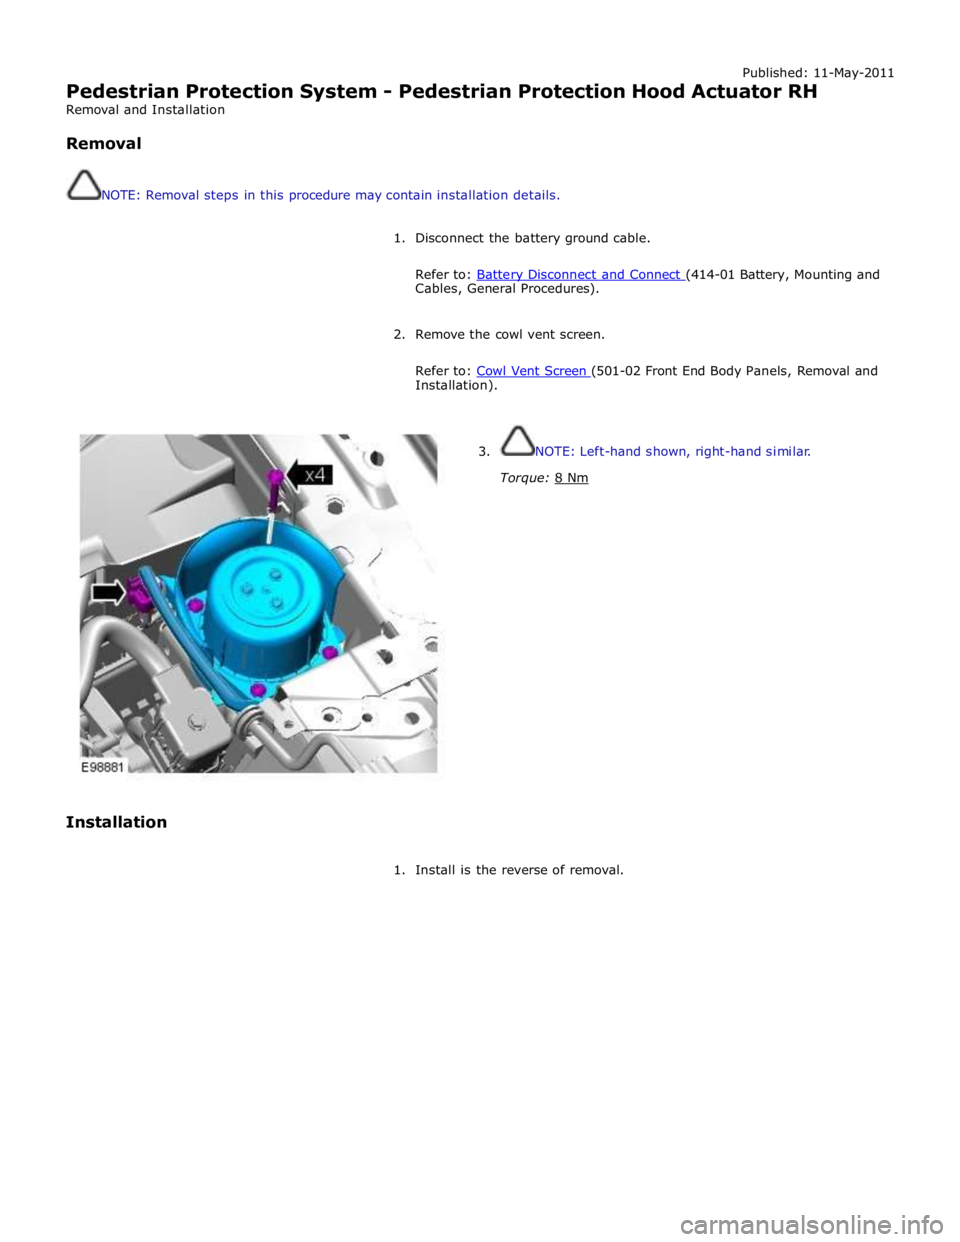
Pedestrian Protection System - Pedestrian Protection Hood Actuator RH
Removal and Installation
Removal
NOTE: Removal steps in this procedure may contain installation details.
1. Disconnect the battery ground cable.
Refer to: Battery Disconnect and Connect (414-01 Battery, Mounting and Cables, General Procedures).
2. Remove the cowl vent screen.
Refer to: Cowl Vent Screen (501-02 Front End Body Panels, Removal and Installation).
Installation
3. NOTE: Left-hand shown, right-hand similar.
Torque: 8 Nm
1. Install is the reverse of removal.
Page 3015 of 3039
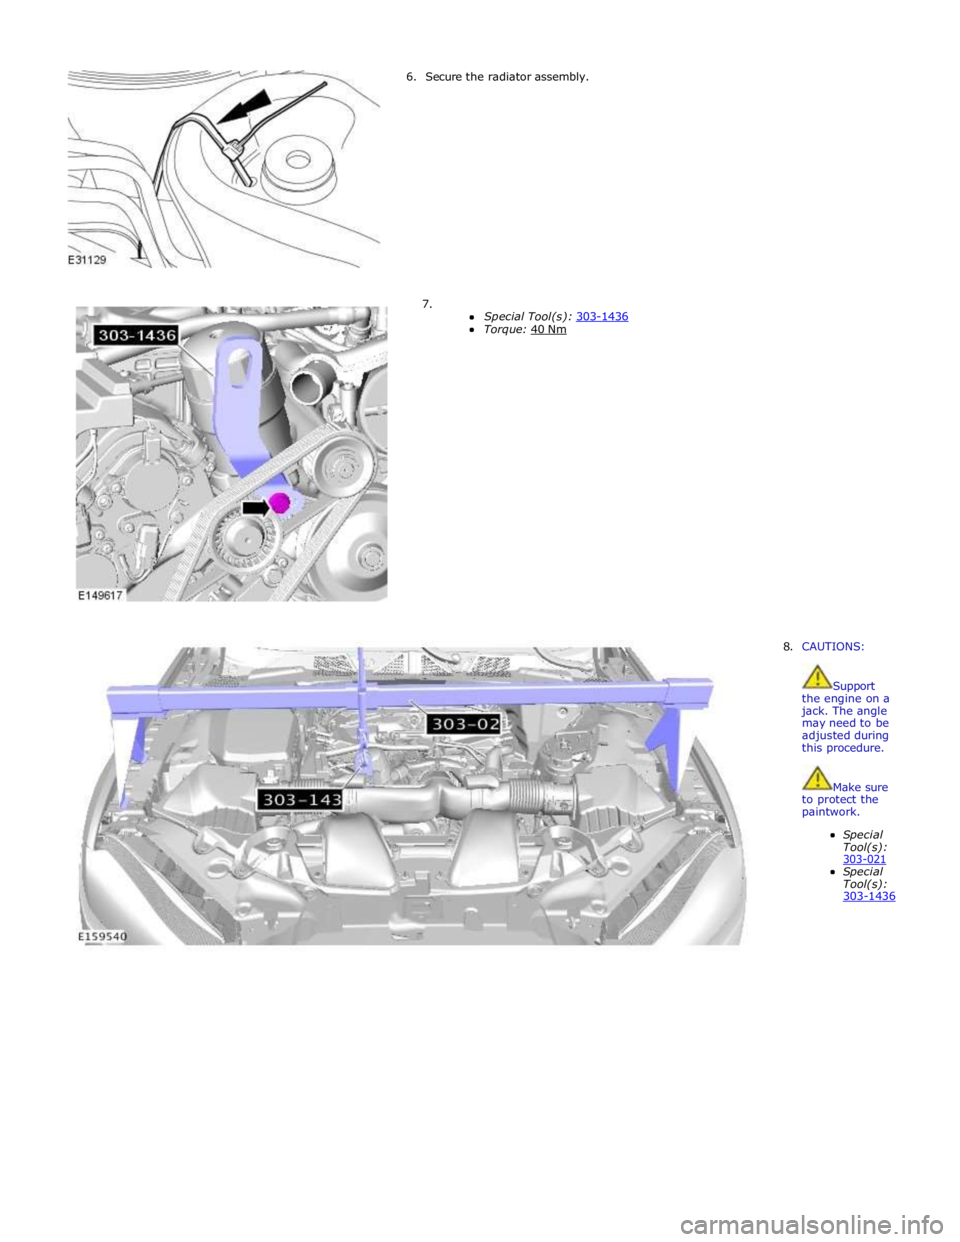
6. Secure the radiator assembly.
7.
Special Tool(s): 303-1436 Torque: 40 Nm
8. CAUTIONS:
Support the engine on a jack. The angle may need to be adjusted during this procedure.
Make sure to protect the paintwork.
Special Tool(s): 303-021 Special Tool(s): 303-1436
Page 3022 of 3039
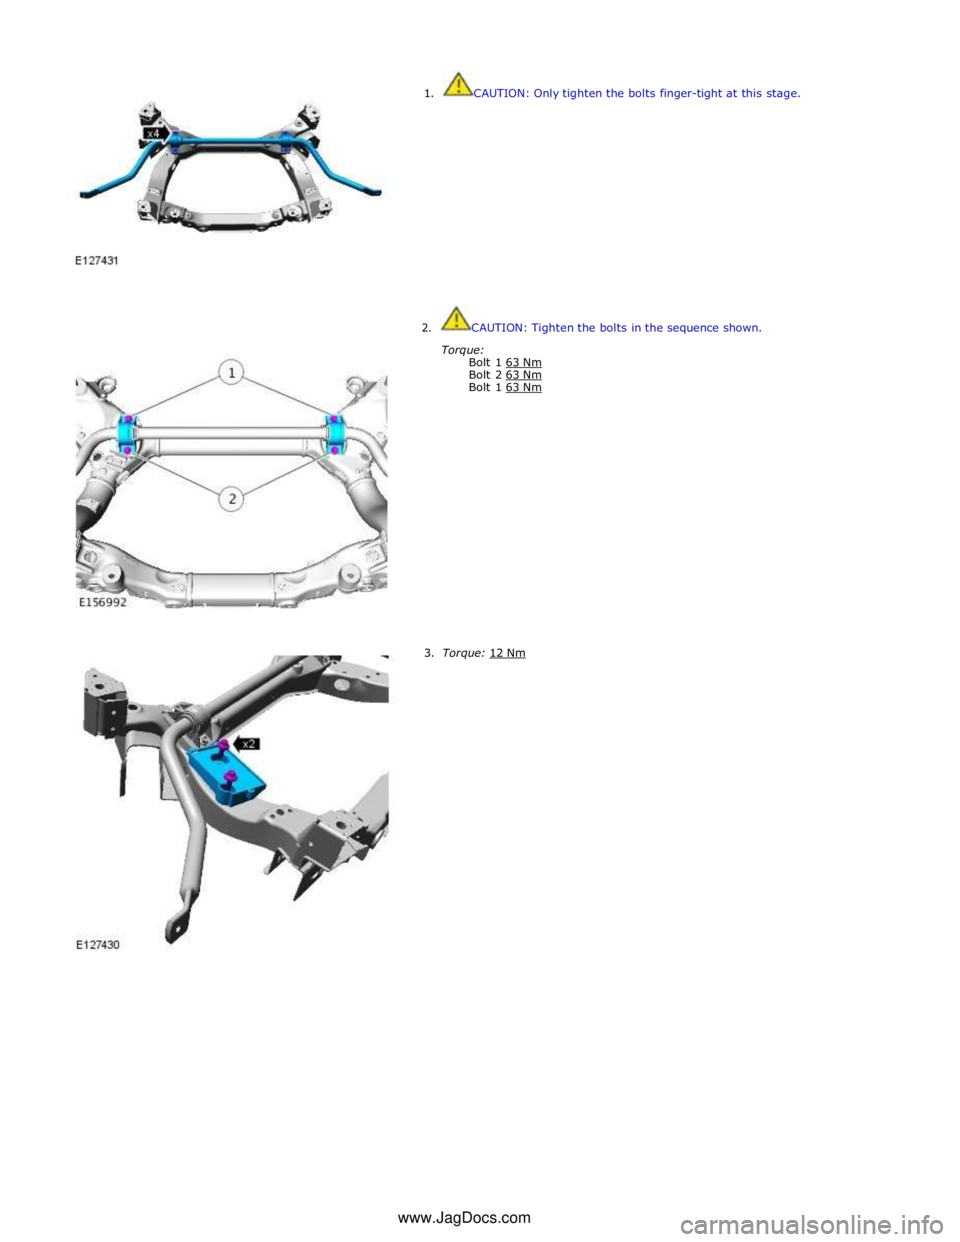
1. CAUTION: Only tighten the bolts finger-tight at this stage.
2. CAUTION: Tighten the bolts in the sequence shown.
Torque:
Bolt 1 63 Nm Bolt 2 63 Nm Bolt 1 63 Nm
3. Torque: 12 Nm www.JagDocs.com
Page 3024 of 3039
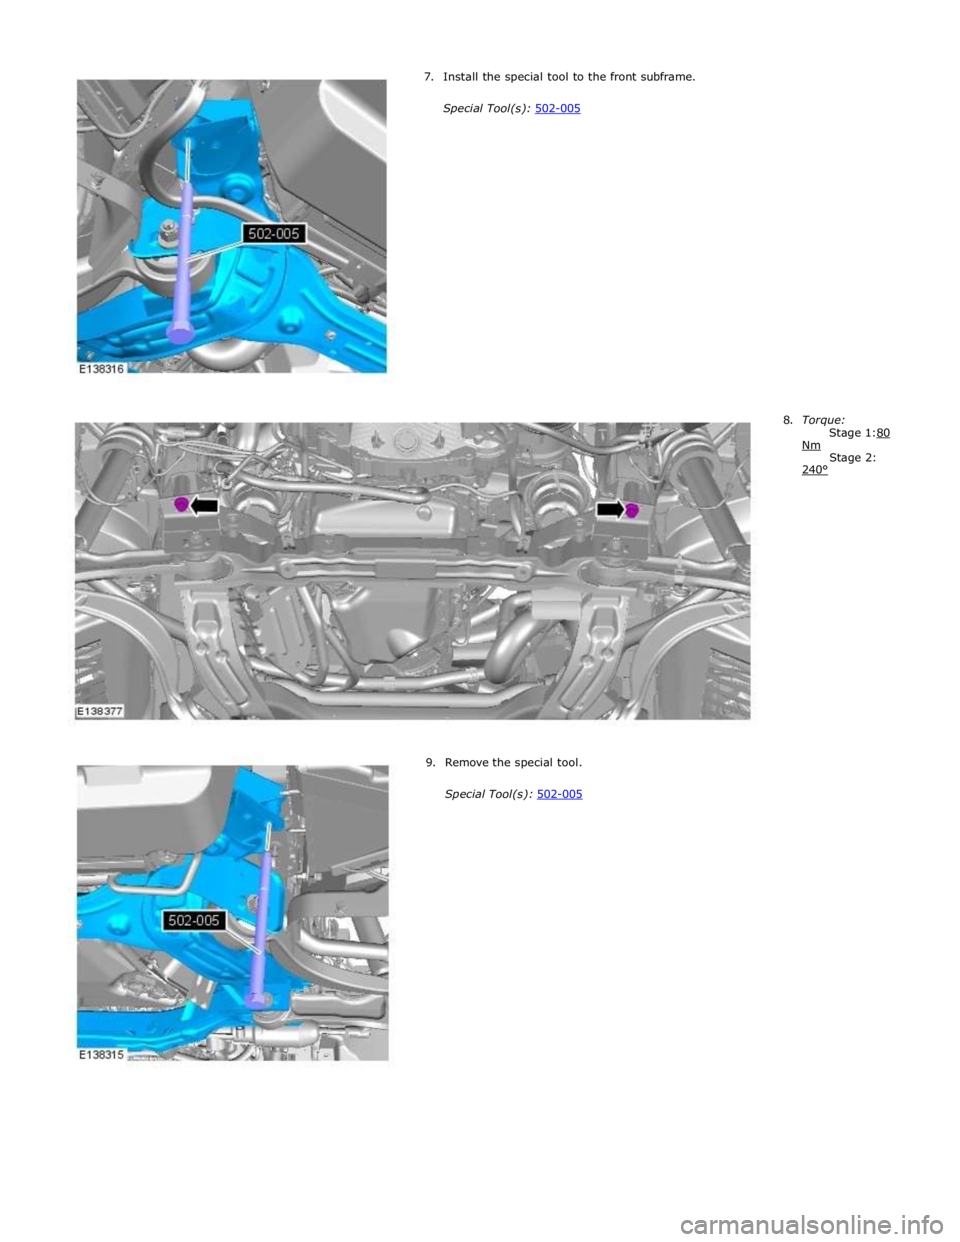
8. Torque:
Stage 1:80
9. Remove the special tool.
Special Tool(s): 502-005 Nm
240°
Stage 2:
Page 3025 of 3039
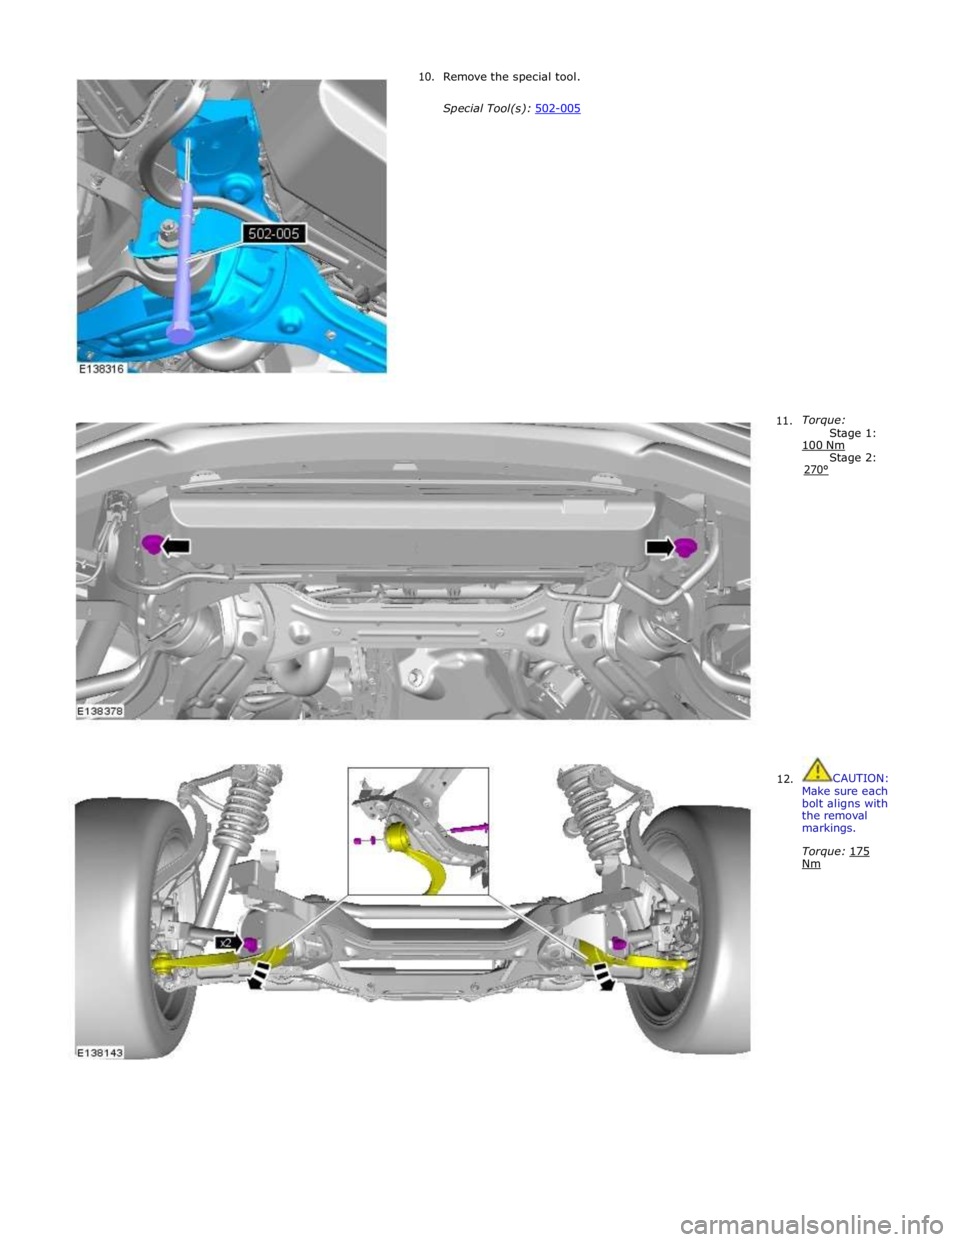
10. Remove the special tool.
Special Tool(s): 502-005
11.
Torque:
Stage 1: 100 Nm Stage 2: 270°
12. CAUTION:
Make sure each bolt aligns with the removal markings.
Torque: 175 Nm
Page 3026 of 3039
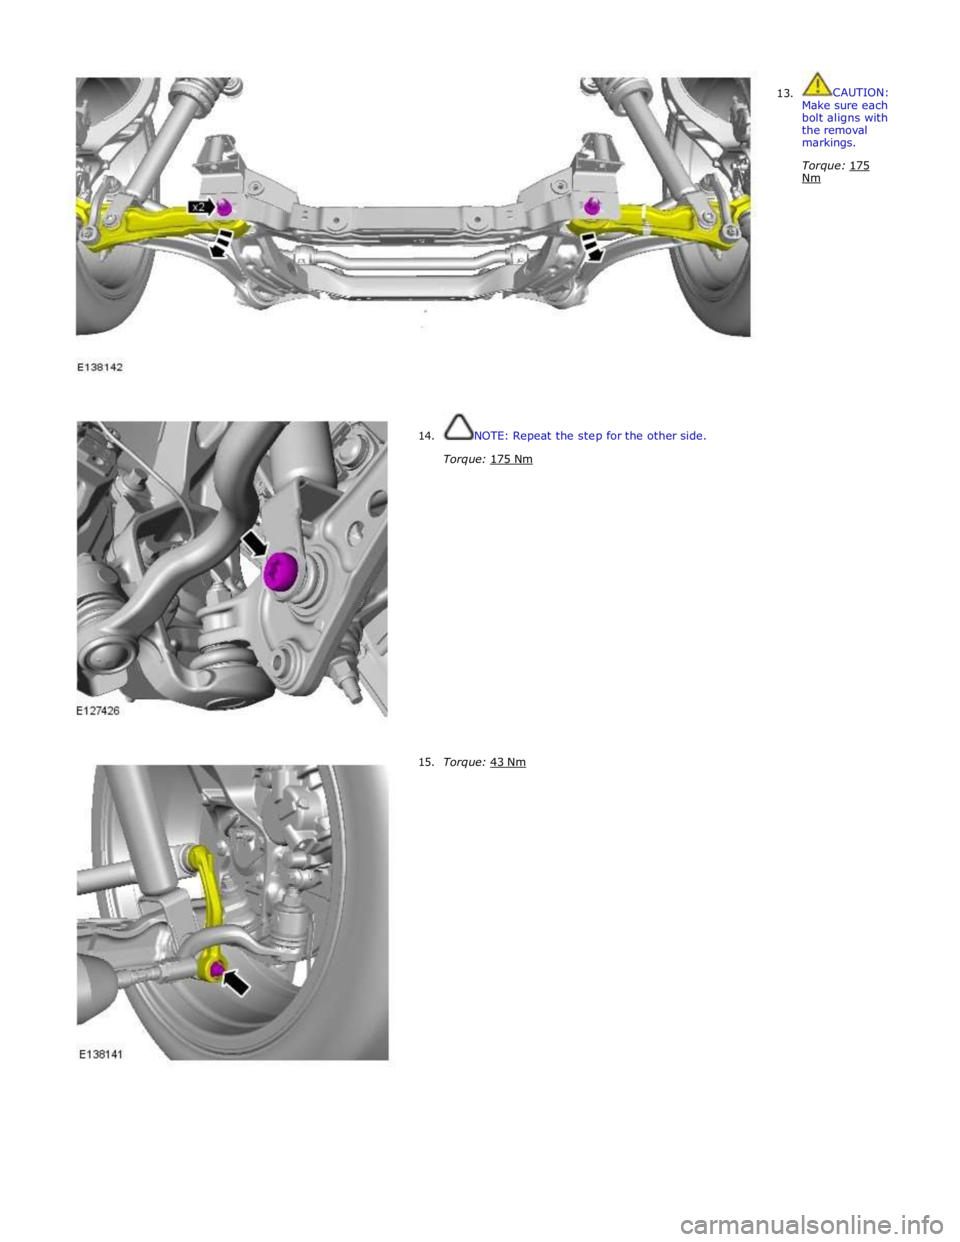
13. CAUTION:
Make sure each bolt aligns with the removal markings.
Torque: 175 Nm
14.
15.
NOTE: Repeat the step for the other side.
Torque: 175 Nm
Torque: 43 Nm
