ECO JEEP RENEGADE LATITUDE 2017 Owner's Guide
[x] Cancel search | Manufacturer: JEEP, Model Year: 2017, Model line: RENEGADE LATITUDE, Model: JEEP RENEGADE LATITUDE 2017Pages: 516, PDF Size: 5.3 MB
Page 254 of 516
4. If the engine does not start, place the ignition in the OFFmode and wait 10-15 seconds before attempting to
restart the engine.
Tip Start Feature
Do not press the accelerator. Cycle the ignition switch
briefly to the START mode and release it. The starter motor
will continue to run but will automatically disengage when
the engine is running.
If Engine Fails To Start
Page 264 of 516
Downshifting
Moving from a high gear down to a lower gear is recom-
mended to preserve brakes when driving down steep hills.
In addition, downshifting at the right time provides better
acceleration when you desire to resume speed. Downshift
progressively. Do not skip gears to avoid overspeeding the
engine and clutch.
CAUTION!
•Skipping gears and downshifting into lower gears at
higher vehicle speeds can damage the engine and
clutch systems, Any attempt to shift into lower gear
with clutch pedal depressed may result damage to
the clutch system. Shifting into lower gear and
releasing the clutch may result in engine damage.
• When descending a hill, be very careful to downshift
one gear at a time to prevent overspeeding the engine
(Continued)
CAUTION!
Failure to follow the maximum recommended down-
shifting speeds may cause the engine to overspeed
and/or damage the clutch disc, even if the clutch pedal
is pressed.
262 STARTING AND OPERATING
Page 272 of 516
stop. After a stop, the driver should manually upshift (+)
the transmission as the vehicle is accelerated.
• You can start out (from a stop) in first or second gear.
Starting out in second gear can be helpful in snow or icy
conditions. Tap the gear selector forward or rearward to
select the desired gear after the vehicle is brought to a
stop.
• If a requested downshift would cause the engine to
overspeed, that shift will not occur.
• The system will ignore attempts to upshift at too low of
a vehicle speed.
• Avoid using speed control when AutoStick is engaged
because the transmission will not shift automatically.
• Transmission shifting will be more noticeable when
AutoStick is enabled.
• The system may revert to automatic shift mode if a fault
or overheat condition is detected.
To disengage AutoStick mode, return the gear selector to
the DRIVE position. You can shift in or out of the AutoStick
position at any time without taking your foot off the
accelerator pedal.
Page 275 of 516
NOTE:
•In order to ensure proper operation, the Speed Control
System has been designed to shut down if multiple
Speed Control functions are operated at the same time. If
this occurs, the Speed Control System can be reactivated
by pushing the Speed Control on/off button and reset-
ting the desired vehicle set speed.
• The Speed Control function will not work in 4WD Low
Range.
Activation
Push the on/off button to activate the Speed Control. The
Cruise Indicator Light in the instrument cluster display
will illuminate. To turn the system off, push the on/off
button a second time. The Cruise Indicator Light will turn
off. The system should be turned off when not in use.
Page 299 of 516
WARNING!
It is important that you do not exceed the maximum
front or rear GAWR. A dangerous driving condition
can result if either rating is exceeded.
Tongue Weight (TW)
The tongue weight is the downward force exerted on the
hitch ball by the trailer. You must consider this as part of
the load on your vehicle.
Frontal Area
The frontal area is the maximum height multiplied by the
maximum width of the front of a trailer.
Trailer Sway Control — Mechanical
The trailer sway control is a telescoping link that can be
installed between the hitch receiver and the trailer tongue
that typically provides adjustable friction associated with
the telescoping motion to dampen any unwanted trailer
swaying motions while traveling.
Weight-Carrying Hitch
A weight-carrying hitch supports the trailer tongue weight,
just as if it were luggage located at a hitch ball or someother connecting point of the vehicle. These kinds of
hitches are the most popular on the market today and they
are commonly used to tow small and medium sized
trailers.
Weight-Distributing Hitch
A weight-distributing system works by applying leverage
through spring (load) bars. They are typically used for
heavier loads to distribute trailer tongue weight to the tow
vehicle’s front axle and the trailer axle(s). When used in
accordance with the manufacturer’s directions, it provides
for a more level ride, offering more consistent steering and
brake control thereby enhancing towing safety. The addi-
tion of a friction/hydraulic sway control also dampens
sway caused by traffic and crosswinds and contributes
positively to tow vehicle and trailer stability. Trailer sway
control and a weight distributing (load equalizing) hitch
are recommended for heavier Tongue Weights (TW) and
may be required depending on vehicle and trailer
configuration/loading to comply with Gross Axle Weight
Rating (GAWR) requirements.
6
STARTING AND OPERATING 297
Page 302 of 516
Consider the following items when computing the weight
on the rear axle of the vehicle:
•The tongue weight of the trailer.
• The weight of any other type of cargo or equipment put
in or on your vehicle.
• The weight of the driver and all passengers.
NOTE: Remember that everything put into or on the
trailer adds to the load on your vehicle. Also, additional
factory-installed options or dealer-installed options must
be considered as part of the total load on your vehicle.
Refer to the “Tire And Loading Information” placard for
the maximum combined weight of occupants and cargo for
your vehicle.
Towing Requirements
To promote proper break-in of your new vehicle drivetrain
components, the following guidelines are recommended:
Page 304 of 516
•An electronically actuated trailer brake controller is
required when towing a trailer with electronically actu-
ated brakes. When towing a trailer equipped with a
hydraulic surge actuated brake system, an electronic
brake controller is not required.
• Trailer brakes are recommended for trailers over
1,000 lbs (453 kg) and required for trailers in excess of
2,000 lbs (907 kg).
CAUTION!
If the trailer weighs more than 1,000 lbs (453 kg)
loaded, it should have its own brakes and they should
(Continued)
Page 315 of 516
HAZARD WARNING FLASHERS
The Hazard Warning flasher switch is located on the switch
bank below the radio.Push the switch to turn on the Hazard Warning
Flasher. When the switch is activated, all directional
turn signals will flash on and off to warn oncoming traffic
of an emergency. Push the switch a second time to turn off
the Hazard Warning flashers.
This is an emergency warning system and it should not be
used when the vehicle is in motion. Use it when your
vehicle is disabled and it is creating a safety hazard for
other motorists.
When you must leave the vehicle to seek assistance, the
Hazard Warning flashers will continue to operate even
though the ignition is placed in OFF mode.
NOTE: With extended use the Hazard Warning flashers
may wear down your battery.
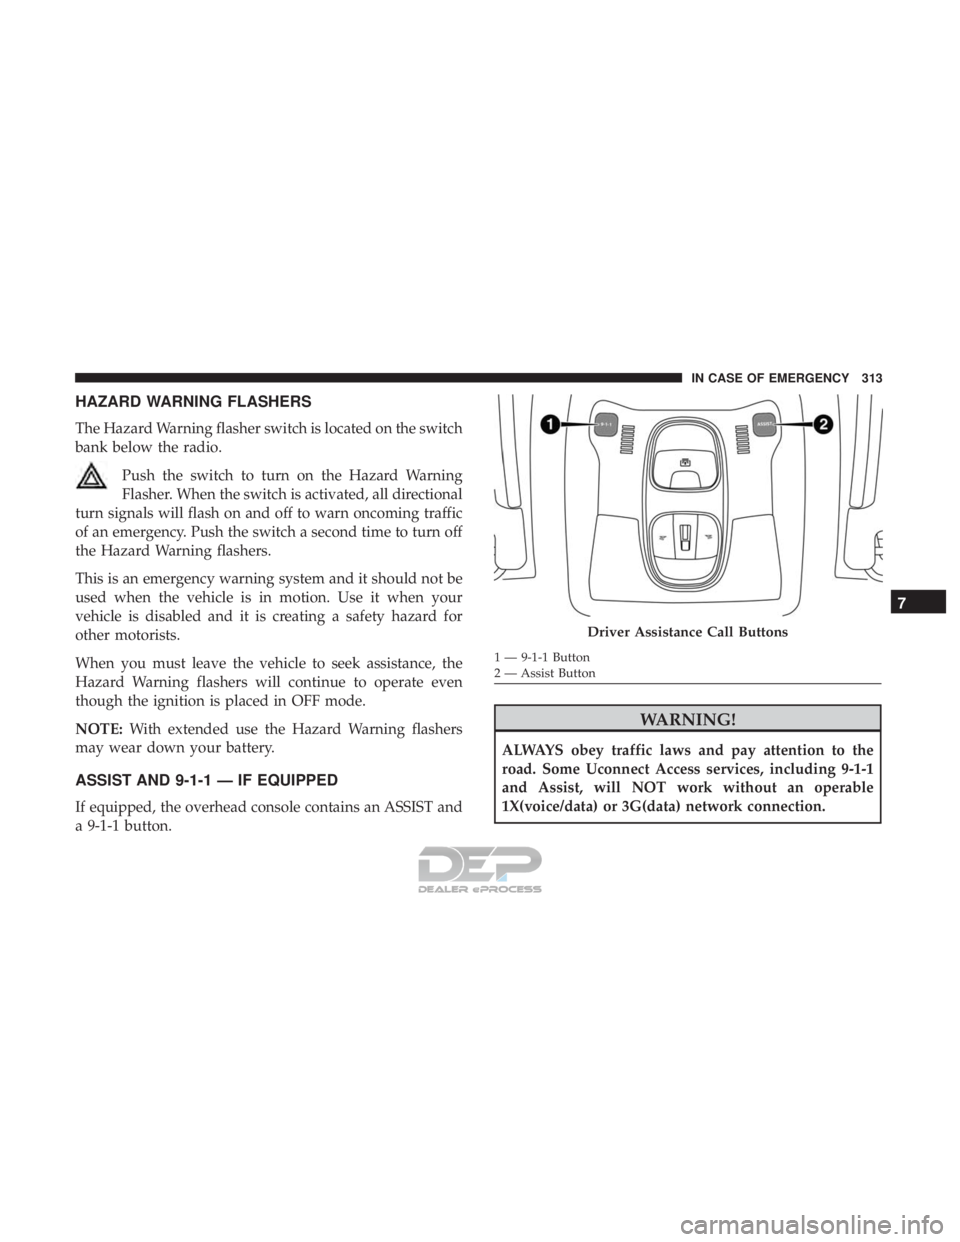
ASSIST AND 9-1-1 — IF EQUIPPED
If equipped, the overhead console contains an ASSIST and
a 9-1-1 button.
Driver Assistance Call Buttons
Page 319 of 516
•The vehicle battery loses power or becomes discon-
nected during a vehicle crash.
• Operable 1X(voice/data) or 3G(data) network and/or
Global Positioning Satellite signals are unavailable or
obstructed.
• Equipment malfunction at the 9-1-1 operator facility.
• Operator error by the 9-1-1 operator.
• Operable 1X(voice/data) or 3G(data) network conges-
tion.
• Weather.
• Buildings, structures, geographic terrain, or tunnels.
Page 329 of 516
CAUTION!
The procedure is described as a guideline. For the
replacement of the lamp it is recommended that you
contact your authorized dealer.
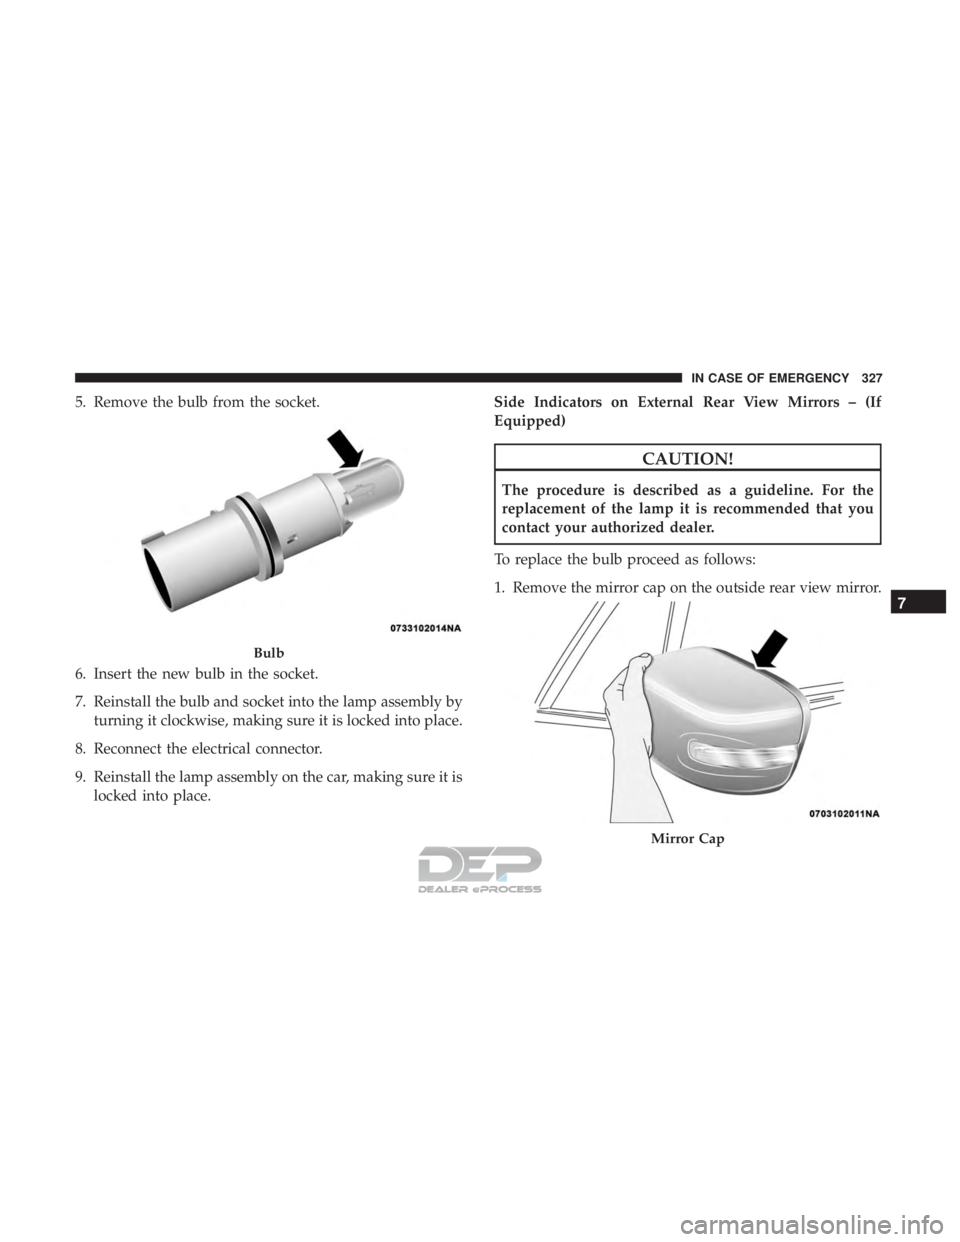
To replace the bulb proceed as follows:
1. Remove the mirror cap on the outside rear view mirror.
Mirror Cap
7
IN CASE OF EMERGENCY 327