JEEP WRANGLER 2004 TJ / 2.G Manual PDF
WRANGLER 2004 TJ / 2.G
JEEP
JEEP
https://www.carmanualsonline.info/img/16/7153/w960_7153-0.png
JEEP WRANGLER 2004 TJ / 2.G Manual PDF
Trending: oil capacities, recommended oil, length, refrigerant type, high beam, coolant reservoir, run flat
Page 71 of 299
12. Move to the side of the vehicle and pull the side bow
forward and down. You will see the 3 bow rise from the
rear of the vehicle.13. Unclip and move the sun visor to the side.
UNDERSTANDING THE FEATURES OF YOUR VEHICLE 71
3
Page 72 of 299
14. Open the header latches and engage the hooks on
each side into the windshield slot.
NOTE:Do not latch at this time.15. Grasp the drip rail retainers and untuck them from
the door frame. The soft top fabric should cover the
header completely from one side to the other. This may
require you to pull some of the fabric down and around
the corners. Repeat this step for the other side.
NOTE:Do not tuck the drip rail retainers into the frame
at this time.
72 UNDERSTANDING THE FEATURES OF YOUR VEHICLE
Page 73 of 299
16. Move to the rear of the vehicle and gently pull the sail
panels over the 3 bow. Let them hang down over the
sport bar. Make sure that the nylon check straps between
the 2 bow and 3 bow are not twisted or wrapped around
the 2 bow.
NOTE:Do not tuck the sail panel retainers at this time.17. Fold the rear seat back and sit in the rear cargo area,
facing rearward. Look up at the 2 bow. Wrap fabric
around 2 bow attaching it with the Velcrot. Look up at
the 3 bow and locate the 4 snaps on the rear side of the 3
bow. Grasp the fabric rearward of the 3 bow (fabric
contains the snaps) and pull it up and around, attaching
all 4 snaps. Return the rear seat to it's original position.
UNDERSTANDING THE FEATURES OF YOUR VEHICLE 73
3
Page 74 of 299
18. Begin working from the rear tailgate opening and
align the sail panel retainer to the edge of the body side
retainer. Tuck the retainer around the corner working
from back to front.
NOTE:This may be difficult to do the first time. The
fabric will stretch after the soft top is installed in the up
position.19. To install the quarter window, affix the rear corner of
the quarter window temporarily to the Velcrotin the rear
of the vehicle. Now, zip the zipper only about 1 inch (2.5
cm). At this time, it is necessary to tuck in the door frame
retainer into the door frame. After the door frame retainer
has been tucked in completely, remove the window from
the Velcrotand finish zipping in the window. Tuck and
fold the Velcrotflaps which are above and to the rear of
the quarter windows. Repeat this step for the other side.
74 UNDERSTANDING THE FEATURES OF YOUR VEHICLE
Page 75 of 299
20. Tuck in the bottom retainers on the quarter windows
into the bodyside retainer, beginning from the rear and
working to the front of the vehicle. Repeat this step for
the other side.21. Locate the black retainer bar that was set aside.
Remove and discard the end caps. Slide the retainer bar
over the receiver at the bottom inside, with the bulky seal
away from you.
UNDERSTANDING THE FEATURES OF YOUR VEHICLE 75
3
Page 76 of 299
22. Zip the rear window beginning from the left using
both zipper ends. Leave one zipper end at the start.23. Tuck in the retainer bar ends into the tailgate clips on
each side of the tailgate opening. 22
76 UNDERSTANDING THE FEATURES OF YOUR VEHICLE
Page 77 of 299
24. Tuck in the plastic retainers on each side of the rear
window under the tailgate clips.25. Tuck in the drip rail retainers into the rail slot.
UNDERSTANDING THE FEATURES OF YOUR VEHICLE 77
3
Page 78 of 299
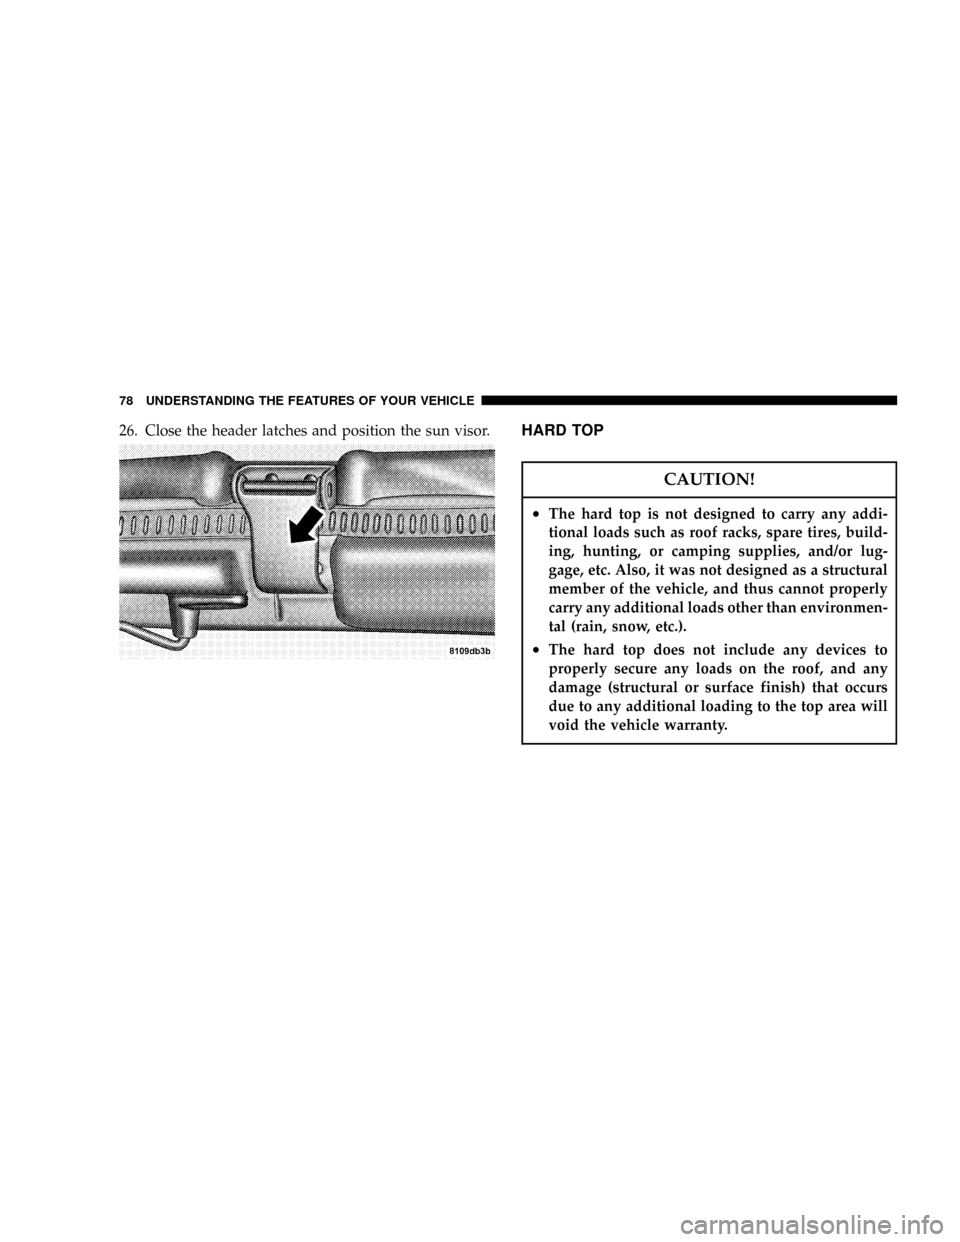
26. Close the header latches and position the sun visor.HARD TOP
CAUTION!
²The hard top is not designed to carry any addi-
tional loads such as roof racks, spare tires, build-
ing, hunting, or camping supplies, and/or lug-
gage, etc. Also, it was not designed as a structural
member of the vehicle, and thus cannot properly
carry any additional loads other than environmen-
tal (rain, snow, etc.).
²The hard top does not include any devices to
properly secure any loads on the roof, and any
damage (structural or surface finish) that occurs
due to any additional loading to the top area will
void the vehicle warranty.
78 UNDERSTANDING THE FEATURES OF YOUR VEHICLE
Page 79 of 299
CAUTION!
Do not move your vehicle until the top has been
either fully attached to the windshield frame and
bodyside, or fully removed.
Hard Top Removal
1. Fold down the sun visors and move them to the side.
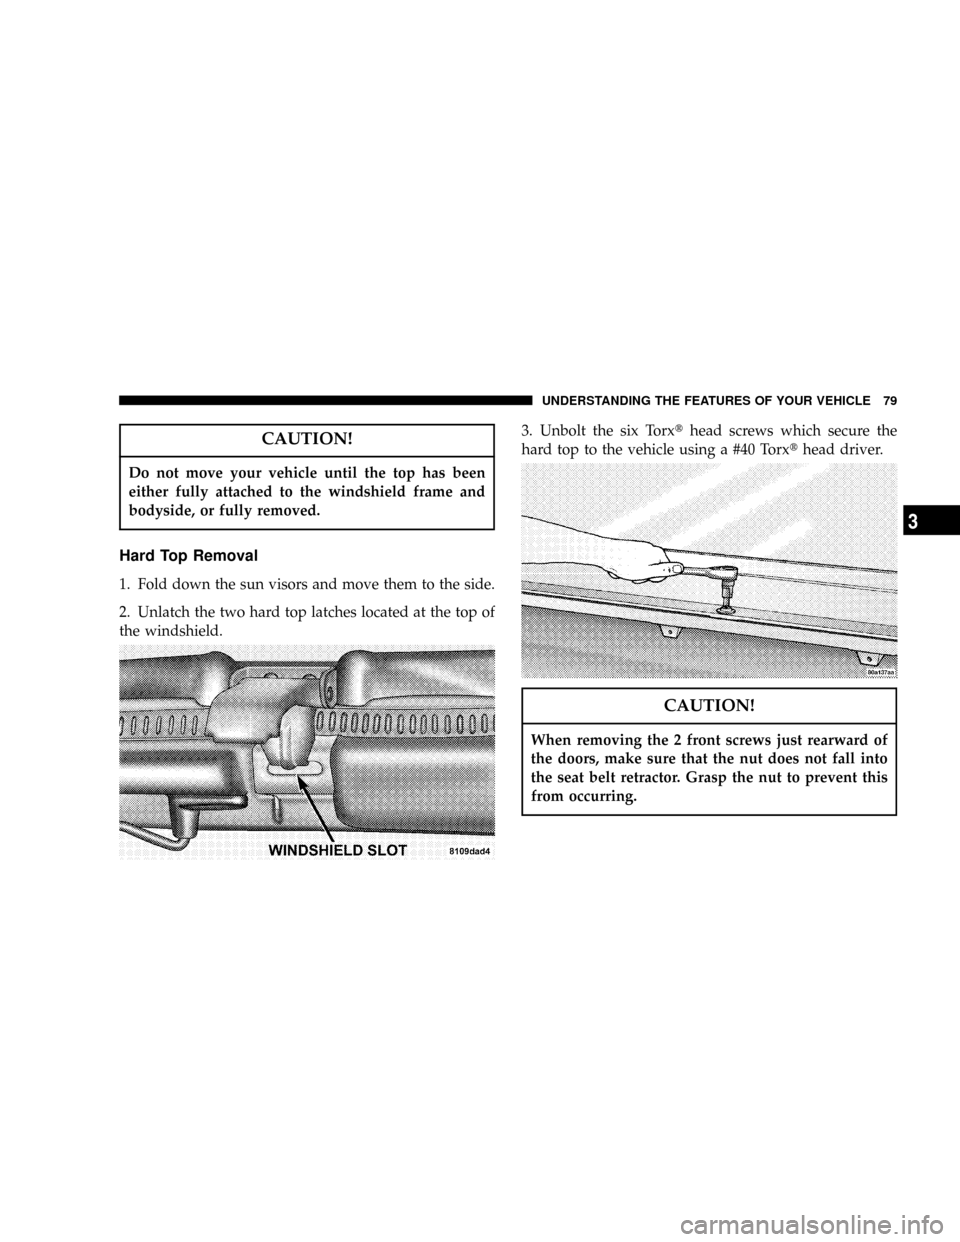
2. Unlatch the two hard top latches located at the top of
the windshield.3. Unbolt the six Torxthead screws which secure the
hard top to the vehicle using a #40 Torxthead driver.
CAUTION!
When removing the 2 front screws just rearward of
the doors, make sure that the nut does not fall into
the seat belt retractor. Grasp the nut to prevent this
from occurring.
UNDERSTANDING THE FEATURES OF YOUR VEHICLE 79
3
Page 80 of 299
NOTE:On a dual top vehicle, the two rear and center
nuts are retained onto the bodyside.
4. Open both doors.
5. Open tailgate all the way to ensure clearance of the
rear window glass. Lift rear window glass.6. Locate the wiring harness at the rear left side corner of
the vehicle.
80 UNDERSTANDING THE FEATURES OF YOUR VEHICLE
Trending: fuel filter, remove seats, remote start, fuel tank capacity, battery capacity, check engine light, jump start


