ignition KIA Cerato 2016 2.G Workshop Manual
[x] Cancel search | Manufacturer: KIA, Model Year: 2016, Model line: Cerato, Model: KIA Cerato 2016 2.GPages: 501, PDF Size: 14.8 MB
Page 167 of 501
Features of your vehicle
96
4
Battery saver function
The purpose of this feature is to
prevent the battery from being dis-
charged. The system automatically
turns off the parking lights when
the driver removes the ignition key
and opens the driver-side door.
With this feature, the parking lights will turn off automatically if the driv-
er parks on the side of the road at
night.
If necessary, to keep the lights on
when the ignition key is removed,
perform the following:
1) Open the driver-side door.
2) Turn the parking lights OFF and ON again using the light switch
on the steering column.
Headlight escort function
(if equipped)
The headlights (and/or taillights) will
remain on for approximately 20 min-
utes after the ignition key is removed
or turned to the ACC or LOCK posi-
tion. However, if the driver’s door is
opened and closed, the headlights
are turned off after 30 seconds.
The headlights can be turned off by
pressing the lock button on the trans-
mitter (or smart key) twice or turning
off the light switch from the headlight
or Auto light position. If the driver gets out of the vehicle
through other doors (except driver's
door), the battery saver function
does not operate and the headlight
escort function does not turn off
automatically. Therefore, It causes
the battery to be discharged. In this
case, make sure to turn off the lamp
before getting out of the vehicle.
If the headlights are not working
properly have your vehicle inspected
by an authorized Kia dealer.
Don't attempt to inspect or replace
the wiring yourself to prevent mal-
function.
LIGHTING
Page 169 of 501

Features of your vehicle
98
4
Headlight position ( )
When the light switch is in the head-
light position (2nd position) the head,
tail, position, license and instrument
panel lights will turn ON.
The ignition switch must be in the ON
position to turn on the headlights.
Auto light position (if equipped)
When the light switch is in the AUTO
light position, the taillights and head-
lights will turn ON or OFF automati-
cally depending on the amount of
light outside the vehicle.
Never place anything over the sensor
(1) located on the instrument panel.
This will ensure better auto-light sys-
tem control.
Do not clean the sensor using a win-
dow cleaner, the cleaner may leave a
light film which could interfere with
sensor operation. If your vehicle has window tint or
other types of metallic coating on the
front windshield, the Auto light sys-
tem may not work properly.
OYDDCO2042OAM049042
Page 171 of 501
Features of your vehicle
100
4
Turn signals and lane change
signals
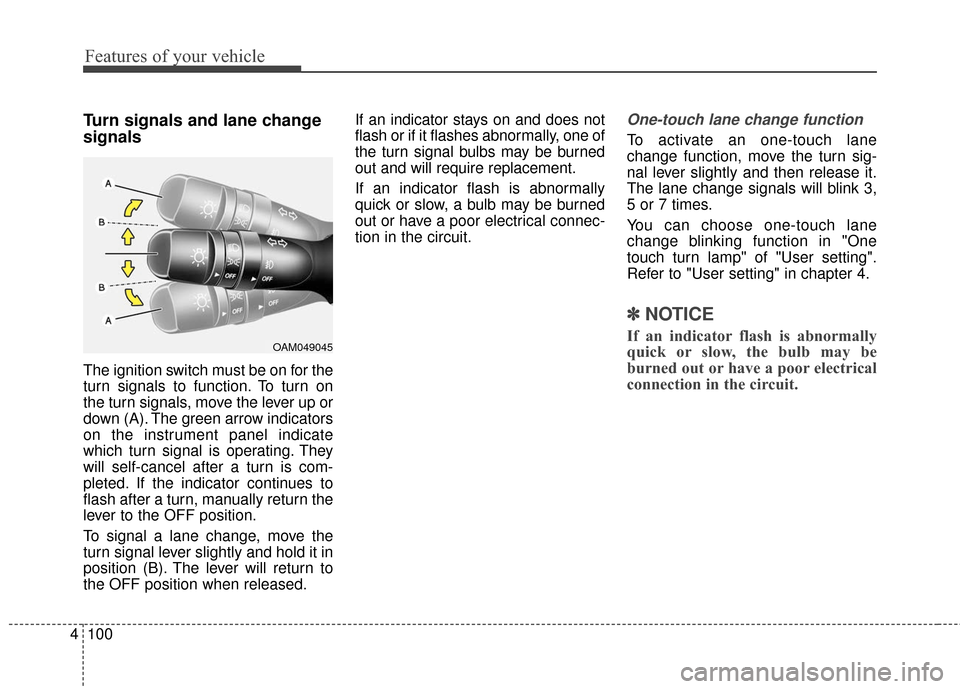
The ignition switch must be on for the
turn signals to function. To turn on
the turn signals, move the lever up or
down (A). The green arrow indicators
on the instrument panel indicate
which turn signal is operating. They
will self-cancel after a turn is com-
pleted. If the indicator continues to
flash after a turn, manually return the
lever to the OFF position.
To signal a lane change, move the
turn signal lever slightly and hold it in
position (B). The lever will return to
the OFF position when released. If an indicator stays on and does not
flash or if it flashes abnormally, one of
the turn signal bulbs may be burned
out and will require replacement.
If an indicator flash is abnormally
quick or slow, a bulb may be burned
out or have a poor electrical connec-
tion in the circuit.
One-touch lane change function
To activate an one-touch lane
change function, move the turn sig-
nal lever slightly and then release it.
The lane change signals will blink 3,
5 or 7 times.
You can choose one-touch lane
change blinking function in "One
touch turn lamp" of "User setting".
Refer to "User setting" in chapter 4.
✽ ✽
NOTICE
If an indicator flash is abnormally
quick or slow, the bulb may be
burned out or have a poor electrical
connection in the circuit.OAM049045
Page 175 of 501
Features of your vehicle
104
4
Do not use the interior lights for
extended periods when the engine is
not running.
It may cause battery discharge.Automatic turn off function
(if equipped)
The interior lights automatically turn
off approximately 20 minutes after
the ignition switch is turned off.
If your vehicle is equipped with the
theft alarm system, the interior lights
automatically turn off approximately
3 seconds after the system is in
armed stage.
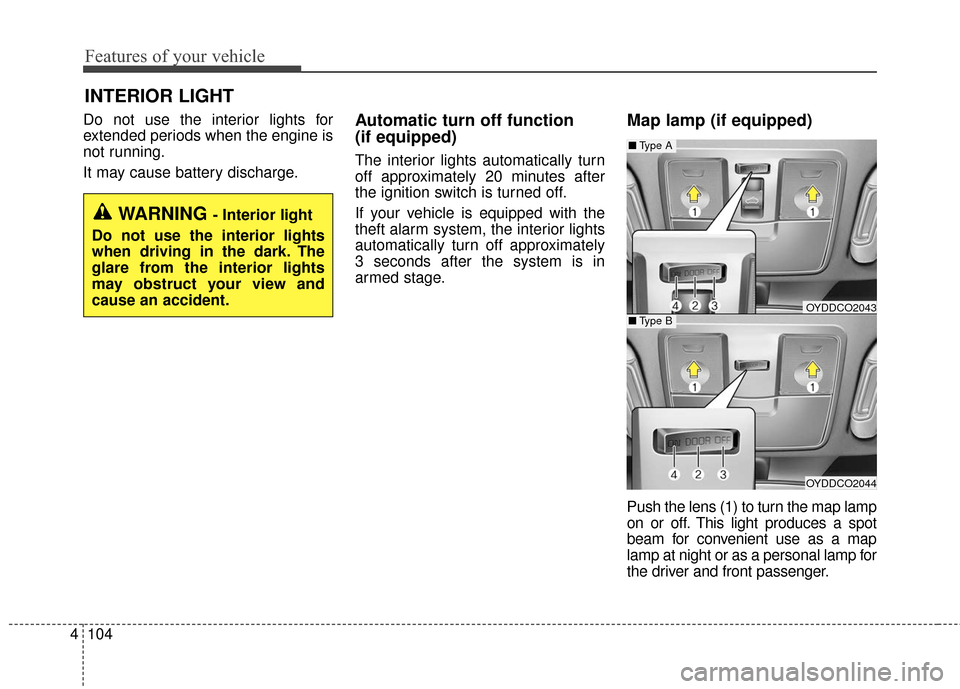
Map lamp (if equipped)
Push the lens (1) to turn the map lamp
on or off. This light produces a spot
beam for convenient use as a map
lamp at night or as a personal lamp for
the driver and front passenger.
INTERIOR LIGHT
WARNING - Interior light
Do not use the interior lights
when driving in the dark. The
glare from the interior lights
may obstruct your view and
cause an accident.
OYDDCO2043
OYDDCO2044
■ Type B
■Type A
Page 176 of 501
4105
Features of your vehicle
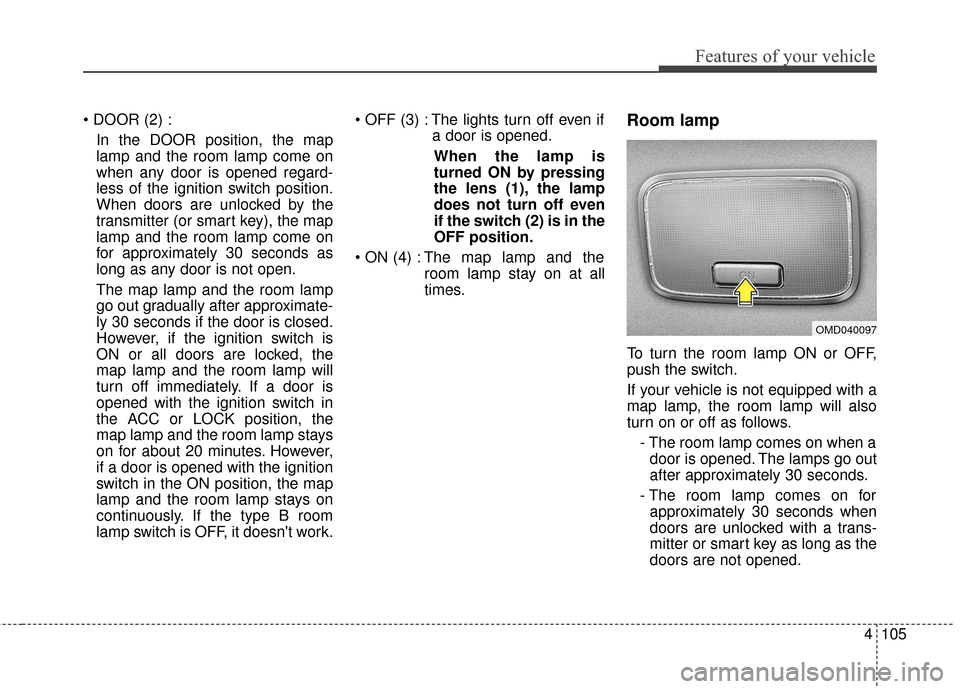
In the DOOR position, the map
lamp and the room lamp come on
when any door is opened regard-
less of the ignition switch position.
When doors are unlocked by the
transmitter (or smart key), the map
lamp and the room lamp come on
for approximately 30 seconds as
long as any door is not open.
The map lamp and the room lamp
go out gradually after approximate-
ly 30 seconds if the door is closed.
However, if the ignition switch is
ON or all doors are locked, the
map lamp and the room lamp will
turn off immediately. If a door is
opened with the ignition switch in
the ACC or LOCK position, the
map lamp and the room lamp stays
on for about 20 minutes. However,
if a door is opened with the ignition
switch in the ON position, the map
lamp and the room lamp stays on
continuously. If the type B room
lamp switch is OFF, it doesn't work. The lights turn off even if
a door is opened.
When the lamp is
turned ON by pressing
the lens (1), the lamp
does not turn off even
if the switch (2) is in the
OFF position.
The map lamp and the room lamp stay on at all
times.Room lamp
To turn the room lamp ON or OFF,
push the switch.
If your vehicle is not equipped with a
map lamp, the room lamp will also
turn on or off as follows.
- The room lamp comes on when adoor is opened. The lamps go out
after approximately 30 seconds.
- The room lamp comes on for approximately 30 seconds when
doors are unlocked with a trans-
mitter or smart key as long as the
doors are not opened.
OMD040097
Page 177 of 501
Features of your vehicle
106
4
- The room lamp will stay on for
approximately 20 minutes if a
door is opened with the ignition
switch in the ACC or LOCK/OFF
position.
- The room lamp will stay on con- tinuously if the door is opened
with the ignition switch in the ON
position.
- The room lamp will go out imme- diately if the ignition switch is
changed to the ON position or all
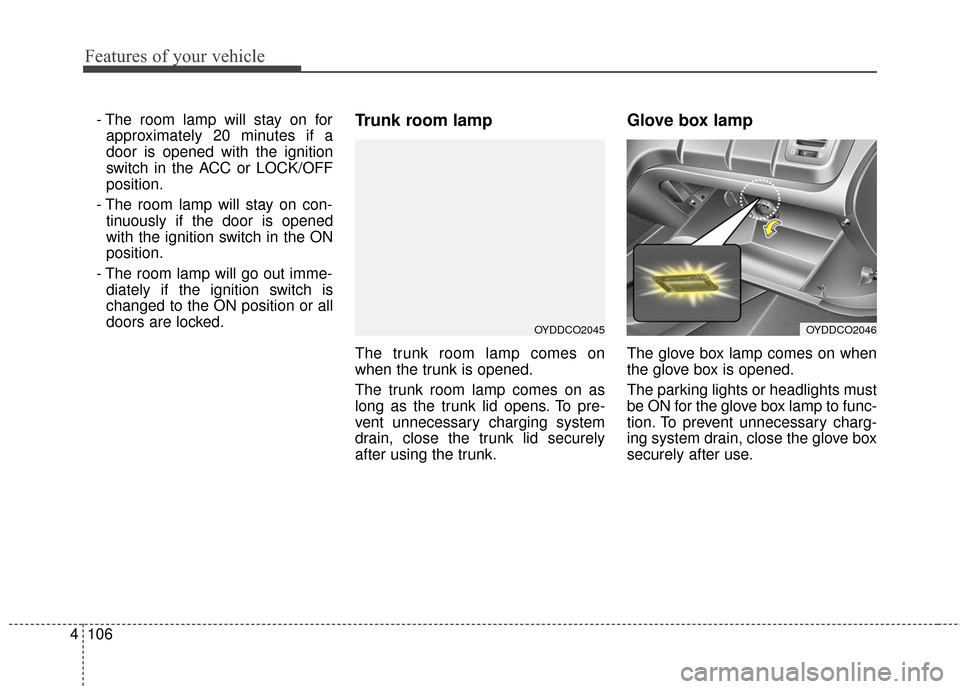
doors are locked.Trunk room lamp
The trunk room lamp comes on
when the trunk is opened.
The trunk room lamp comes on as
long as the trunk lid opens. To pre-
vent unnecessary charging system
drain, close the trunk lid securely
after using the trunk.
Glove box lamp
The glove box lamp comes on when
the glove box is opened.
The parking lights or headlights must
be ON for the glove box lamp to func-
tion. To prevent unnecessary charg-
ing system drain, close the glove box
securely after use.
OYDDCO2045OYDDCO2046
Page 180 of 501
4109
Features of your vehicle
If you want to defrost and defog the
front windshield, refer to "Windshield
Defrosting and Defogging" in this
section.
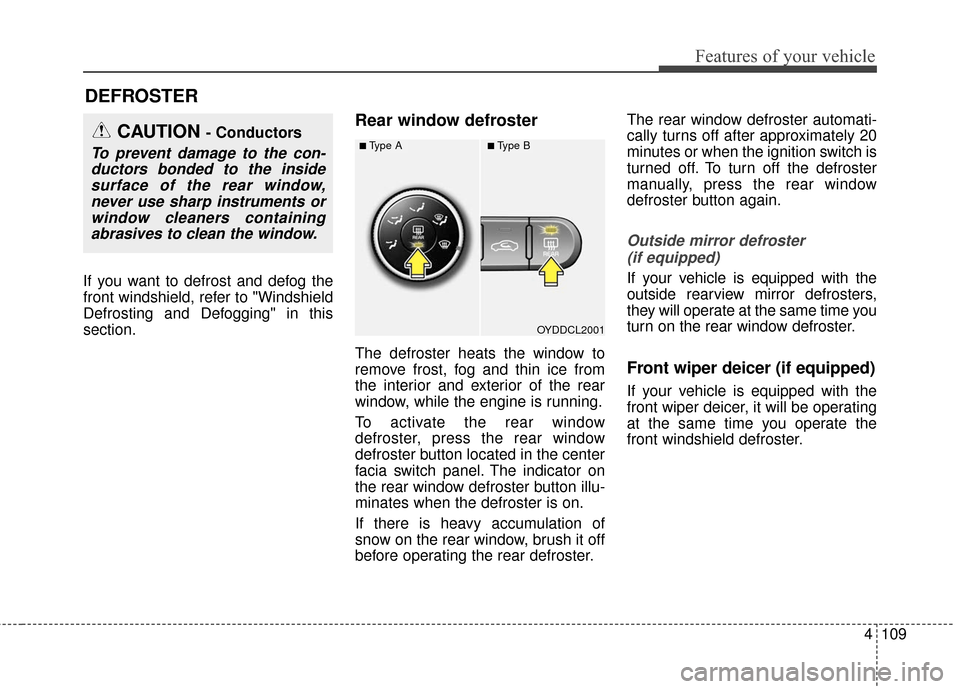
Rear window defroster
The defroster heats the window to
remove frost, fog and thin ice from
the interior and exterior of the rear
window, while the engine is running.
To activate the rear window
defroster, press the rear window
defroster button located in the center
facia switch panel. The indicator on
the rear window defroster button illu-
minates when the defroster is on.
If there is heavy accumulation of
snow on the rear window, brush it off
before operating the rear defroster.The rear window defroster automati-
cally turns off after approximately 20
minutes or when the ignition switch is
turned off. To turn off the defroster
manually, press the rear window
defroster button again.
Outside mirror defroster
(if equipped)
If your vehicle is equipped with the
outside rearview mirror defrosters,
they will operate at the same time you
turn on the rear window defroster.
Front wiper deicer (if equipped)
If your vehicle is equipped with the
front wiper deicer, it will be operating
at the same time you operate the
front windshield defroster.
DEFROSTER
OYDDCL2001
CAUTION - Conductors
To prevent damage to the con-ductors bonded to the insidesurface of the rear window,never use sharp instruments orwindow cleaners containingabrasives to clean the window.■Type A■Type B
Page 186 of 501
4115
Features of your vehicle
Fan speed control
The ignition switch must be in the ON
position for fan operation.
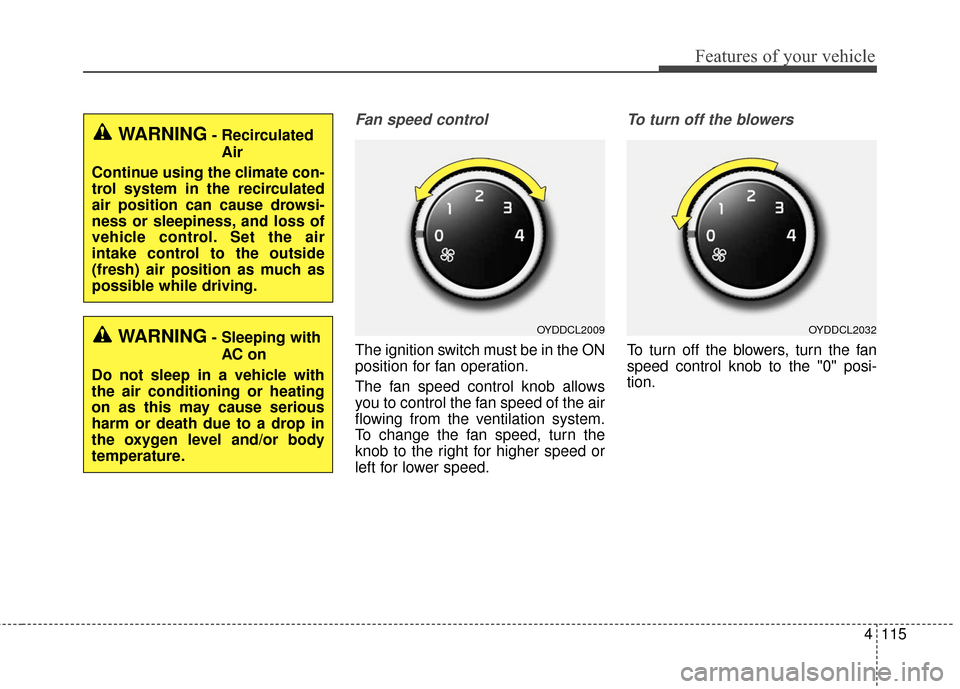
The fan speed control knob allows
you to control the fan speed of the air
flowing from the ventilation system.
To change the fan speed, turn the
knob to the right for higher speed or
left for lower speed.
To turn off the blowers
To turn off the blowers, turn the fan
speed control knob to the "0" posi-
tion.
OYDDCL2009OYDDCL2032
WARNING- RecirculatedAir
Continue using the climate con-
trol system in the recirculated
air position can cause drowsi-
ness or sleepiness, and loss of
vehicle control. Set the air
intake control to the outside
(fresh) air position as much as
possible while driving.
WARNING- Sleeping with AC on
Do not sleep in a vehicle with
the air conditioning or heating
on as this may cause serious
harm or death due to a drop in
the oxygen level and/or body
temperature.
Page 191 of 501
Features of your vehicle
120
4
AUTOMATIC CLIMATE CONTROL SYSTEM (IF EQUIPPED)
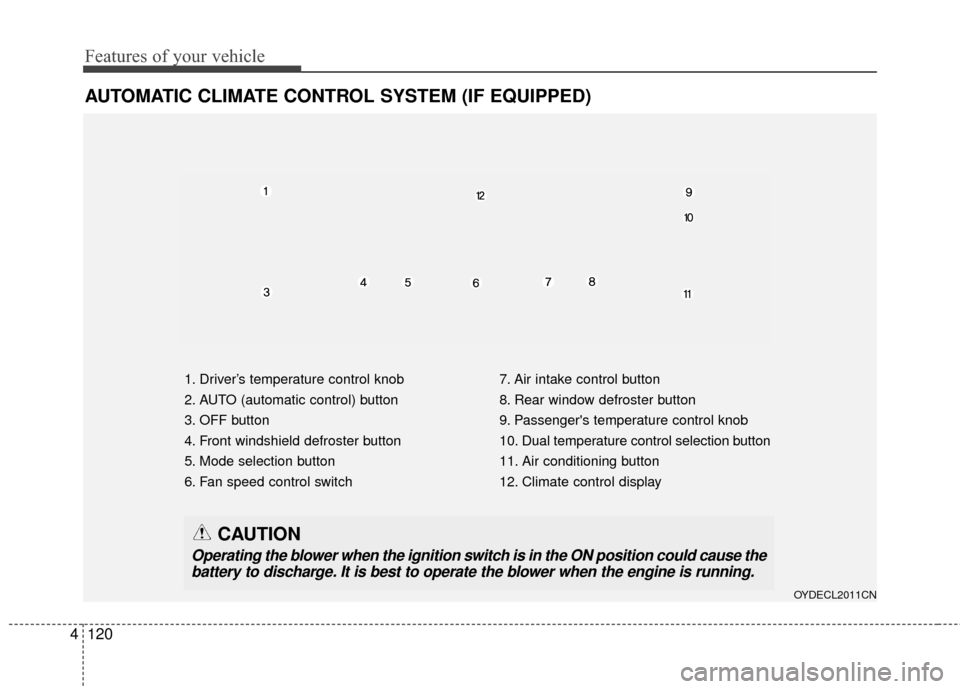
1. Driver’s temperature control knob
2. AUTO (automatic control) button
3. OFF button
4. Front windshield defroster button
5. Mode selection button
6. Fan speed control switch 7. Air intake control button
8. Rear window defroster button
9. Passenger's temperature control knob
10. Dual temperature control selection button
11. Air conditioning button
12. Climate control display
OYDECL2011CN
CAUTION
Operating the blower when the ignition switch is in the ON position could cause the
battery to discharge. It is best to operate the blower when the engine is running.
Page 203 of 501
Features of your vehicle
132
4
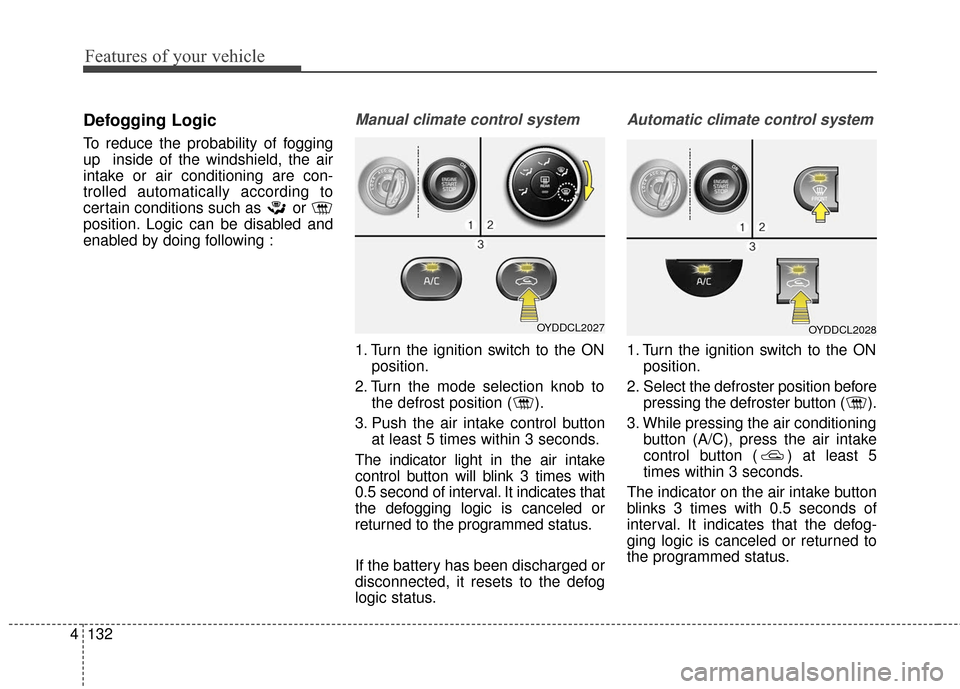
Defogging Logic
To reduce the probability of fogging
up inside of the windshield, the air
intake or air conditioning are con-
trolled automatically according to
certain conditions such as or
position. Logic can be disabled and
enabled by doing following :
Manual climate control system
1. Turn the ignition switch to the ON
position.
2. Turn the mode selection knob to the defrost position ( ).
3. Push the air intake control button at least 5 times within 3 seconds.
The indicator light in the air intake
control button will blink 3 times with
0.5 second of interval. It indicates that
the defogging logic is canceled or
returned to the programmed status.
If the battery has been discharged or
disconnected, it resets to the defog
logic status.
Automatic climate control system
1. Turn the ignition switch to the ON position.
2. Select the defroster position before pressing the defroster button ( ).
3. While pressing the air conditioning button (A/C), press the air intake
control button ( ) at least 5
times within 3 seconds.
The indicator on the air intake button
blinks 3 times with 0.5 seconds of
interval. It indicates that the defog-
ging logic is canceled or returned to
the programmed status.
OYDDCL2027OYDDCL2028