Lexus CT200h 2017 Owner's Manual (in English)
Manufacturer: LEXUS, Model Year: 2017, Model line: CT200h, Model: Lexus CT200h 2017Pages: 640, PDF Size: 17.94 MB
Page 181 of 640

CT200h_OM_OM76215U_(U)
1814-3. Operating the lights and wipers
4
Driving
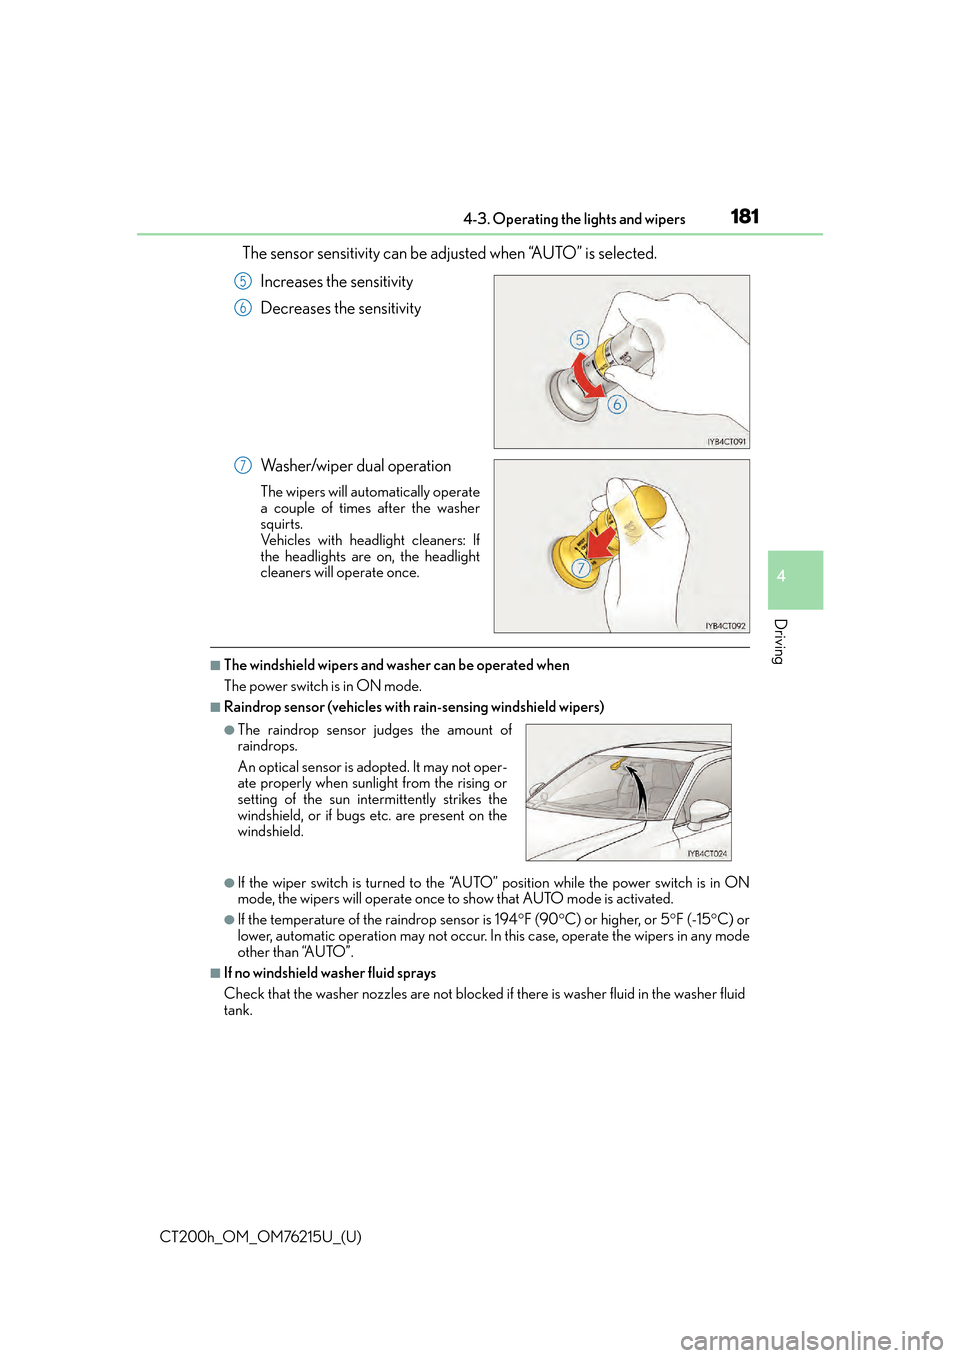
The sensor sensitivity can be adjusted when “AUTO” is selected.
Increases the sensitivity
Decreases the sensitivity
Washer/wiper dual operation
The wipers will automatically operate
a couple of times after the washer
squirts.
Vehicles with headlight cleaners: If
the headlights are on, the headlight
cleaners will operate once.
■The windshield wipers and washer can be operated when
The power switch is in ON mode.
■Raindrop sensor (vehicles with rain-sensing windshield wipers)
●If the wiper switch is turned to the “AUTO” position while the power switch is in ON
mode, the wipers will operate once to show that AUTO mode is activated.
●If the temperature of the raindrop sensor is 194 F (90 C) or higher, or 5 F (-15 C) or
lower, automatic operation may not occur. In this case, operate the wipers in any mode
other than “AUTO”.
■If no windshield washer fluid sprays
Check that the washer nozzles are not blocked if there is washer fluid in the washer fluid
tank.
5
6
7
●The raindrop sensor judges the amount of
raindrops.
An optical sensor is ad opted. It may not oper-
ate properly when sunlight from the rising or
setting of the sun intermittently strikes the
windshield, or if bugs etc. are present on the
windshield.
Page 182 of 640

182
CT200h_OM_OM76215U_(U)4-3. Operating the lights and wipers
WA R N I N G
■Caution regarding the use of windshield wipe
rs in “AUTO” mode (vehicles with rain-
sensing windshield wipers)
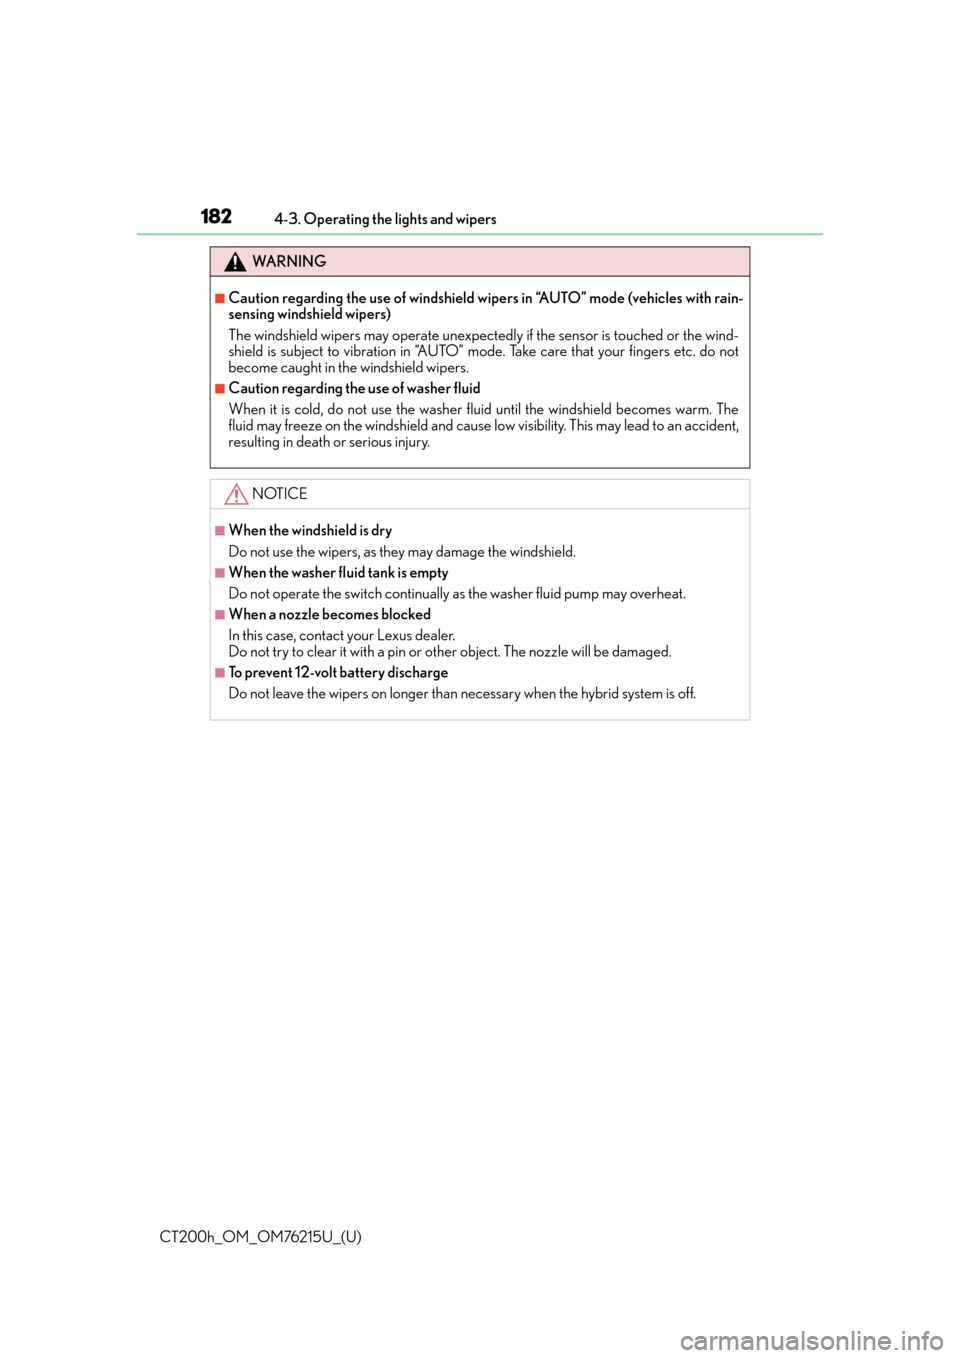
The windshield wipers may operate unexpectedly if the sensor is touched or the wind-
shield is subject to vibration in “AUTO” mode. Take care that your fingers etc. do not
become caught in the windshield wipers.
■Caution regarding the use of washer fluid
When it is cold, do not use the washer fluid until the windshield becomes warm. The
fluid may freeze on the windshield and cause lo w visibility. This may lead to an accident,
resulting in death or serious injury.
NOTICE
■When the windshield is dry
Do not use the wipers, as they may damage the windshield.
■When the washer fluid tank is empty
Do not operate the switch continually as the washer fluid pump may overheat.
■When a nozzle becomes blocked
In this case, contact your Lexus dealer.
Do not try to clear it with a pin or other object. The nozzle will be damaged.
■To prevent 12-volt battery discharge
Do not leave the wipers on longer than necessary when the hybrid system is off.
Page 183 of 640

183
CT200h_OM_OM76215U_(U)4-3. Operating the lights and wipers
4
Driving
Rear window wiper and washer
Turning the end of the lever turns on
the rear window wiper and washer.
Ty p e A
Intermittent operation
Normal operation
Washer/wiper dual operation
Washer/wiper dual operation
Operating the wiper lever
1
2
3
4
Page 184 of 640

184
CT200h_OM_OM76215U_(U)4-3. Operating the lights and wipers
Ty p e B
Intermittent operation
Normal operation
Washer/wiper dual operation
Washer/wiper dual operation
■The rear window wiper and washer can be operated when
The power switch is in ON mode.
1
2
3
4
NOTICE
■When the rear window is dry
Do not use the wiper, as it may damage the rear window.
■When the washer fluid tank is empty
Do not operate the switch continually as the washer fluid pump may overheat.
Page 185 of 640

185
CT200h_OM_OM76215U_(U)4-3. Operating the lights and wipers
4
Driving
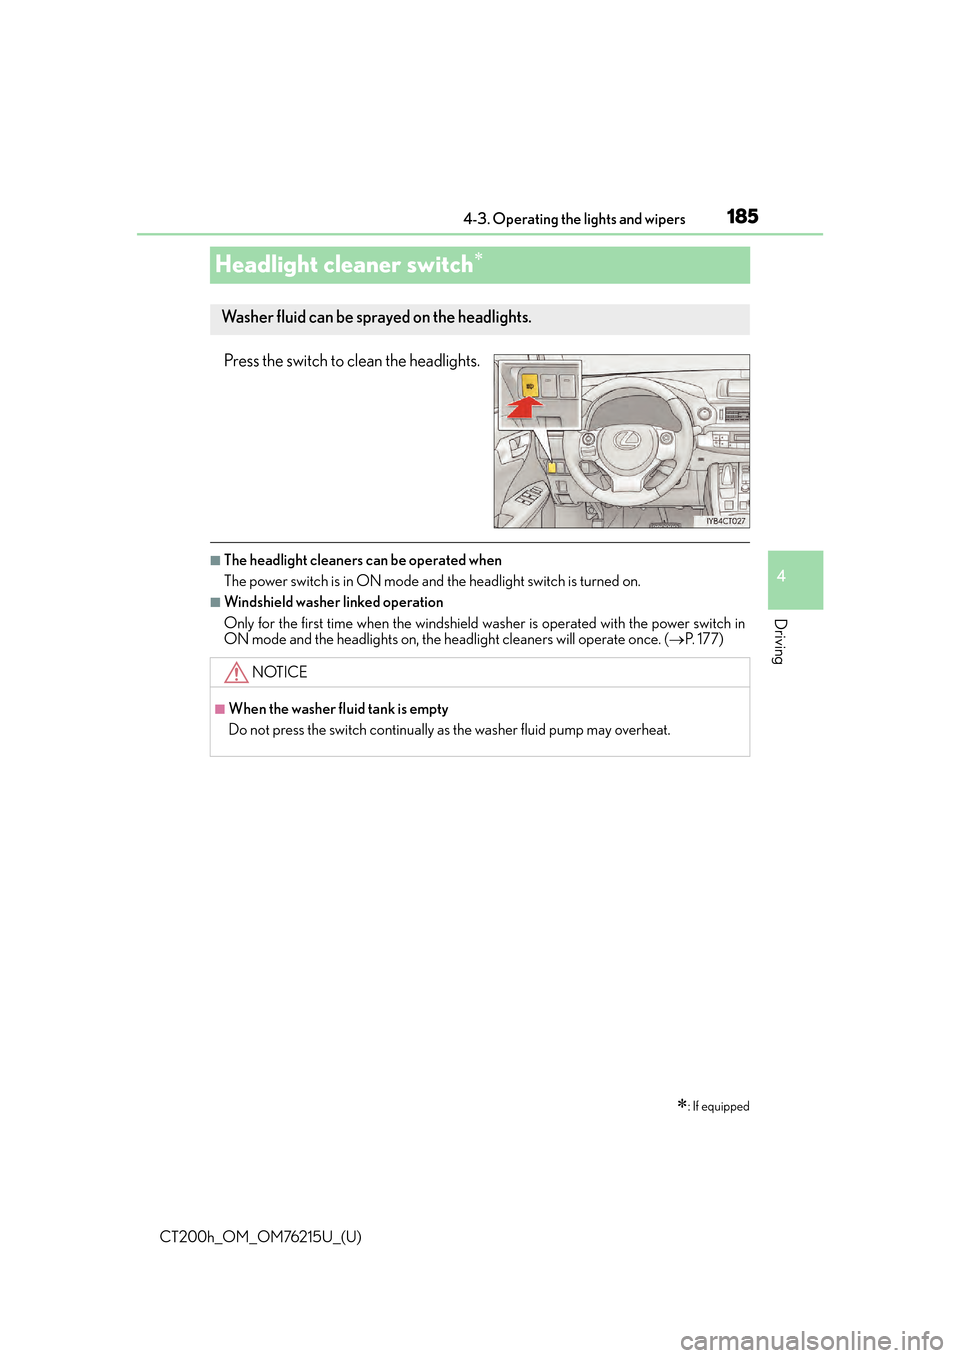
Headlight cleaner switch
Press the switch to clean the headlights.
■The headlight cleaners can be operated when
The power switch is in ON mode and
the headlight switch is turned on.
■Windshield washer linked operation
Only for the first time when the windshield washer is operated with the power switch in
ON mode and the headlights on, the headlight cleaners will operate once. ( P. 177)
: If equipped
Washer fluid can be sprayed on the headlights.
NOTICE
■When the washer fluid tank is empty
Do not press the switch continually as the washer fluid pump may overheat.
Page 186 of 640

186
CT200h_OM_OM76215U_(U)4-4. Refueling
Opening the fuel tank cap
●Close all the doors and windows, and turn the power switch off.
●Confirm the type of fuel.
■Fuel types
P. 5 8 6
■Fuel tank opening for unleaded gasoline
To help prevent incorrect fueling, your vehicle has a fuel tank opening that only accom-
modates the special nozzle on unleaded fuel pumps.
Perform the following steps to open the fuel tank cap.
Before refueling the vehicle
WA R N I N G
■When refueling the vehicle
Observe the following precautions while refu eling the vehicle. Failure to do so may
result in death or serious injury.
●After exiting the vehicle and before openin g the fuel door, touch an unpainted metal
surface to discharge any static electricity. It is important to discharge static electricity
before refueling because sparks resulting fr om static electricity can cause fuel vapors
to ignite while refueling.
●Always hold the grips on th e fuel tank cap and turn it slowly to remove it.
A whooshing sound may be heard when the fuel tank cap is loosened. Wait until the
sound cannot be heard before fully removing the cap. In hot weather, pressurized fuel
may spray out of the filler neck and cause injury.
●Do not allow anyone that has not discharged static electricity from their body to come
close to an open fuel tank.
●Do not inhale vaporized fuel.
Fuel contains substances th at are harmful if inhaled.
●Do not smoke while refueling the vehicle.
Doing so may cause the fuel to ignite and cause a fire.
●Do not return to the vehicle or touch any person or object that is statically charged.
This may cause static electricity to build up, resulting in a possible ignition hazard.
Page 187 of 640

CT200h_OM_OM76215U_(U)
1874-4. Refueling
4
DrivingPress the opener to open the fuel
filler door.
Turn the fuel tank cap slowly to open
and hang it on the back of the fuel
filler door.
WA R N I N G
■When refueling
Observe the following precautions to prevent fuel overflowing from the fuel tank:
●Securely insert the fuel nozzle into the fuel filler neck.
●Stop filling the tank after the fuel nozzle automatically clicks off.
●Do not top off the fuel tank.
NOTICE
■Refueling
Do not spill fuel during refueling.
Doing so may damage the vehicle, such as causing the emission control system to
operate abnormally or damaging fuel system components or the vehicle’s painted sur-
face.
Opening the fuel tank cap
1
2
Page 188 of 640

188
CT200h_OM_OM76215U_(U)4-4. Refueling
■When the fuel filler door cannot be
opened by pressing the inside switch
After refueling, turn the fuel tank cap
until you hear a click. Once the cap is
released, it will turn slightly in the oppo-
site direction.
Remove the cover inside the luggage compart-
ment and pull the lever.
Closing the fuel tank cap
WA R N I N G
■When replacing the fuel tank cap
Do not use anything but a genuine Lexus fuel tank cap designed for your vehicle. Doing
so may cause a fire or other incident whic h may result in death or serious injury.
Page 189 of 640

189
CT200h_OM_OM76215U_(U)4-5. Using the driving support systems
4
Driving
Cruise control
Use the cruise control to maintain a set speed without depressing the accelera-
tor pedal.
Indicator
Display
Cruise control switch
Press the “ON-OFF” button to acti-
vate the cruise control.
Cruise control indicator will come on.
Press the button again to deactivate the
cruise control.
Accelerate or decelerate the vehicle
to the desired speed, and push the
lever down to set the speed.
“SET” will be displayed.
The vehicle speed at the moment the
lever is released be comes the set speed.
: If equipped
Summary of functions
1
2
3
Setting the vehicle speed
1
2
Page 190 of 640

190
CT200h_OM_OM76215U_(U)4-5. Using the driving support systems
To change the set speed, operate the lever until the desired set speed is obtained.
Increases the speed
Decreases the speed
Fine adjustment: Mo mentarily move the
lever in the desired direction.
Large adjustment: Hold the lever in the
desired direction.
The set speed will be increase d or decreased as follows:
Fine adjustment: By approximately 1 mph (1.6 km/h) each time the lever is operated.
Large adjustment: The set speed can be incr eased or decreased continually until the
lever is released.
Pulling the lever toward you cancels
the constant speed control.
The speed setting is also canceled when
the brakes are applied.
Pushing the lever up resumes the
constant speed control.
Resuming is available when the vehicle
speed is more than approximately 25
mph (40 km/h).
Adjusting the set speed
1
2
Canceling and resuming the constant speed control
1
2