Lexus ES300h 2014 Navigation Manual
Manufacturer: LEXUS, Model Year: 2014, Model line: ES300h, Model: Lexus ES300h 2014Pages: 424, PDF Size: 16.46 MB
Page 121 of 424
120
3. ADDRESS BOOK
ES350/300h_Navi_OM33A66U_(U)13.07.11 10:10
5Select the desired screen button and
enter the location in the same way as for
a destination search, or display the map
of the area to be avoided. (See “DESTI-
NATION SEARCH” on page 68.)
6Scroll the map to the desired point.
“A d j u s t L o c a t i o n ” : Select to adjust the posi-
tion in smaller increments.
7Select “Enter”.
8Select either or to change the
size of the area to be avoided.
9Select “OK”.
�zWhen registration of an area to avoid is
completed, the “Area to Avoid” screen will
be displayed.
1Press the “MENU” button on the
Remote Touch, then select “Setup”.
2Select “Navigation” on the “Setup”
screen.
3Select “A r e a s t o A v o i d ” on the “Naviga-
tion Settings” screen.
4Select “Edit”.
5Select the area to be avoided.
INFORMATION
●
If a destination is input in the area to avoid
or the route calculation cannot be made
without running through the area to
avoid, a route passing through the area to
be avoided may be shown.
●Up to 10 locations can be registered as
points/areas to avoid.
EDITING AREA TO AVOID
The name, location and/or area size of a
registered area can be edited.
Page 122 of 424
121
3. ADDRESS BOOK
ES350/300h_Navi_OM33A66U_(U)13.07.11 10:10
3
NAVIGATION SYSTEM
6Select “Edit” next to the item to be edit-
ed.
“Show Name on Map”:
The name of an area to
be avoided can be set to be displayed on the
map by selecting “On” or “Off ” .
(See page
121.)
“Active”: The area to avoid feature can be
set to “On” or “Off” .
7Select “OK”.
■TO CHANGE “Name”
1Select “Edit”.
2Enter the name usin g the alphanumeric
keys.
�z Up to 70 characters can be entered.
3Select “OK”.
�zThe previous screen will be displayed.
■ DISPLAYING NAMES OF AREAS
TO BE AVOIDED
1Select “On”, next to “Show Name on
Map”, to display the name of an area to
be avoided on the map. Select “Off ” not
to display it.
No.FunctionPage
Select to edit the name of
the area to avoid. The name
can be displayed on the
map.
121
Select to edit area location.122
Select to edit area size.122
Page 123 of 424
122
3. ADDRESS BOOK
ES350/300h_Navi_OM33A66U_(U)13.07.11 10:10
■TO CHANGE “Location”
1Select “Edit”.
2Select one of the 8 directional screen
buttons to move the cursor to the de-
sired point on the map.
3Select “OK”.
�zThe previous screen will be displayed.
■ TO CHANGE “Size”
1Select “Edit”.
2Select either or to change the
size of the area to be avoided.
3Select “OK”.
�zThe previous screen will be displayed.
Page 124 of 424
123
3. ADDRESS BOOK
ES350/300h_Navi_OM33A66U_(U)13.07.11 10:10
3
NAVIGATION SYSTEM
1Press the “MENU” button on the
Remote Touch, then select “Setup”.
2Select “Navigation” on the “Setup”
screen.
3Select “A r e a s t o A v o i d ” on the “Naviga-
tion Settings” screen.
4Select “Delete” .
5Select the area to be deleted.
6Select “Delete”.
7Select “Yes” to delete the area(s) and
select “No” to cancel the deletion.
DELETING AREAS TO AVOID
Screen buttonFunction
“Select All”Select all re gistered ar-
eas to avoid.
“Unselect All”Select to cancel the
“Select All” function.
Page 125 of 424
124
3. ADDRESS BOOK
ES350/300h_Navi_OM33A66U_(U)13.07.11 10:10
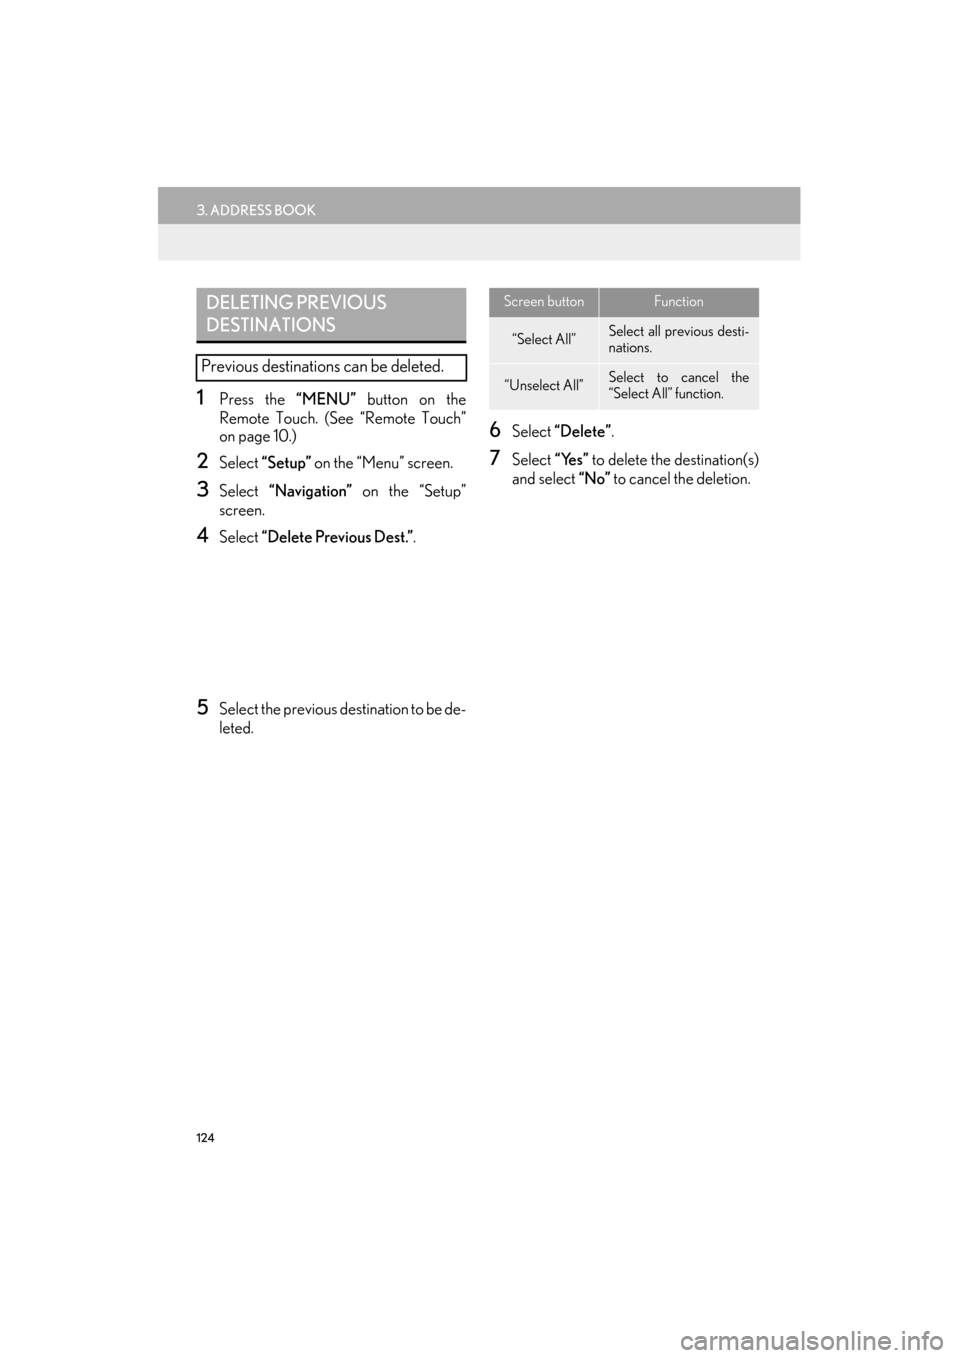
1Press the “MENU” button on the
Remote Touch. (See “Remote Touch”
on page 10.)
2Select “Setup” on the “Menu” screen.
3Select “Navigation” on the “Setup”
screen.
4Select “Delete Previous Dest.” .
5Select the previous destination to be de-
leted.
6Select “Delete” .
7Select “Yes” to delete the destination(s)
and select “No” to cancel the deletion.
DELETING PREVIOUS
DESTINATIONS
Previous destinations can be deleted.
Screen buttonFunction
“Select All”Select all previous desti-
nations.
“Unselect All”Select to cancel the
“Select All” function.
Page 126 of 424
125
ES350/300h_Navi_OM33A66U_(U)13.07.11 10:10
3
NAVIGATION SYSTEM
4. SETUP
1. DETAILED NAVIGATION SETTINGS
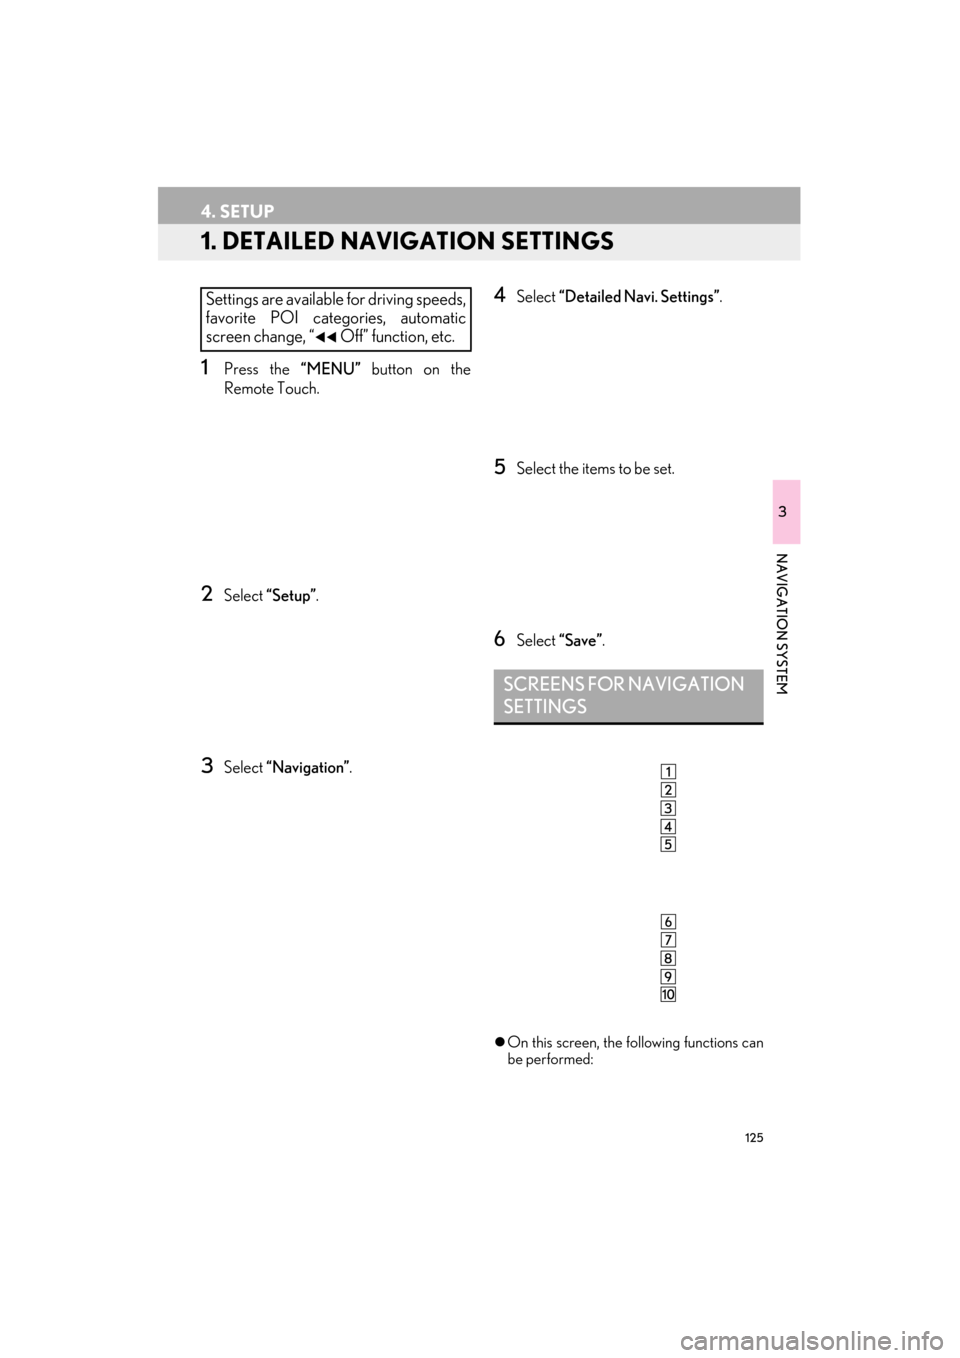
1Press the “MENU” button on the
Remote Touch.
2Select “Setup” .
3Select “Navigation” .
4Select “Detailed Navi. Settings” .
5Select the items to be set.
6Select “Save”.
�zOn this screen, the following functions can
be performed:
Settings are available for driving speeds,
favorite POI categories, automatic
screen change, “
�W�WOff” function, etc.
SCREENS FOR NAVIGATION
SETTINGS
Page 127 of 424

126
4. SETUP
ES350/300h_Navi_OM33A66U_(U)13.07.11 10:10
�zTo reset all setup items, select “Default”.
No.Function
Select to set the average cruising
speed. (See “DRIVING SPEEDS”
on page 127.)
Select to set the automatic input
function to “On” or “Off” .
Select to set the voice guidance for
the next street name to “On” or
“Off” during route guidance.
Select to set the automatic reroute of
the guidance route to avoid heavy
congestion to “On” or “Off” . (See
“AUTO AVOID TRAFFIC” on page
127.)
Select to set the indication of freely
flowing traffic by the arrow to “On”
or “Off” . (See “SHOW FREE
FLOWING TRAFFIC” on page
128.)
Select to set displayed POI icon cat-
egories. (See “POI CATEGORY
CHANGE (SELECT POI ICONS)”
on page 129.)
Select to set screen buttons to be
displayed on the map screen when
“ �W�W Off” is selected. (See
“SCREEN LAYOUT FUNCTION
(“ �W�W Off” Function)” on page 130.)
Select to adjust the current position
mark manually. Mis calculation of the
distance caused by tire replacement
can also be adjusted. (See “CUR-
RENT POSITION/TIRE CHANGE
CALIBRATION” on page 130.)
Select to set the display of pop-up in-
formation to “On” or “Off” . (See
“POP-UP INFORMATION” on
page 132.)
Select to set IPD road guidance to
“On” or “Off ” . (For information on
IPD roads, see page 95.)
No.Function
Page 128 of 424
127
4. SETUP
ES350/300h_Navi_OM33A66U_(U)13.07.11 10:10
3
NAVIGATION SYSTEM
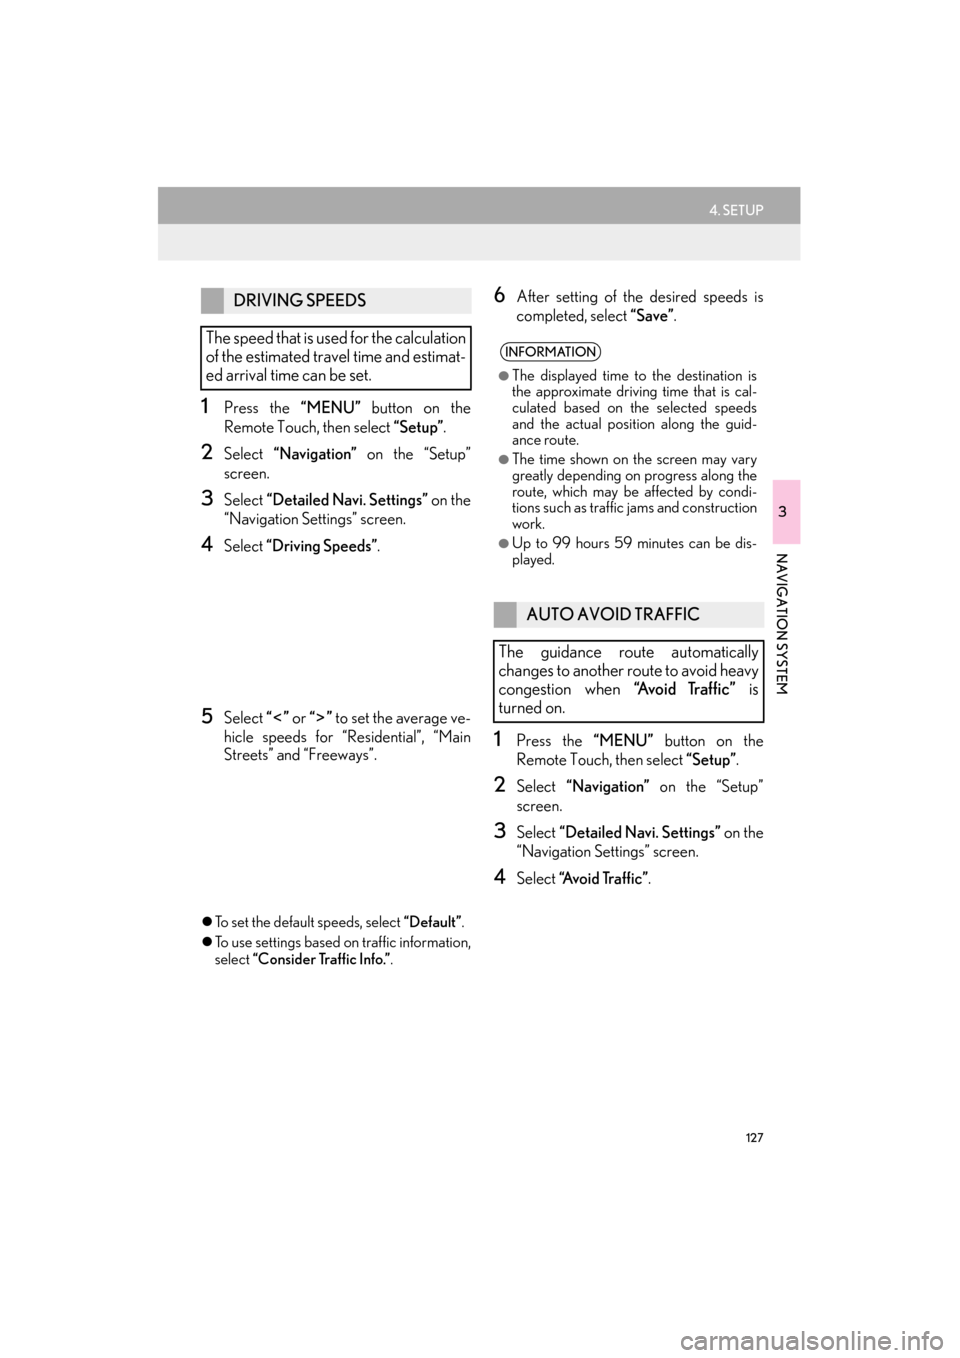
1Press the “MENU” button on the
Remote Touch, then select “Setup”.
2Select “Navigation” on the “Setup”
screen.
3Select “Detailed Navi. Settings” on the
“Navigation Settings” screen.
4Select “Driving Speeds” .
5Select “” or “” to set the average ve-
hicle speeds for “Residential”, “Main
Streets” and “Freeways”.
�z To set the default speeds, select “Default”.
�z To use settings based on traffic information,
select “Consider Traffic Info.” .
6After setting of the desired speeds is
completed, select “Save”.
1Press the “MENU” button on the
Remote Touch, then select “Setup”.
2Select “Navigation” on the “Setup”
screen.
3Select “Detailed Navi. Settings” on the
“Navigation Settings” screen.
4Select “A v o i d Tr a f f i c ” .
DRIVING SPEEDS
The speed that is used for the calculation
of the estimated travel time and estimat-
ed arrival time can be set.
INFORMATION
●
The displayed time to the destination is
the approximate driving time that is cal-
culated based on the selected speeds
and the actual position along the guid-
ance route.
●The time shown on the screen may vary
greatly depending on progress along the
route, which may be affected by condi-
tions such as traffic jams and construction
work.
●Up to 99 hours 59 minutes can be dis-
played.
AUTO AVOID TRAFFIC
The guidance route automatically
changes to another route to avoid heavy
congestion when “Avoid Traffic” is
turned on.
Page 129 of 424

128
4. SETUP
ES350/300h_Navi_OM33A66U_(U)13.07.11 10:10
5Select “On” or “Off” .
6Select “Save” .
�zWhen congestion information about the
guidance route has been received, a
screen will appear to ask if it is desirable to
reroute to avoid the congestion.
�z Select “Yes” to reroute. Another route to
avoid the congestion will appear.
�z Select “No” if it is not desirable to reroute.
1Press the “MENU” button on the
Remote Touch, then select “Setup”.
2Select “Navigation” on the “Setup”
screen.
3Select “Detailed Navi. Settings” on the
“Navigation Settings” screen.
4Select “Show Free Flowing Traffic” .
5Select “On” or “Off ” .
6Select “Save” .
INFORMATION
●
When the “Traffic Information” indicator
is dimmed, “Avoid Traffic”, “Traffic Incident
Warning” and “Show Free Flowing Traffic”
will not operate. (See page 344.)
SHOW FREE FLOWING
TRAFFIC
Free flowing traffic can be shown by an
arrow when “Show Free Flowing Traf-
fic” is turned on.
INFORMATION
●
When the “Traffic Information” indicator
is dimmed, “Avoid Traffic”, “Traffic Incident
Warning” and “Show Free Flowing Traffic”
will not operate. (See page 344.)
Page 130 of 424

129
4. SETUP
ES350/300h_Navi_OM33A66U_(U)13.07.11 10:10
3
NAVIGATION SYSTEM
1Press the “MENU” button on the
Remote Touch, then select “Setup”.
2Select “Navigation” on the “Setup”
screen.
3Select “Detailed Navi. Settings” on the
“Navigation Settings” screen.
4Select “Favorite POI Categories” .
5Select the category to be changed.
6Select the desired group.
�zIf the desired POI category is not on the
screen, select “List All Categories” to list
all POI categories.
7Select the desired category.
�z The screen returns to the “Favorite POI
Categories” screen.
8Select “OK”.
POI CATEGORY CHANGE
(SELECT POI ICONS)
Select up to 6 POI icons to be displayed
on the map screen.