LEXUS RX350 2015 Owners Manual
RX350 2015
LEXUS
LEXUS
https://www.carmanualsonline.info/img/36/58970/w960_58970-0.png
LEXUS RX350 2015 Owners Manual
Trending: lights, engine overheat, run flat, battery capacity, fuel consumption, steering wheel, radio controls
Page 491 of 886
4913-4. Using the audio system
3
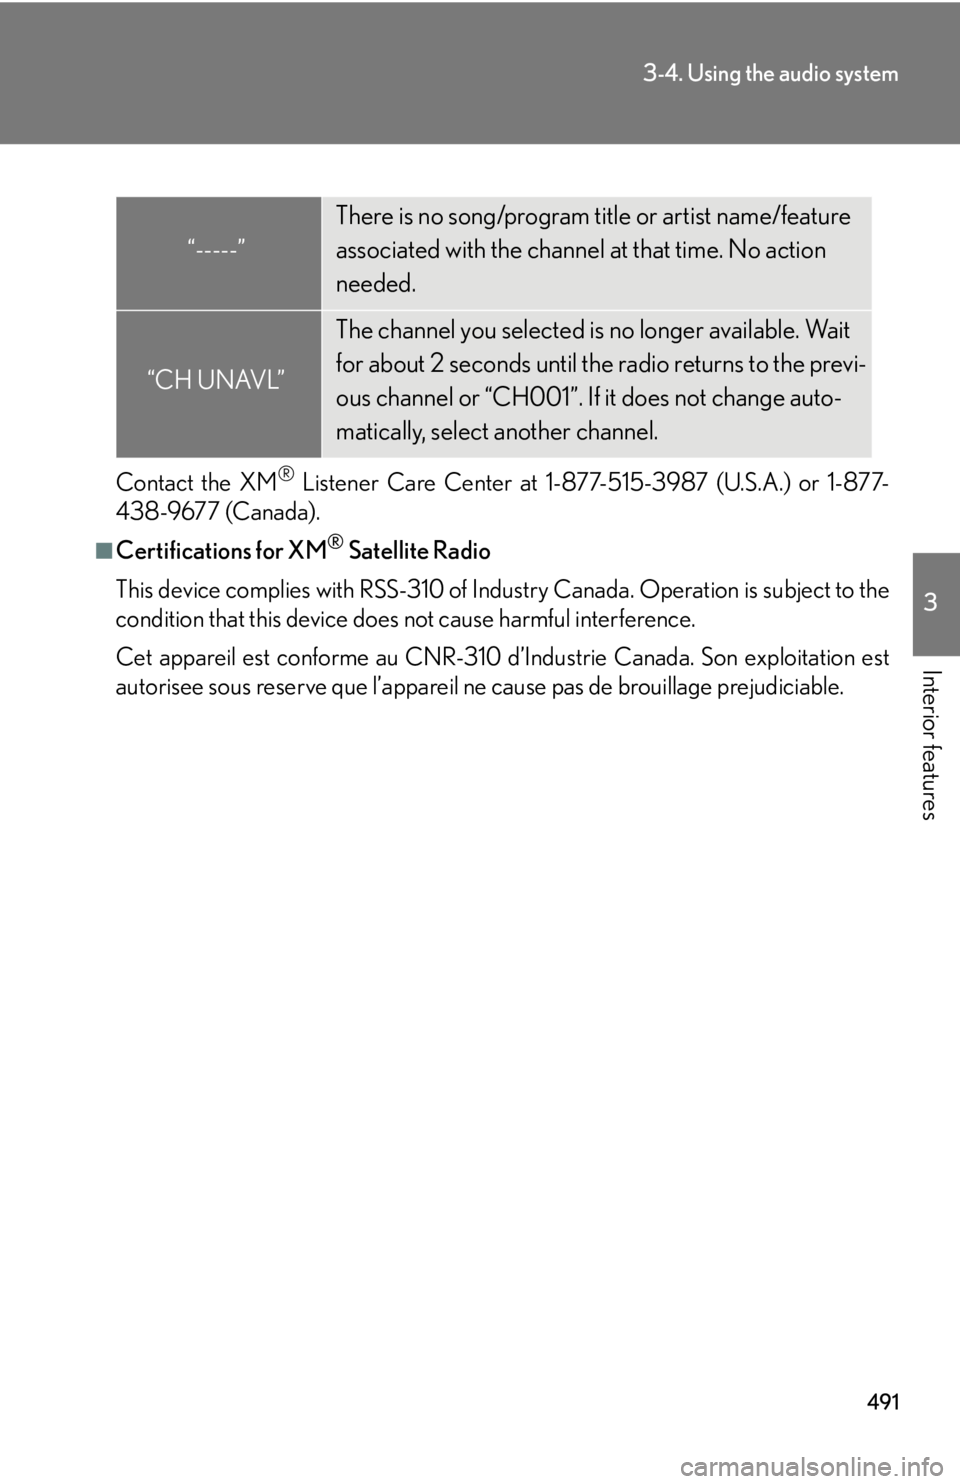
Interior features Contact the XM ®
Listener Care Center at 1-877-515-3987 (U.S.A.) or 1-877-
438-9677 (Canada).■
Certifications for XM ®
Satellite Radio
This device complies with RSS-310 of Indu stry Canada. Operation is subject to the
condition that this device does not cause harmful interference.
Cet appareil est conforme au CNR-310 d’Industrie Canada. Son exploitation est
autorisee sous reserve que l’appareil ne cause pas de brouillage prejudiciable.“-----” There is no song/program title or artist name/feature
associated with the channel at that time. No action
needed.
“CH UNAVL” The channel you selected is no longer available. Wait
for about 2 seconds until the radio returns to the previ-
ous channel or “CH001”. If it does not change auto-
matically, select another channel.
Page 492 of 886
4923-4. Using the audio system
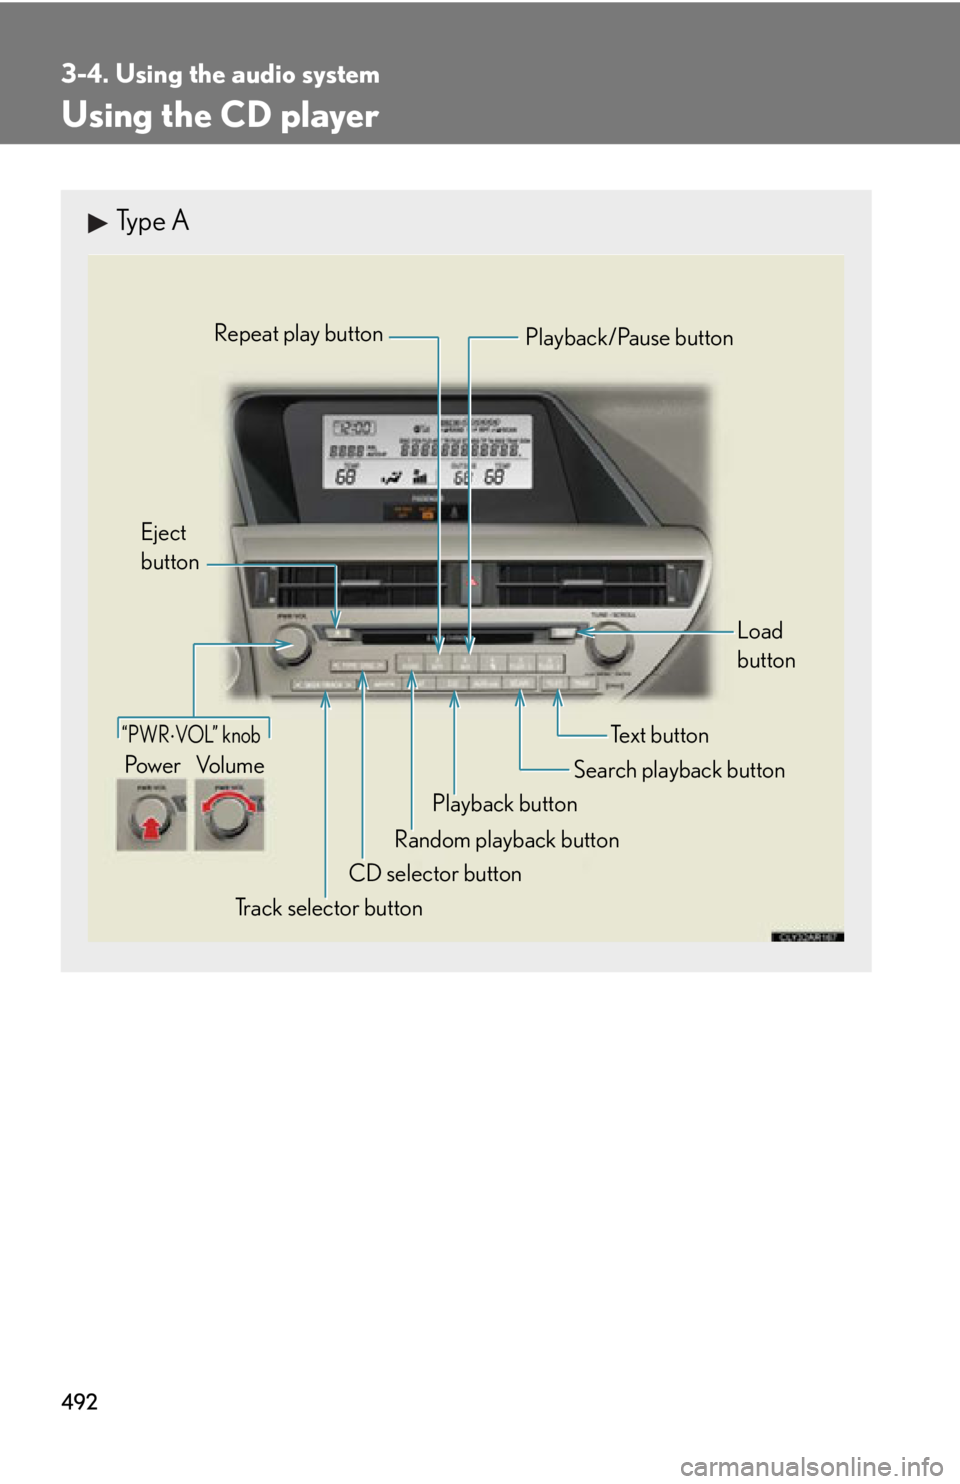
Using the CD player Type A
“PWR VOL” knob
Track selector buttonEject
button
Playback button Search playback button Load
button
CD selector button Random playback buttonRepeat play button
Te x t b u t t o n
Po w e r Vo l u m e Playback/Pause button
Page 493 of 886
4933-4. Using the audio system
3
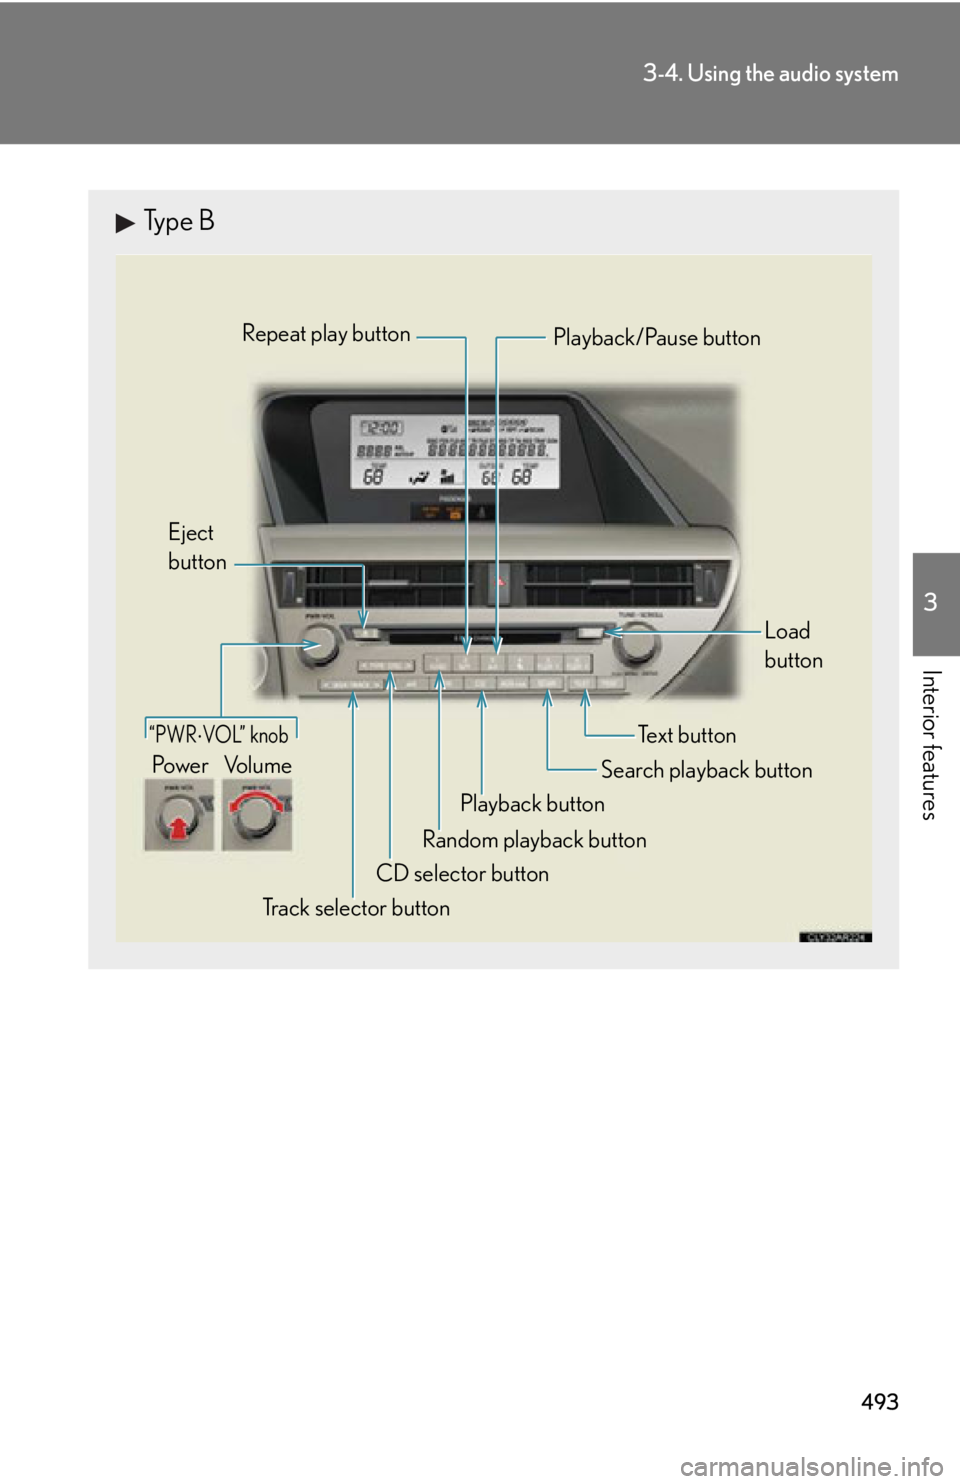
Interior features Type B
“PWR VOL” knob
Track selector buttonEject
button
Playback button Search playback button Load
button
CD selector button Random playback buttonRepeat play button
Te x t b u t t o n
Po w e r Vo l u m e Playback/Pause button
Page 494 of 886
4943-4. Using the audio system
Loading a CD
■ Loading a CD
Press . “WAIT” is shown on the display.
When the indicator on the slot tu rns from amber to green, insert a
CD. The display changes from “WAIT” to “LOAD”.
■ Loading multiple CDs
Press and hold until you hear a beep. “WAIT” is shown on the display.
When the indicator on the slot tu rns from amber to green, insert a
CD. The display changes from “WAIT” to “LOAD”.
The indicator on the slot turns to am ber when the CD is being inserted.
When the indicator on the slot tu rns from amber to green, insert
the next CD. Repeat the procedure for the remaining CDs.
To cancel the operation, press . If you do not insert a disc within 15
seconds, loading will be canceled automatically.STEP 1
STEP 2
STEP 1
STEP 2
STEP 3
Page 495 of 886
4953-4. Using the audio system
3
Interior features Ejecting CDs
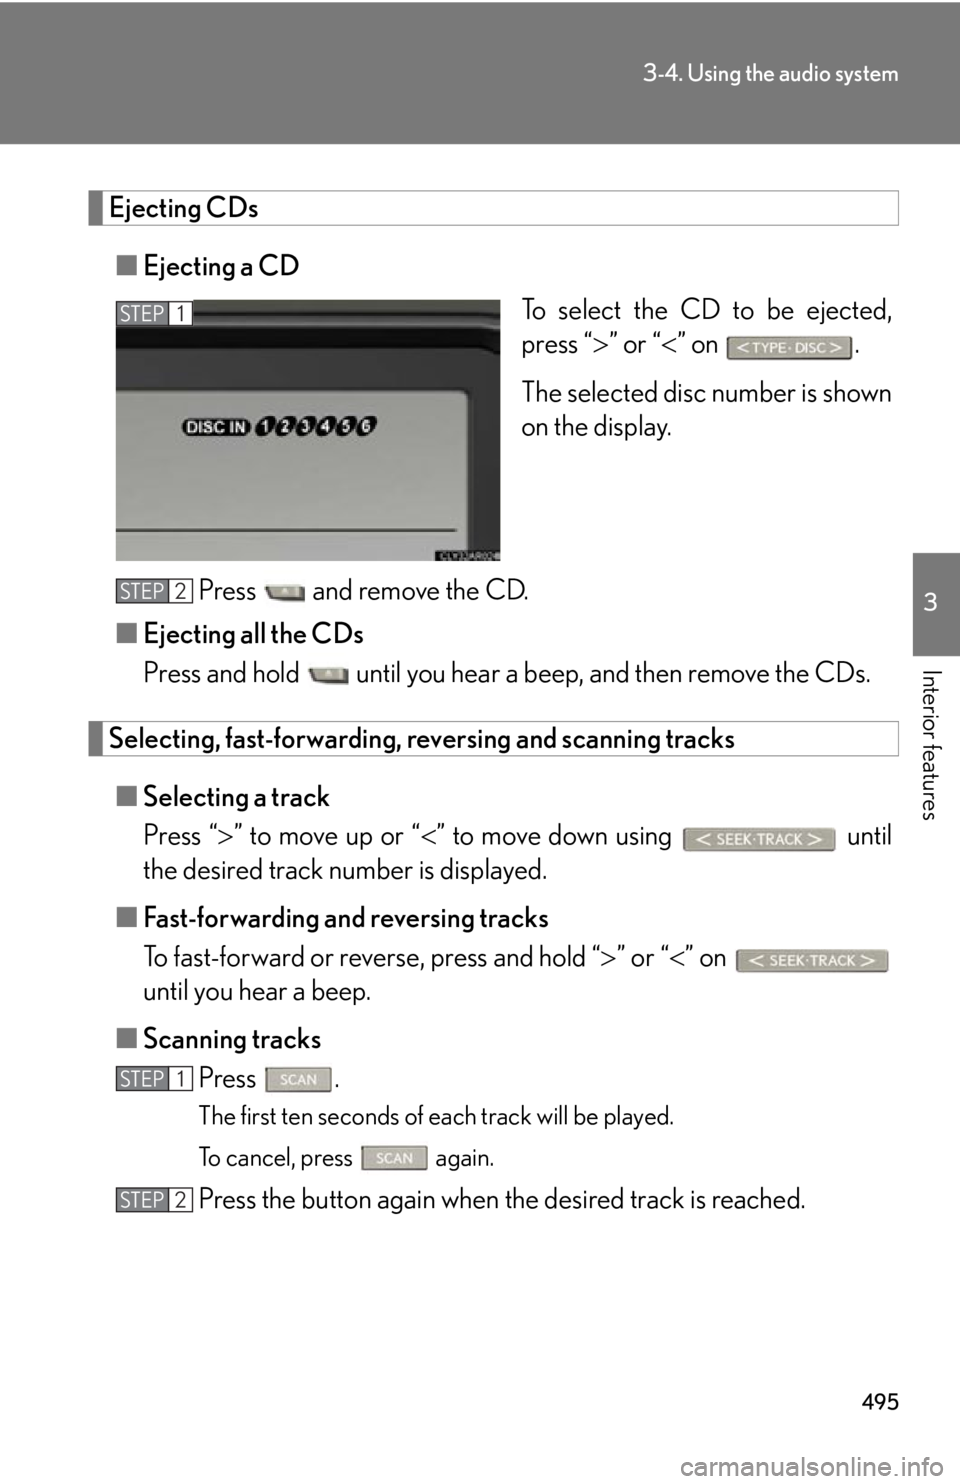
■ Ejecting a CD
To select the CD to be ejected,
press “ ” or “ ” on .
The selected disc number is shown
on the display.
Press and remove the CD.
■ Ejecting all the CDs
Press and hold until you hear a beep, and then remove the CDs.
Selecting, fast-forwarding, re versing and scanning tracks
■ Selecting a track
Press “ ” to move up or “ ” to move down using until
the desired track number is displayed.
■ Fast-forwarding and reversing tracks
To fast-forward or reverse, press and hold “ ” or “ ” on
until you hear a beep.
■ Scanning tracks
Press .
The first ten seconds of each track will be played.
To cancel, press again.
Press the button again when the desired track is reached.STEP 1
STEP 2
STEP 1
STEP 2
Page 496 of 886
4963-4. Using the audio system
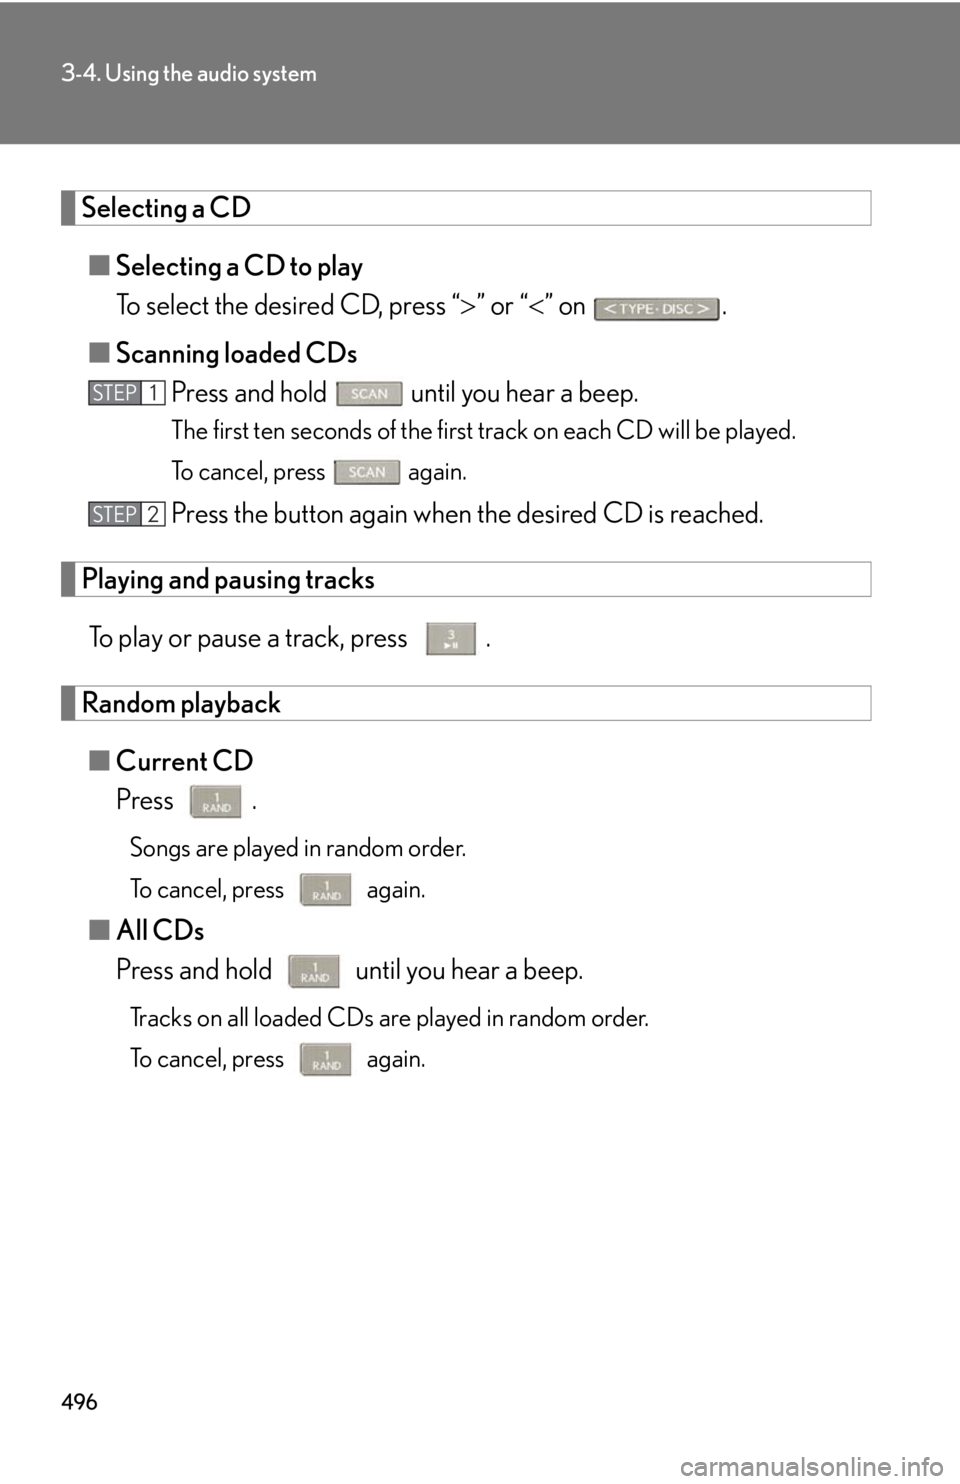
Selecting a CD
■ Selecting a CD to play
To select the desired CD, press “ ” or “ ” on .
■ Scanning loaded CDs
Press and hold until you hear a beep. The first ten seconds of the first track on each CD will be played.
To cancel, press again.
Press the button again when the desired CD is reached.
Playing and pausing tracks
To play or pause a track, press .
Random playback
■ Current CD
Press . Songs are played in random order.
To cancel, press again.
■ All CDs
Press and hold until you hear a beep.
Tracks on all loaded CDs are played in random order.
To cancel, press again.STEP 1
STEP 2
Page 497 of 886
4973-4. Using the audio system
3
Interior features Repeat play
■ Repeating a track
Press . To cancel, press again.
■ Repeating all of the tracks on a CD
Press and hold until you hear a beep. To cancel, press again.
Switching the display
Press . Each time the button is pressed, the display changes in the following order:
Elapsed time CD title Track title■
CD player protection feature
To protect the internal components, play back is automatically stopped when a
problem is detected.■
Display
Up to 12 characters can be displayed at a time.
If there are 13 or more characters, pr essing and holding until you hear a
beep enables to display the remaining characters.
A maximum of 24 characters can be displayed.
If is pressed until you hear a beep again or has not been operated for more
than 6 seconds, the display will return to the first 12 characters.
Depending on the contents recorded, the characters may not be displayed prop-
erly or may not be displayed at all.
Page 498 of 886
4983-4. Using the audio system
■
When “ERROR” or “WAIT” is shown on the display
“ERROR”: This indicates a problem either in the CD or inside the player. The CD
may be dirty, damaged, or inserted up-side down.
“WAIT”: This indicates that operation is stopped due to a high temperature inside
the player. Wait for a while and then press . If the CD still cannot
be played back, contact your Lexus dealer.■
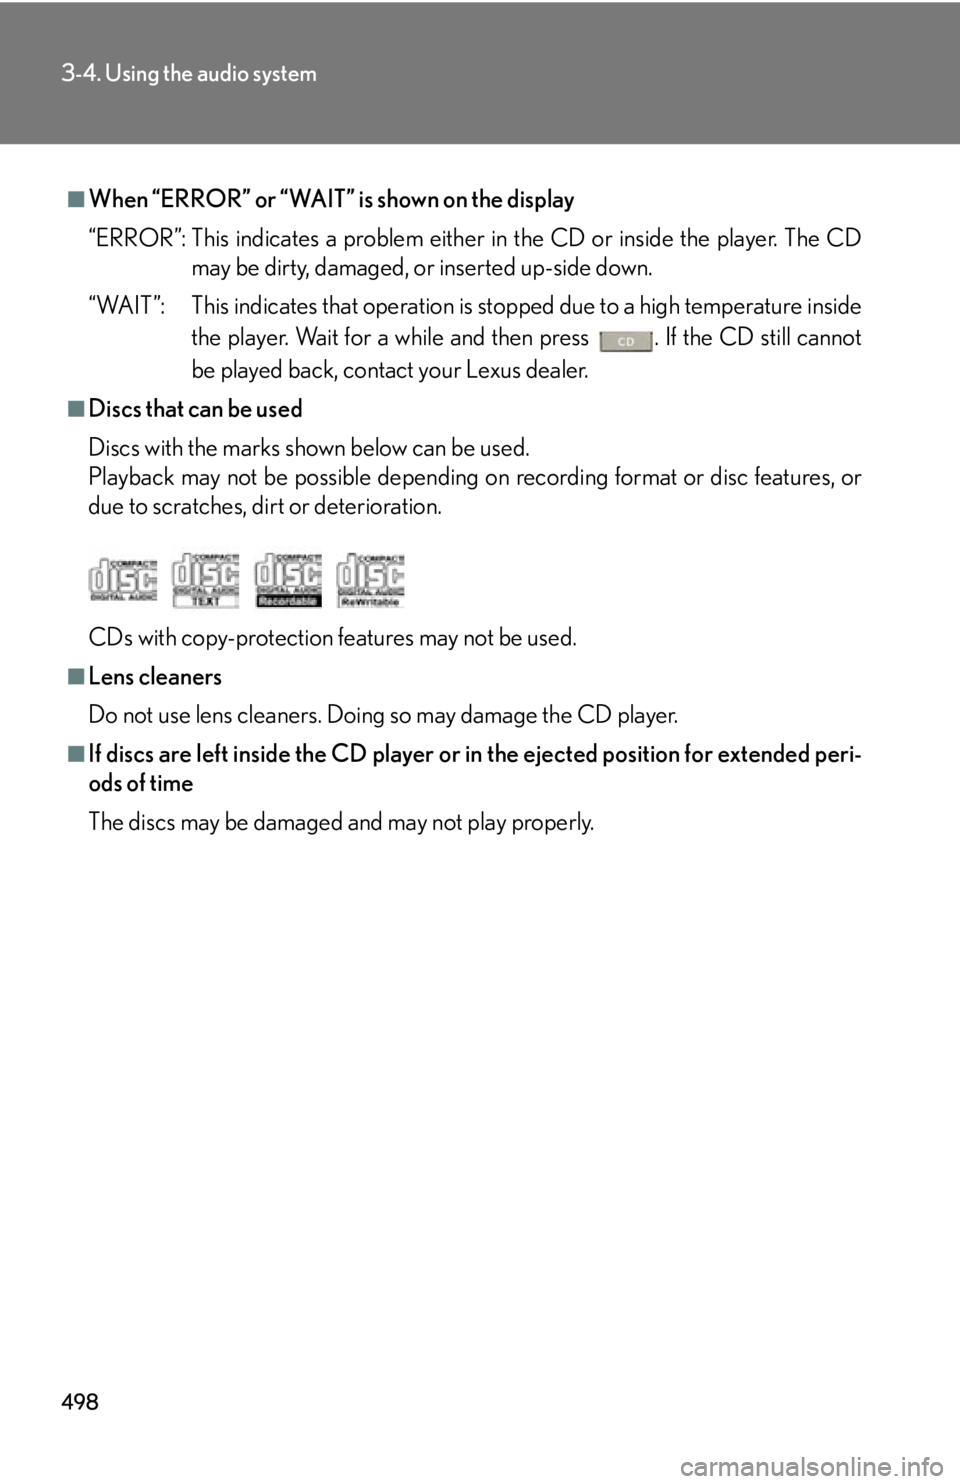
Discs that can be used
Discs with the marks shown below can be used.
Playback may not be possible depending on recording format or disc features, or
due to scratches, dirt or deterioration.
CDs with copy-protection fe atures may not be used.■
Lens cleaners
Do not use lens cleaners. Doing so may damage the CD player.■
If discs are left inside the CD player or in the ejected position for extended peri-
ods of time
The discs may be damaged an d may not play properly.
Page 499 of 886
4993-4. Using the audio system
3
Interior features NOTICE■
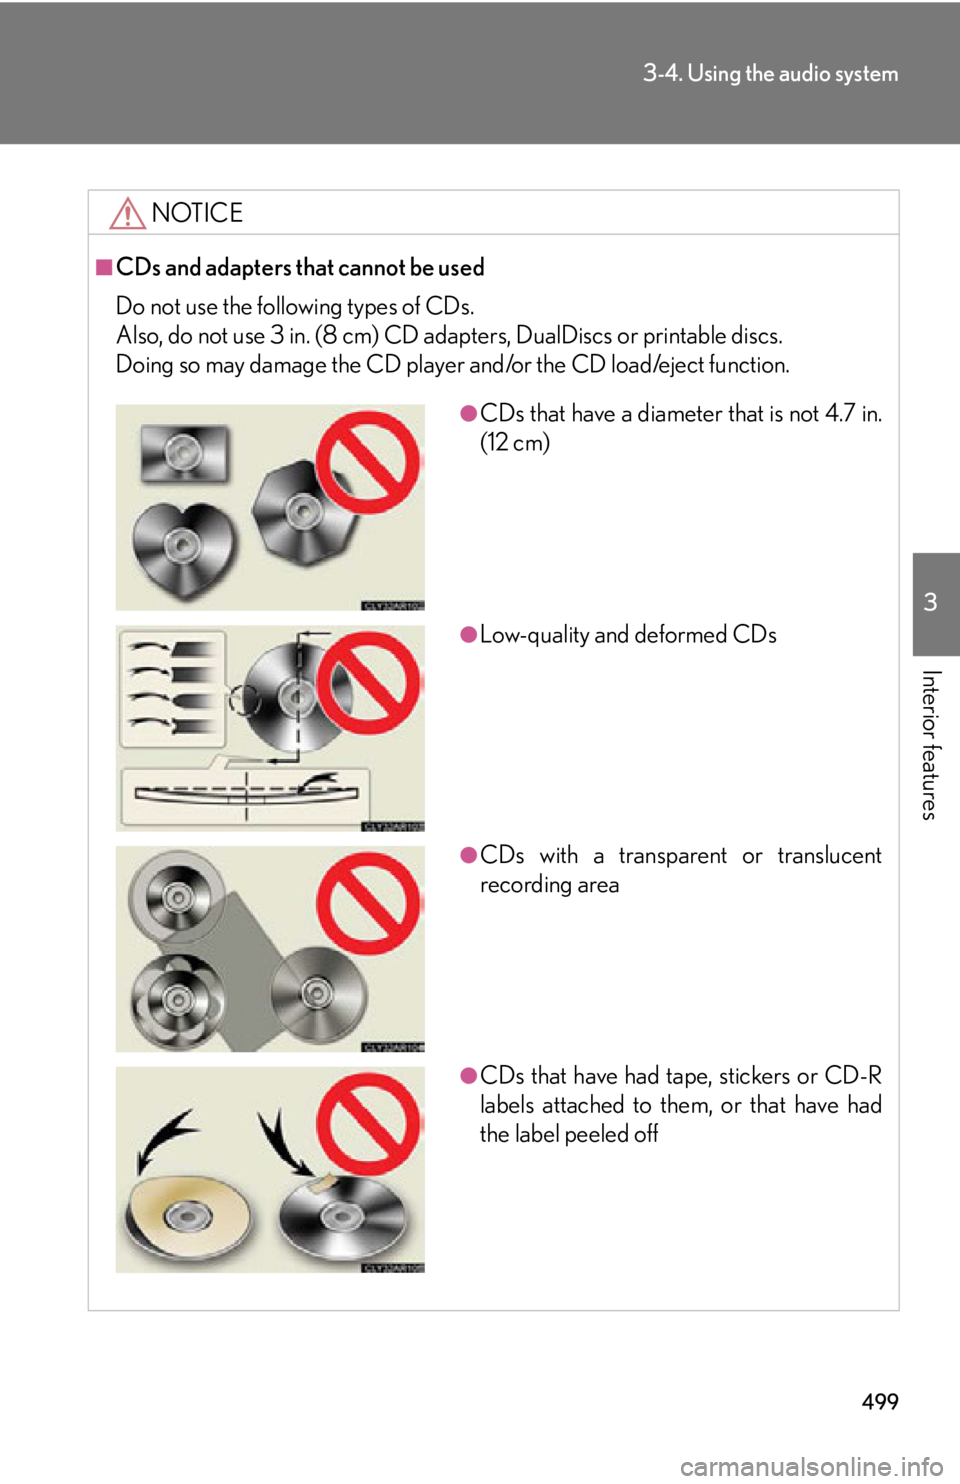
CDs and adapters that cannot be used
Do not use the following types of CDs.
Also, do not use 3 in. (8 cm) CD adap ters, DualDiscs or printable discs.
Doing so may damage the CD player and/or the CD load/eject function. ●
CDs that have a diameter that is not 4.7 in.
(12 cm)
●
Low-quality and deformed CDs
●
CDs with a transparent or translucent
recording area
●
CDs that have had tape, stickers or CD-R
labels attached to them, or that have had
the label peeled off
Page 500 of 886
5003-4. Using the audio system
NOTICE■
CD player precautions
Failure to follow the precautions below ma y result in serious damage to the CDs or
the player itself. ●
Do not insert anything other than CDs into the CD slot.●
Do not apply oil to the CD player.●
Store CDs away from direct sunlight.●
Never try to disassemble any part of the CD player. ●
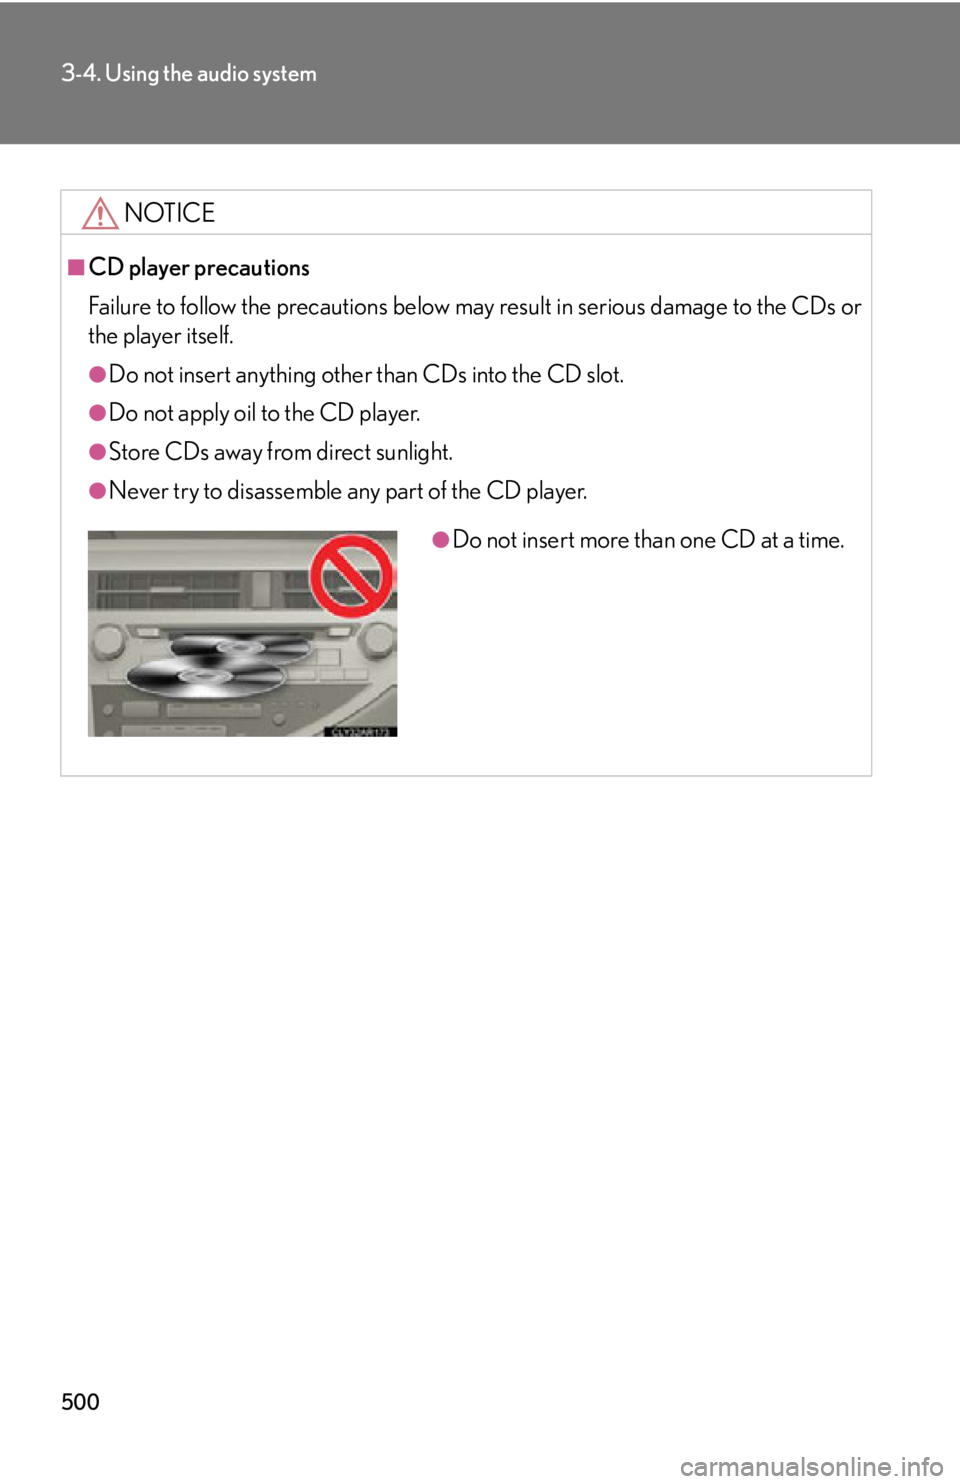
Do not insert more than one CD at a time.
Trending: emergency towing, remote control, service schedule, engine oil capacity, garage door opener, fuel reserve, immobilizer
