LINCOLN MARK VIII 1998 Repair Manual
Manufacturer: LINCOLN, Model Year: 1998, Model line: MARK VIII, Model: LINCOLN MARK VIII 1998Pages: 170, PDF Size: 1.37 MB
Page 61 of 170
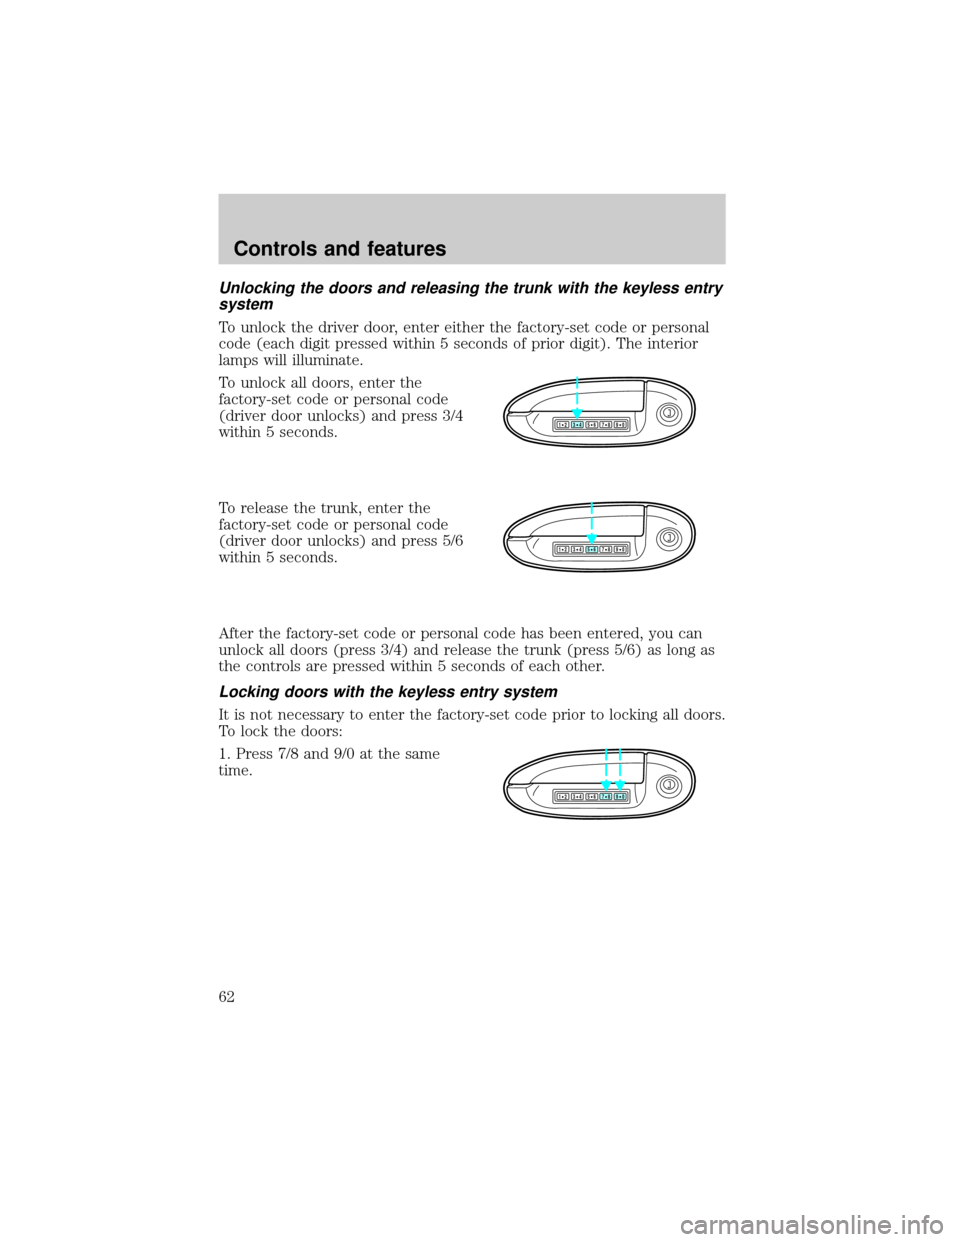
Unlocking the doors and releasing the trunk with the keyless entry
system
To unlock the driver door, enter either the factory-set code or personal
code (each digit pressed within 5 seconds of prior digit). The interior
lamps will illuminate.
To unlock all doors, enter the
factory-set code or personal code
(driver door unlocks) and press 3/4
within 5 seconds.
To release the trunk, enter the
factory-set code or personal code
(driver door unlocks) and press 5/6
within 5 seconds.
After the factory-set code or personal code has been entered, you can
unlock all doors (press 3/4) and release the trunk (press 5/6) as long as
the controls are pressed within 5 seconds of each other.
Locking doors with the keyless entry system
It is not necessary to enter the factory-set code prior to locking all doors.
To lock the doors:
1. Press 7/8 and 9/0 at the same
time.
123
45678
90
123
45678
90
123
45678
90
Controls and features
62
Page 62 of 170
Autolock
The autolock feature will lock all of the doors when:
²all vehicle doors are fully closed
²the ignition key is turned to the ON position
²the vehicle is in a forward gear and
²you exceed 5 km/h (3 mph).
The autolock feature repeats when:
²the ignition key remains in the ON position
²a door is opened and then closed
²the vehicle is in a forward gear, and
²you exceed 5 km/h (3 mph).
The autolock feature can be turned on/off by using the feature menu in
the message center. Refer toElectronic message centerfor more
information.
PERIMETER ALARM SYSTEM
Arming the system
When armed, this system will help protect your vehicle from
unauthorized entry. When unauthorized entry occurs, the system will
flash the headlamps and/or parking lamps and the theft indicator lamp
and will chirp the horn.
The system is ready to arm whenever the ignition is turned OFF. Any of
the following actions will prearm the alarm system:
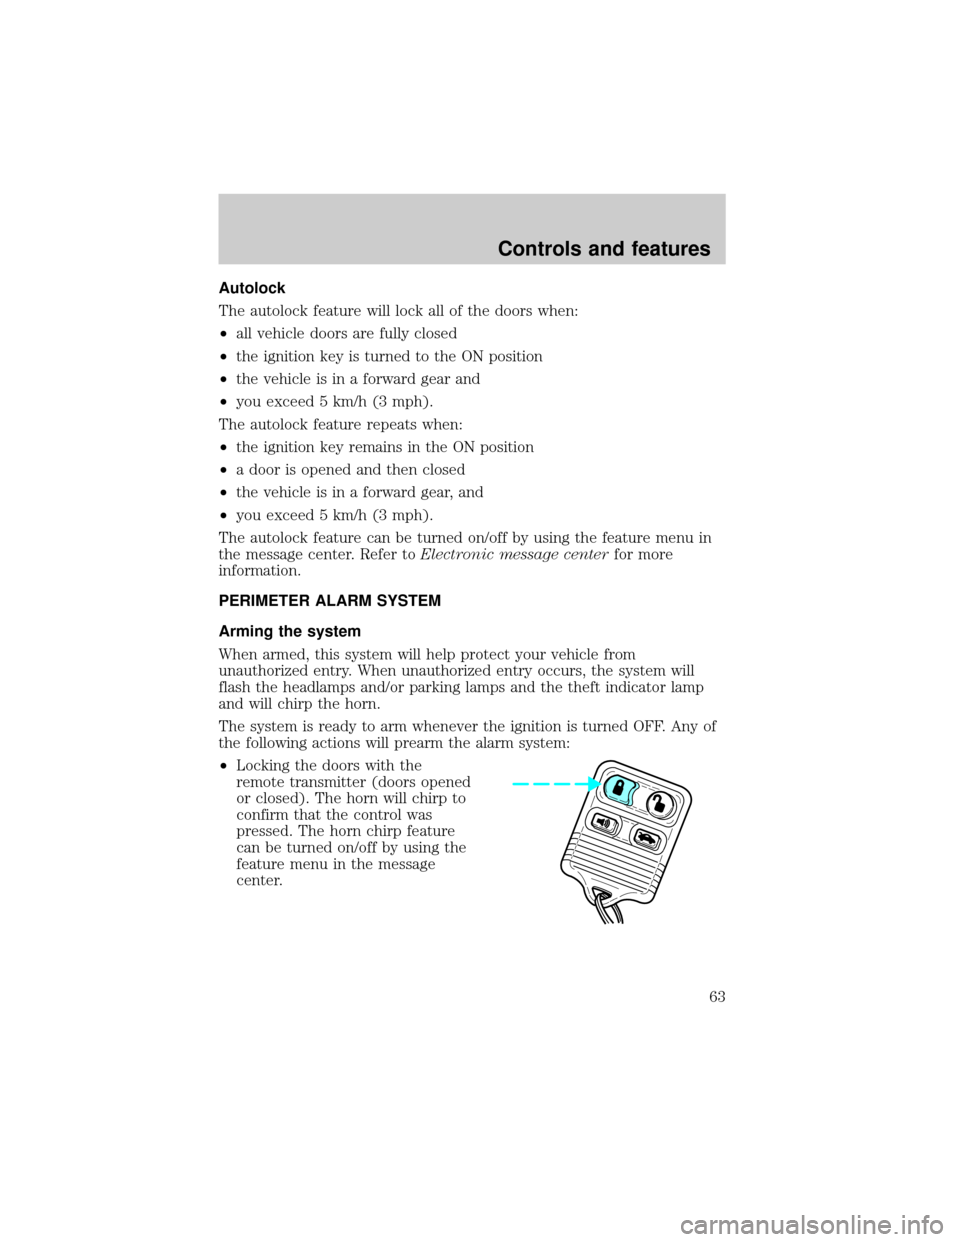
²Locking the doors with the
remote transmitter (doors opened
or closed). The horn will chirp to
confirm that the control was
pressed. The horn chirp feature
can be turned on/off by using the
feature menu in the message
center.
Controls and features
63
Page 63 of 170
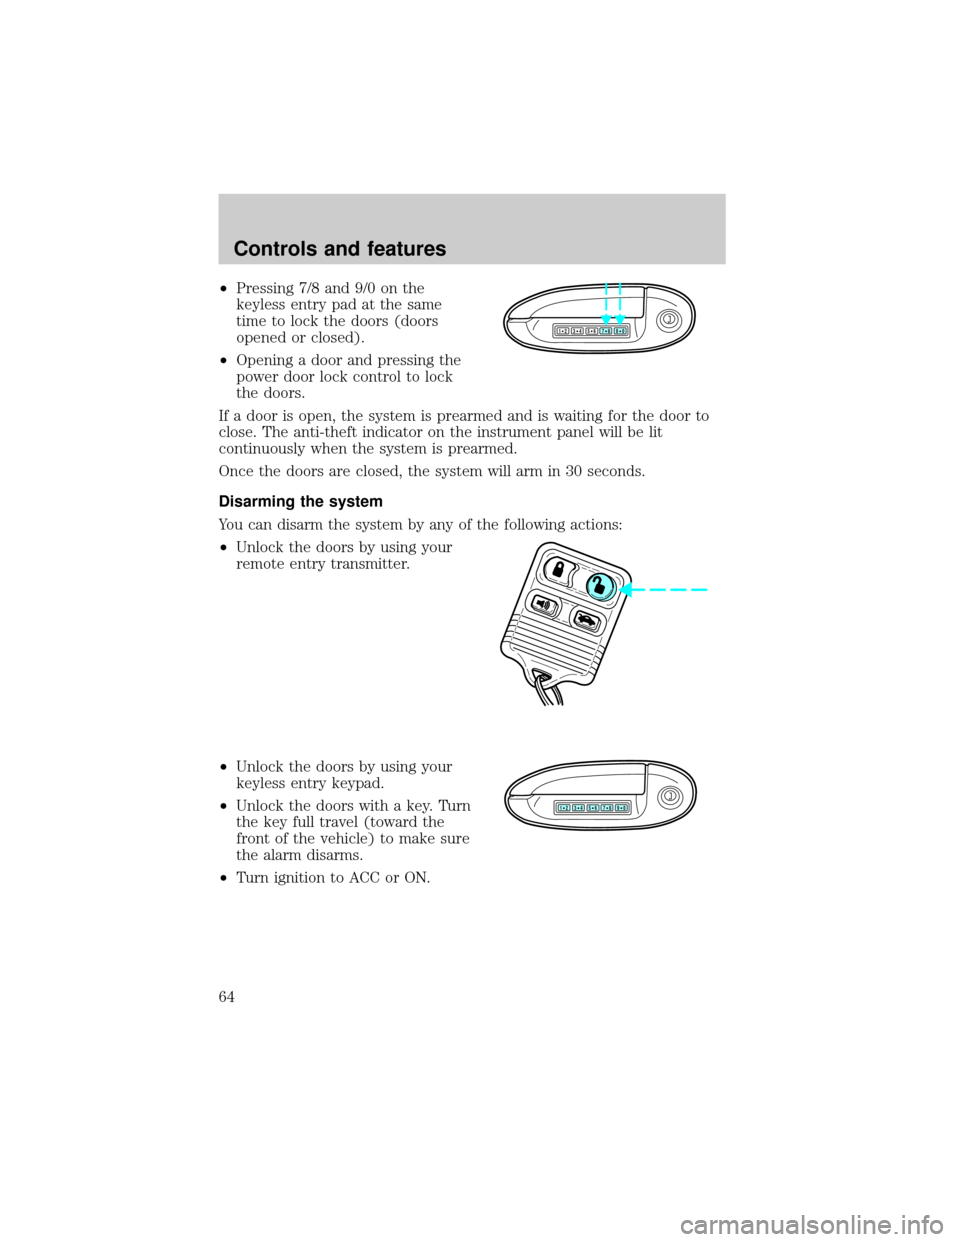
²Pressing 7/8 and 9/0 on the
keyless entry pad at the same
time to lock the doors (doors
opened or closed).
²Opening a door and pressing the
power door lock control to lock
the doors.
If a door is open, the system is prearmed and is waiting for the door to
close. The anti-theft indicator on the instrument panel will be lit
continuously when the system is prearmed.
Once the doors are closed, the system will arm in 30 seconds.
Disarming the system
You can disarm the system by any of the following actions:
²Unlock the doors by using your
remote entry transmitter.
²Unlock the doors by using your
keyless entry keypad.
²Unlock the doors with a key. Turn
the key full travel (toward the
front of the vehicle) to make sure
the alarm disarms.
²Turn ignition to ACC or ON.
123
45678
90
123
45678
90
Controls and features
64
Page 64 of 170

SECURILOCKYANTI-THEFT SYSTEM
Your vehicle is equipped with a coded-key anti-theft system. Only the
correct key will be able to start your vehicle. If your keys are lost or
stolen, you must take your vehicle to a Ford/Lincoln-Mercury dealership
for re-programming.
Programming additional keys
If you need additional keys electronically coded for your vehicle, spares
can be purchased (a maximum of 16 keys can be programmed). To
program a new key, perform the following procedure:
1. With the coded key in the ignition, turn the ignition from ON to OFF.
2. Within 15 seconds of turning ignition off, insert the new coded key
into the ignition and turn it from OFF to ON or START. If successful, the
THEFT indicator light will illuminate for two seconds. Repeat procedure
for all new keys.
If key coding fails, the THEFT indicator light will flash.
Coding failure can be caused by any of the following:
²The new key was not inserted into the ignition within 15 seconds.
²16 keys have already been programmed.
²The new key does not have an electronic code.
Controls and features
65
Page 65 of 170

SEATING
The head restraints can be moved in
four directions:
²up and down
²forward or backward
Adjusting the power seats
The power seat controls are located on the outboard side of the seat.
Never adjust the driver's seat or seatback when the vehicle is
moving.
Pull or push the horizontal control
to move the seat up and down.
Seating and safety restraints
66
Page 66 of 170
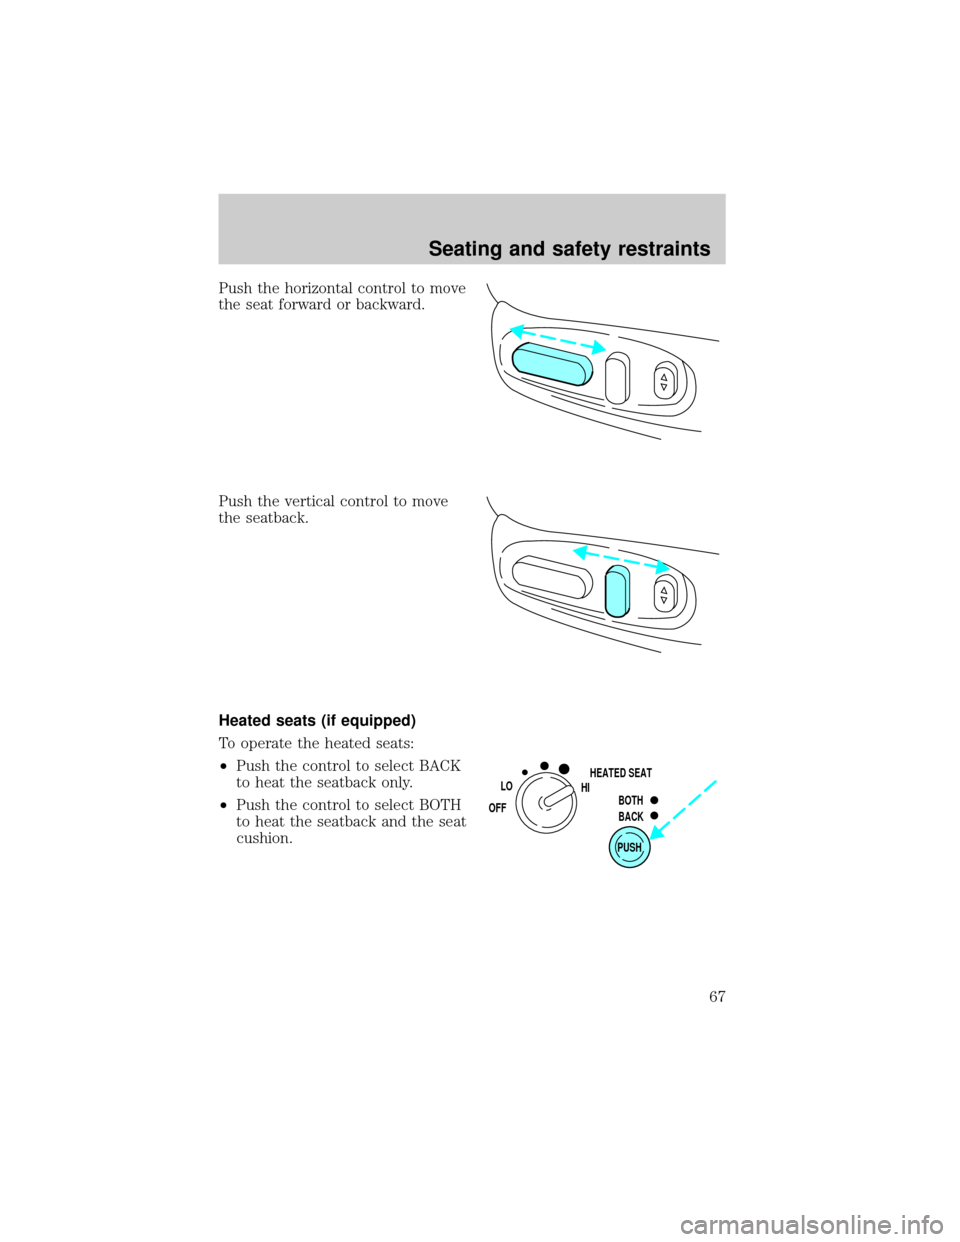
Push the horizontal control to move
the seat forward or backward.
Push the vertical control to move
the seatback.
Heated seats (if equipped)
To operate the heated seats:
²Push the control to select BACK
to heat the seatback only.
²Push the control to select BOTH
to heat the seatback and the seat
cushion.
PUSH
LO
OFFHIHEATED SEAT
BOTH
BACK
Seating and safety restraints
67
Page 67 of 170
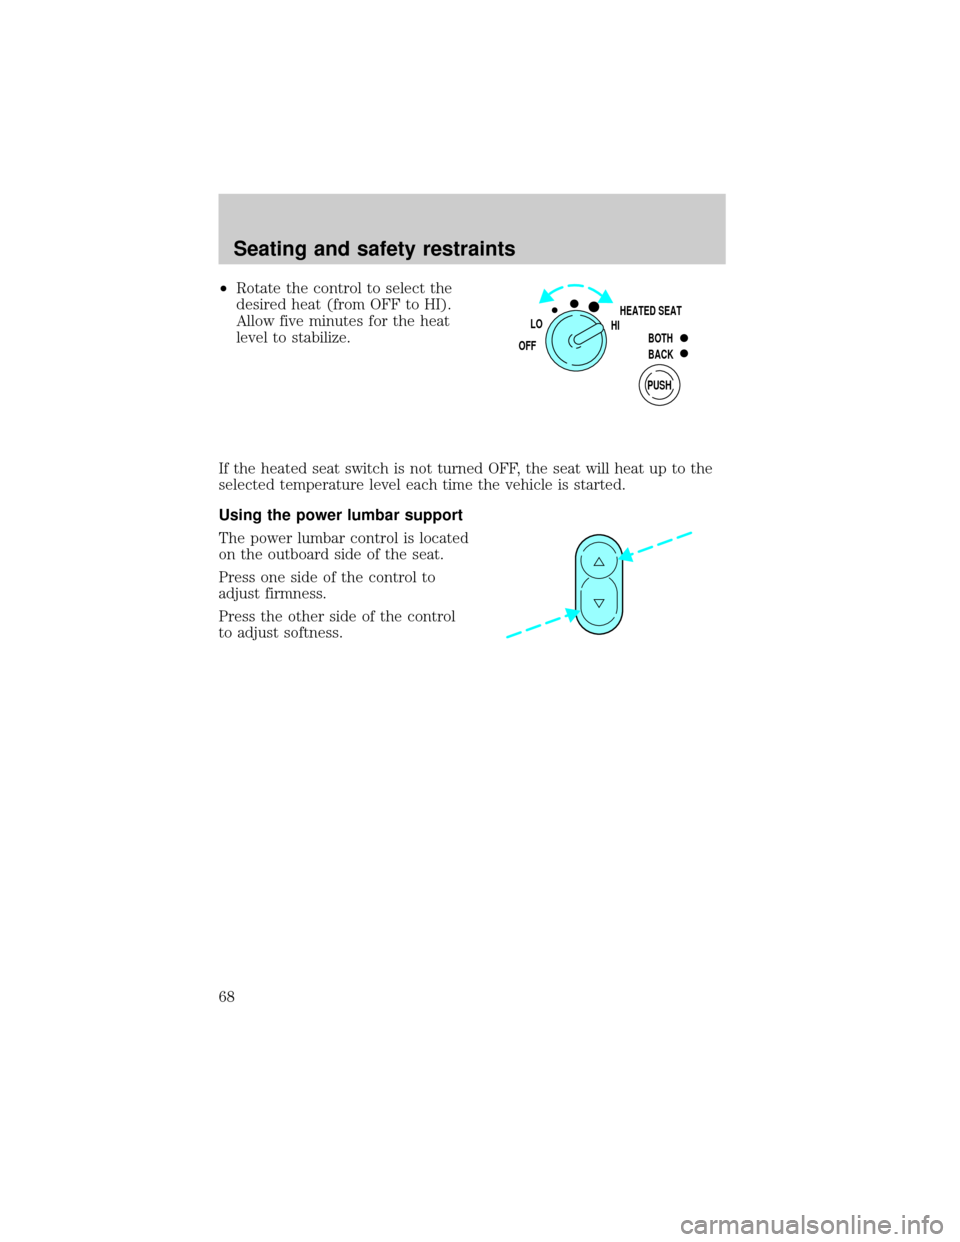
²Rotate the control to select the
desired heat (from OFF to HI).
Allow five minutes for the heat
level to stabilize.
If the heated seat switch is not turned OFF, the seat will heat up to the
selected temperature level each time the vehicle is started.
Using the power lumbar support
The power lumbar control is located
on the outboard side of the seat.
Press one side of the control to
adjust firmness.
Press the other side of the control
to adjust softness.
PUSH
LO
OFFHIHEATED SEAT
BOTH
BACK
Seating and safety restraints
68
Page 68 of 170
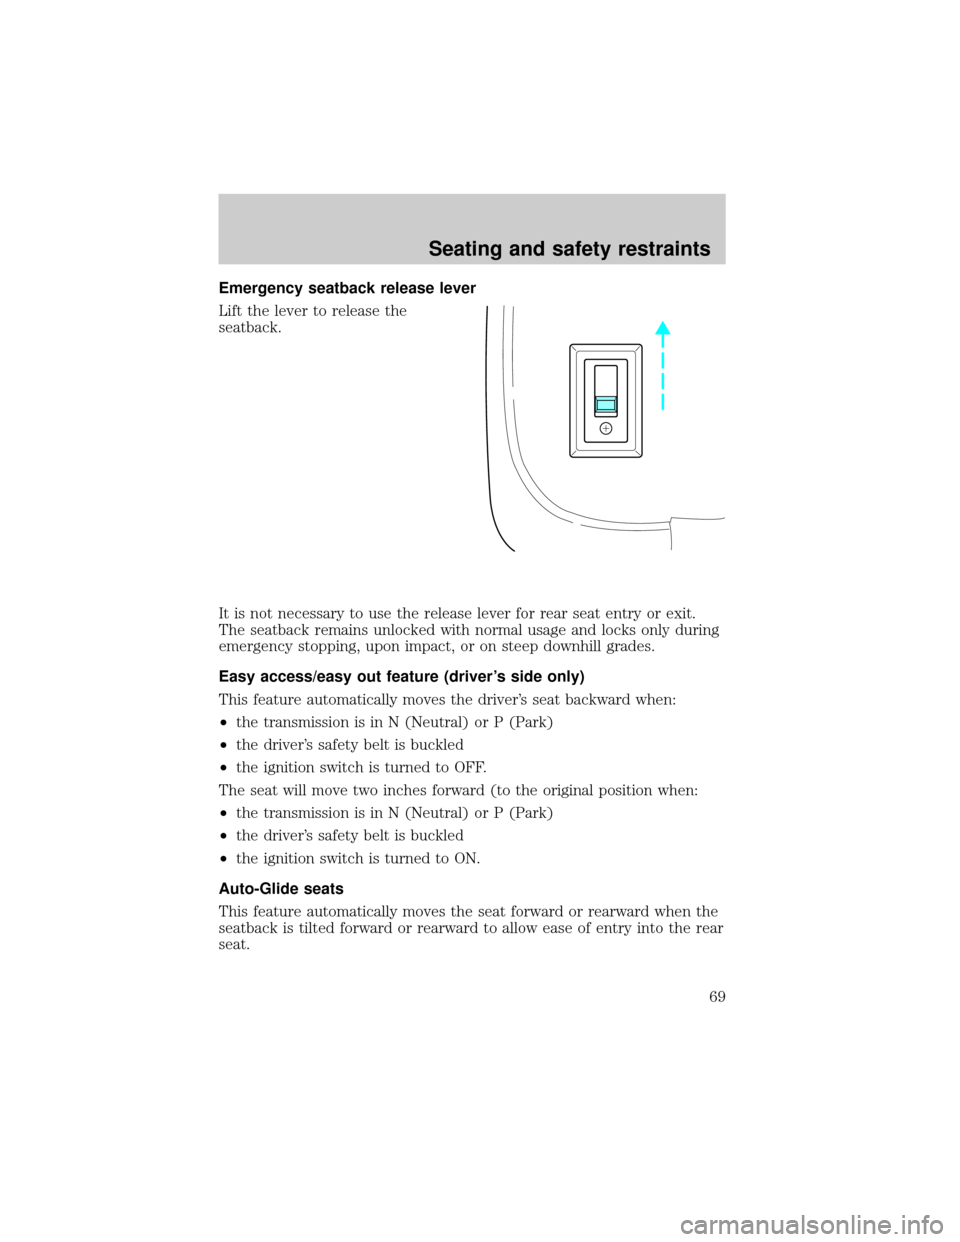
Emergency seatback release lever
Lift the lever to release the
seatback.
It is not necessary to use the release lever for rear seat entry or exit.
The seatback remains unlocked with normal usage and locks only during
emergency stopping, upon impact, or on steep downhill grades.
Easy access/easy out feature (driver's side only)
This feature automatically moves the driver's seat backward when:
²the transmission is in N (Neutral) or P (Park)
²the driver's safety belt is buckled
²the ignition switch is turned to OFF.
The seat will move two inches forward (to the original position when:
²the transmission is in N (Neutral) or P (Park)
²the driver's safety belt is buckled
²the ignition switch is turned to ON.
Auto-Glide seats
This feature automatically moves the seat forward or rearward when the
seatback is tilted forward or rearward to allow ease of entry into the rear
seat.
Seating and safety restraints
69
Page 69 of 170
With the ignition OFF:
²the driver seat Auto-Glide will function when the gearshift is in N
(Neutral) or P (Park) and at least one of the vehicle doors is opened.
²the passenger seat Auto-Glide will only function when at least one of
the vehicle doors is opened.
If the ignition is ON:
²the driver seat Auto-Glide will function with the gearshift in N
(Neutral) or P (Park).
²the passenger seat Auto-Glide will function with the gearshift in N
Neutral) or P (Park).
Shifting the transmission:
²from N (Neutral) or P (Park) while the driver's seat is moving will
stop the seat where it is.
²back to N (Neutral) or P (Park) will continue seat movement.
The power seat controls must be used to move the seat if the gearshift is
not in N (Neutral) or P (Park).
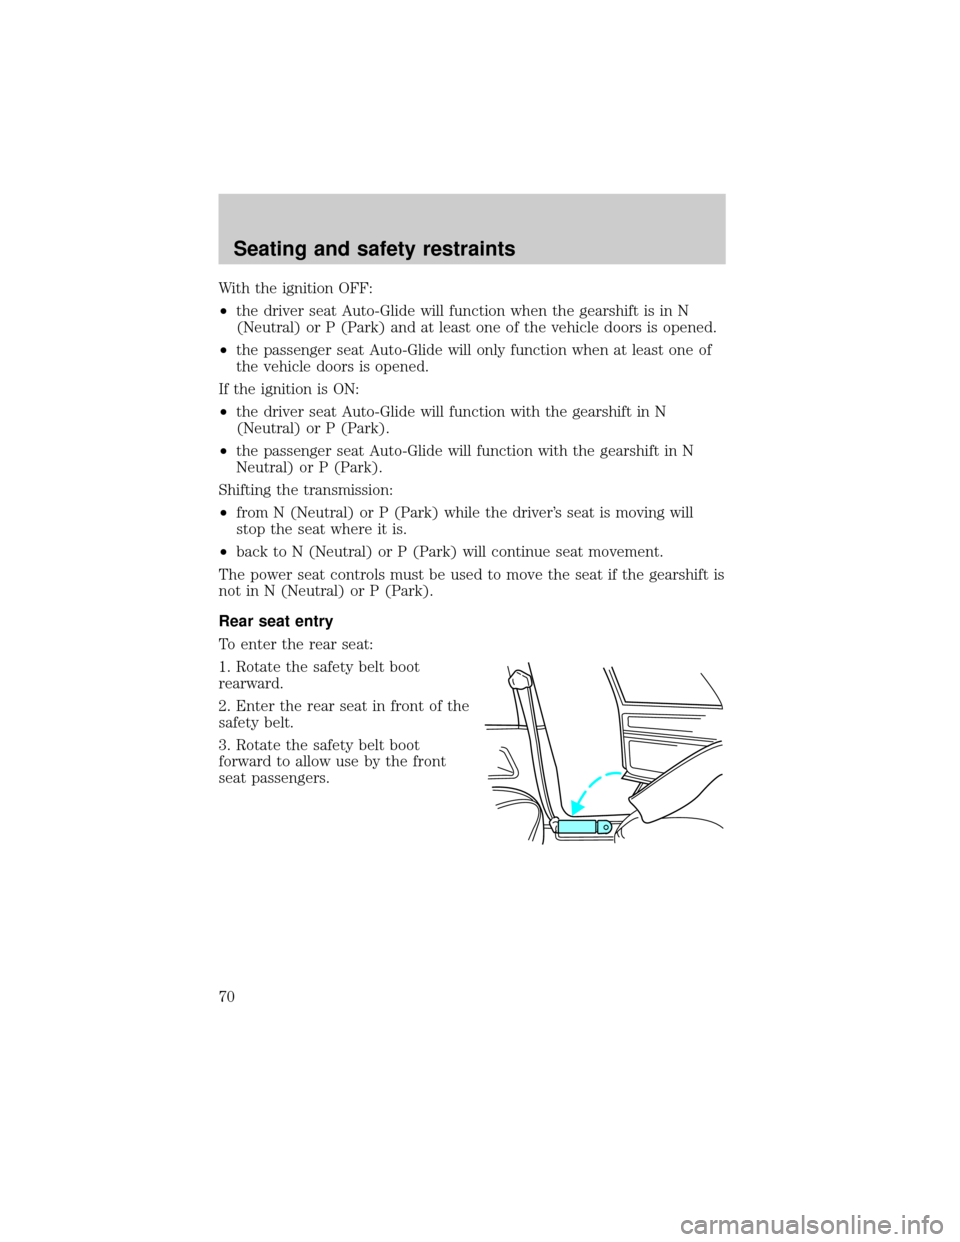
Rear seat entry
To enter the rear seat:
1. Rotate the safety belt boot
rearward.
2. Enter the rear seat in front of the
safety belt.
3. Rotate the safety belt boot
forward to allow use by the front
seat passengers.
Seating and safety restraints
70
Page 70 of 170
SAFETY RESTRAINTS
Safety restraints precautions
Always drive and ride with your seatback upright and the lap
belt snug and low across the hips.
To prevent the risk of injury, make sure children sit where they
can be properly restrained.
Never let a passenger hold a child on his or her lap while the
vehicle is moving. The passenger cannot protect the child from
injury in a collision.
All occupants of the vehicle, including the driver, should always
wear their safety belts.
It is extremely dangerous to ride in a cargo area, inside or
outside of a vehicle. In a collision, people riding in these areas
are more likely to be seriously injured or killed. Do not allow people to
ride in any area of your vehicle that is not equipped with seats and
safety belts. Be sure everyone in your vehicle is in a seat and using a
safety belt properly.
Each seating position in your vehicle has a specific safety belt
assembly which is made up of one buckle and one tongue that
are designed to be used as a pair. 1) Use the shoulder belt on the
outside shoulder only. Never wear the shoulder belt under the arm. 2)
Never swing it around your neck over the inside shoulder. 3) Never use
a single belt for more than one person.
Seating and safety restraints
71