stop start LINCOLN NAVIGATOR 2004 Owners Manual
[x] Cancel search | Manufacturer: LINCOLN, Model Year: 2004, Model line: NAVIGATOR, Model: LINCOLN NAVIGATOR 2004Pages: 368, PDF Size: 8.21 MB
Page 12 of 368
Engine coolant temperature:
Illuminates when the engine coolant
temperature is high. Stop the
vehicle as soon as safely possible, switch off the engine and let it cool.
Refer to Engine coolant in the Maintenance and Specifications
chapter.
Never remove the coolant recovery cap while the engine is
running or hot.
Low tire warning: Illuminates
when the low tire warning system is
enabled. If the light remains on
while driving, the tire pressure
should be checked, refer to Low
tire warning in the Maintenance and Specifications chapter. If this
light fails to illuminate when ignition is turned to ON, continues to flash
or remains on, have the system serviced immediately.
Warning Light display Customer Action
Warning light remains on • Check your tire pressure and
ensure your tires are properly
inflated.
• If your tires are inflated to the
manufacturers recommended air
pressure and the light remains on,
please have the system inspected
immediately by your servicing
dealership.
Warning light flashing (flashes
for 20 seconds either at start
up or while driving) • Your spare tire is in use. Repair the
road wheel to restore system function.
• If your tires are inflated to the
recommended air pressure, and your
spare tire is not in use, please have
the system inspected immediately by
your servicing dealership.
2004 Navigator (nav)
Owners Guide (post-2002-fmt)
USA English (fus)Instrument Cluster
12
Page 50 of 368
• Italian food • Japanese restaurant
• Japanese food • Mexican restaurant
• Mexican food • Seafood restaurant
• Seafood • Other restaurant
• Other food • Shopping
• Shopping mall • Grocery store
• Airport • Bus station
• Ferry terminal • Historical monument
• Hotel • Park and ride
• Rental car agency • Rest area
• Rest stop • Tourist information
• Train station • Business facility
• City center • POI off
• Commuter rail station
While in navigation destination (DEST) mode, the following commands
are available:
• Home • Go home
• Previous starting point • Go starting point
• Next way point map • First way point map
• Second way point • Third way point
• Fourth way point • Fifth way point
• Destination map • Delete destination
• Cancel destination
While in navigation guidance mode, the following commands are available
by voice activation:
• Repeat guidance • Repeat voice
• Louder • Softer
• Voice guidance off • Voice guidance on
• Open guidance screen • Close guidance screen
• Arrow guidance • Arrow guide
• Change to arrow guidance • Change to arrow guide
• Turn list guidance • Turn list guide
• Change to turn list guidance • Change to turn list guide
2004 Navigator (nav)
Owners Guide (post-2002-fmt)
USA English (fus)Entertainment Systems
50
Page 60 of 368
Press CD. CD play will begin where
it stopped last.
Loading a CD:
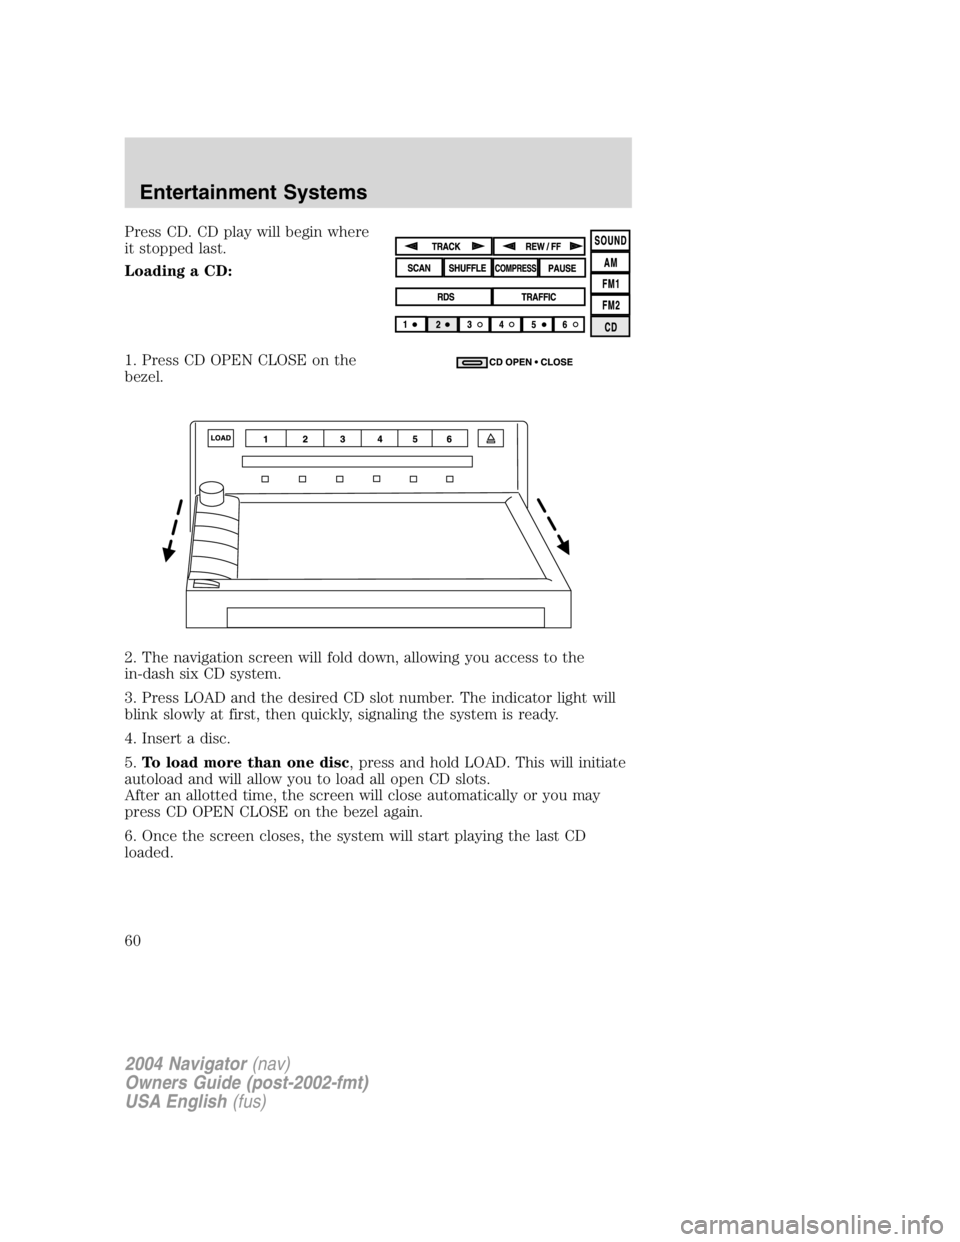
1. Press CD OPEN CLOSE on the
bezel.
2. The navigation screen will fold down, allowing you access to the
in-dash six CD system.
3. Press LOAD and the desired CD slot number. The indicator light will
blink slowly at first, then quickly, signaling the system is ready.
4. Insert a disc.
5. To load more than one disc , press and hold LOAD. This will initiate
autoload and will allow you to load all open CD slots.
After an allotted time, the screen will close automatically or you may
press CD OPEN CLOSE on the bezel again.
6. Once the screen closes, the system will start playing the last CD
loaded.
2004 Navigator (nav)
Owners Guide (post-2002-fmt)
USA English (fus)Entertainment Systems
60
Page 221 of 368
If you smell exhaust fumes inside your vehicle, have your dealer
inspect your vehicle immediately. Do not drive if you smell
exhaust fumes.
Important ventilating information
If the engine is idling while the vehicle is stopped for a long period of
time, open the windows at least 2.5 cm (one inch) or adjust the heating
or air conditioning to bring in fresh air.
BRAKES
Your service brakes are self-adjusting. Refer to the scheduled
maintenance guide for scheduled maintenance.
Occasional brake noise is normal and often does not indicate a
performance concern with the vehicle ’ s brake system. In normal
operation, automotive brake systems may emit occasional or intermittent
squeal or groan noises when the brakes are applied. Such noises are
usually heard during the first few brake applications in the morning;
however, they may be heard at any time while braking and can be
aggravated by environmental conditions such as cold, heat, moisture,
road dust, salt or mud. If a “ metal-to-metal, ”“ continuous grinding ” or
“ continuous squeal ” sound is present while braking, the brake linings
may be worn-out and should be inspected by a qualified service
technician.
If you are driving down a long or steep hill, shift to a lower gear.
Do not apply your brakes continuously, as they may overheat
and become less effective.
Anti-lock brake system (ABS)
On ABS-equipped vehicles, a noise from the hydraulic pump motor and
pulsation in the pedal may be observed during ABS braking events. Pedal
pulsation coupled with noise while braking under panic conditions or on
loose gravel, bumps, wet or snowy roads is normal and indicates proper
functioning of the vehicle ’ s anti-lock brake system. The ABS performs a
self-check after you start the engine and begin to drive away. A brief
mechanical noise may be heard during this test. This is normal. If a
malfunction is found, the ABS warning light will come on. If the vehicle
has continuous vibration or shudder in the steering wheel while braking,
the vehicle should be inspected by a qualified service technician.
2004 Navigator (nav)
Owners Guide (post-2002-fmt)
USA English (fus) Driving
221
Page 222 of 368
The ABS operates by detecting the onset of wheel lockup during brake
applications and compensates for this tendency. The wheels are
prevented from locking even when the brakes are firmly applied.
Using ABS
• In an emergency or when maximum efficiency from the four-wheel
ABS is required, apply continuous force on the brake. The four wheel
ABS will be activated immediately, thus allowing you to retain steering
control of your vehicle and, providing there is sufficient space, will
enable you to avoid obstacles and bring the vehicle to a controlled
stop.
• The anti-lock system does not always reduce stopping distance.
Always leave enough room between your vehicle and the vehicle in
front of you to stop.
• We recommend that you familiarize yourself with this braking
technique. However, avoid taking any unnecessary risks.
ABS warning lamp ABS
The ABS
warning lamp in the instrument cluster momentarily illuminates
when the ignition is turned to the ON position. If the light does not
illuminate momentarily at start up, remains on or continues to flash, the
ABS needs to be serviced.
With the ABS light on, the anti-lock
brake system is disabled and normal
braking is still effective unless the
brake warning light also remains
illuminated with parking brake
released. (If your brake warning lamp illuminates, have your vehicle
serviced immediately.)
Brake Assist (if equipped)
The Brake Assist system provides full braking force during panic braking
situations. It detects a rapid application of the brake pedal and
maximizes the amount of brake booster assist, helping the driver to
achieve maximum braking pressure. Once a panic brake application is
detected, the system will remain activated as long as the brake pedal is
depressed. The system is deactivated by releasing the brake pedal.
When the system activates, the brake pedal will travel with very little
effort; this is normal. P!BRAKE
2004 Navigator (nav)
Owners Guide (post-2002-fmt)
USA English (fus)Driving
222
Page 234 of 368
be slightly delayed. Once the engine coolant temperature reaches 71 ° C
(160 ° F) the normal shift strategy will resume. This is normal operation
and will not affect the function or the durability of the transmission.
If the normal shift strategy does not resume once the engine
coolant temperature reaches the normal operating temperature,
or if the downshifts and other throttle conditions do not function
normally, see your dealer or a qualified service technician as soon
as possible.
Understanding gearshift positions
To put your vehicle in gear, start the engine, depress the brake pedal,
then move gearshift lever out of P (Park).
Hold the brake pedal down while you move the gearshift lever
from P (Park) to another position. If you do not hold the brake
pedal down, your vehicle may move unexpectedly and injure someone.
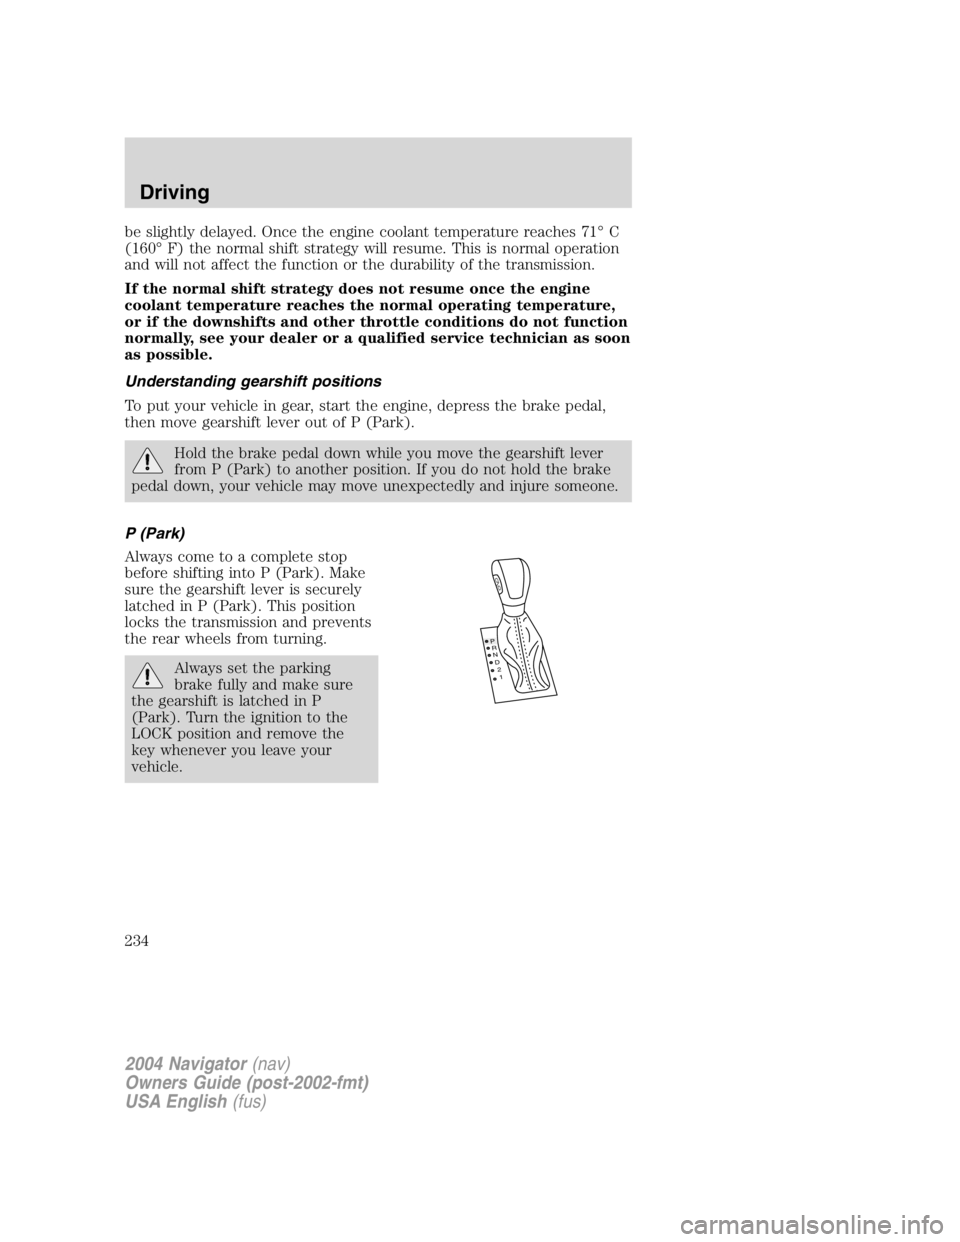
P (Park)
Always come to a complete stop
before shifting into P (Park). Make
sure the gearshift lever is securely
latched in P (Park). This position
locks the transmission and prevents
the rear wheels from turning.
Always set the parking
brake fully and make sure
the gearshift is latched in P
(Park). Turn the ignition to the
LOCK position and remove the
key whenever you leave your
vehicle. P
R
N
D
2
1
O
D
2004 Navigator (nav)
Owners Guide (post-2002-fmt)
USA English (fus)Driving
234
Page 235 of 368
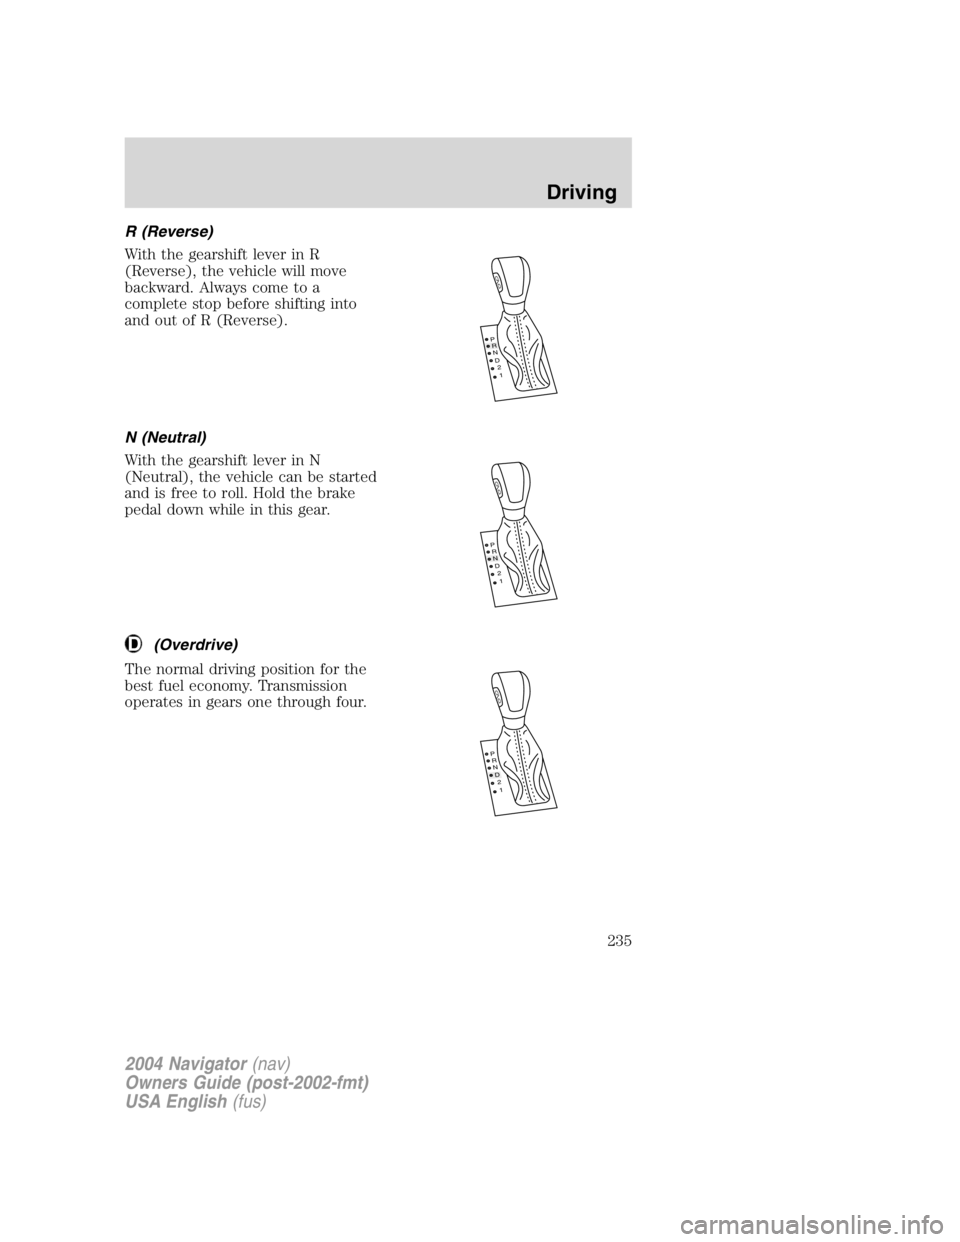
R (Reverse)
With the gearshift lever in R
(Reverse), the vehicle will move
backward. Always come to a
complete stop before shifting into
and out of R (Reverse).
N (Neutral)
With the gearshift lever in N
(Neutral), the vehicle can be started
and is free to roll. Hold the brake
pedal down while in this gear.
(Overdrive)
The normal driving position for the
best fuel economy. Transmission
operates in gears one through four. P
R
N
D
2
1
O
D
P
R
N
D
2
1
O
D
P
R
N
D
2
1
O
D
2004 Navigator (nav)
Owners Guide (post-2002-fmt)
USA English (fus) Driving
235
Page 240 of 368
CONTROL TRAC FOUR-WHEEL DRIVE (4X4) OPERATION
(IF EQUIPPED)
For important information regarding safe operation of this type
of vehicle, see Preparing to drive your vehicle in this chapter.
If equipped with the Control Trac 4x4 System, and 4L (4x4 LOW)
is selected while the vehicle is moving, the system will not
engage. This is normal and should be no reason for concern.
Before 4L (4x4 LOW) can be engaged, the vehicle must be
brought to a complete stop, the brake pedal depressed and the
transmission placed in N (Neutral).
The vehicle should not be operated in 4H (4x4 HIGH) or 4L (4x4 LOW)
on dry pavement. Doing so could result in difficult disengagement of the
transfer case, increased tire wear, decreased fuel economy and may
damage driveline components.
Your 4x4 features the heavy-duty Control Trac system which includes a
computer-operated transfer case. This unique system is interactive with
the road, continually monitoring and adjusting torque delivery to the
front and rear wheels to optimize vehicle control.
System indicator lights
The Control Trac system indicator lights illuminate only under the
following conditions. If these lights illuminate when driving in 2H or
A4WD, contact your Ford dealer as soon as possible.
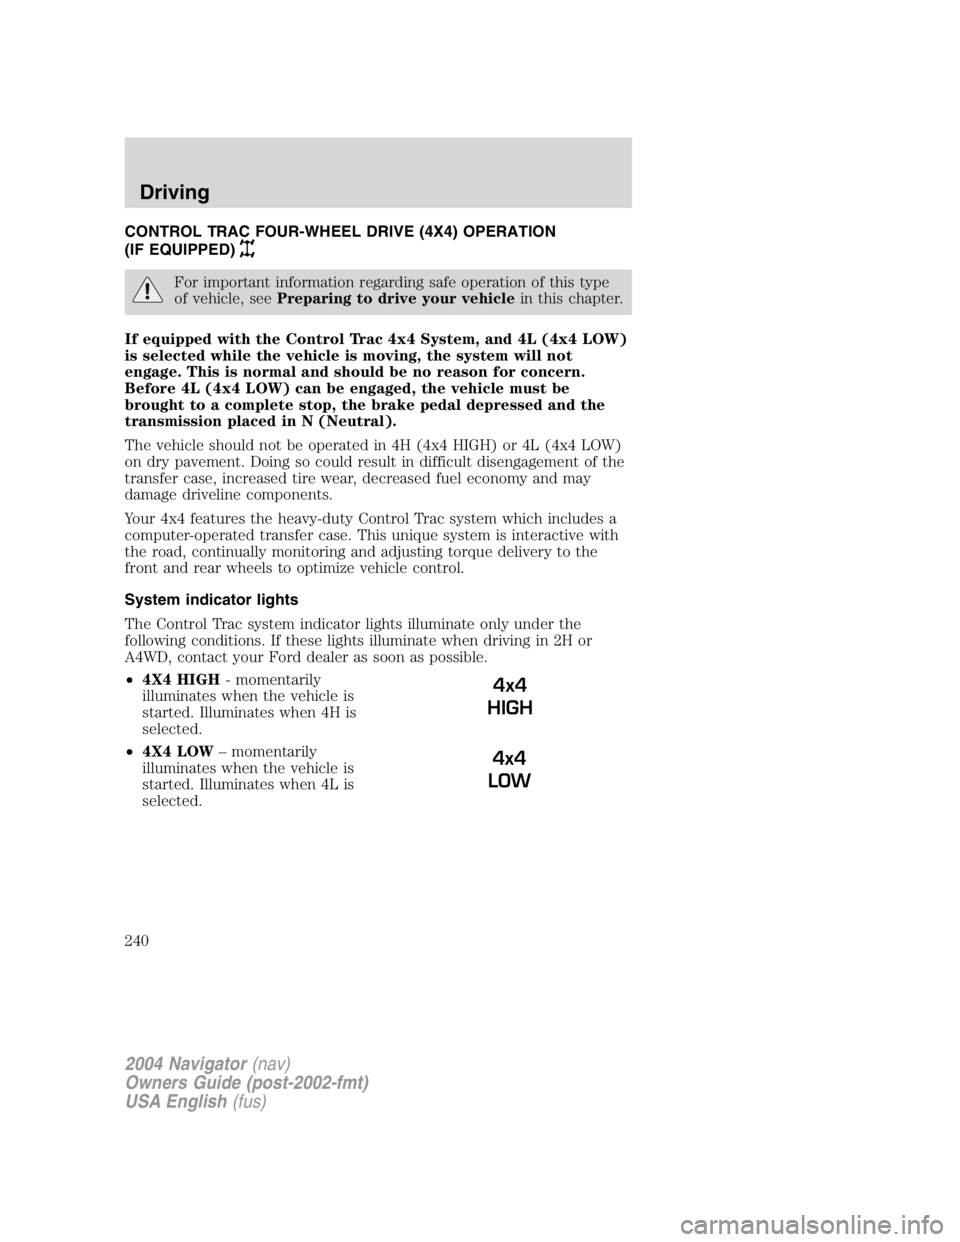
• 4X4 HIGH - momentarily
illuminates when the vehicle is
started. Illuminates when 4H is
selected.
• 4X4 LOW – momentarily
illuminates when the vehicle is
started. Illuminates when 4L is
selected. 4x4
HIGH
4x4
LOW
2004 Navigator (nav)
Owners Guide (post-2002-fmt)
USA English (fus)Driving
240
Page 249 of 368

Apply just enough power to the wheels to climb the hill. Too much
power will cause the tires to slip, spin or lose traction, resulting in loss of
vehicle control.
Descend a hill in the same gear you
would use to climb up the hill to
avoid excessive brake application
and brake overheating. Do not
descend in neutral; instead,
disengage overdrive or manually
shift to a lower gear. When
descending a steep hill, avoid
sudden hard braking as you could
lose control. When you brake hard,
the front wheels can ’ t turn and if
they aren ’ t turning, you won ’ tbe
able to steer. The front wheels have to be turning in order to steer the
vehicle. Rapid pumping of the brake pedal will help you slow the vehicle
and still maintain steering control.
If your vehicle has anti-lock brakes, apply the brakes steadily. Do not
“ pump ” the brakes.
Driving on snow and ice
Four – wheel drive vehicles have advantages over two – wheel drive
vehicles in snow and ice but can skid like any other vehicle.
Should you start to slide while driving on snowy or icy roads, turn the
steering wheel in the direction of the slide until you regain control.
Avoid sudden applications of power and quick changes of direction on
snow and ice. Apply the accelerator slowly and steadily when starting
from a full stop.
Avoid sudden braking as well. Although a four – wheel drive vehicle may
accelerate better than a two-wheel drive vehicle in snow and ice, it won ’ t
stop any faster, because as in other vehicles, braking occurs at all four
wheels. Do not become overconfident as to road conditions.
Make sure you allow sufficient distance between you and other vehicles
for stopping. Drive slower than usual and consider using one of the lower
gears. In emergency stopping situations, apply the brake forcefully and
steadily. Do not “ pump ” the brakes. Refer to the Brakes section of this
chapter for additional information on the operation of the anti-lock brake
system.
2004 Navigator (nav)
Owners Guide (post-2002-fmt)
USA English (fus) Driving
249
Page 260 of 368
Driving while you tow
When towing a trailer:
• Turn off the speed control. The speed control may shut off
automatically when you are towing on long, steep grades.
• Consult your local motor vehicle speed regulations for towing a trailer.
• To eliminate excessive shifting, use a lower gear. This will also assist
in transmission cooling. (For additional information, refer to the
Understanding the positions of the 4 – speed automatic
transmission section in this chapter.
• Anticipate stops and brake gradually.
• Do not exceed the GCWR rating or transmission damage may occur.
Servicing after towing
If you tow a trailer for long distances, your vehicle will require more
frequent service intervals. Refer to your scheduled maintenance guide for
more information.
Trailer towing tips
• Practice turning, stopping and backing up before starting on a trip to
get the feel of the vehicle trailer combination. When turning, make
wider turns so the trailer wheels will clear curbs and other obstacles.
• Allow more distance for stopping with a trailer attached.
• If you are driving down a long or steep hill, shift to a lower gear. Do
not apply the brakes continuously, as they may overheat and become
less effective.
• The trailer tongue weight should be 10 – 15% of the loaded trailer
weight.
• After you have traveled 80 km (50 miles), thoroughly check your
hitch, electrical connections and trailer wheel lug nuts.
• To aid in engine/transmission cooling and A/C efficiency during hot
weather while stopped in traffic, place the gearshift lever in P (Park).
• Vehicles with trailers should not be parked on a grade. If you must
park on a grade, place wheel chocks under the trailer ’ s wheels.
Launching or retrieving a boat
Disconnect the wiring to the trailer before backing the trailer
into the water. Reconnect the wiring to the trailer after the
trailer is removed from the water.
2004 Navigator (nav)
Owners Guide (post-2002-fmt)
USA English (fus)Driving
260