light LINCOLN NAVIGATOR 2022 Service Manual
[x] Cancel search | Manufacturer: LINCOLN, Model Year: 2022, Model line: NAVIGATOR, Model: LINCOLN NAVIGATOR 2022Pages: 646, PDF Size: 7.29 MB
Page 192 of 646
Note:
We recommend that upon the sale or
lease termination of your vehicle, you erase
the programmed function buttons for security
reasons. See Clearing the Garage Door
Opener (page 190).
GARAGE DOOR OPENER
LIMITATIONS
Canadian radio-frequency laws require
transmitter signals to time-out (or quit) after
several seconds – which may not be long
enough for HomeLink to pick up the signal.
U.S. gate operators time-out in the same
manner.
Note: If programming a garage door opener
or gate operator, it is advised to unplug the
device during the “cycling” process to
prevent possible overheating. PROGRAMMING THE GARAGE
DOOR OPENER TO YOUR HAND-
HELD TRANSMITTER
This process is to program your in-vehicle
HomeLink function button with your
hand-held transmitter.
Note:
The programming steps below assume
you will be programming HomeLink that was
not previously programmed. If your
HomeLink was previously programmed, you
may need to erase your HomeLink buttons.
See
Clearing the Garage Door Opener
(page 190). 1. With your vehicle parked outside of the
garage, switch your ignition to the on
position, but do not start your vehicle.
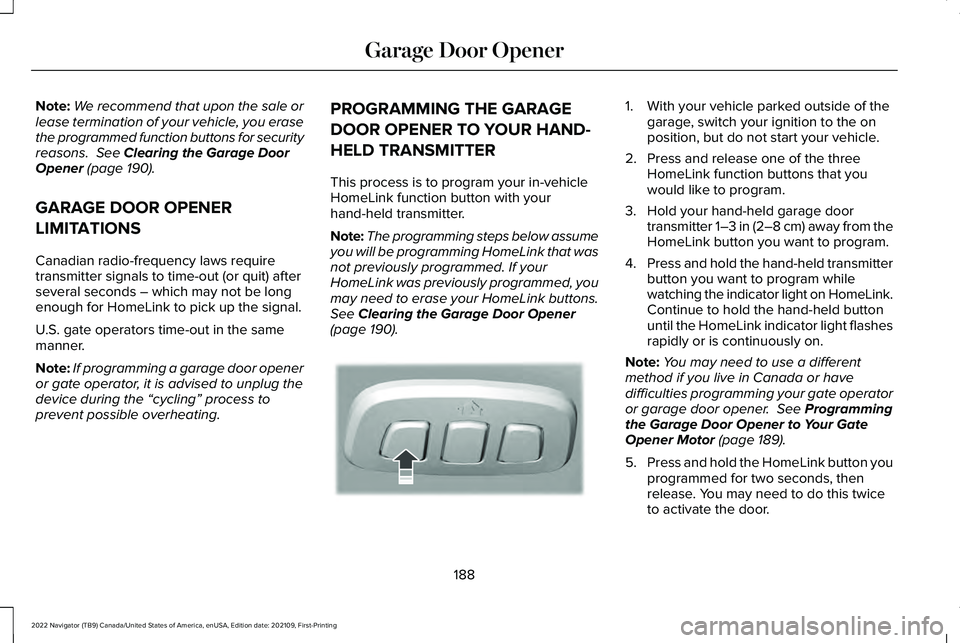
2. Press and release one of the three HomeLink function buttons that you
would like to program.
3. Hold your hand-held garage door transmitter 1–3 in (2–8 cm) away from the
HomeLink button you want to program.
4. Press and hold the hand-held transmitter
button you want to program while
watching the indicator light on HomeLink.
Continue to hold the hand-held button
until the HomeLink indicator light flashes
rapidly or is continuously on.
Note: You may need to use a different
method if you live in Canada or have
difficulties programming your gate operator
or garage door opener.
See Programming
the Garage Door Opener to Your Gate
Opener Motor
(page 189).
5. Press and hold the HomeLink button you
programmed for two seconds, then
release. You may need to do this twice
to activate the door.
188
2022 Navigator (TB9) Canada/United States of America, enUSA, Edition date: 202109, First-Printing Garage Door OpenerE188212
Page 193 of 646
Note:
If the indicator light stays on, the
programming is complete.
Note: If the HomeLink indicator flashes
rapidly, repeat step 5.
Note: If your device still does not operate,
you must program your garage door. See
Programming the Garage Door Opener to
Your Garage Door Opener Motor (page 189).
6. To program additional buttons, repeat Steps 1 – 4.
PROGRAMMING THE GARAGE
DOOR OPENER TO YOUR GARAGE
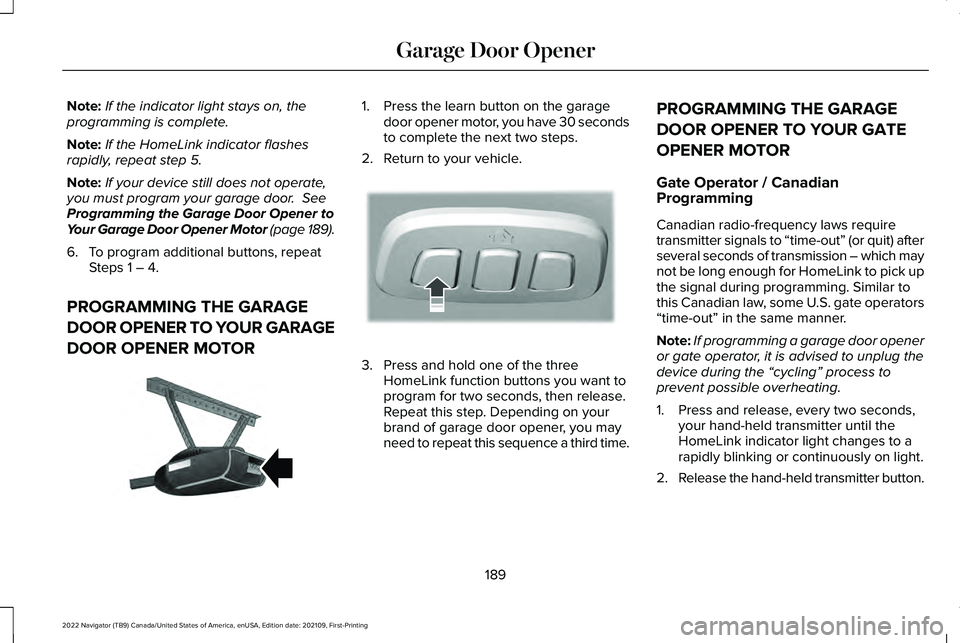
DOOR OPENER MOTOR 1. Press the learn button on the garage
door opener motor, you have 30 seconds
to complete the next two steps.
2. Return to your vehicle. 3. Press and hold one of the three
HomeLink function buttons you want to
program for two seconds, then release.
Repeat this step. Depending on your
brand of garage door opener, you may
need to repeat this sequence a third time. PROGRAMMING THE GARAGE
DOOR OPENER TO YOUR GATE
OPENER MOTOR
Gate Operator / Canadian
Programming
Canadian radio-frequency laws require
transmitter signals to “time-out” (or quit) after
several seconds of transmission – which may
not be long enough for HomeLink to pick up
the signal during programming. Similar to
this Canadian law, some U.S. gate operators
“time-out” in the same manner.
Note:
If programming a garage door opener
or gate operator, it is advised to unplug the
device during the “cycling” process to
prevent possible overheating.
1. Press and release, every two seconds, your hand-held transmitter until the
HomeLink indicator light changes to a
rapidly blinking or continuously on light.
2. Release the hand-held transmitter button.
189
2022 Navigator (TB9) Canada/United States of America, enUSA, Edition date: 202109, First-Printing Garage Door OpenerE142659 E188212
Page 194 of 646
3. Press and hold the HomeLink function
button you want to program for two
seconds, then release. You may need to
do this twice to activate the door.
Note: If the indicator light stays on, the
programming is complete.
Note: If the HomeLink indicator flashes
rapidly, repeat Step 3.
Note: If your device still does not operate,
you must program your garage door. See
Programming the Garage Door Opener to
Your Garage Door Opener Motor (page 189).
4. To program additional buttons, repeat Steps 1 – 4. CLEARING THE GARAGE DOOR
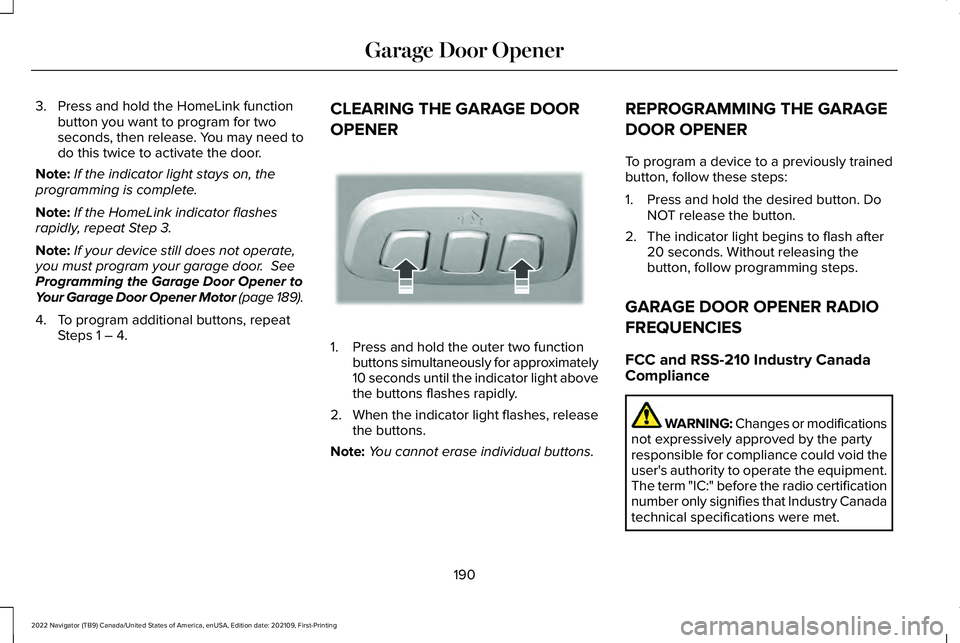
OPENER 1. Press and hold the outer two function
buttons simultaneously for approximately
10 seconds until the indicator light above
the buttons flashes rapidly.
2. When the indicator light flashes, release
the buttons.
Note: You cannot erase individual buttons. REPROGRAMMING THE GARAGE
DOOR OPENER
To program a device to a previously trained
button, follow these steps:
1. Press and hold the desired button. Do
NOT release the button.
2. The indicator light begins to flash after 20 seconds. Without releasing the
button, follow programming steps.
GARAGE DOOR OPENER RADIO
FREQUENCIES
FCC and RSS-210 Industry Canada
Compliance WARNING: Changes or modifications
not expressively approved by the party
responsible for compliance could void the
user's authority to operate the equipment.
The term "IC:" before the radio certification
number only signifies that Industry Canada
technical specifications were met.
190
2022 Navigator (TB9) Canada/United States of America, enUSA, Edition date: 202109, First-Printing Garage Door OpenerE188213
Page 198 of 646
WHAT IS THE POWER OUTLET
The power outlet can power devices using
a 12 V outlet adapter.
POWER OUTLET PRECAUTIONS WARNING:
Do not plug optional
electrical accessories into the cigar lighter
socket. Incorrect use of the cigar lighter
can cause damage not covered by the
vehicle warranty, and can result in fire or
serious injury.
When you switch the vehicle on, you can use
the socket to power
12 V appliances with a
maximum current rating of 20 A. Do not use
the power point over the vehicle capacity of
12 V
DC 240 W or a fuse could blow. Do not
plug in any device that supplies power to the
vehicle through the power points. This could
result in damage to vehicle systems. Do not
hang any accessory from the accessory plug.
Always keep the power point caps closed
when not in use. Do not insert objects other
than an accessory plug into the power point. To prevent the battery from running out of
charge:
•
Do not use the power point longer than
necessary when the vehicle is off.
• Do not leave devices plugged in
overnight or when you park your vehicle
for extended periods.
LOCATING THE POWER OUTLETS
Power outlets may be in the following
locations:
• On the lower instrument panel.
• Inside the center console.
• On the front of the center console.
• On the rear of the center console.
• In the cargo area.
• On the passenger side floor panel.
• 3rd row on the quarter trim panels.
194
2022 Navigator (TB9) Canada/United States of America, enUSA, Edition date: 202109, First-Printing Power Outlet - Vehicles With: 12V Power Outlet
Page 200 of 646
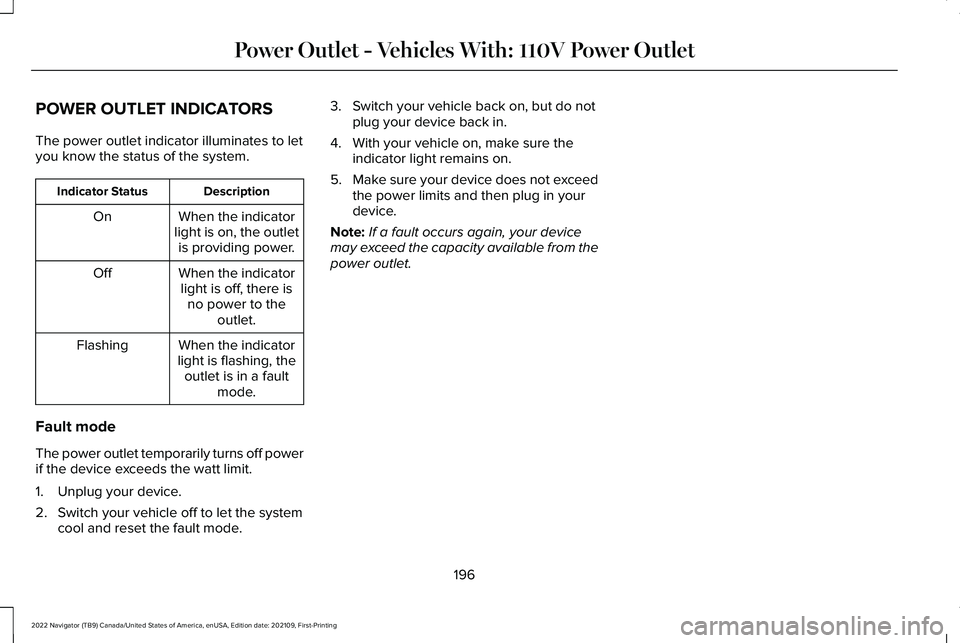
POWER OUTLET INDICATORS
The power outlet indicator illuminates to let
you know the status of the system.
Description
Indicator Status
When the indicator
light is on, the outlet is providing power.
On
When the indicatorlight is off, there is no power to the outlet.
Off
When the indicator
light is flashing, the outlet is in a fault mode.
Flashing
Fault mode
The power outlet temporarily turns off power
if the device exceeds the watt limit.
1. Unplug your device.
2. Switch your vehicle off to let the system cool and reset the fault mode. 3. Switch your vehicle back on, but do not
plug your device back in.
4. With your vehicle on, make sure the indicator light remains on.
5. Make sure your device does not exceed
the power limits and then plug in your
device.
Note: If a fault occurs again, your device
may exceed the capacity available from the
power outlet.
196
2022 Navigator (TB9) Canada/United States of America, enUSA, Edition date: 202109, First-Printing Power Outlet - Vehicles With: 110V Power Outlet
Page 205 of 646
Note:
Your vehicle has a battery saver
feature that shuts your vehicle off when it
detects a certain amount of battery drain, or
after approximately 30 minutes of inactivity
in accessory mode.
Starting the Engine
With the transmission in park (P), press the
brake pedal and press the push button
ignition switch. An indicator light on the
button illuminates when the ignition is on
and when the engine starts.
Note: The system may not function if the
passive key is close to metal objects or
electronic devices, for example keys or a
cell phone.
Note: A valid key must be inside your vehicle
to switch the ignition on and start the engine. STARTING THE ENGINE
STARTING A GASOLINE ENGINE
Before starting your vehicle, check the
following:
•
Make sure that the headlamps and
electrical accessories are off.
• Make sure that the parking brake is on.
• Make sure that the transmission is in park
(P).
1. Fully press the brake pedal.
Note: Do not touch the accelerator pedal. 2. Press the push button ignition switch.
Note:
The engine may continue cranking for
up to 15 seconds or until it starts.
Note: The engine takes longer to start at
lower temperatures. It may crank for several
seconds when very cold. RESTARTING THE ENGINE AFTER
STOPPING IT
The system allows you to start the engine
within 10 seconds of switching it off, even if
it does not detect a valid passive key.
Within 10 seconds of switching the engine
off, fully press the brake pedal and press the
push button ignition switch. After 10 seconds,
you can no longer start the engine if the
system does not detect a valid passive key.
When you start the engine, it remains running
until you press the push button ignition
switch, even if your vehicle does not detect
a valid passive key. If you open and close a
door when the engine is running, the system
searches for a valid passive key.
201
2022 Navigator (TB9) Canada/United States of America, enUSA, Edition date: 202109, First-Printing Starting and Stopping the EngineE321258
Page 211 of 646
WHAT IS AUTO-START-STOP
The system is designed to help reduce fuel
consumption and CO
2 emissions by stopping
the engine when it is idling, for example at
traffic lights.
AUTO-START-STOP PRECAUTIONS WARNING: Apply the parking brake,
shift into park (P), switch the ignition off
and remove the key before you leave your
vehicle. Failure to follow this instruction
could result in personal injury or death. WARNING: Apply the parking brake,
shift into park (P), switch the ignition off
and remove the key before you open the
hood or have any service or repair work
completed. If you do not switch the ignition
off, the engine could restart at any time.
Failure to follow this instruction could result
in personal injury or death. SWITCHING AUTO-START-STOP
ON AND OFF
The system turns on when you switch the
ignition on. Press the button to switch the
system off.
Note: OFF illuminates in the switch.
Note: Deactivating the system using the
button lasts only one key cycle.
Press the button again to switch the system
back on.
Note: The system turns off if it detects a
malfunction. If the system malfunctions,
have your vehicle checked as soon as
possible.
STOPPING THE ENGINE
Stop your vehicle, keep your foot on the
brake pedal and the transmission in drive
(D). RESTARTING THE ENGINE
Release the brake pedal or press the
accelerator pedal.
A message appears in the information
display if the system requires you to take
action.
AUTO-START-STOP INDICATORS
WARNING:
The system may require
the engine to automatically restart when
the auto-start-stop indicator illuminates
green or flashes amber. Failure to follow
this instruction could result in personal
injury. The Auto-Start-Stop indicator
illuminates green when the engine
stops. It flashes amber and a
message appears when you need to take
action.
207
2022 Navigator (TB9) Canada/United States of America, enUSA, Edition date: 202109, First-Printing Auto-Start-Stop
Page 215 of 646
FUEL QUALITY
SELECTING THE CORRECT FUEL
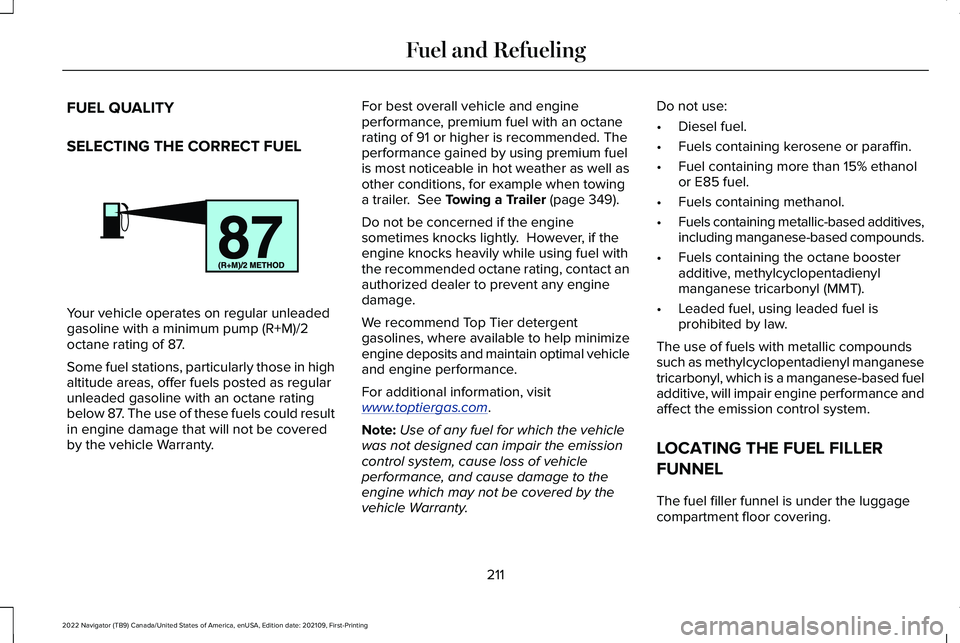
Your vehicle operates on regular unleaded
gasoline with a minimum pump (R+M)/2
octane rating of 87.
Some fuel stations, particularly those in high
altitude areas, offer fuels posted as regular
unleaded gasoline with an octane rating
below 87. The use of these fuels could result
in engine damage that will not be covered
by the vehicle Warranty. For best overall vehicle and engine
performance, premium fuel with an octane
rating of 91 or higher is recommended. The
performance gained by using premium fuel
is most noticeable in hot weather as well as
other conditions, for example when towing
a trailer. See Towing a Trailer (page 349).
Do not be concerned if the engine
sometimes knocks lightly. However, if the
engine knocks heavily while using fuel with
the recommended octane rating, contact an
authorized dealer to prevent any engine
damage.
We recommend Top Tier detergent
gasolines, where available to help minimize
engine deposits and maintain optimal vehicle
and engine performance.
For additional information, visit
www . toptiergas. com .
Note: Use of any fuel for which the vehicle
was not designed can impair the emission
control system, cause loss of vehicle
performance, and cause damage to the
engine which may not be covered by the
vehicle Warranty. Do not use:
•
Diesel fuel.
• Fuels containing kerosene or paraffin.
• Fuel containing more than 15% ethanol
or E85 fuel.
• Fuels containing methanol.
• Fuels containing metallic-based additives,
including manganese-based compounds.
• Fuels containing the octane booster
additive, methylcyclopentadienyl
manganese tricarbonyl (MMT).
• Leaded fuel, using leaded fuel is
prohibited by law.
The use of fuels with metallic compounds
such as methylcyclopentadienyl manganese
tricarbonyl, which is a manganese-based fuel
additive, will impair engine performance and
affect the emission control system.
LOCATING THE FUEL FILLER
FUNNEL
The fuel filler funnel is under the luggage
compartment floor covering.
211
2022 Navigator (TB9) Canada/United States of America, enUSA, Edition date: 202109, First-Printing Fuel and RefuelingE161513
Page 231 of 646
pedal when changes in vehicle speed are
required. Avoid abrupt steering, acceleration
and braking. This could result in an increased
risk of vehicle roll over, loss of vehicle control
and personal injury. Use all available road
surface to bring your vehicle to a safe
direction of travel.
In the event of an emergency stop, avoid
skidding the tires and do not attempt any
sharp steering wheel movements.
If your vehicle goes from one type of surface
to another (i.e. from concrete to gravel) there
can be a change in the way your vehicle
responds to a maneuver, i.e. steering,
acceleration or braking.
DRIVING IN SAND
When driving over sand, try to keep all four
wheels on the most solid area of the trail.
Avoid reducing the tire pressures but shift
to a lower gear and drive steadily through
the terrain. Apply the accelerator slowly and
avoid excessive wheel slip.
When driving at slow speeds in deep sand
under high outside temperatures, use a low
gear when possible. Low gear operation can
maximize the engine and transmission
cooling capability.
Avoid driving at excessive speed. This
causes vehicle momentum to work against
you and your vehicle could become stuck to
the point that assistance may be required
from another vehicle. Remember, you may
be able to back out the way you came if you
proceed with caution.
DRIVING THROUGH MUD AND WATER
WARNING: Do not spin the wheels
at over 34 mph (55 km/h). The tires may
fail and injure a passenger or bystander. Mud
Be cautious of sudden changes in vehicle
speed or direction when you are driving in
mud. Even four-wheel drive vehicles can lose
traction in slick mud. If your vehicle does
slide, steer in the direction of the slide until
you regain control of your vehicle. After
driving through mud, clean off residue stuck
to rotating driveshafts and tires. Excess mud
stuck on tires and rotating driveshafts can
cause an imbalance that could damage drive
components.
Water
If you must drive through high water, drive
slowly. Traction or brake capability may be
limited. When driving through water,
determine the depth and avoid water higher
than the bottom of the hubs. If the ignition
system gets wet, your vehicle may stall. Once
through water, test the brakes. Wet brakes
do not stop your vehicle as effectively as dry
brakes. Drying improves by applying light
pressure to the brake pedal while moving
slowly.
227
2022 Navigator (TB9) Canada/United States of America, enUSA, Edition date: 202109, First-Printing Four-Wheel Drive
(If Equipped)
Page 243 of 646
WHAT IS REVERSE BRAKING
ASSIST
The system uses sensors on the rear of your
vehicle to detect a possible collision and
applies the brakes to either reduce the
damage from impact, or to assist in avoiding
the collision.
HOW DOES REVERSE BRAKING
ASSIST WORK
Reverse Braking Assist functions when in
reverse (R) and traveling at a speed of
1–7 mph (1.5–12 km/h).
If the system detects an obstacle behind your
vehicle, it provides a warning through the
rear parking aid or cross traffic alert system. REVERSE BRAKING ASSIST
PRECAUTIONS WARNING:
You are responsible for
controlling your vehicle at all times. The
system is designed to be an aid and does
not relieve you of your responsibility to
drive with due care and attention. Failure
to follow this instruction could result in the
loss of control of your vehicle, personal
injury or death. WARNING:
To help avoid personal
injury, always use caution when in reverse
(R) and when using the sensing system. WARNING:
The system may not
operate properly during severe weather
conditions, for example snow, ice, heavy
rain and spray. Always drive with due care
and attention. Failure to take care may
result in a crash. WARNING:
Traffic control systems,
fluorescent lamps, inclement weather, air
brakes, external motors and fans may
affect the correct operation of the sensing
system. This may cause reduced
performance or false alerts. WARNING:
Some situations and
objects prevent hazard detection. For
example low or direct sunlight, inclement
weather, unconventional vehicle types, and
pedestrians. Apply the brakes when
necessary. Failure to follow this instruction
could result in the loss of control of your
vehicle, personal injury or death. WARNING:
Do not use the system
with accessories that extend beyond the
front or rear of your vehicle, for example a
trailer hitch or bike rack. The system is not
able to make corrections for the additional
length of the accessories.
239
2022 Navigator (TB9) Canada/United States of America, enUSA, Edition date: 202109, First-Printing Reverse Braking Assist