MERCEDES-BENZ CL-Class 2011 C216 Owner's Manual
Manufacturer: MERCEDES-BENZ, Model Year: 2011, Model line: CL-Class, Model: MERCEDES-BENZ CL-Class 2011 C216Pages: 480, PDF Size: 19.76 MB
Page 231 of 480
Switching on video AUX modeXSelect Video in the main function bar by
sliding ZV and turning cVd the COMAND
controller and press W to confirm.
If video AUX mode was the last mode
selected, it will now be active.
If another video source is switched on, you
can now switch to video AUX mode in the
video menu.
XSelect Video and press W to confirm.XSelect Aux and press W to confirm.
The video AUX menu appears. You will hear
and see the content of the external video
source if it is connected and switched to
playback.
For details on how to operate the external
video source, see the respective device's
operating instructions.
Showing/hiding the menu
XTo show: press W the COMAND
controller.
XTo hide: slide ZV the COMAND controller
and confirm Full screen by pressing W.
Volume and sound settings
You will find details on volume (Y page 124)
and sound (Y page 125) settings in the "At a
glance" section.
GWarning!
External video sources may have different
volumes, which can mean that system
messages such as traffic announcements and
navigation system announcements are much
louder. If necessary, please deactivate the
system messages or adjust their volume
manually.
iIt may be the case that a device which is
connected as an external video source
seems quieter or louder in the vehicle, or
that the usual maximum volume cannot be
reached. On some devices, it is possible to
adjust the volume separately. In this case,
start at a medium volume and increase it
gradually. This enables you to determine
whether the system is able to play the
music at high volume without distorting it.
Vehicle
Vehicle
General notes
In this menu, you can set the following vehicle
functions:
RECO
RMulticontour seat settings
RRear window blind
REASY-ENTRY/EXIT feature
RExterior lighting delayed switch-off time
RInterior lighting delayed switch-off
RAmbient lighting
RAutomatic folding mirror
RLocator lighting
RAutomatic locking feature
RTrunk lid opening height restriction
You can open the "Vehicle" menu in one of
two ways.
Opening the "Vehicle" menu from the
main area in the center of the display
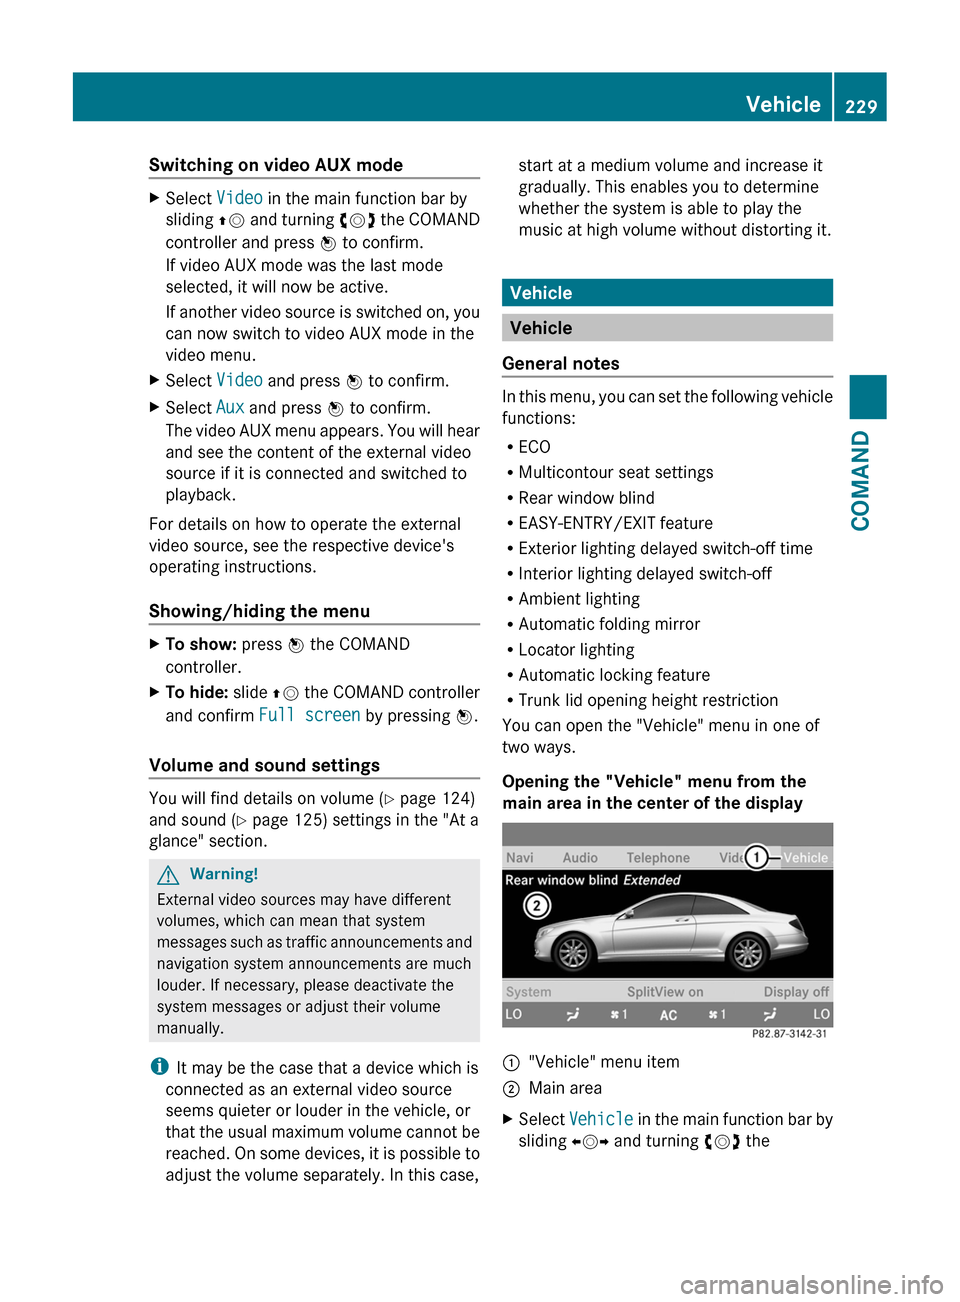
:"Vehicle" menu item;Main areaXSelect Vehicle in the main function bar by
sliding XVY and turning cVd the
Vehicle229COMANDZ
Page 232 of 480
COMAND controller and press W to
confirm.
Main area ; is active.
XSelect the individual vehicle functions by
sliding XVY or turning cVd the COMAND
controller and press W to confirm.
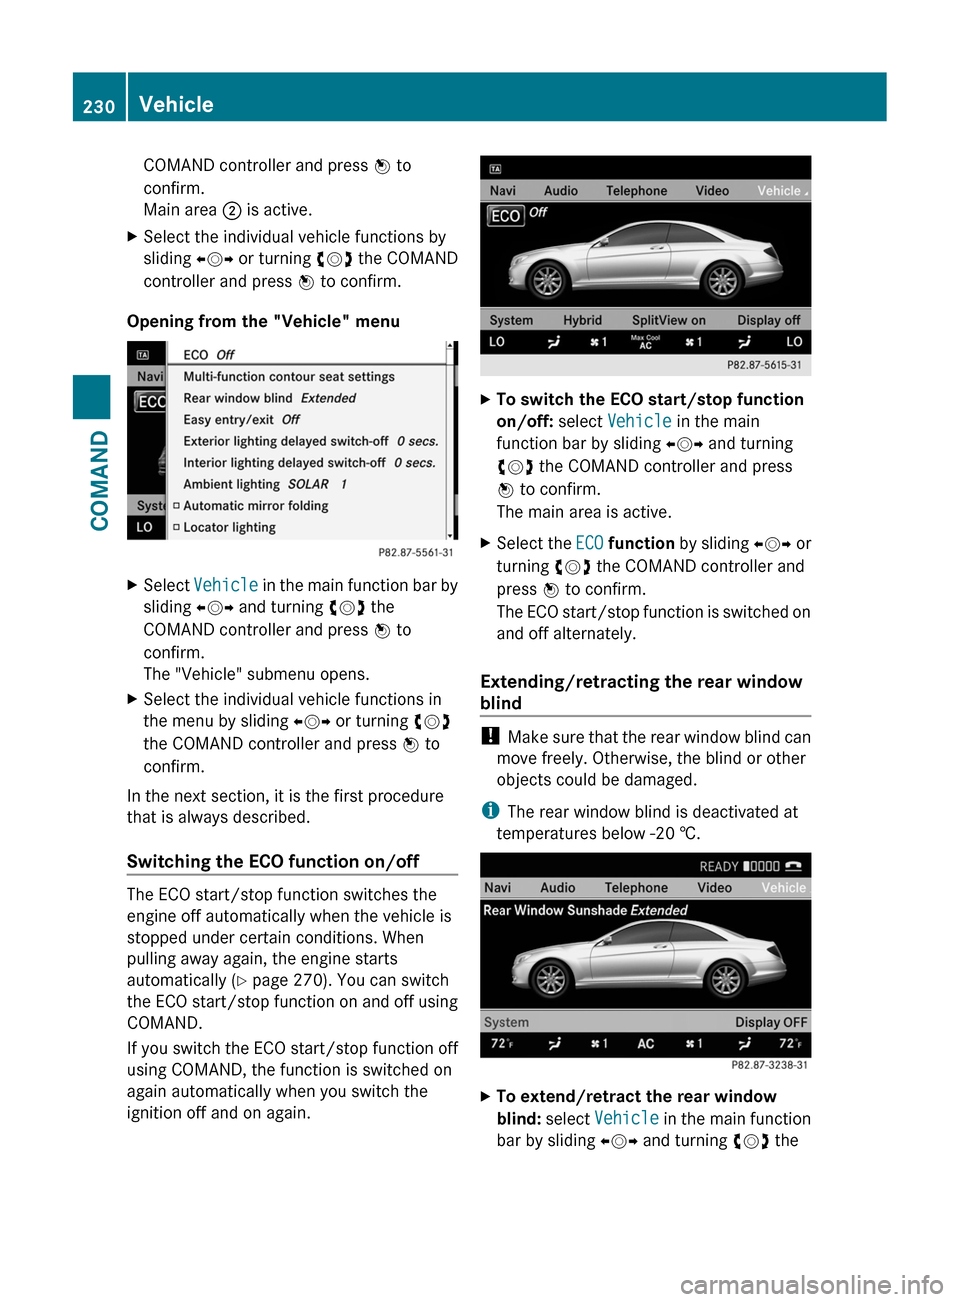
Opening from the "Vehicle" menu
XSelect Vehicle in the main function bar by
sliding XVY and turning cVd the
COMAND controller and press W to
confirm.
The "Vehicle" submenu opens.
XSelect the individual vehicle functions in
the menu by sliding XVY or turning cVd
the COMAND controller and press W to
confirm.
In the next section, it is the first procedure
that is always described.
Switching the ECO function on/off
The ECO start/stop function switches the
engine off automatically when the vehicle is
stopped under certain conditions. When
pulling away again, the engine starts
automatically (Y page 270). You can switch
the ECO start/stop function on and off using
COMAND.
If you switch the ECO start/stop function off
using COMAND, the function is switched on
again automatically when you switch the
ignition off and on again.
XTo switch the ECO start/stop function
on/off: select Vehicle in the main
function bar by sliding XVY and turning
cVd the COMAND controller and press
W to confirm.
The main area is active.
XSelect the ECO function by sliding XVY or
turning cVd the COMAND controller and
press W to confirm.
The ECO start/stop function is switched on
and off alternately.
Extending/retracting the rear window
blind
! Make sure that the rear window blind can
move freely. Otherwise, the blind or other
objects could be damaged.
iThe rear window blind is deactivated at
temperatures below -20 †.
XTo extend/retract the rear window
blind: select Vehicle in the main function
bar by sliding XVY and turning cVd the
230VehicleCOMAND
Page 233 of 480
COMAND controller and press W to
confirm.
The main area is active.
XSelect the Rear window blind function
by sliding XVY or turning cVd the
COMAND controller and press W to
confirm.
Activating/deactivating the automatic
folding mirror
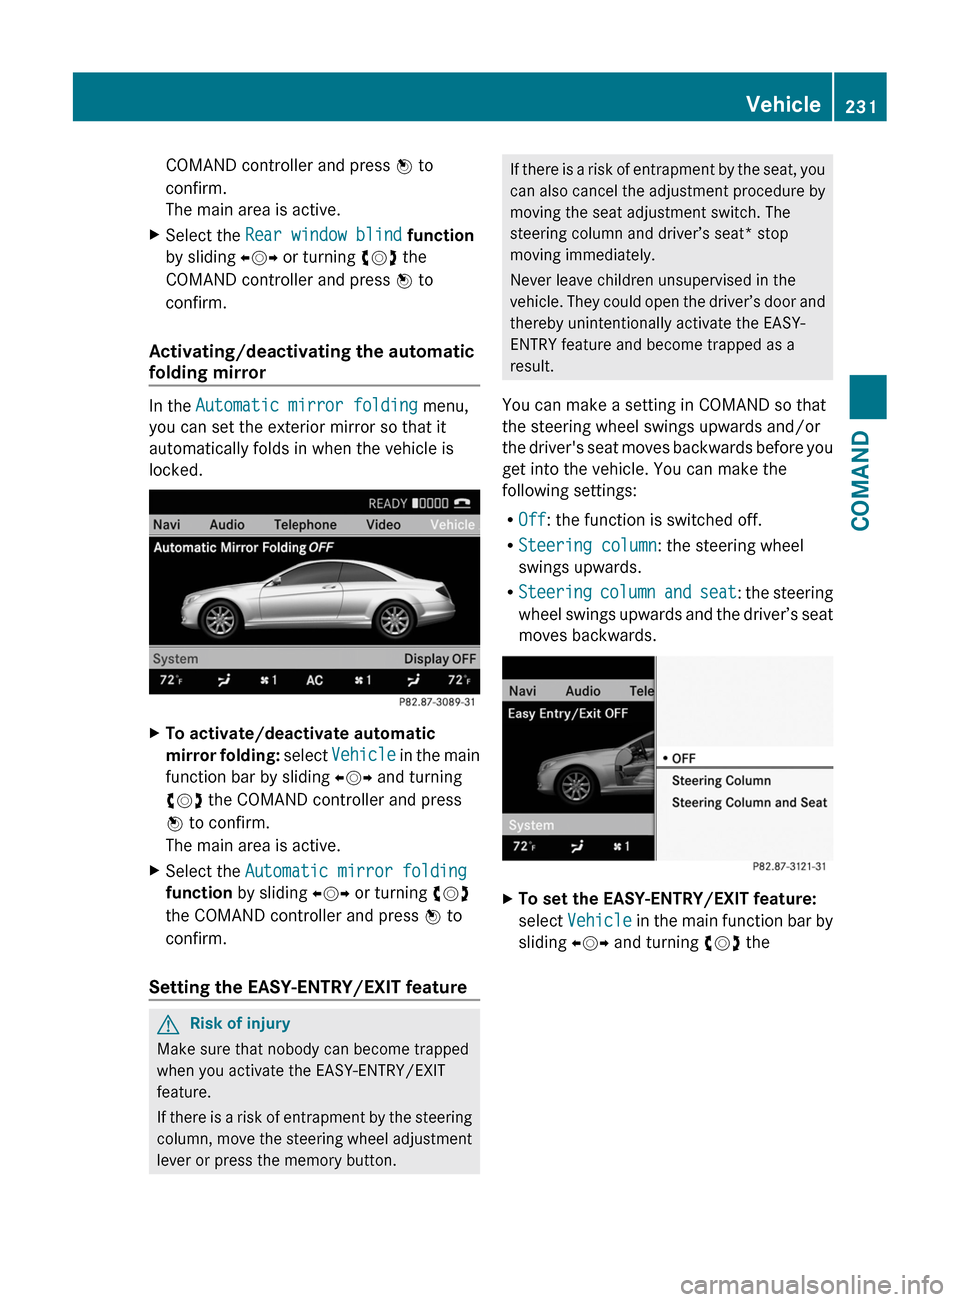
In the Automatic mirror folding menu,
you can set the exterior mirror so that it
automatically folds in when the vehicle is
locked.
XTo activate/deactivate automatic
mirror folding: select Vehicle in the main
function bar by sliding XVY and turning
cVd the COMAND controller and press
W to confirm.
The main area is active.
XSelect the Automatic mirror folding
function by sliding XVY or turning cVd
the COMAND controller and press W to
confirm.
Setting the EASY-ENTRY/EXIT feature
GRisk of injury
Make sure that nobody can become trapped
when you activate the EASY-ENTRY/EXIT
feature.
If there is a risk of entrapment by the steering
column, move the steering wheel adjustment
lever or press the memory button.
If there is a risk of entrapment by the seat, you
can also cancel the adjustment procedure by
moving the seat adjustment switch. The
steering column and driver’s seat* stop
moving immediately.
Never leave children unsupervised in the
vehicle. They could open the driver’s door and
thereby unintentionally activate the EASY-
ENTRY feature and become trapped as a
result.
You can make a setting in COMAND so that
the steering wheel swings upwards and/or
the driver's seat moves backwards before you
get into the vehicle. You can make the
following settings:
ROff: the function is switched off.
RSteering column: the steering wheel
swings upwards.
RSteering column and seat: the steering
wheel swings upwards and the driver’s seat
moves backwards.
XTo set the EASY-ENTRY/EXIT feature:
select Vehicle in the main function bar by
sliding XVY and turning cVd the
Vehicle231COMANDZ
Page 234 of 480
COMAND controller and press W to
confirm.
The main area is active.
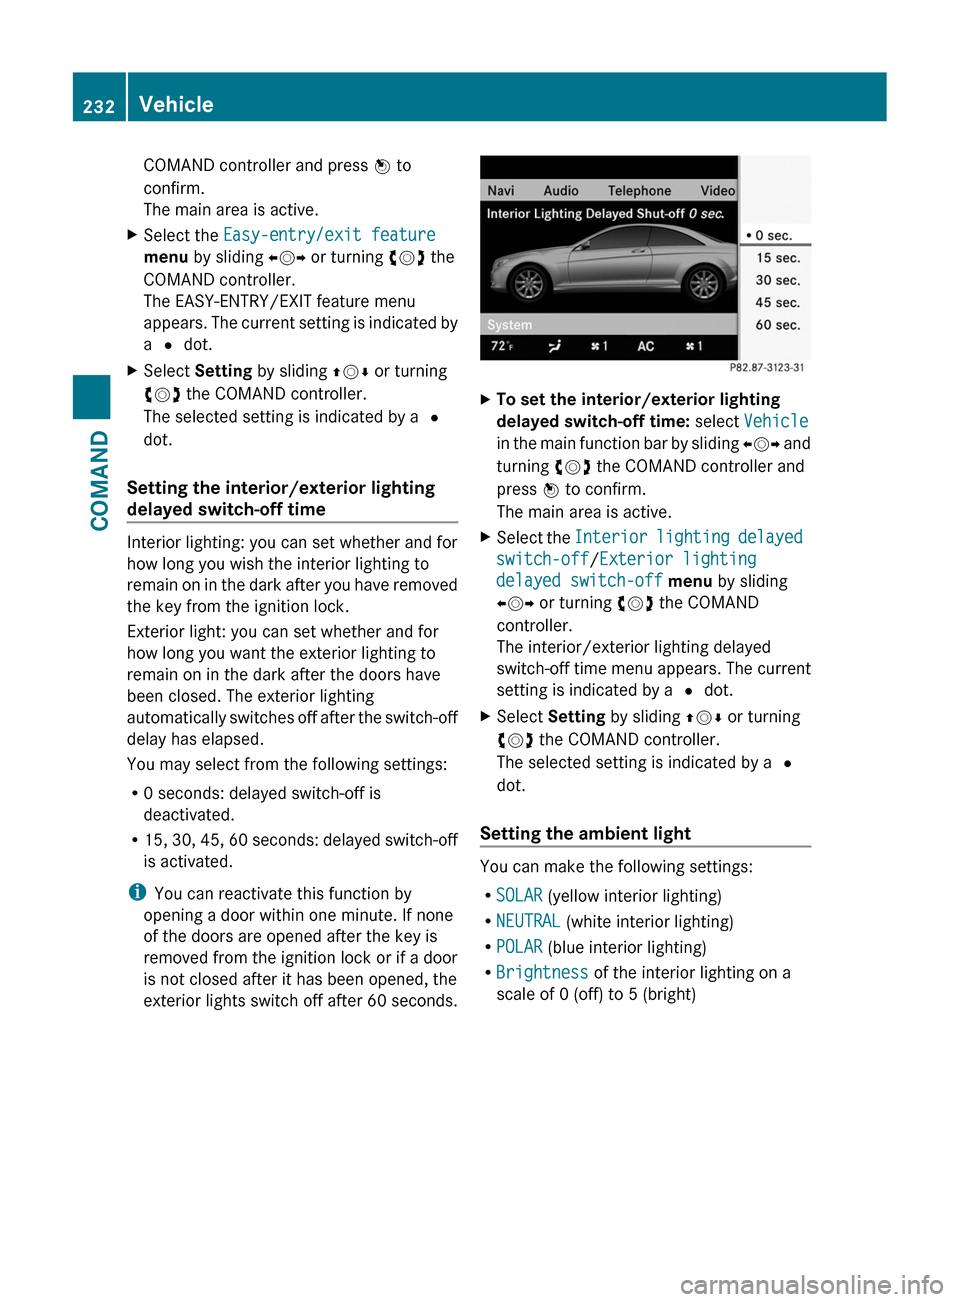
XSelect the Easy-entry/exit feature
menu by sliding XVY or turning cVd the
COMAND controller.
The EASY-ENTRY/EXIT feature menu
appears. The current setting is indicated by
a # dot.
XSelect Setting by sliding ZVÆ or turning
cVd the COMAND controller.
The selected setting is indicated by a #
dot.
Setting the interior/exterior lighting
delayed switch-off time
Interior lighting: you can set whether and for
how long you wish the interior lighting to
remain on in the dark after you have removed
the key from the ignition lock.
Exterior light: you can set whether and for
how long you want the exterior lighting to
remain on in the dark after the doors have
been closed. The exterior lighting
automatically switches off after the switch-off
delay has elapsed.
You may select from the following settings:
R0 seconds: delayed switch-off is
deactivated.
R15, 30, 45, 60 seconds: delayed switch-off
is activated.
iYou can reactivate this function by
opening a door within one minute. If none
of the doors are opened after the key is
removed from the ignition lock or if a door
is not closed after it has been opened, the
exterior lights switch off after 60 seconds.
XTo set the interior/exterior lighting
delayed switch-off time: select Vehicle
in the main function bar by sliding XVY and
turning cVd the COMAND controller and
press W to confirm.
The main area is active.
XSelect the Interior lighting delayed
switch-off/Exterior lighting
delayed switch-off menu by sliding
XVY or turning cVd the COMAND
controller.
The interior/exterior lighting delayed
switch-off time menu appears. The current
setting is indicated by a # dot.
XSelect Setting by sliding ZVÆ or turning
cVd the COMAND controller.
The selected setting is indicated by a #
dot.
Setting the ambient light
You can make the following settings:
RSOLAR (yellow interior lighting)
RNEUTRAL (white interior lighting)
RPOLAR (blue interior lighting)
RBrightness of the interior lighting on a
scale of 0 (off) to 5 (bright)
232VehicleCOMAND
Page 235 of 480
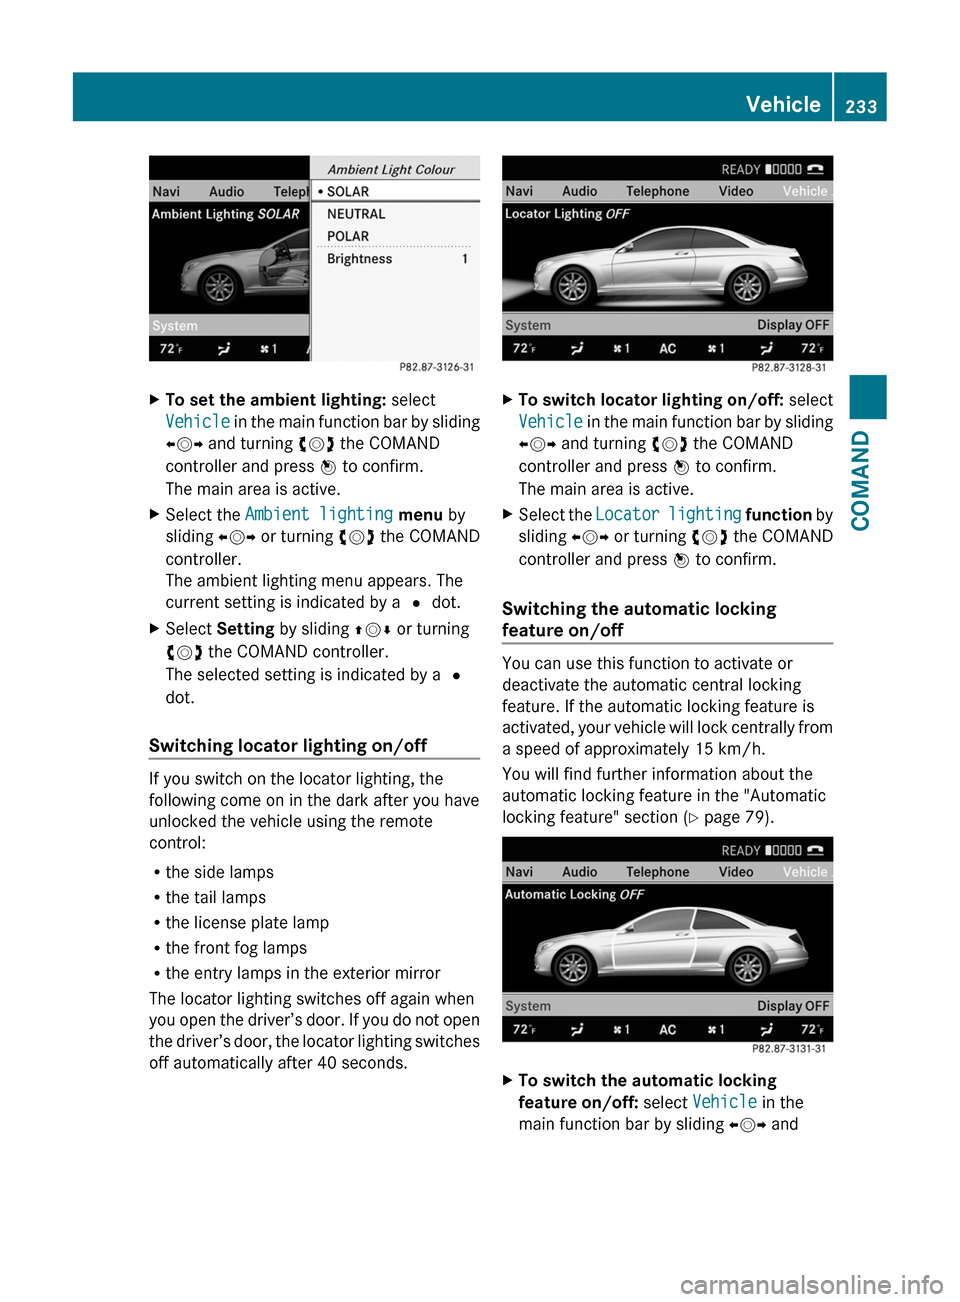
XTo set the ambient lighting: select
Vehicle in the main function bar by sliding
XVY and turning cVd the COMAND
controller and press W to confirm.
The main area is active.
XSelect the Ambient lighting menu by
sliding XVY or turning cVd the COMAND
controller.
The ambient lighting menu appears. The
current setting is indicated by a # dot.
XSelect Setting by sliding ZVÆ or turning
cVd the COMAND controller.
The selected setting is indicated by a #
dot.
Switching locator lighting on/off
If you switch on the locator lighting, the
following come on in the dark after you have
unlocked the vehicle using the remote
control:
Rthe side lamps
Rthe tail lamps
Rthe license plate lamp
Rthe front fog lamps
Rthe entry lamps in the exterior mirror
The locator lighting switches off again when
you open the driver’s door. If you do not open
the driver’s door, the locator lighting switches
off automatically after 40 seconds.
XTo switch locator lighting on/off: select
Vehicle in the main function bar by sliding
XVY and turning cVd the COMAND
controller and press W to confirm.
The main area is active.
XSelect the Locator lighting function by
sliding XVY or turning cVd the COMAND
controller and press W to confirm.
Switching the automatic locking
feature on/off
You can use this function to activate or
deactivate the automatic central locking
feature. If the automatic locking feature is
activated, your vehicle will lock centrally from
a speed of approximately 15 km/h.
You will find further information about the
automatic locking feature in the "Automatic
locking feature" section (Y page 79).
XTo switch the automatic locking
feature on/off: select Vehicle in the
main function bar by sliding XVY and
Vehicle233COMANDZ
Page 236 of 480
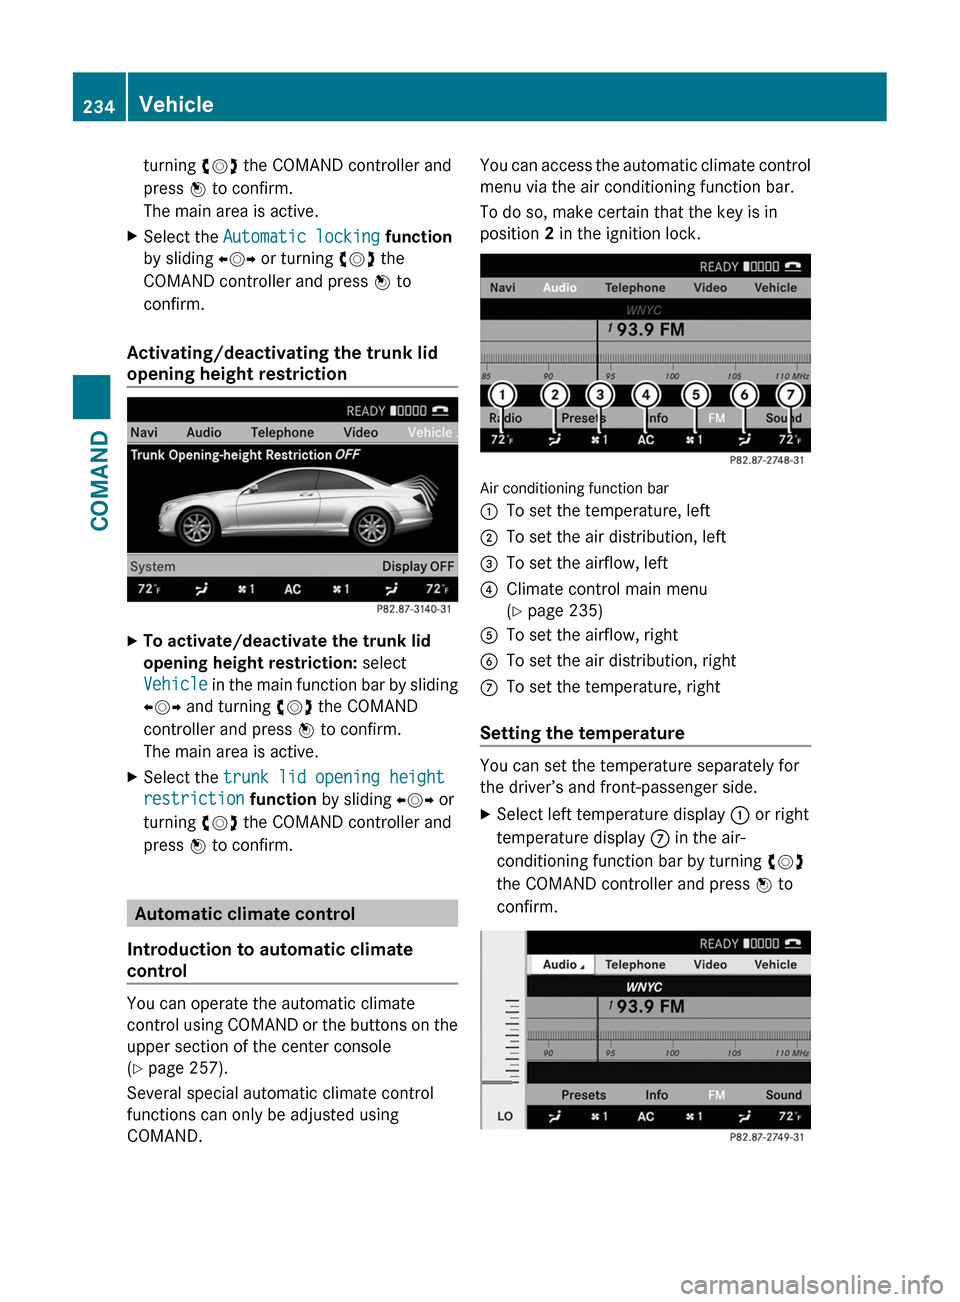
turning cVd the COMAND controller and
press W to confirm.
The main area is active.
XSelect the Automatic locking function
by sliding XVY or turning cVd the
COMAND controller and press W to
confirm.
Activating/deactivating the trunk lid
opening height restriction
XTo activate/deactivate the trunk lid
opening height restriction: select
Vehicle in the main function bar by sliding
XVY and turning cVd the COMAND
controller and press W to confirm.
The main area is active.
XSelect the trunk lid opening height
restriction function by sliding XVY or
turning cVd the COMAND controller and
press W to confirm.
Automatic climate control
Introduction to automatic climate
control
You can operate the automatic climate
control using COMAND or the buttons on the
upper section of the center console
(Y page 257).
Several special automatic climate control
functions can only be adjusted using
COMAND.
You can access the automatic climate control
menu via the air conditioning function bar.
To do so, make certain that the key is in
position 2 in the ignition lock.
Air conditioning function bar
:To set the temperature, left;To set the air distribution, left=To set the airflow, left?Climate control main menu
(Y page 235)
ATo set the airflow, rightBTo set the air distribution, rightCTo set the temperature, right
Setting the temperature
You can set the temperature separately for
the driver’s and front-passenger side.
XSelect left temperature display : or right
temperature display C in the air-
conditioning function bar by turning cVd
the COMAND controller and press W to
confirm.
234VehicleCOMAND
Page 237 of 480
XTo adjust the temperature: slide ZVÆ or
turn cVd the COMAND controller.
XTo confirm the selection: press W the
COMAND controller.
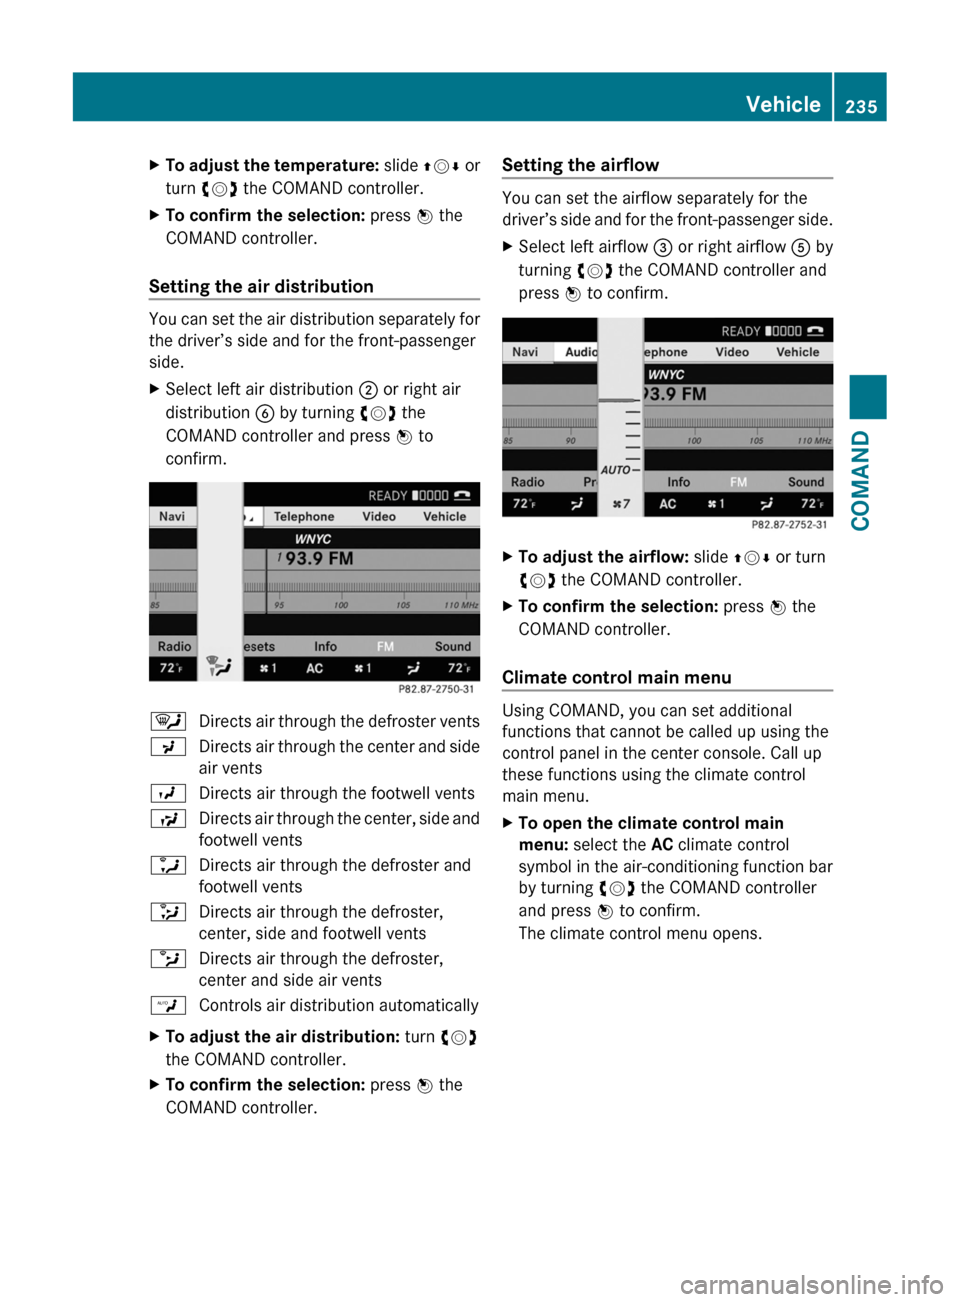
Setting the air distribution
You can set the air distribution separately for
the driver’s side and for the front-passenger
side.
XSelect left air distribution ; or right air
distribution B by turning cVd the
COMAND controller and press W to
confirm.
¯Directs air through the defroster ventsPDirects air through the center and side
air vents
ODirects air through the footwell ventsSDirects air through the center, side and
footwell vents
aDirects air through the defroster and
footwell vents
_Directs air through the defroster,
center, side and footwell vents
bDirects air through the defroster,
center and side air vents
WControls air distribution automaticallyXTo adjust the air distribution: turn cVd
the COMAND controller.
XTo confirm the selection: press W the
COMAND controller.
Setting the airflow
You can set the airflow separately for the
driver’s side and for the front-passenger side.
XSelect left airflow = or right airflow A by
turning cVd the COMAND controller and
press W to confirm.
XTo adjust the airflow: slide ZVÆ or turn
cVd the COMAND controller.
XTo confirm the selection: press W the
COMAND controller.
Climate control main menu
Using COMAND, you can set additional
functions that cannot be called up using the
control panel in the center console. Call up
these functions using the climate control
main menu.
XTo open the climate control main
menu: select the AC climate control
symbol in the air-conditioning function bar
by turning cVd the COMAND controller
and press W to confirm.
The climate control menu opens.
Vehicle235COMANDZ
Page 238 of 480
Climate control main menu
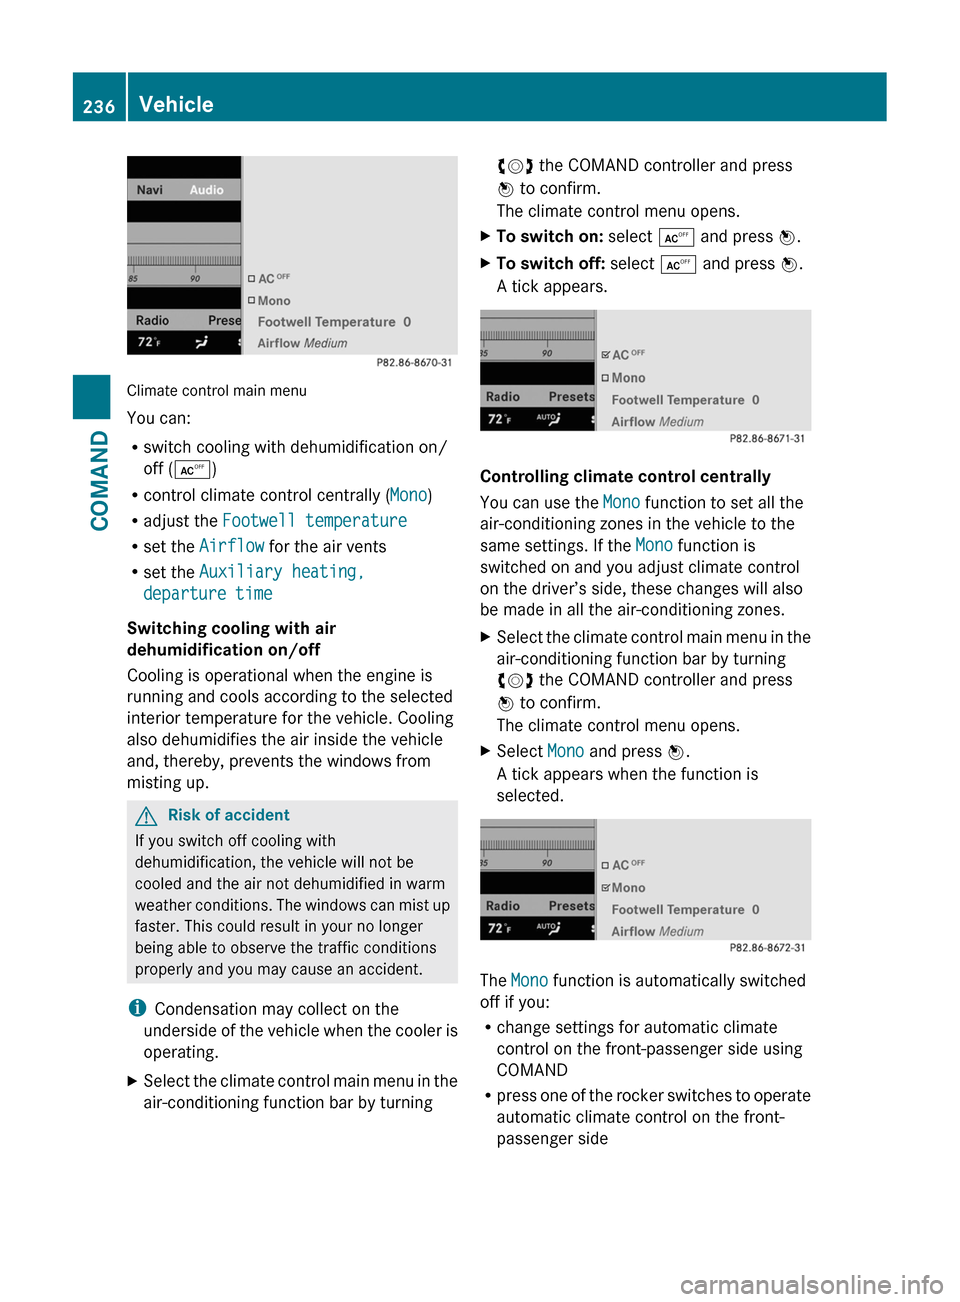
You can:
Rswitch cooling with dehumidification on/
off (Æ)
Rcontrol climate control centrally (Mono)
Radjust the Footwell temperature
Rset the Airflow for the air vents
Rset the Auxiliary heating,
departure time
Switching cooling with air
dehumidification on/off
Cooling is operational when the engine is
running and cools according to the selected
interior temperature for the vehicle. Cooling
also dehumidifies the air inside the vehicle
and, thereby, prevents the windows from
misting up.
GRisk of accident
If you switch off cooling with
dehumidification, the vehicle will not be
cooled and the air not dehumidified in warm
weather conditions. The windows can mist up
faster. This could result in your no longer
being able to observe the traffic conditions
properly and you may cause an accident.
iCondensation may collect on the
underside of the vehicle when the cooler is
operating.
XSelect the climate control main menu in the
air-conditioning function bar by turning
cVd the COMAND controller and press
W to confirm.
The climate control menu opens.
XTo switch on: select Æ and press W.XTo switch off: select Æ and press W.
A tick appears.
Controlling climate control centrally
You can use the Mono function to set all the
air-conditioning zones in the vehicle to the
same settings. If the Mono function is
switched on and you adjust climate control
on the driver’s side, these changes will also
be made in all the air-conditioning zones.
XSelect the climate control main menu in the
air-conditioning function bar by turning
cVd the COMAND controller and press
W to confirm.
The climate control menu opens.
XSelect Mono and press W.
A tick appears when the function is
selected.
The Mono function is automatically switched
off if you:
Rchange settings for automatic climate
control on the front-passenger side using
COMAND
Rpress one of the rocker switches to operate
automatic climate control on the front-
passenger side
236VehicleCOMAND
Page 239 of 480
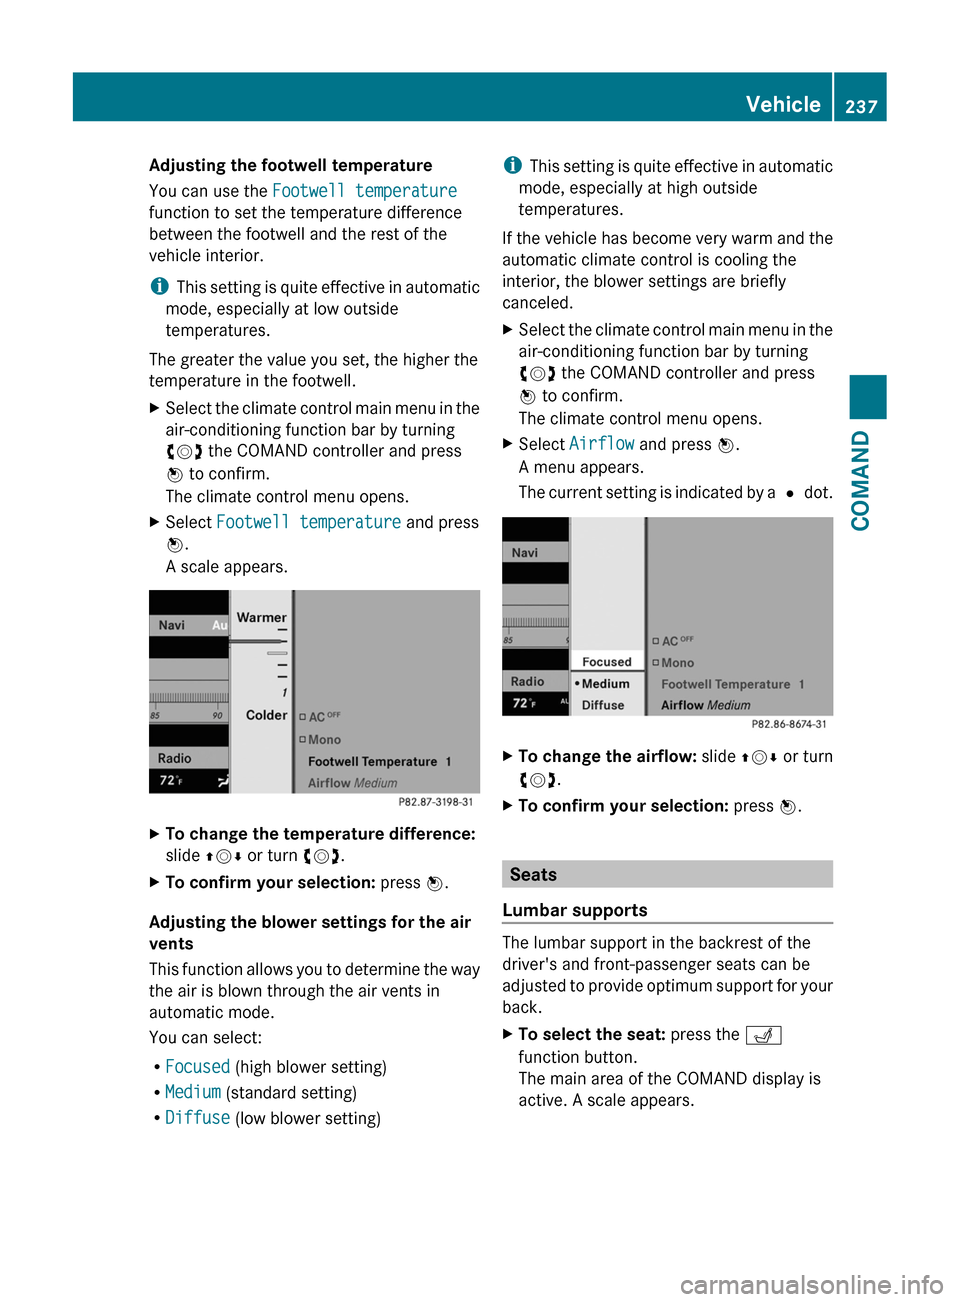
Adjusting the footwell temperature
You can use the Footwell temperature
function to set the temperature difference
between the footwell and the rest of the
vehicle interior.
iThis setting is quite effective in automatic
mode, especially at low outside
temperatures.
The greater the value you set, the higher the
temperature in the footwell.
XSelect the climate control main menu in the
air-conditioning function bar by turning
cVd the COMAND controller and press
W to confirm.
The climate control menu opens.
XSelect Footwell temperature and press
W.
A scale appears.
XTo change the temperature difference:
slide ZVÆ or turn cVd.
XTo confirm your selection: press W.
Adjusting the blower settings for the air
vents
This function allows you to determine the way
the air is blown through the air vents in
automatic mode.
You can select:
RFocused (high blower setting)
RMedium (standard setting)
RDiffuse (low blower setting)
iThis setting is quite effective in automatic
mode, especially at high outside
temperatures.
If the vehicle has become very warm and the
automatic climate control is cooling the
interior, the blower settings are briefly
canceled.
XSelect the climate control main menu in the
air-conditioning function bar by turning
cVd the COMAND controller and press
W to confirm.
The climate control menu opens.
XSelect Airflow and press W.
A menu appears.
The current setting is indicated by a # dot.
XTo change the airflow: slide ZVÆ or turn
cVd.
XTo confirm your selection: press W.
Seats
Lumbar supports
The lumbar support in the backrest of the
driver's and front-passenger seats can be
adjusted to provide optimum support for your
back.
XTo select the seat: press the T
function button.
The main area of the COMAND display is
active. A scale appears.
Vehicle237COMANDZ
Page 240 of 480
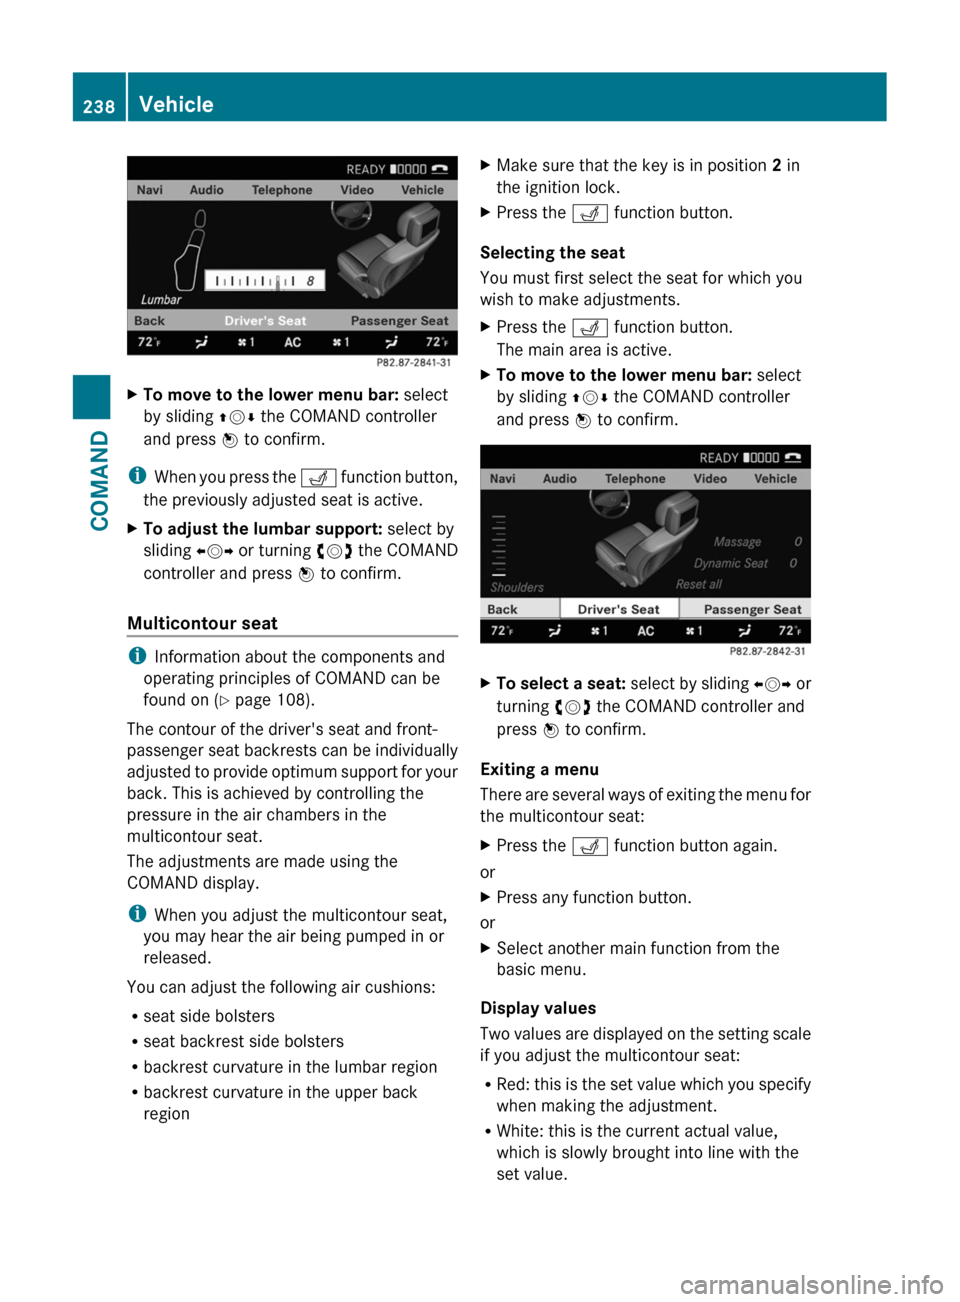
XTo move to the lower menu bar: select
by sliding ZVÆ the COMAND controller
and press W to confirm.
iWhen you press the T function button,
the previously adjusted seat is active.
XTo adjust the lumbar support: select by
sliding XVY or turning cVd the COMAND
controller and press W to confirm.
Multicontour seat
iInformation about the components and
operating principles of COMAND can be
found on (Y page 108).
The contour of the driver's seat and front-
passenger seat backrests can be individually
adjusted to provide optimum support for your
back. This is achieved by controlling the
pressure in the air chambers in the
multicontour seat.
The adjustments are made using the
COMAND display.
iWhen you adjust the multicontour seat,
you may hear the air being pumped in or
released.
You can adjust the following air cushions:
Rseat side bolsters
Rseat backrest side bolsters
Rbackrest curvature in the lumbar region
Rbackrest curvature in the upper back
region
XMake sure that the key is in position 2 in
the ignition lock.
XPress the T function button.
Selecting the seat
You must first select the seat for which you
wish to make adjustments.
XPress the T function button.
The main area is active.
XTo move to the lower menu bar: select
by sliding ZVÆ the COMAND controller
and press W to confirm.
XTo select a seat: select by sliding XVY or
turning cVd the COMAND controller and
press W to confirm.
Exiting a menu
There are several ways of exiting the menu for
the multicontour seat:
XPress the T function button again.
or
XPress any function button.
or
XSelect another main function from the
basic menu.
Display values
Two values are displayed on the setting scale
if you adjust the multicontour seat:
RRed: this is the set value which you specify
when making the adjustment.
RWhite: this is the current actual value,
which is slowly brought into line with the
set value.
238VehicleCOMAND