check engine MERCEDES-BENZ CL-Class 2014 C217 User Guide
[x] Cancel search | Manufacturer: MERCEDES-BENZ, Model Year: 2014, Model line: CL-Class, Model: MERCEDES-BENZ CL-Class 2014 C217Pages: 494, PDF Size: 13.55 MB
Page 70 of 494

!
Avoid spinning the driven wheels for an
extended period with ESP ®
deactivated.
You could otherwise damage the drivetrain.
X To deactivate:(Y page 348).
The å ESP®
OFF warning lamp in the
instrument cluster lights up.
CL 63 AMG: deactivate ESP ®
when driving
on designated roads when the vehicle's
own oversteering and understeering
characteristics are desired. Driving without
ESP ®
requires an extremely qualified and
experienced driver who is able to cope with
these critical driving conditions.
X To activate:(Y page 348).
The å ESP®
OFF warning lamp in the
instrument cluster goes out.
ESP ®
is activated automaticallyw hen the
engine is started.
If ESP ®
is deactivated and one or more wheels
start to spin, the ÷ESP®
warning lamp in
the instrument cluster flashes. In such
situations, ESP ®
will not stabilize the vehicle.
It may be best to deactivate ESP ®
in the
following situations:
R when using snow chains
R in deep snow
R on sand or gravel
If you deactivate ESP ®
:
R ESP ®
no longer improves driving stability.
R traction control is still activated.
R ESP ®
still provides support when you
brake.
R the engine's torque is no longer limited, and
the drive wheels can spin. The spinning of
the wheels results in a cutting action, which
provides better grip.
Vehicles with ECO start/stop function: the
ECO start/stop function switches the engine
off automatically when the vehicle comes to
a stop. The engine starts automatically when
the driver wants to pull away again. ESP ®
remains in its previously selected status.
Example: if ESP ®
was deactivated before the engine was switched off, ESP
®
remains
deactivated when the engine is switched on
again. EBD (electronic brake force
distribution)
i Observe the "Important safety notes"
section (Y page 64). G
WARNING
If EBD has malfunctioned, the rear wheels can
still lock, e.g. under full braking. This
increases the risk of skidding and an accident.
You should therefore adapt your driving style
to the different handling characteristics. Have
the brake system checked at a qualified
specialist workshop.
Observe information regarding indicator and
warning lamps (Y page 391) as well as
display messages (Y page 357).
EBD monitors and controls the brake
pressure on the rear wheels to improve
driving stability while braking. ADAPTIVE BRAKE
ADAPTIVE BRAKE enhances braking safety
and offers increased braking comfort. In
addition to the braking function, ADAPTIVE
BRAKE also has the HOLD function
(Y page 308) and hill start assist
(Y page 275). PRE-SAFE
®
Brake
i Observe the "Important safety notes"
section (Y page 64).
PRE-SAFE ®
Brake is only available in vehicles
with DISTRONIC PLUS.
PRE-SAFE ®
Brake can help you to minimize
the risk of a collision with a vehicle ahead or
reduce the effects of such a collision. If PRE-
SAFE ®
Brake has detected a risk of collision, 68
Driving safety systemsSafety
Page 72 of 494
In particular, the detection of obstacles can
be impaired if:
R
dirt on the sensors or anything else
covering the sensors
R snow or heavy rain
R interference by other radars ources
R there are strong radar reflections, for
example in parking garages
R a narrow vehicle traveling in front, e.g. a
motorbike
R a vehicle traveling in front on a different line
relative to the center of your vehicle G
WARNING
PRE-SAFE ®
Brake does not react:
R to people or animals
R to oncoming vehicles
R to crossing traffic
R when cornering
As a result, PRE-SAFE ®
Brake may neither
give warnings nor intervene in all critical
situations. There is a risk of an accident.
Always pay careful attention to the traffic
situation and be ready to brake.
In order to maintain an appropriate distance
from the vehicle in front and thus prevent a
collision, you must apply the brakes yourself.
X To activate/deactivate: activate or
deactivate PRE-SAFE ®
Brake in the on-
board computer (Y page 348).
After activation, the Äsymbol is
displayed on the left in the instrument
cluster.
For BAS PLUS to assist you, the radar sensor
system must be operational.
Following damage to the front end of the
vehicle, have the configuration and operation
of the radar sensors checked at a qualified
specialist workshop. This also applies to
collisions at low speeds where there is no
visible damage to the front of the vehicle. Theft deterrent locking system
Immobilizer
The immobilizer prevents your vehicle from
being started without the correct SmartKey.
When leaving the vehicle, always take the
SmartKey with you and lock the vehicle. The
engine can be started by anyone with a valid
SmartKey that is left inside the vehicle.
X To activate with the SmartKey: remove
the SmartKey from the ignition lock.
X To activate with KEYLESS-GO: switch the
ignition off and open the driver's door.
X To deactivate: switch on the ignition.
i The immobilizer is always deactivated
when you start the engine.
In the event that the engine cannot be
started when the starter battery is fully
charged, the immobilizer may be faulty.
Contact an authorized Mercedes-Benz
Center or call 1-800-FOR-MERCedes (in
USA) or 1-800-387-0100 (in Canada). ATA (anti-theft alarm system)
Av isual and audible alarm is triggered if the
alarm system is armed and you open:
R a door
R the vehicle with the mechanical key
R the trunk lid
R the hood
The alarm is not switched off, even if you
close the open door that has triggered it, for
example. 70
Theft deterrent locking systemSafety
Page 78 of 494
2. This device must be able to
accommodate interference that is
received, including interference which
could cause unwanted functions.
Unapproved modifications to this device
may lead to withdrawal of permissio
nto
operate it.
The product label with FCC ID and IC
certification number can be found in the
battery case of the SmartKey.
Important information for using
KEYLESS-GO R
You can use the KEYLESS-GO key as a
conventional key.
R You can combine KEYLESS-GO functions
with those of a conventional key, e.g. open
with KEYLESS-GO and close with the
& button.
R Always carry your KEYLESS-GO key on your
person.
R Never keep the KEYLESS-GO key with:
-electronic equipment, such as your
mobile phone or another key
- metal objects, such as coins or metal foil
This may impair the functioning of
KEYLESS-GO.
R To open or close the vehicle, the KEYLESS-
GO key should be no more than 3 ft (1 m)
from the door or trunk.
R If the vehicle is parked for more than
72 hours, the KEYLESS-GO function is
deactivated. Pull one of the outer door
handles and turn on the ignition to
reactivate the KEYLESS-GO function.
R When the KEYLESS-GO key is removed
from the vehicle, it is possible that the
system may not recognize it. In this case,
the vehicle cannot be locked or started with
KEYLESS-GO.
R If the KEYLESS-GO key has been removed
from the vehicle, e.g. if a passenger leaves
the vehicle with the KEYLESS-GO key:
- while someone is holding the Start/Stop
button or attempting to lock the vehicle using the outer door handle, the
Key Not Detected message will appear in
the multifunction display.
- while the engine is running, the red Key Not Detected message will appear in
the multifunction display as you pull
away. Find the KEYLESS-GO key and
change its position in the vehicle. Place
the KEYLESS-GO key in a location such
as the front-passenger seat, or carry it in
your shirt pocket.
R If you have started the engine using the
Start/Stop button, you can turn if off again
by:
-pressing the Start/Stop button again
- inserting the KEYLESS-GO key into the
ignition lock when the vehicle is
stationary and the automatic
transmission is in parking position P.
R You may accidentally unlock the vehicle if
the KEYLESS-GO key is within 3 ft (1 m) of
the vehicle and:
- a jet of water splashes an outer door
handle
or
- you are cleaning an outer door handle.
R Note that the engine can be started by any
vehicle occupant if a KEYLESS-GO key is in
the vehicle.
Option 1: there is a KEYLESS-GO key in the
vehicle and a KEYLESS-GO key outside the
vehicle. If you leave the KEYLESS-GO key
behind when you get out and lock the
vehicle, a message does not appear in the
multifunction display.
Option 2: there is a KEYLESS-GO key in the
vehicle but no KEYLESS-GO key outside the
vehicle. When you get out and try to lock
the vehicle, the Key Detected in Vehicle message appears in the
multifunction display .The vehicle is not
locked in this case.
When starting the engine and while driving,
KEYLESS-GO also checksw hether a valid key76
SmartKeyOpening and closing
Page 83 of 494
Problem Possible causes/consequences and
M Solutions
The engine cannot be
started using the
SmartKey. The on-board voltage is too low.
X
Remove the SmartKey and re-insert it into the ignition lock.
X Start the engine within 30 seconds of inserting the SmartKey in
the ignition lock.
X Repeatifn ecessary.
If the engine does not start after several attempts:
X Check the starter battery and charge it if necessary .
or
X Jump-start the vehicle .
or
X Consult a qualified specialist workshop. The engine cannot be
started using KEYLESS-
GO. The SmartKey is in
the vehicle. Ad
oor is open. Therefore, the SmartKey cannot be detected as
easily.
X Close the door and try to start the vehicle again. There is interference from a powerful source of radio waves.
X
Start your vehicle with the SmartKey in the ignition lock. Doors
Important safety notes
G
WARNING
When leaving the vehicle, always remove the
SmartKey from the ignition lock. Always take
the SmartKey with you and lock the vehicle.
Do not leave children unsupervised in the
vehicle, even if they are secured in a child
restraint system, and do not give them access
to an unlocked vehicle. Achild's unsupervised
access to a vehicle could result in an accident
and/or serious personal injury. They could:
R injure themselves on vehicle parts
R be seriously or fatally injured by extreme
heat or cold
R injure themselves or have an accident with
vehicle equipment that may still be in
operation even after the SmartKey has
been removed from the ignition, such as the
seat adjustment, steering wheel
adjustment or memory function. If children open a door, they could cause
severe or even fatal injury to other persons; if
they get out of the vehicle, they could injure
themselves when doing so or be seriously or
even fatally injured by any passing traffic.
Do not expose the child restraint system to
direct sunlight. The child restraint system's
metal parts, for example, could become very
hot, and a child could be burned on these
parts. G
WARNING
Do not carry heavy or hard objects in the
passenger compartmentu nless they are
firmly secured in place.
Unsecured or improperly positioned cargo
increases a child's risk of injury in the event
of:
R strong braking maneuvers
R sudden changes of direction
R an accident Doors
81Opening and closing Z
Page 160 of 494
X
Select Cancel Route Guidance and press
W to confirm.
Continuing route guidance
X To activate navigation mode: press the
S function button once or twice.
X To show the menu: pressWthe COMAND
controller.
X Select Destination in the navigation
system menu ba rby turning cVdthe
COMAND controller and press Wto
confirm.
X Select Continue Route Guidance and
press Wto confirm.
COMAND calculates the route.
Destination or area of destination
reached Whe
nyou reach your destination, COMAND
displays a checkered flag and route guidance
is automatically ended.
For certain points of interest (e.g. airports),
the Destination Reached display is shown
as well as the checkered flag.
Navigation announcements Repeating navigation announcements
G
WARNING
Navigation announcements are intended to
direct you while driving without diverting your
attention from the road and driving.
Please always use this feature instead of
consulting the map display for directions.
Looking at the icons or map display can
distract you from traffic conditions and
driving, and increase the risk of an accident.
i Audible navigation announcements are
muted during a telephone call.
If you have missed an announcement, you can
call up the current announcement at any
time. X
To show the menu: pressWthe COMAND
controller.
X In the navigation menu bar, confirm RPT with
W.
Switching navigation announcements
on/off
X To switch off: during the announcement,
press the 8button on the multifunction
steering wheel.
You will briefly see the message: The driving instructions have been
muted .
X To switch on: pressWthe COMAND
controller.
X In the +navigation menu bar, press W
to confirm.
i COMAND automatically switches the
navigation announcements back on when:
R you have a new route calculated.
R you start the engine again after having
left the vehicle.
Reducing volume during anavigation
announcement
The volume of an active audio or video source
can be automatically reduced during a
navigation announcement.
X Select Navi in the main function bar by
sliding ZVand turning cVdthe COMAND
controller and press Wto confirm.
X Select Audio Fadeout and press
Wto
confirm.
The function is switched on Oor off ª,
depending on the previous status.
Setting the volume manually
X Set the volume during a navigation
announcement.
or
X In the map display whe nthe menu is
shown, select +and adjust the volume. 158
NavigationCOMAND
Page 179 of 494
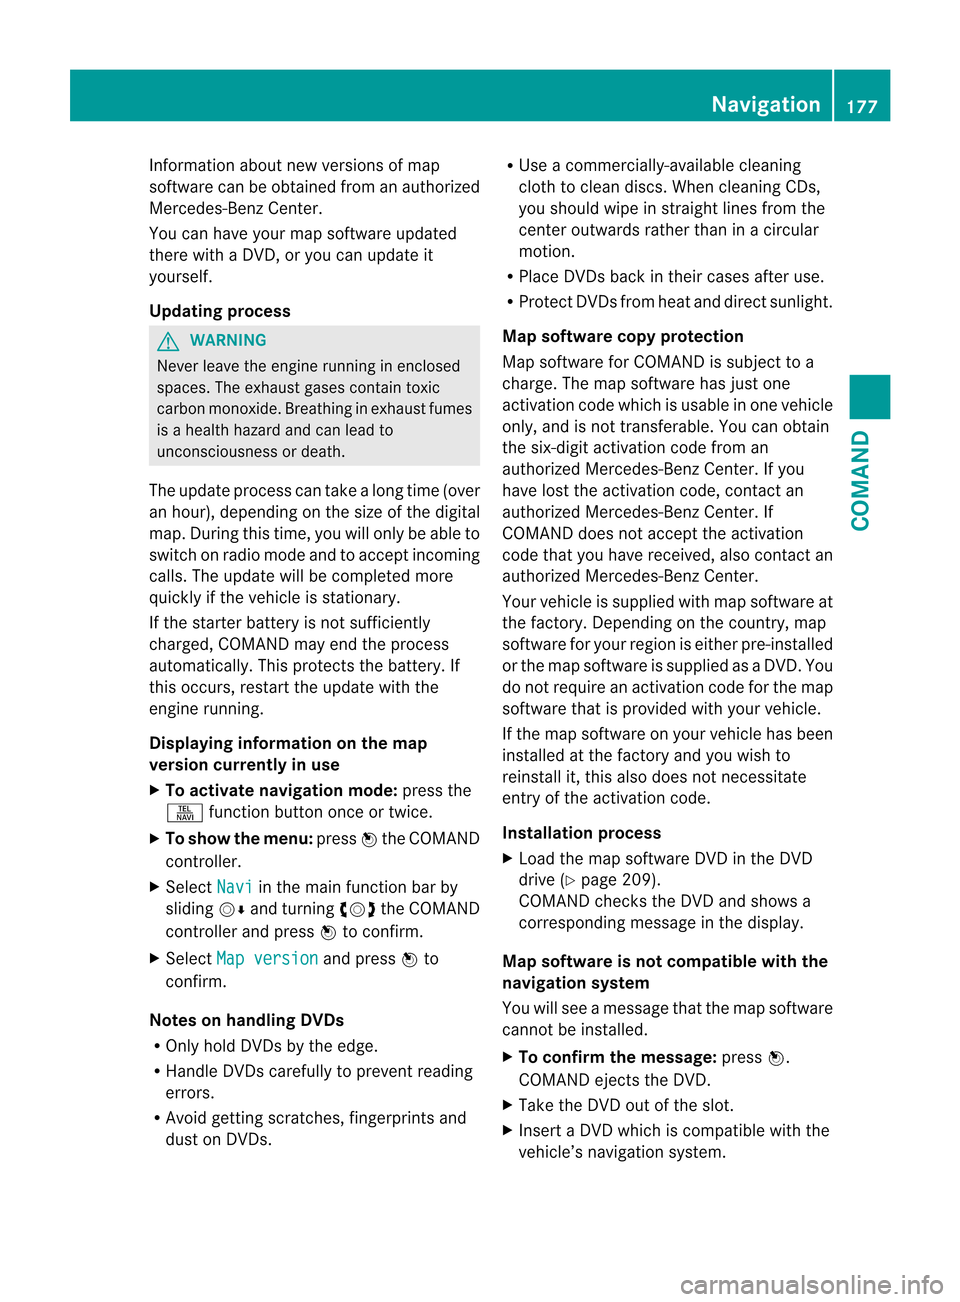
Information about new versions of map
software can be obtained from an authorized
Mercedes-Benz Center.
You can have yourm ap software updated
there with a DVD, or you can update it
yourself.
Updating process G
WARNING
Never leave the engine running in enclosed
spaces. The exhaust gases contain toxic
carbon monoxide. Breathing in exhaust fumes
is a health hazard and can lead to
unconsciousness or death.
The update process can take a long time (over
an hour), depending on th esize of the digital
map. During this time, you will only be able to
switch on radio mode and to accept incoming
calls. The update will be completed more
quickly if the vehicle is stationary.
If the starter battery is not sufficiently
charged, COMAND may end the process
automatically. This protect sthe battery. If
this occurs, restart the update with the
engine running.
Displaying information on the map
version currently in use
X To activate navigation mode: press the
S function button once or twice.
X To show the menu: pressWthe COMAND
controller.
X Select Navi in the main function bar by
sliding VÆand turning cVdthe COMAND
controller and press Wto confirm.
X Select Map version and press
Wto
confirm.
Notes on handling DVDs
R Only hold DVDs by the edge.
R Handle DVDs carefully to prevent reading
errors.
R Avoid getting scratches, fingerprints and
dust on DVDs. R
Use a commercially-available cleaning
cloth to clean discs. When cleaning CDs,
you should wipe in straight lines from the
center outwards rather than in a circular
motion.
R Place DVDs back in their cases after use.
R Protect DVDs from heat and direct sunlight.
Map software copy protection
Map software for COMAND is subject to a
charge. The map software has just one
activation code which is usable in one vehicle
only, and is not transferable. You can obtain
the six-digit activation code from an
authorized Mercedes-Ben zCenter. If you
have lost the activation code, contact an
authorized Mercedes-BenzC enter. If
COMAND does not accept the activation
code that you have received, also contact an
authorized Mercedes-BenzC enter.
Your vehicle is supplied with map software at
the factory. Depending on the country, map
software for your region is either pre-installed
or the map software is supplied as a DVD.Y ou
do not require an activation code for the map
software that is provided with your vehicle.
If the map software on your vehicle has been
installed at the factory and you wish to
reinstall it, this also does not necessitate
entry of the activation code.
Installation process
X Load the map software DVD in the DVD
drive (Y page 209).
COMAND checks the DVD and shows a
corresponding message in the display.
Map software is not compatible with the
navigation system
You will see a message that the map software
cannot be installed.
X To confirm the message: pressW.
COMAND ejects the DVD.
X Take the DVD out of the slot.
X Insert a DVD which is compatible with the
vehicle’s navigation system. Navigation
177COMAND Z
Page 258 of 494
Interior lighting control
Important notes In order to preven
tthe vehicle's battery from
discharging, the interior lighting functions are
automatically deactivated after some time
except for when the SmartKey is in position
2 in the ignition lock.
Automatic interior lighting control X
To switch on/off: press the|button.
The OFF indicator lamp shows whether the
automatic interior lighting control is
deactivated (indicator lamp on) or
activated (indicator lamp off).
The interior lighting automatically switches
on if you:
R unlock the vehicle
R open a door
R remove the SmartKey from the ignition lock
The interior light is activated for a short while
when the SmartKey is removed from the
ignition lock. You can activate this delayed
switch-off using COMAND (Y page 237).
Manual interior lighting control X
To switch the front interior lighting on/
off: press the cbutton.
X To switch the rear interior lighting on/
off: press the ubutton.
X To switch the reading lamps on/off:
press the pbutton. Replacing bulbs
Important safety notes
Xenon bulbs G
DANGER
Xenon bulbs carry a high voltage. You could
get an electric shock and be seriously or even
fatally injured if you touch the electric contacts on Xenon bulbs. Therefore, never
remove the cover from Xenon bulbs.
Do not change the Xenon bulbs yourself, but
have them replaced at a qualified workshop.
If your vehicle is equipped with Xenon bulbs,
you can recognize this by the following: the
cone of light from the Xenon bulbs moves
from the top to the bottom and back again
when you start the engine. For this to be
observed, the lights must be switched on
before starting the engine.
Bulbs and lamps are an important aspect of
vehicle safety. You must therefore make sure
that these function correctly at all times.
Have the headlamp setting checked regularly.
Other bulbs There are bulbs other than the Xenon bulbs
that you cannot replace. Replace only the
bulbs listed (Y
page 257). Have the bulbs that
you cannot replace yourself changed at a
qualified specialist workshop.
If you require assistance changing bulbs,
consult a qualified specialist workshop.
Do not touch the glass tube of new bulbs with
your bare hands. Even minor contamination
can burn into the glass surface and reduce
the service life of the bulbs. Always use a lint-
free cloth or only touch the base of the bulb
when installing.
Only use bulbs of the correct type.
If the new bulb still does not light up, consult
a qualified specialist workshop.
Bulbs and lamps are an important aspect of
vehicle safety. You must therefore make sure
that these function correctly at all times.
Have the headlamp setting checked regularly. G
WARNING
Bulbs and lamps can become very hot. For
this reason, allow them to cool down before
changing them. Otherwise, you could burn
yourself when you touch them. 256
Replacing bulbsLights and windshield wipers
Page 261 of 494
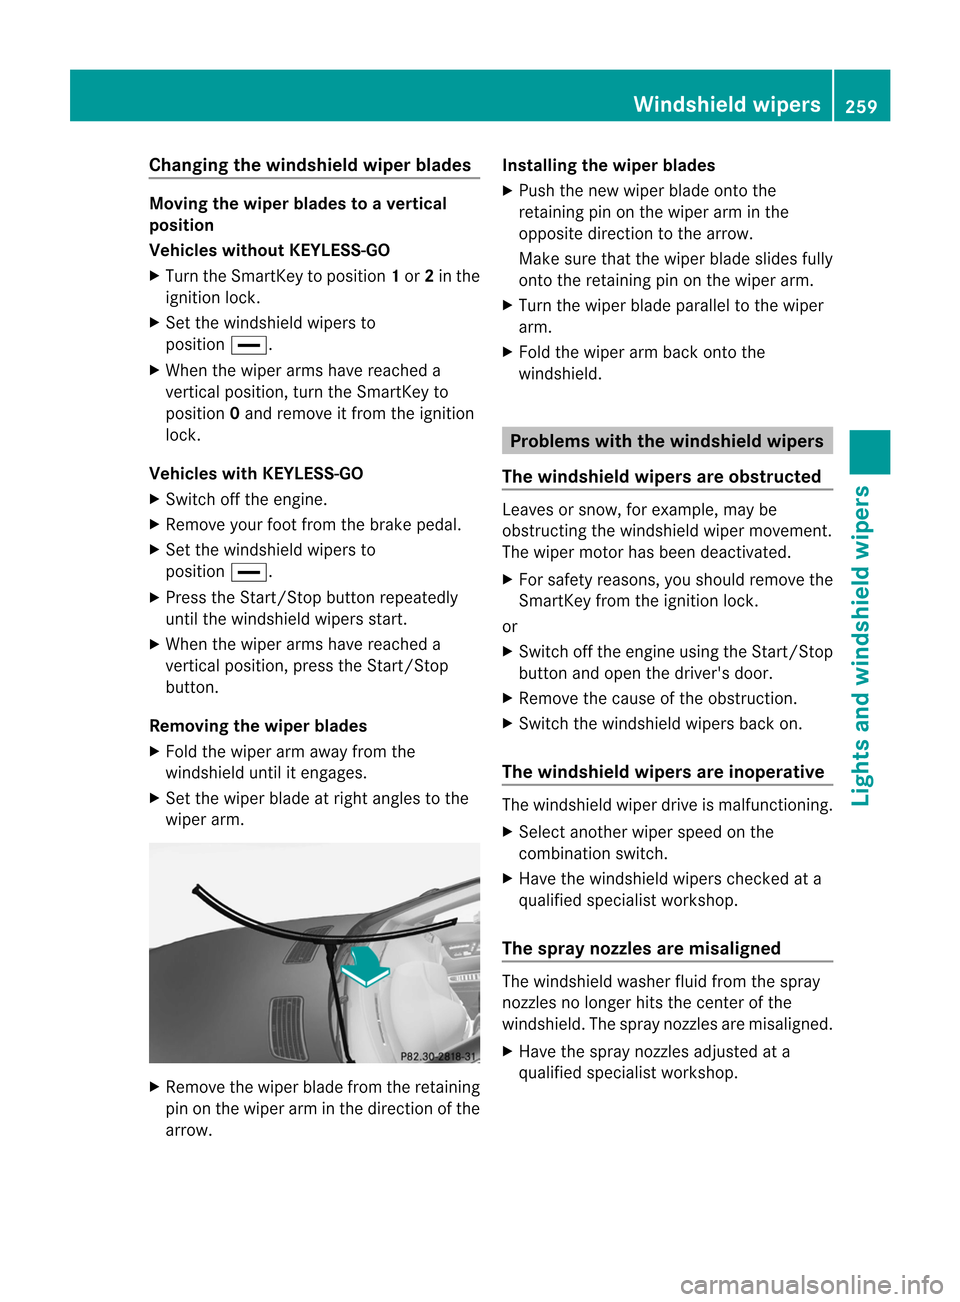
Changing the windshiel
dwiper blades Moving the wiper blades to
avertical
position
Vehicles without KEYLESS-GO
X Turn the SmartKey to position 1or 2in the
ignitio nlock.
X Set the windshield wipers to
position °.
X When the wiper arms have reached a
vertical position, turn the SmartKey to
position 0and remove it from the ignition
lock.
Vehicles with KEYLESS-GO
X Switch off the engine.
X Remove your foot from the brake pedal.
X Set the windshield wipers to
position °.
X Press the Start/Stop button repeatedly
until the windshield wipers start.
X When the wiper arms have reached a
vertical position, press the Start/Stop
button.
Removing the wiper blades
X Fold the wiper arm away from the
windshield until it engages.
X Set the wiper blade at right angles to the
wiper arm. X
Remove the wiper blade from the retaining
pin on the wiper arm in the direction of the
arrow. Installing the wiper blades
X
Push the new wiper blade ontot he
retaining pin on the wiper arm in the
opposite direction to the arrow.
Make sure that the wiper blade slides fully
onto the retaining pin on the wiper arm.
X Turn the wiper blade parallel to the wiper
arm.
X Fold the wiper arm back onto the
windshield. Problems with the windshield wipers
The windshield wipers are obstructed Leaves or snow, for example, may be
obstructing the windshield wiper movement.
The wiper motor has been deactivated.
X
For safety reasons, you should remove the
SmartKey from the ignition lock.
or
X Switch off the engine using the Start/Stop
button and open the driver's door.
X Remove the cause of the obstruction.
X Switch the windshield wipers back on.
The windshield wipers are inoperative The windshield wiper drive is malfunctioning.
X
Select another wiper speed on the
combination switch.
X Have the windshield wipers checked at a
qualified specialist workshop.
The spray nozzles are misaligned The windshield washer fluid from the spray
nozzles no longer hits the center of the
windshield. The spray nozzles are misaligned.
X
Have the spray nozzles adjusted at a
qualified specialist workshop. Windshield wipers
259Lights and windshield wipers Z
Page 280 of 494
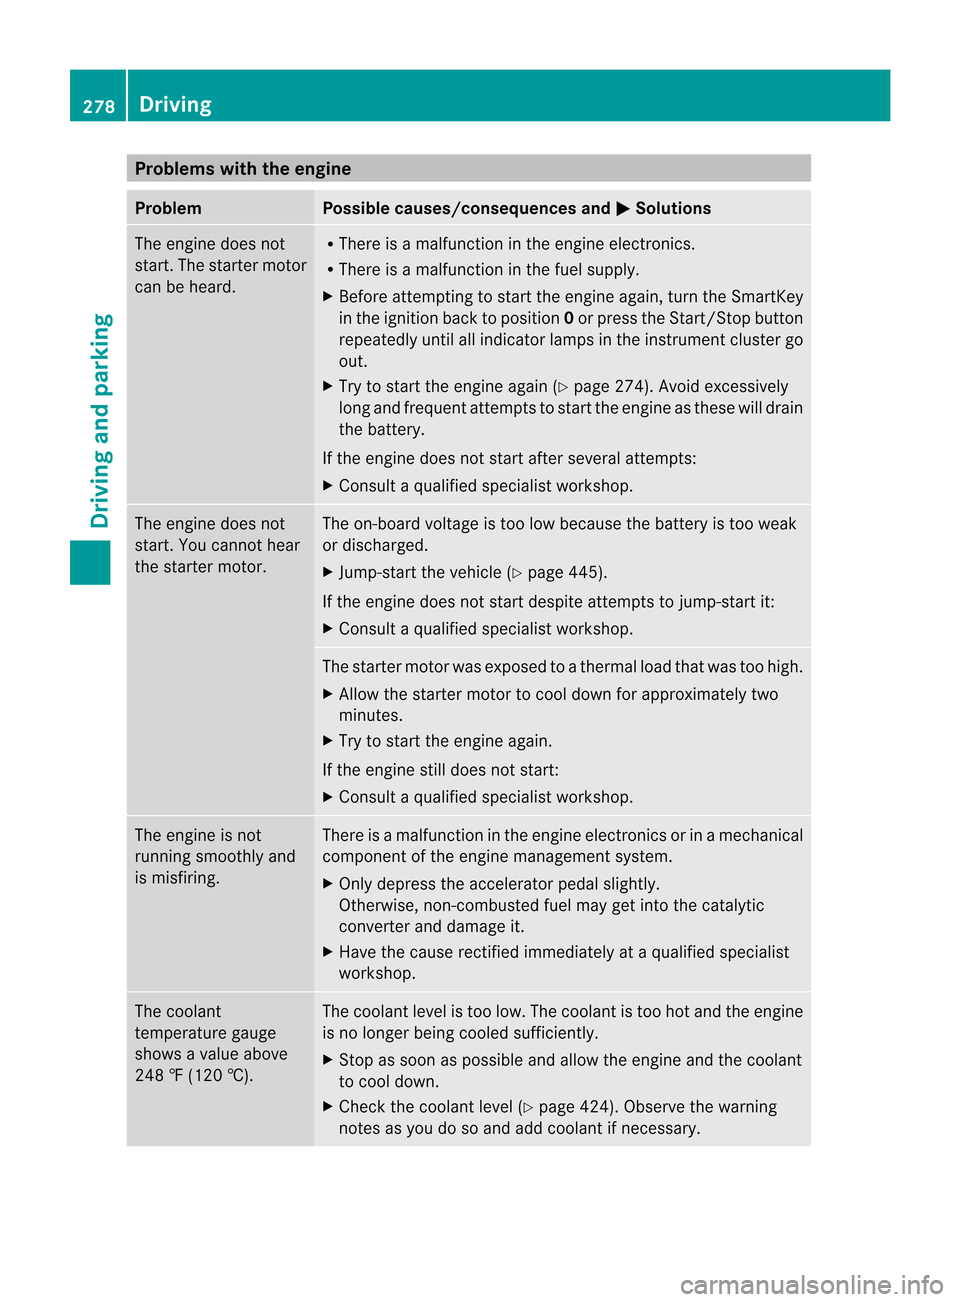
Problems with the engine
Problem Possible causes/consequences and
M Solutions
The engine does not
start. The starter motor
can be heard. R
There is a malfunction in the engine electronics.
R There is a malfunction in the fuel supply.
X Before attempting to start the engine again, turn the SmartKey
in the ignition back to position 0or press the Start/Stop button
repeatedly until all indicator lamps in the instrumen tcluster go
out.
X Try to start the engine again (Y page 274). Avoid excessively
long and frequent attempts to start the engine as these will drain
the battery.
If the engine does not start after several attempts:
X Consult a qualified specialist workshop. The engine does not
start. You cannot hear
the starter motor. The on-board voltage is too low because the battery is too weak
or discharged.
X
Jump-star tthe vehicle (Y page 445).
If the engine does not start despite attempts to jump-start it:
X Consult a qualified specialist workshop. The starter motor was exposed to a thermal load that was too high.
X
Allow the starter motor to cool down for approximately two
minutes.
X Try to start the engine again.
If the engine still does not start:
X Consult a qualified specialist workshop. The engine is not
running smoothly and
is misfiring. There is a malfunction in the engine electronics or in a mechanical
component of the engine management system.
X
Only depress the accelerator pedal slightly.
Otherwise, non-combusted fuel may get into the catalytic
converter and damage it.
X Have the cause rectified immediately at a qualified specialist
workshop. The coolant
temperature gauge
shows a value above
248 ‡ (120 †). The coolant level is too low. The coolant is too hot and the engine
is no longer being cooled sufficiently.
X
Stop as soon as possible and allow the engine and the coolant
to cool down.
X Check the coolant level (Y page 424). Observe the warning
notes as you do so and add coolant if necessary. 278
DrivingDriving and parking
Page 283 of 494
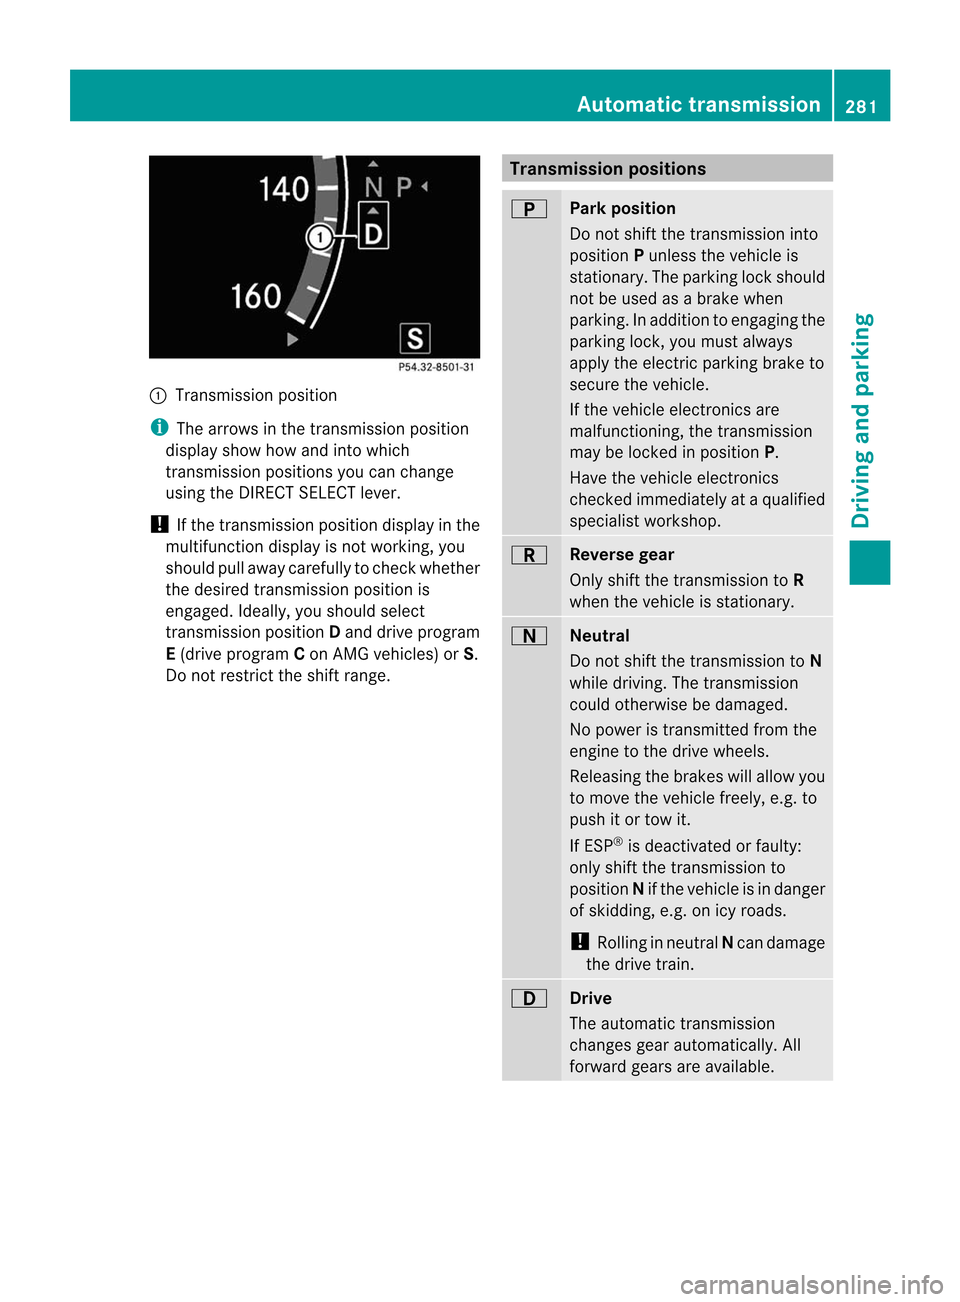
:
Transmission position
i The arrows in the transmission position
display show how and into which
transmission positions you can change
using the DIRECT SELECT lever.
! If the transmission position display in the
multifunction display is not working, you
should pull away carefully to check whether
the desired transmission position is
engaged. Ideally, you should select
transmission position Dand drive program
E (drive program Con AMG vehicles) or S.
Do not restrict the shift range. Transmission positions
B
Park position
Do not shift the transmission into
position Punless the vehicle is
stationary. The parking lock should
not be used as a brake when
parking. In addition to engaging the
parking lock, you must always
apply the electric parking brake to
secure the vehicle.
If the vehicle electronics are
malfunctioning, the transmission
may be locked in position P.
Have the vehicle electronics
checked immediately at a qualified
specialist workshop. C
Reverse gear
Only shift the transmission to
R
when the vehicle is stationary. A
Neutral
Do not shift the transmission to
N
while driving. The transmission
could otherwise be damaged.
No power is transmitted from the
engine to the drive wheels.
Releasing the brakes will allow you
to move the vehicle freely, e.g. to
push it or tow it.
If ESP ®
is deactivated or faulty:
only shift the transmission to
position Nif the vehicle is in danger
of skidding, e.g. on icy roads.
! Rolling in neutral Ncan damage
the drive train. 7
Drive
The automatic transmission
changes gear automatically. All
forward gears are available. Automatic transmission
281Driving and parking Z