MERCEDES-BENZ CL COUPE 2009 Owners Manual
Manufacturer: MERCEDES-BENZ, Model Year: 2009, Model line: CL COUPE, Model: MERCEDES-BENZ CL COUPE 2009Pages: 421, PDF Size: 10.78 MB
Page 161 of 421
Entering an address manually
X
To assign data to My address for the
first time: selectSave with name.
or
X To edit My address: selectEditQ
Save with name.
In both cases, the address input menu
appears.
X Enter the address. Proceed in the same way
as you would enter a destination as descri-
bed in the "Entering a destination by
address" section (Y page 135).
X Select Saveafter you have entered the
address.
Your address is stored.
Using an address book entry for My
address
X To assign data to My address for the
first time: selectAssign address book
entry.
or
X To edit My address: selectChange Q
Assign to address book entry.
In both cases, the menu for searching for
an address book entry appears.
X Select the desired address book entry. Pro-
ceed as described in the "Calling up con-
tacts/details" section (Y page 120).
i The name of the town and of the street in
the address book entry must be spelled in
the same way as in the destination entry so
that the information matches the data on
the digital map. The country in the address
book can be written as follows so that it
matches the data on the digital map:
R Country name spelled in the language of
that country
R Country name spelled in the language set
as the system language
R Country name as an international coun-
try abbreviation for vehicles (e.g. D for Germany, E for Spain, F for France, I for
Italy, etc.)
X COMAND stores the entry as My address
in the destination memory if the address
data is complete and matches the digital
map data.
If address data is missing or if it does not
match the data on the digital map, a mes-
sage will be displayed informing you that
the address is incomplete.
X To close the message: selectOK.
Depending on which data is missing or does
not correspond with the digital map data, you
must now:
R select a country (Y page 136)
R enter a town (Y page 136)
R enter a street (Y page 138)
R enter a house number (Y page 140)
If the data is complete and it matches the
digital map data, COMAND stores the entry. Storing a destination in the destina-
tion memory
This function also stores the destination in
the address book. COMAND creates an
address book entry that contains the com-
plete, navigable address data. You can then
select this entry in the address book and start
route guidance to the address from there.
After the address has been entered X
Select Saveafter you have entered the
address ( Ypage 135).
During route guidance X
Select Destination QSave destina‐
tion during route guidance.
You can now select storage options. 158
Navigation system* (destination memory)COMAND
* optional
216_AKB; 2; 3, en-GB
bjanott,
Version: 2.11.7.7 2009-02-27T14:54:17+01:00 - Seite 158
Dateiname: 6515230602_buchblock.pdf; erzeugt am 04. Mar 2009 11:15:24; WK
Page 162 of 421
From the list of previous destinations
X
Select NaviQDestination QFrom
last destinations .
The list of previous destinations appears.
X Select the desired destination.
The address of the destination is displayed.
X Select Save.
You can now select storage options.
Selecting storage options Saving a destination with no name
X Select Save without name.
COMAND stores the destination in the des-
tination memory and uses the address as
the destination name.
or
X Select Save as My address.
COMAND stores the destination in the des-
tination memory as My address.
Storing a destination with a name
X Select Save with name.
X Select the category desired, e.g. Home.
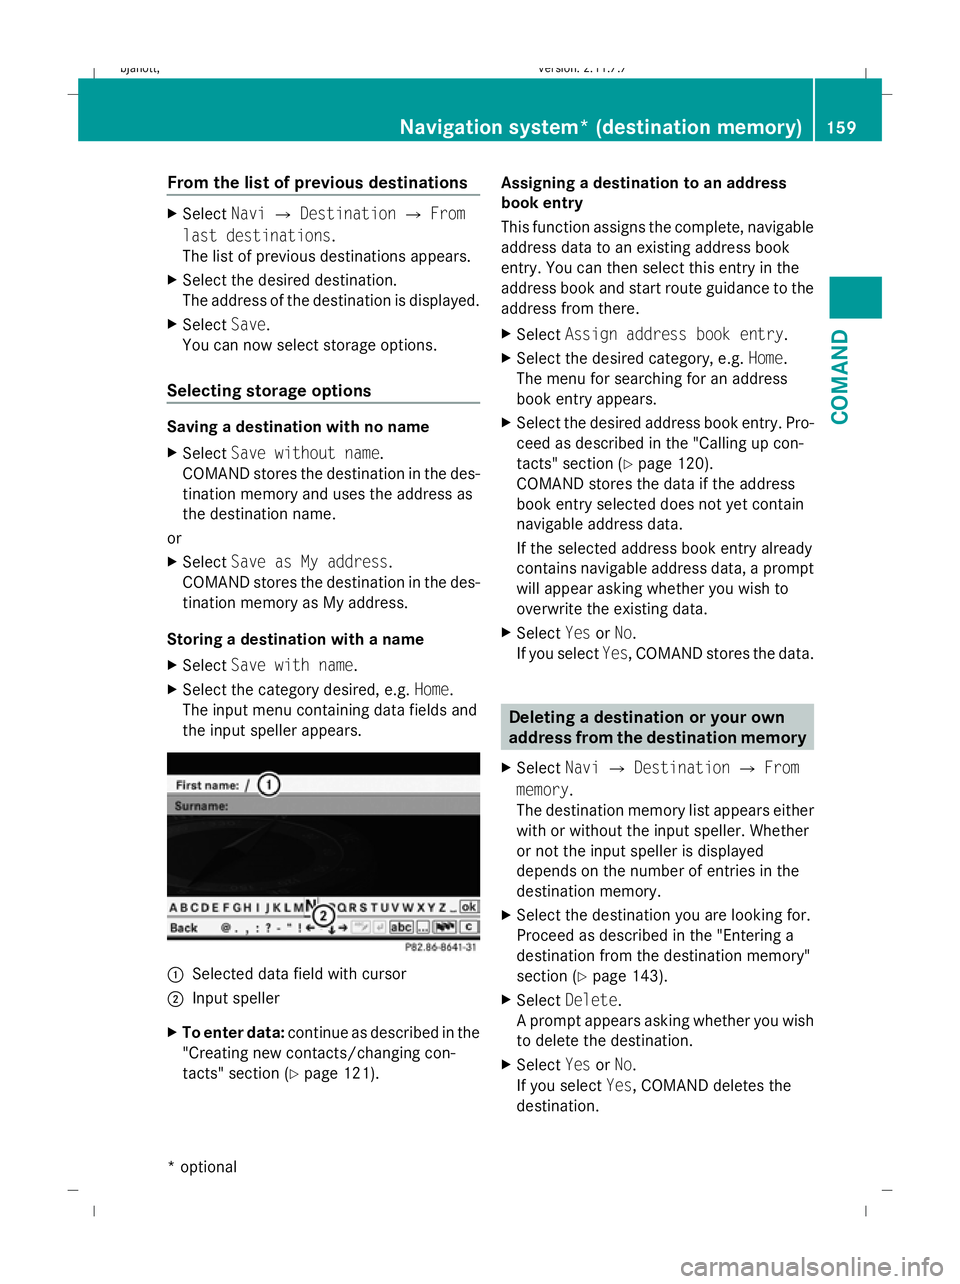
The input menu containing data fields and
the input speller appears. :
Selected data field with cursor
; Input speller
X To enter data: continue as described in the
"Creating new contacts/changing con-
tacts" section (Y page 121). Assigning a destination to an address
book entry
This function assigns the complete, navigable
address data to an existing address book
entry. You can then select this entry in the
address book and start route guidance to the
address from there.
X
Select Assign address book entry.
X Select the desired category, e.g. Home.
The menu for searching for an address
book entry appears.
X Select the desired address book entry. Pro-
ceed as described in the "Calling up con-
tacts" section (Y page 120).
COMAND stores the data if the address
book entry selected does not yet contain
navigable address data.
If the selected address book entry already
contains navigable address data, a prompt
will appear asking whether you wish to
overwrite the existing data.
X Select YesorNo.
If you select Yes, COMAND stores the data. Deleting a destination or your own
address from the destination memory
X Select NaviQDestination QFrom
memory .
The destination memory list appears either
with or without the input speller. Whether
or not the input speller is displayed
depends on the number of entries in the
destination memory.
X Select the destination you are looking for.
Proceed as described in the "Entering a
destination from the destination memory"
section (Y page 143).
X Select Delete .
A prompt appears asking whether you wish
to delete the destination.
X Select YesorNo.
If you select Yes, COMAND deletes the
destination. Navigation system* (destination memory)
159COMAND
* optional
216_AKB; 2; 3, en-GB
bjanott
,V ersion: 2.11.7.7
2009-02-27T14:54:17+01:00 - Seite 159 Z
Dateiname: 6515230602_buchblock.pdf; erzeugt am 04. Mar 2009 11:15:25; WK
Page 163 of 421
i
If the navigable address data for the des-
tination being deleted is also assigned to
an address book entry, COMAND will also
delete this data from there. If the corre-
sponding address book entry does not con-
tain any further data, such as telephone
numbers, COMAND deletes the entire
address book entry. Navigation system* (previous desti-
nations) General notes
COMAND automatically stores the previous
destinations for which the route calculation
was launched. If the memory is full, COMAND
deletes the oldest destination.
You can also store one destination from the
list of previous destinations in the destination
memory. It will be stored there permanently. Storing a destination permanently in
the destination memory
X Proceed as described in the "From the list
of previous destinations" section
(Y page 159) Storing the vehicle position in the list
of previous destinations
X To set the map to the vehicle position:
select NaviQPosition QVehicle
position map.
X To save: selectNaviQPosition Q
Save crosshair position. Storing the crosshair position in the
list of previous destinations
i A crosshair appears on the map if you
have moved the map manually. You can
store the crosshair position as a destina-
tion in the list of previous destinations. X
If necessary, display the menu system:
press W.
X Select PositionQSave crosshair
position. Deleting a previous destination
X Select NaviQDestination QFrom
last destinations .
The list of previous destinations appears.
X Select the desired destination.
The address of the destination appears.
X Select Delete. System
Menu overview
You will not be able to use the system settings
in the following menus:
R Display QDay design, Night design, Auto-
matic
R Time QClock, Date, Format, Time zone
R LINGUATRONIC* QHelp window, New
individualisation, Delete individualisation
R Language QLanguage selection
R Favourites button QAssign programma-
ble button
R Reset QReset COMAND to factory set-
tings
R Text reader QSet read-aloud speed
R Bluetooth ®
Q Search for Bluetooth ®
devi-
ces, activate Bluetooth ®
R Data upload/download QCopy data to
storage medium, import data from storage
medium 160
SystemCOMAND
* optional
216_AKB; 2; 3, en-GB
bjanott,
Version: 2.11.7.7 2009-02-27T14:54:17+01:00 - Seite 160
Dateiname: 6515230602_buchblock.pdf; erzeugt am 04. Mar 2009 11:15:25; WK
Page 164 of 421
Display settings
Switching the display on or off X
To switch off: selectVehicle QDis‐
play off .
X To switch back on again: turncVd , slide
ZVÆ , slide XVYor press W.
or
X Press the ubutton.
Display design X
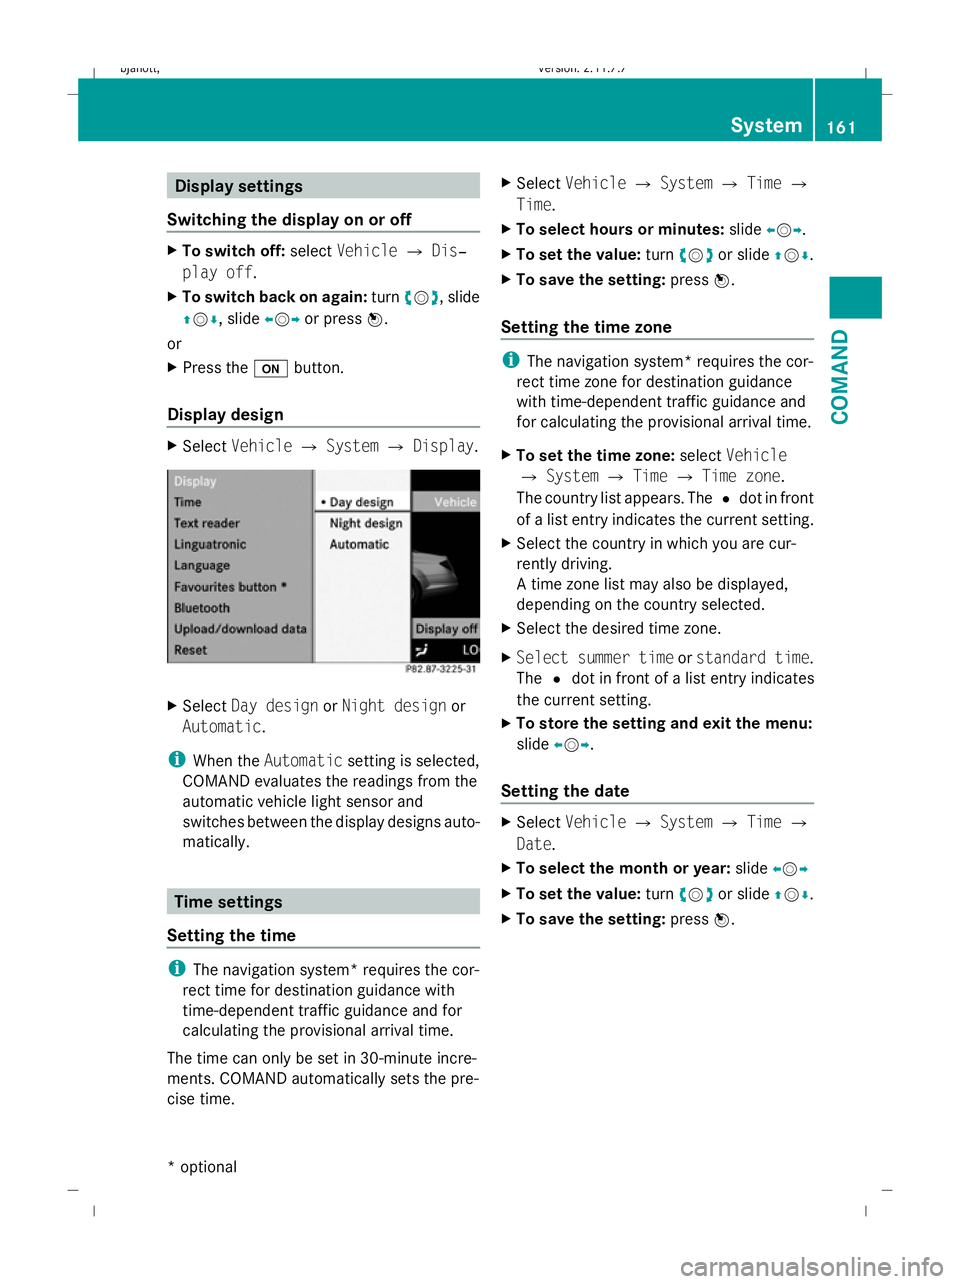
Select Vehicle QSystem QDisplay. X
Select Day design orNight design or
Automatic .
i When the Automatic setting is selected,
COMAND evaluates the readings from the
automatic vehicle light sensor and
switches between the display designs auto-
matically. Time settings
Setting the time i
The navigation system* requires the cor-
rect time for destination guidance with
time-dependent traffic guidance and for
calculating the provisional arrival time.
The time can only be set in 30-minute incre-
ments. COMAND automatically sets the pre-
cise time. X
Select Vehicle QSystem QTime Q
Time.
X To select hours or minutes: slideXVY.
X To set the value: turncVd or slide ZVÆ.
X To save the setting: pressW.
Setting the time zone i
The navigation system* requires the cor-
rect time zone for destination guidance
with time-dependent traffic guidance and
for calculating the provisional arrival time.
X To set the time zone: selectVehicle
Q System QTime QTime zone.
The country list appears. The #dot in front
of a list entry indicates the current setting.
X Select the country in which you are cur-
rently driving.
A time zone list may also be displayed,
depending on the country selected.
X Select the desired time zone.
X Select summer time orstandard time .
The #dot in front of a list entry indicates
the current setting.
X To store the setting and exit the menu:
slide XVY.
Setting the date X
Select Vehicle QSystem QTime Q
Date.
X To select the month or year: slideXVY
X To set the value: turncVd or slide ZVÆ.
X To save the setting: pressW. System
161COMAND
* optional
216_AKB; 2; 3, en-GB
bjanott
,V ersion: 2.11.7.7
2009-02-27T14:54:17+01:00 - Seite 161 Z
Dateiname: 6515230602_buchblock.pdf; erzeugt am 04. Mar 2009 11:15:25; WK
Page 165 of 421
Setting the time/date format
X
Select Vehicle QSystem QTime Q
Format.
The format list appears. The #dots in
front of the list entries indicate the current
setting.
X To change the format settings: select the
desired format.
X To store the setting and exit the menu:
slide XVY. Linguatronic* settings
Switching the help window on or off X
Select Vehicle QSystem QLingua‐
tronic.
X Select Help window.
You have switched the help window on or
off. A tick appears when the help window
is switched on.
Individualisation Using voice training, you can fine tune Lin-
guatronic* to your own voice and thus
improve voice recognition. The ability of the
system to recognise the commands of other
users does not deteriorate as a result.
Voice training comprises two parts. You train
the system to recognise digits in the first part
and specific commands in the second part.
Starting new individualisation
i It is only possible to start individualisation
when the vehicle is stationary. After start-
ing the session, the system guides you
through the training with spoken instruc-
tions. X
Select Vehicle QSystem QLingua‐
tronic QStart new individualisa‐
tion.
A prompt appears asking whether you
would like further information.
X Select YesorNo.
If you select No, the first part of individual-
isation begins.
If you select Yes, a message will be shown.
X To close the list: selectOK.
The first part of individualisation begins.
At the end of the first part, you will see a
prompt asking whether you wish to begin
the second part.
X Select YesorNo.
If you select No, individualisation will be
cancelled. The data from the first part is
stored automatically.
If you select Yes, the second part will begin.
Individualisation is completed at the end of
the second part. You will see a message to
this effect. The data from the second part is
stored automatically.
Cancelling the first or second part of indi-
vidualisation
X Select Cancel.
A prompt appears asking whether you
really do wish to cancel.
X Select YesorNo.
If you select Yes, individualisation will be
cancelled. The data from the part cancelled
is not stored.
If you select No, the part during which you
stopped begins again. 162
SystemCOMAND
* optional
216_AKB; 2; 3, en-GB
bjanott,
Version: 2.11.7.7 2009-02-27T14:54:17+01:00 - Seite 162
Dateiname: 6515230602_buchblock.pdf; erzeugt am 04. Mar 2009 11:15:25; WK
Page 166 of 421
Deleting existing individualisation data
X
Select Vehicle QSystem QLingua‐
tronic QDelete individualisation .
A prompt appears asking whether you
really wish to delete.
X Select YesorNo.
The individualisation data will either be
deleted or not, depending on your selec-
tion. Language settings
X Select Vehicle QSystem QLan‐
guage.
The language list appears. The #dot indi-
cates the current setting.
X To change the setting: select the desired
language. Assigning the programmable button
(favourites)
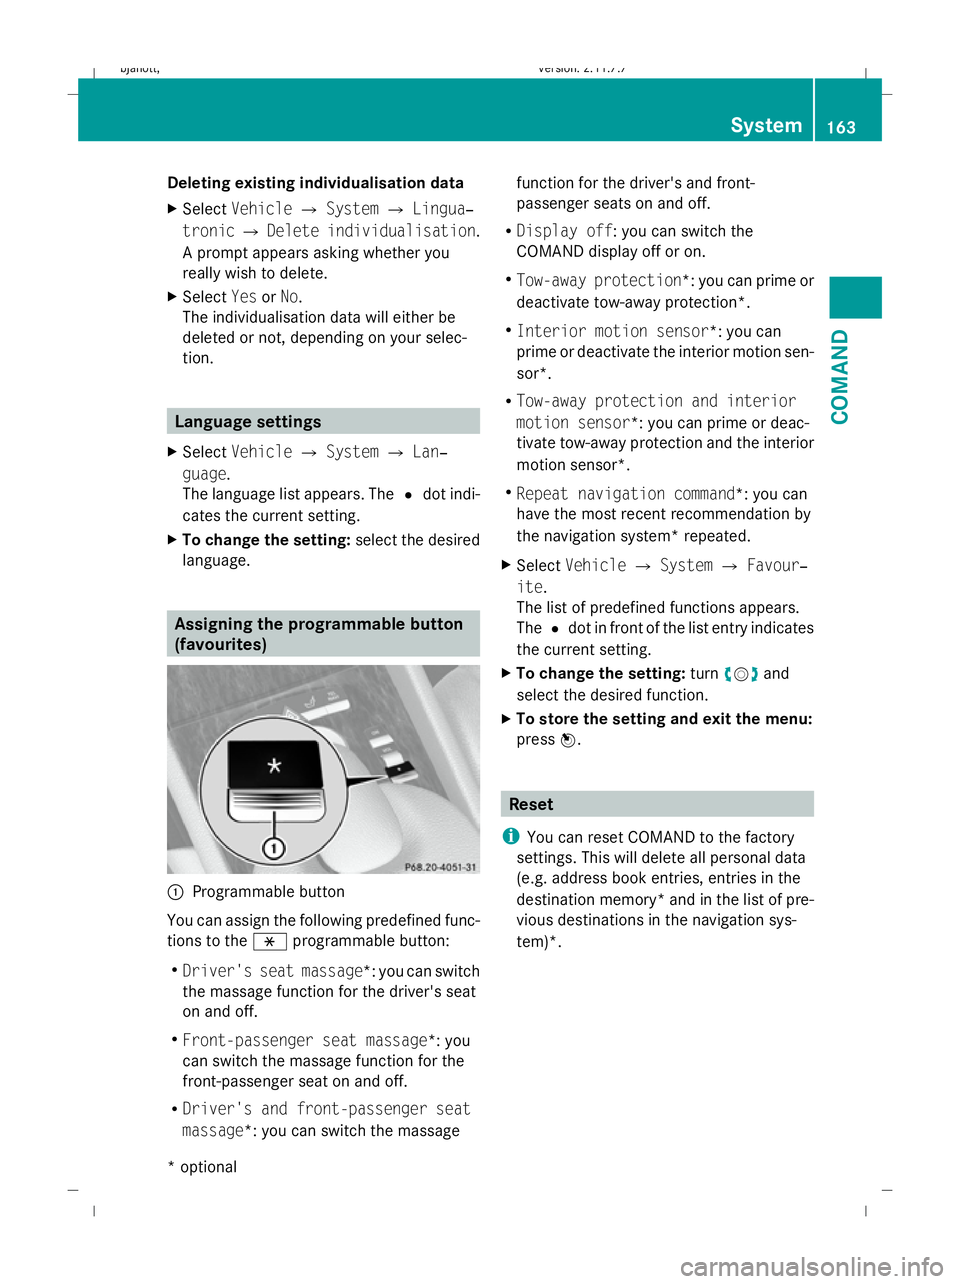
:
Programmable button
You can assign the following predefined func-
tions to the hprogrammable button:
R Driver's seat massage*: you can switch
the massage function for the driver's seat
on and off.
R Front-passenger seat massage*: you
can switch the massage function for the
front-passenger seat on and off.
R Driver's and front-passenger seat
massage*: you can switch the massage function for the driver's and front-
passenger seats on and off.
R Display off : you can switch the
COMAND display off or on.
R Tow-away protection *: you can prime or
deactivate tow-away protection*.
R Interior motion sensor *: you can
prime or deactivate the interior motion sen-
sor*.
R Tow-away protection and interior
motion sensor *: you can prime or deac-
tivate tow-away protection and the interior
motion sensor*.
R Repeat navigation command*: you can
have the most recent recommendation by
the navigation system* repeated.
X Select Vehicle QSystem QFavour‐
ite .
The list of predefined functions appears.
The #dot in front of the list entry indicates
the current setting.
X To change the setting: turncVd and
select the desired function.
X To store the setting and exit the menu:
press W. Reset
i You can reset COMAND to the factory
settings. This will delete all personal data
(e.g. address book entries, entries in the
destination memory* and in the list of pre-
vious destinations in the navigation sys-
tem)*. System
163COMAND
* optional
216_AKB; 2; 3, en-GB
bjanott
,V ersion: 2.11.7.7
2009-02-27T14:54:17+01:00 - Seite 163 Z
Dateiname: 6515230602_buchblock.pdf; erzeugt am 04. Mar 2009 11:15:26; WK
Page 167 of 421
X
Select Vehicle QSystem QReset.
A prompt appears asking whether you
really wish to reset.
X Select YesorNo.
If you select Yes, a prompt will appear again
asking whether you really wish to reset.
X Select YesorNo.
If you select Yes, COMAND will be reset
and restarted. Vehicle
Introduction to the vehicle menu
i Information about the components and
operating principles of COMAND can be
found on (Y page 58).
In this menu, you can set the following vehicle
functions:
R Multicontour seat settings*
R Rear window blind*
R EASY-ENTRY/EXIT feature
R Exterior lighting delayed switch-off time
R Interior lighting delayed switch-off time
R Ambient lighting*
R Automatic folding mirror
R Locator lighting
R Automatic locking feature
R Interior motion sensor*
R Tow-away protection*
R Boot lid opening limiter
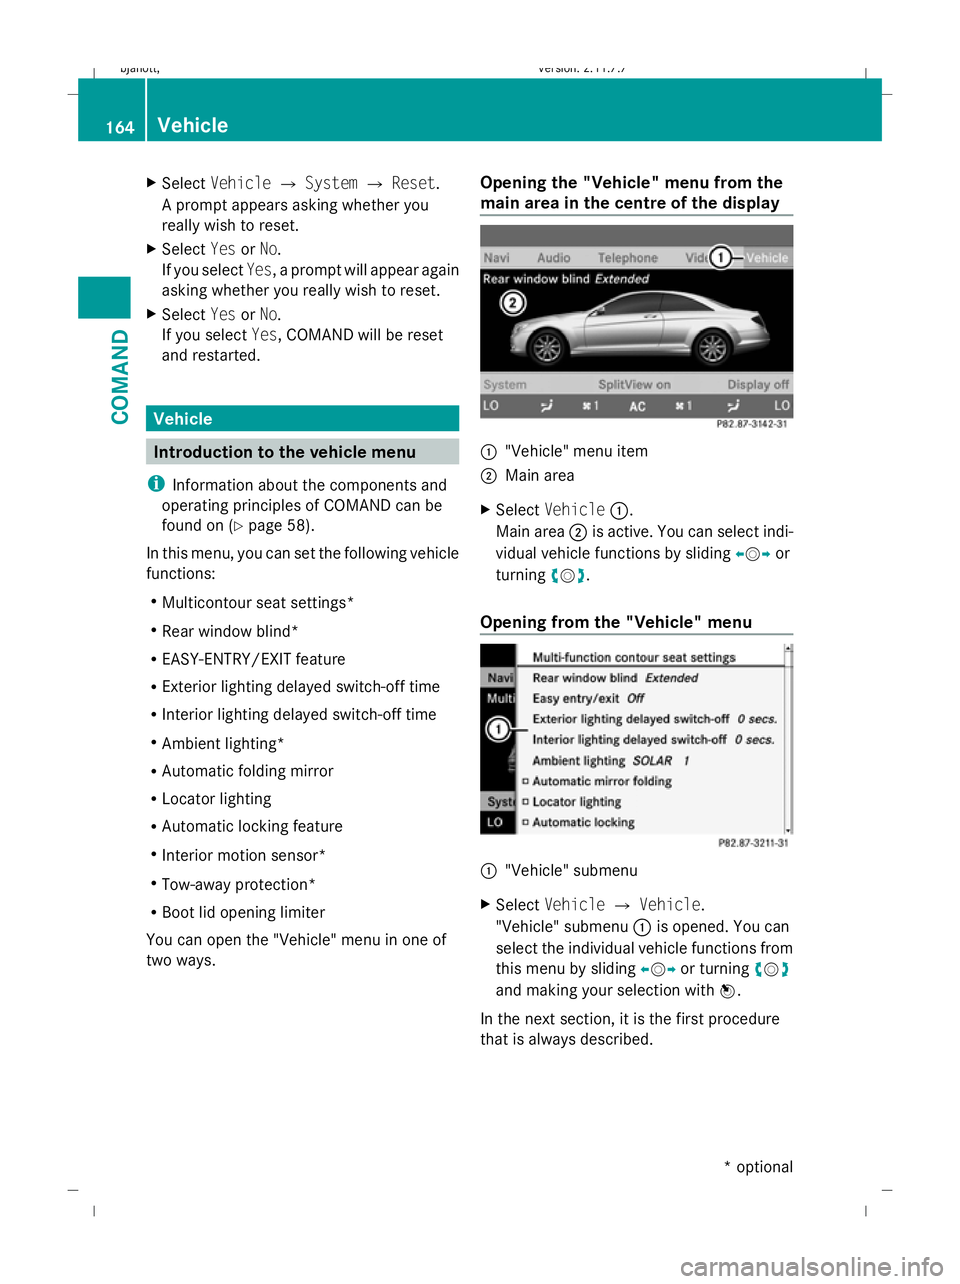
You can open the "Vehicle" menu in one of
two ways. Opening the "Vehicle" menu from the
main area in the centre of the display :
"Vehicle" menu item
; Main area
X Select Vehicle :.
Main area ;is active. You can select indi-
vidual vehicle functions by sliding XVYor
turning cVd.
Opening from the "Vehicle" menu :
"Vehicle" submenu
X Select Vehicle QVehicle.
"Vehicle" submenu :is opened. You can
select the individual vehicle functions from
this menu by sliding XVYor turning cVd
and making your selection with W.
In the next section, it is the first procedure
that is always described. 164
VehicleCOMAND
* optional
216_AKB; 2; 3, en-GB
bjanott,
Version: 2.11.7.7 2009-02-27T14:54:17+01:00 - Seite 164
Dateiname: 6515230602_buchblock.pdf; erzeugt am 04. Mar 2009 11:15:27; WK
Page 168 of 421
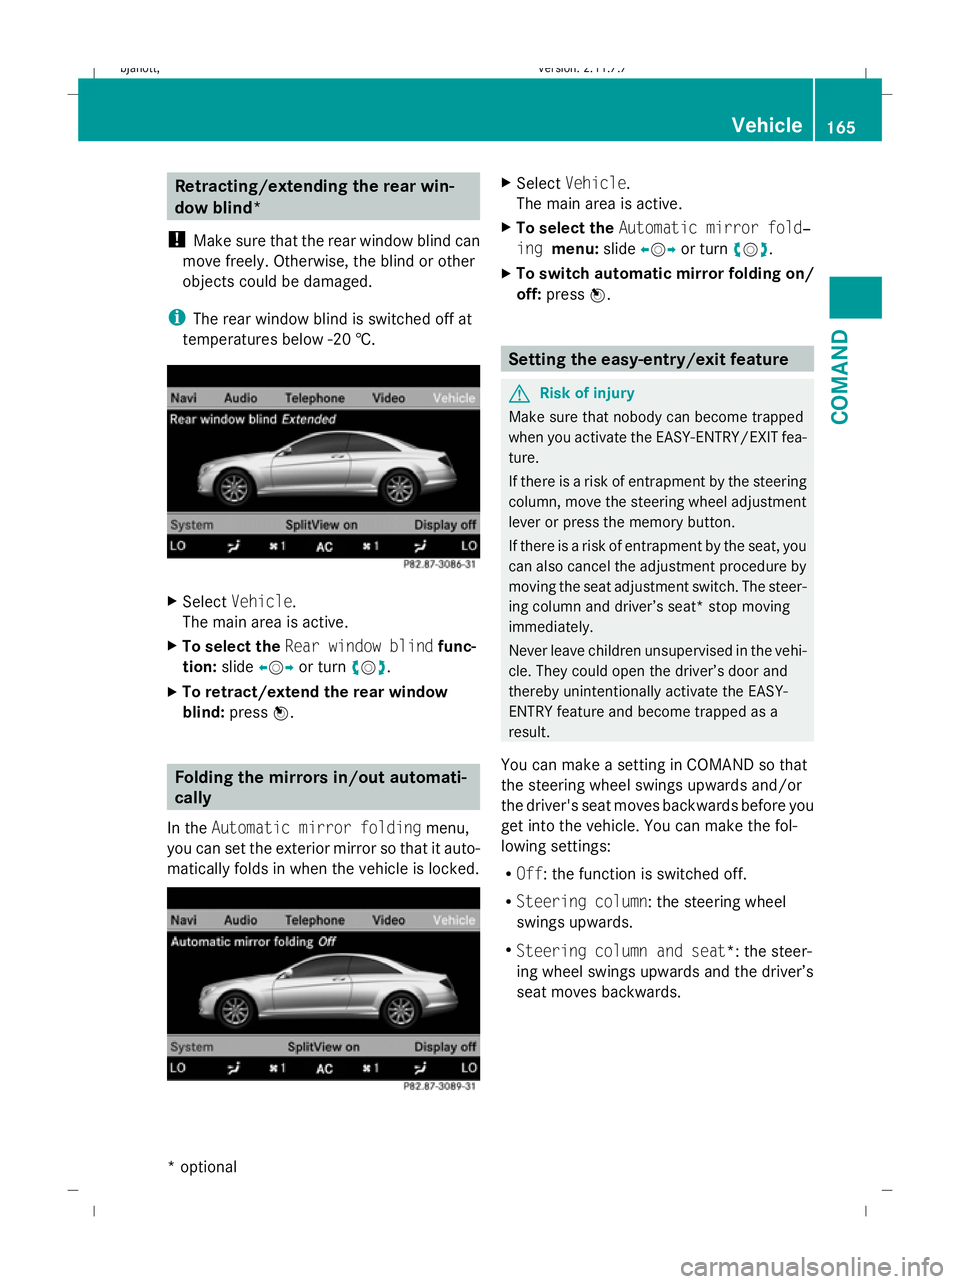
Retracting/extending the rear win-
dow blind*
! Make sure that the rear window blind can
move freely. Otherwise, the blind or other
objects could be damaged.
i The rear window blind is switched off at
temperatures below -20 †. X
Select Vehicle.
The main area is active.
X To select the Rear window blind func-
tion: slideXVY or turn cVd.
X To retract/extend the rear window
blind: pressW. Folding the mirrors in/out automati-
cally
In the Automatic mirror folding menu,
you can set the exterior mirror so that it auto-
matically folds in when the vehicle is locked. X
Select Vehicle.
The main area is active.
X To select the Automatic mirror fold‐
ing menu: slideXVY or turn cVd.
X To switch automatic mirror folding on/
off: press W. Setting the easy-entry/exit feature
G
Risk of injury
Make sure that nobody can become trapped
when you activate the EASY-ENTRY/EXIT fea-
ture.
If there is a risk of entrapment by the steering
column, move the steering wheel adjustment
lever or press the memory button.
If there is a risk of entrapment by the seat, you
can also cancel the adjustment procedure by
moving the seat adjustment switch. The steer-
ing column and driver’s seat* stop moving
immediately.
Never leave children unsupervised in the vehi-
cle. They could open the driver’s door and
thereby unintentionally activate the EASY-
ENTRY feature and become trapped as a
result.
You can make a setting in COMAND so that
the steering wheel swings upwards and/or
the driver's seat moves backwards before you
get into the vehicle. You can make the fol-
lowing settings:
R Off : the function is switched off.
R Steering column : the steering wheel
swings upwards.
R Steering column and seat*: the steer-
ing wheel swings upwards and the driver’s
seat moves backwards. Vehicle
165COMAND
* optional
216_AKB; 2; 3, en-GB
bjanott,
Version: 2.11.7.7 2009-02-27T14:54:17+01:00 - Seite 165 Z
Dateiname: 6515230602_buchblock.pdf; erzeugt am 04. Mar 2009 11:15:27; WK
Page 169 of 421
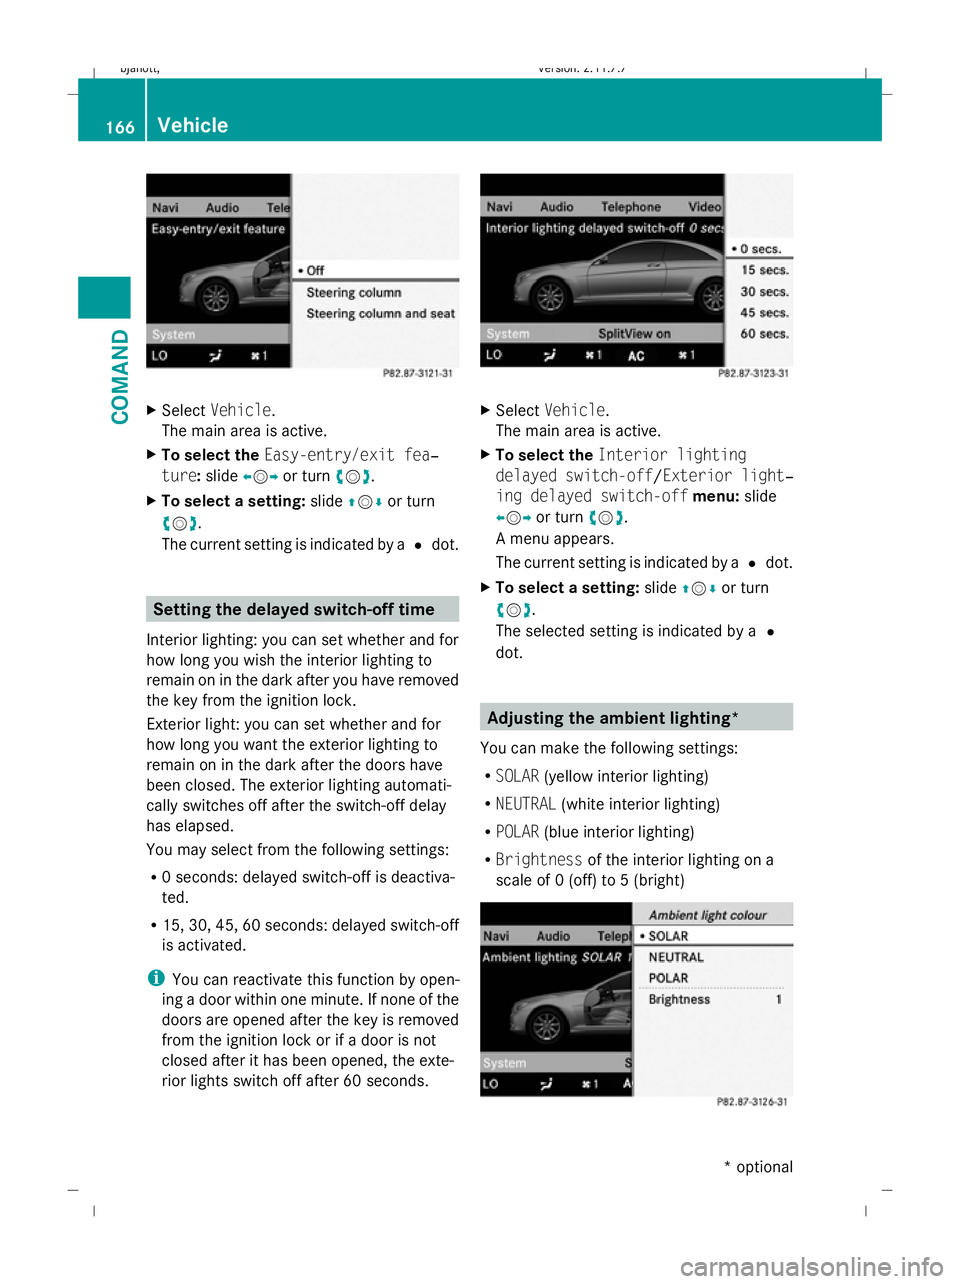
X
Select Vehicle.
The main area is active.
X To select the Easy-entry/exit fea‐
ture: slideXVY or turn cVd.
X To select a setting: slideZVÆ or turn
cVd .
The current setting is indicated by a #dot. Setting the delayed switch-off time
Interior lighting: you can set whether and for
how long you wish the interior lighting to
remain on in the dark after you have removed
the key from the ignition lock.
Exterior light: you can set whether and for
how long you want the exterior lighting to
remain on in the dark after the doors have
been closed. The exterior lighting automati-
cally switches off after the switch-off delay
has elapsed.
You may select from the following settings:
R 0 seconds: delayed switch-off is deactiva-
ted.
R 15, 30, 45, 60 seconds: delayed switch-off
is activated.
i You can reactivate this function by open-
ing a door within one minute. If none of the
doors are opened after the key is removed
from the ignition lock or if a door is not
closed after it has been opened, the exte-
rior lights switch off after 60 seconds. X
Select Vehicle.
The main area is active.
X To select the Interior lighting
delayed switch-off /Exterior light‐
ing delayed switch-off menu:slide
XVY or turn cVd.
A menu appears.
The current setting is indicated by a #dot.
X To select a setting: slideZVÆ or turn
cVd .
The selected setting is indicated by a #
dot. Adjusting the ambient lighting*
You can make the following settings:
R SOLAR (yellow interior lighting)
R NEUTRAL (white interior lighting)
R POLAR (blue interior lighting)
R Brightness of the interior lighting on a
scale of 0 (off) to 5 (bright) 166
VehicleCOMAND
* optional
216_AKB; 2; 3, en-GB
bjanott,
Version: 2.11.7.7 2009-02-27T14:54:17+01:00 - Seite 166
Dateiname: 6515230602_buchblock.pdf; erzeugt am 04. Mar 2009 11:15:28; WK
Page 170 of 421
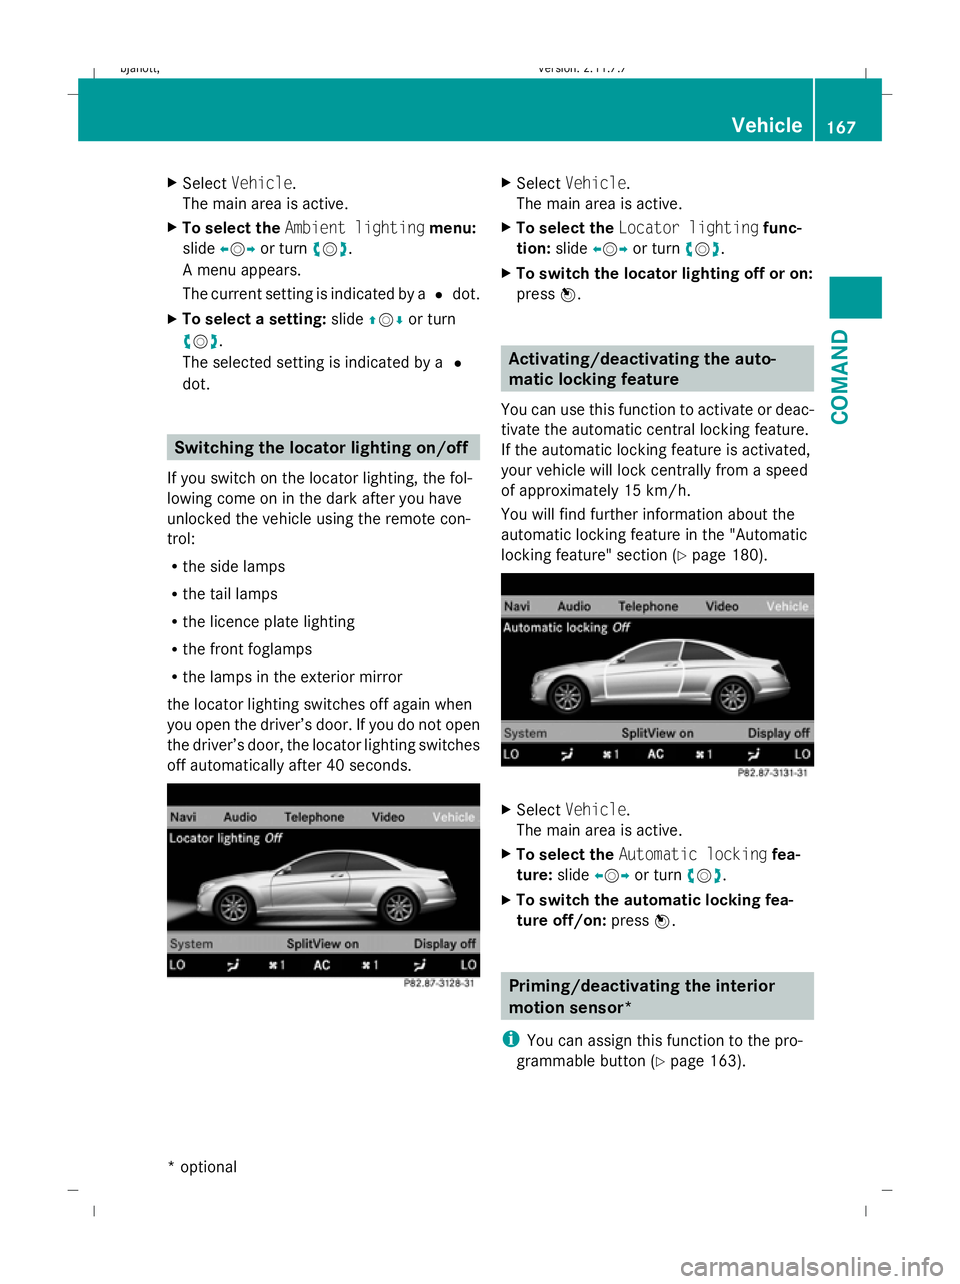
X
Select Vehicle.
The main area is active.
X To select the Ambient lighting menu:
slide XVY or turn cVd.
A menu appears.
The current setting is indicated by a #dot.
X To select a setting: slideZVÆ or turn
cVd .
The selected setting is indicated by a #
dot. Switching the locator lighting on/off
If you switch on the locator lighting, the fol-
lowing come on in the dark after you have
unlocked the vehicle using the remote con-
trol:
R the side lamps
R the tail lamps
R the licence plate lighting
R the front foglamps
R the lamps in the exterior mirror
the locator lighting switches off again when
you open the driver’s door. If you do not open
the driver’s door, the locator lighting switches
off automatically after 40 seconds. X
Select Vehicle.
The main area is active.
X To select the Locator lighting func-
tion: slideXVY or turn cVd.
X To switch the locator lighting off or on:
press W. Activating/deactivating the auto-
matic locking feature
You can use this function to activate or deac-
tivate the automatic central locking feature.
If the automatic locking feature is activated,
your vehicle will lock centrally from a speed
of approximately 15 km/h.
You will find further information about the
automatic locking feature in the "Automatic
locking feature" section (Y page 180). X
Select Vehicle.
The main area is active.
X To select the Automatic locking fea-
ture: slideXVY or turn cVd.
X To switch the automatic locking fea-
ture off/on: pressW. Priming/deactivating the interior
motion sensor*
i You can assign this function to the pro-
grammable button (Y page 163). Vehicle
167COMAND
* optional
216_AKB; 2; 3, en-GB
bjanott,
Version: 2.11.7.7 2009-02-27T14:54:17+01:00 - Seite 167 Z
Dateiname: 6515230602_buchblock.pdf; erzeugt am 04. Mar 2009 11:15:29; WK