MERCEDES-BENZ G500 2002 W463 Owner's Manual
Manufacturer: MERCEDES-BENZ, Model Year: 2002, Model line: G500, Model: MERCEDES-BENZ G500 2002 W463Pages: 385, PDF Size: 30.37 MB
Page 171 of 385
168 Interior equipment
Te ch n i c a l
data Instruments
and controlsOperationDrivingInstrument
cluster displayPractical hints Car care Index
Ashtrays
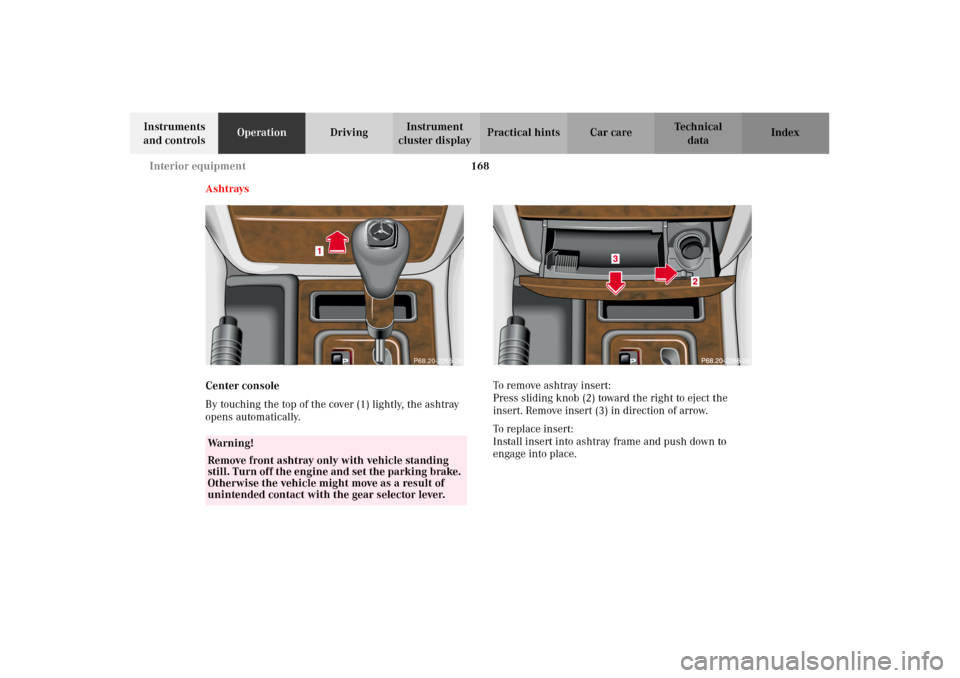
Center console
By touching the top of the cover (1) lightly, the ashtray
opens automatically.To remove ashtray insert:
Press sliding knob (2) toward the right to eject the
insert. Remove insert (3) in direction of arrow.
To replace insert:
Install insert into ashtray frame and push down to
engage into place.
Wa r n i n g !
Remove front ashtray only with vehicle standing
still. Turn off the engine and set the parking brake.
Otherwise the vehicle might move as a result of
unintended contact with the gear selector lever.
1
P68.20-2265-26
J_G463.book Seite 168 Mittwoch, 19. September 2001 8:06 08
Page 172 of 385
169 Interior equipment
Te ch n i c a l
data Instruments
and controlsOperationDrivingInstrument
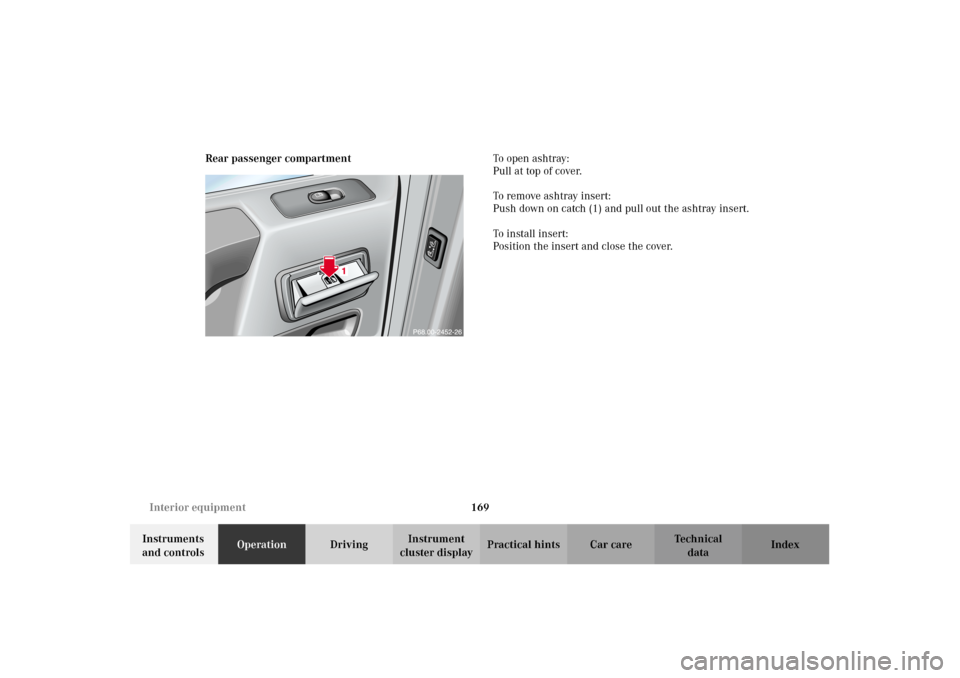
cluster displayPractical hints Car care Index Rear passenger compartmentTo o p e n a s h t r ay :
Pull at top of cover.
To remove ashtray insert:
Push down on catch (1) and pull out the ashtray insert.
To install insert:
Position the insert and close the cover.
J_G463.book Seite 169 Mittwoch, 19. September 2001 8:06 08
Page 173 of 385
170 Interior equipment
Te ch n i c a l
data Instruments
and controlsOperationDrivingInstrument
cluster displayPractical hints Car care Index
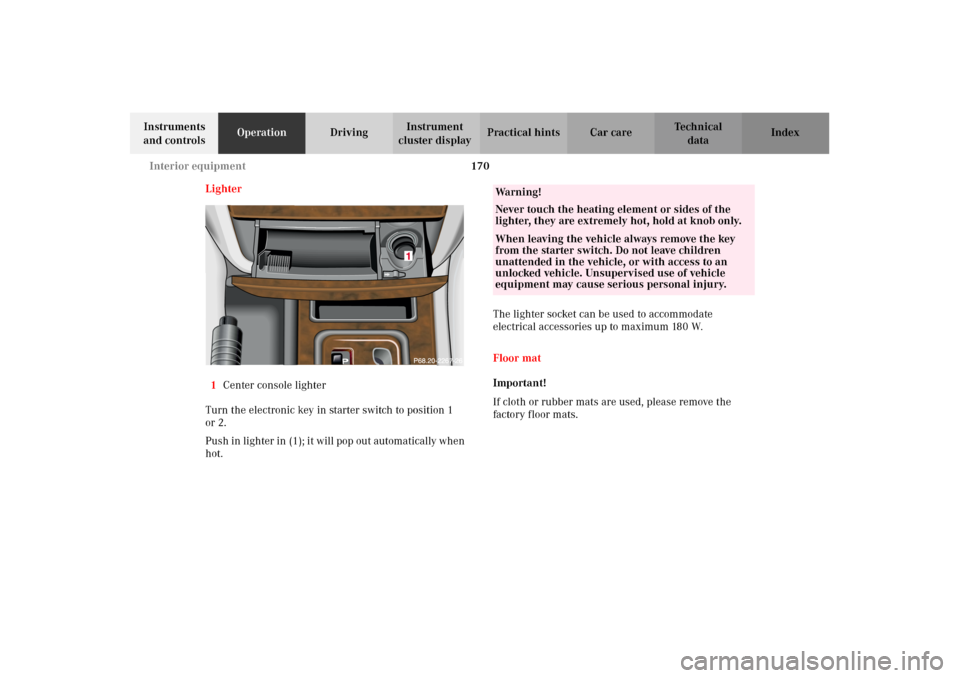
Lighter
1Center console lighter
Turn the electronic key in starter switch to position 1
or 2.
Push in lighter in (1); it will pop out automatically when
hot.The lighter socket can be used to accommodate
electrical accessories up to maximum 180 W.
Floor mat
Important!
If cloth or rubber mats are used, please remove the
factory floor mats.
Wa r n i n g !
Never touch the heating element or sides of the
lighter, they are extremely hot, hold at knob only.When leaving the vehicle always remove the key
from the starter switch. Do not leave children
unattended in the vehicle, or with access to an
unlocked vehicle. Unsupervised use of vehicle
equipment may cause serious personal injury.
J_G463.book Seite 170 Mittwoch, 19. September 2001 8:06 08
Page 174 of 385
171 Interior equipment
Te ch n i c a l
data Instruments
and controlsOperationDrivingInstrument
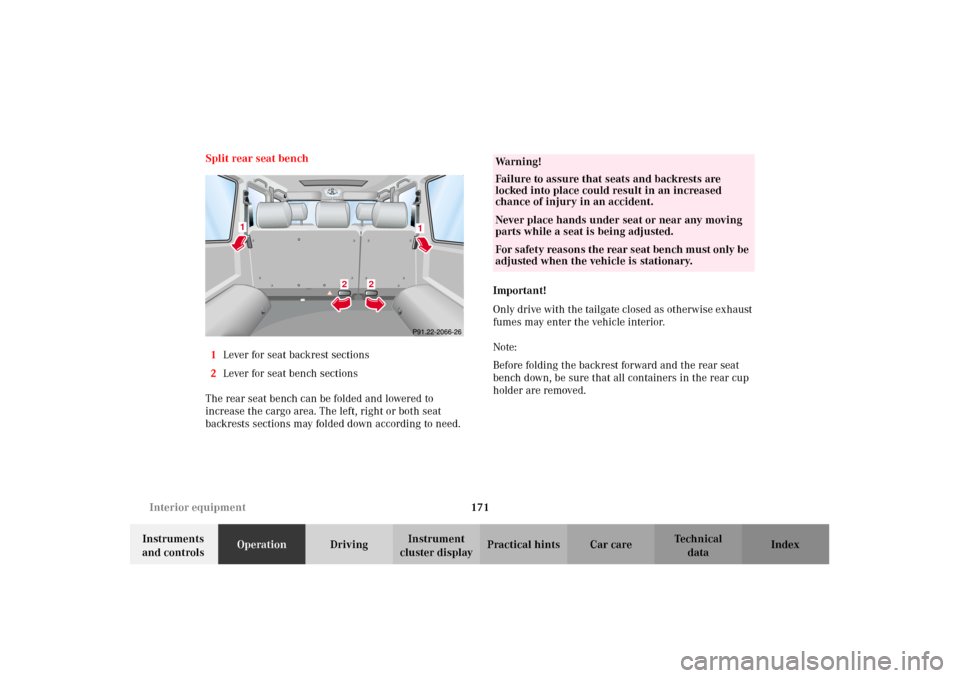
cluster displayPractical hints Car care Index Split rear seat bench
1Lever for seat backrest sections
2Lever for seat bench sections
The rear seat bench can be folded and lowered to
increase the cargo area. The left, right or both seat
backrests sections may folded down according to need.Important!
Only drive with the tailgate closed as otherwise exhaust
fumes may enter the vehicle interior.
Note:
Before folding the backrest forward and the rear seat
bench down, be sure that all containers in the rear cup
holder are removed.
1
2
2
1
Wa r n i n g !
Failure to assure that seats and backrests are
locked into place could result in an increased
chance of injury in an accident.Never place hands under seat or near any moving
parts while a seat is being adjusted.For safety reasons the rear seat bench must only be
adjusted when the vehicle is stationary.
J_G463.book Seite 171 Mittwoch, 19. September 2001 8:06 08
Page 175 of 385
172 Interior equipment
Te ch n i c a l
data Instruments
and controlsOperationDrivingInstrument
cluster displayPractical hints Car care Index
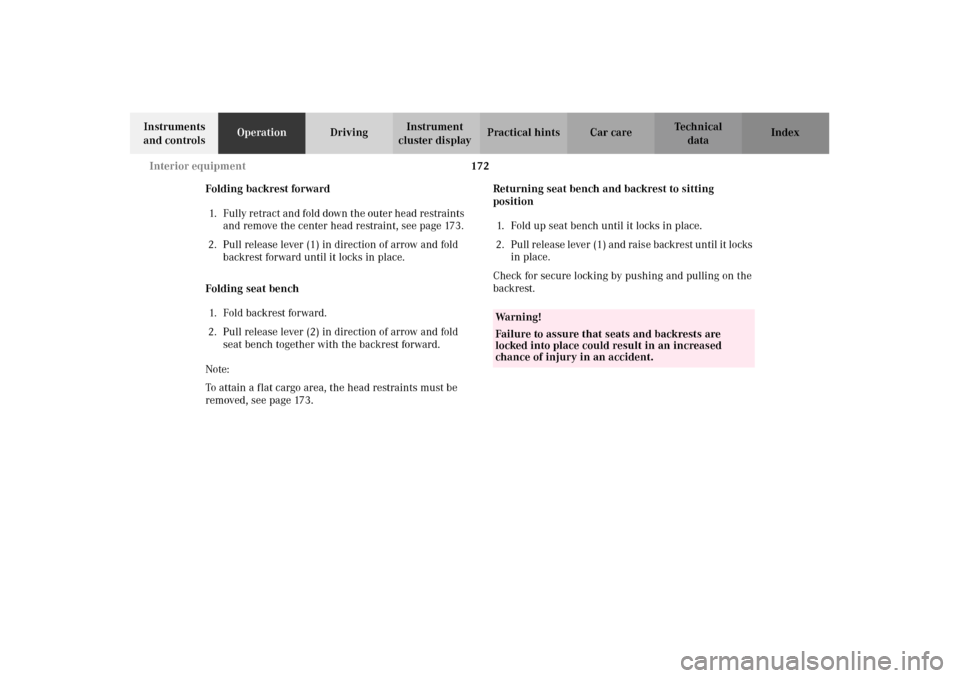
Folding backrest forward
1. Fully retract and fold down the outer head restraints
and remove the center head restraint, see page 173.
2. Pull release lever (1) in direction of arrow and fold
backrest forward until it locks in place.
Folding seat bench
1. Fold backrest forward.
2. Pull release lever (2) in direction of arrow and fold
seat bench together with the backrest forward.
Note:
To attain a flat cargo area, the head restraints must be
removed, see page 173.Returning seat bench and backrest to sitting
position
1. Fold up seat bench until it locks in place.
2. Pull release lever (1) and raise backrest until it locks
in place.
Check for secure locking by pushing and pulling on the
backrest.
Wa r n i n g !
Failure to assure that seats and backrests are
locked into place could result in an increased
chance of injury in an accident.
J_G463.book Seite 172 Mittwoch, 19. September 2001 8:06 08
Page 176 of 385
173 Interior equipment
Te ch n i c a l
data Instruments
and controlsOperationDrivingInstrument
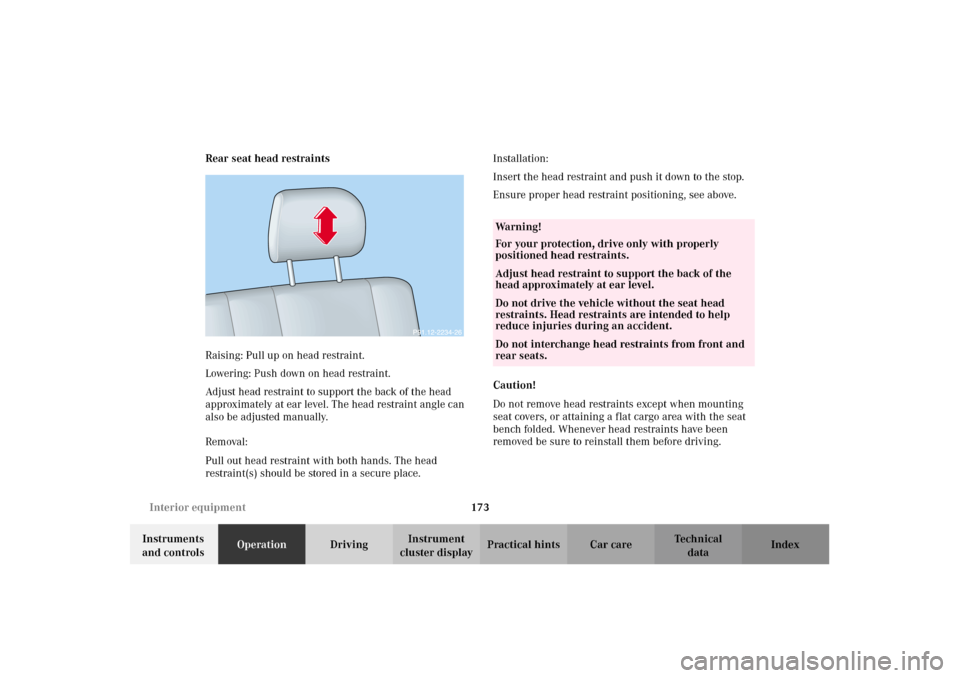
cluster displayPractical hints Car care Index Rear seat head restraints
Raising: Pull up on head restraint.
Lowering: Push down on head restraint.
Adjust head restraint to support the back of the head
approximately at ear level. The head restraint angle can
also be adjusted manually.
Removal:
Pull out head restraint with both hands. The head
restraint(s) should be stored in a secure place.Installation:
Insert the head restraint and push it down to the stop.
Ensure proper head restraint positioning, see above.
Caution!
Do not remove head restraints except when mounting
seat covers, or attaining a flat cargo area with the seat
bench folded. Whenever head restraints have been
removed be sure to reinstall them before driving.
Wa r n i n g !
For your protection, drive only with properly
positioned head restraints.Adjust head restraint to support the back of the
head approximately at ear level.Do not drive the vehicle without the seat head
restraints. Head restraints are intended to help
reduce injuries during an accident.Do not interchange head restraints from front and
rear seats.
J_G463.book Seite 173 Mittwoch, 19. September 2001 8:06 08
Page 177 of 385
174 Interior equipment
Te ch n i c a l
data Instruments
and controlsOperationDrivingInstrument
cluster displayPractical hints Car care Index
Enlarged cargo area
The rear seat bench can be folded and lowered to
increase the cargo area. The left, right or both seat
backrests sections may folded down according to need.
For folding and resetting seating to standard positions,
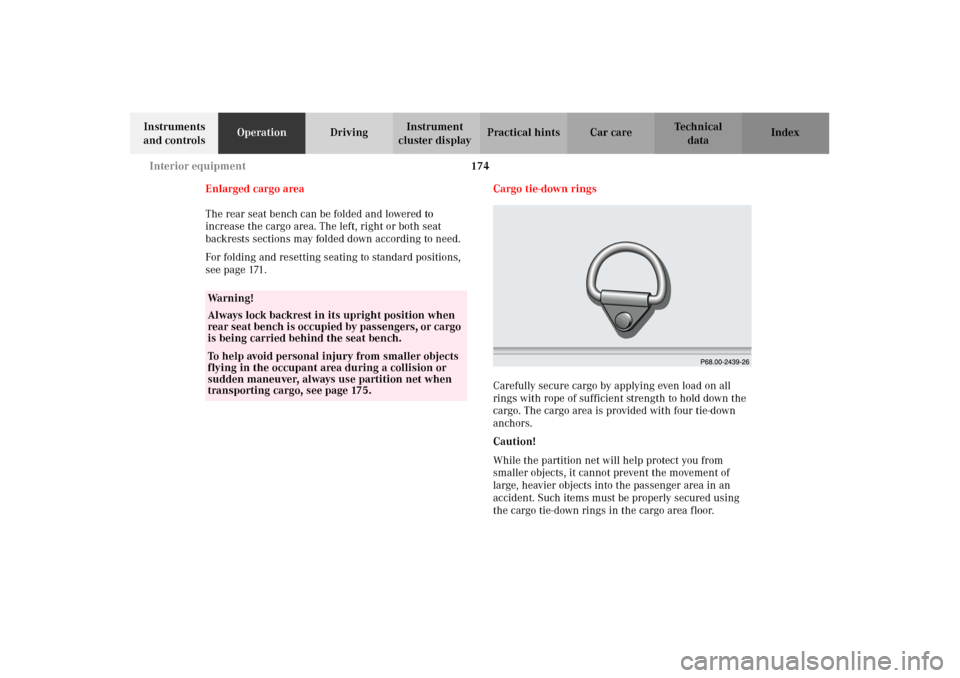
see page 171.Cargo tie-down rings
Carefully secure cargo by applying even load on all
rings with rope of sufficient strength to hold down the
cargo. The cargo area is provided with four tie-down
anchors.
Caution!
While the partition net will help protect you from
smaller objects, it cannot prevent the movement of
large, heavier objects into the passenger area in an
accident. Such items must be properly secured using
the cargo tie-down rings in the cargo area floor.
Wa r n i n g !
Always lock backrest in its upright position when
rear seat bench is occupied by passengers, or cargo
is being carried behind the seat bench.To help avoid personal injury from smaller objects
flying in the occupant area during a collision or
sudden maneuver, always use partition net when
transporting cargo, see page 175.
J_G463.book Seite 174 Mittwoch, 19. September 2001 8:06 08
Page 178 of 385
175 Interior equipment
Te ch n i c a l
data Instruments
and controlsOperationDrivingInstrument
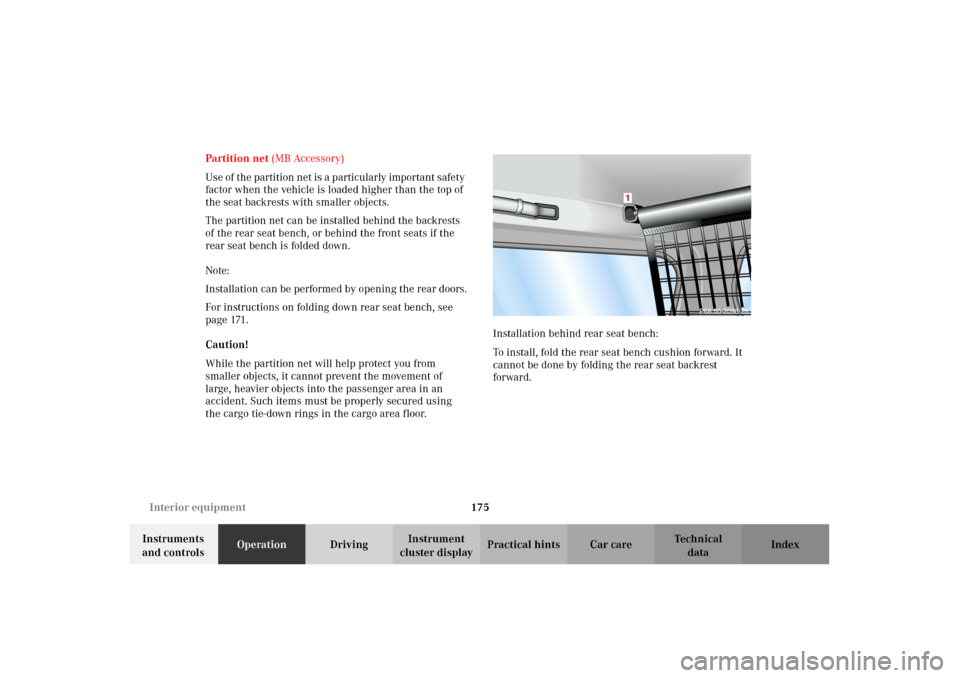
cluster displayPractical hints Car care Index Partition net (MB Accessory)
Us e of t he p artition n et is a p artic ular ly important s afety
factor when the vehicle is loaded higher than the top of
the seat backrests with smaller objects.
The partition net can be installed behind the backrests
of the rear seat bench, or behind the front seats if the
rear seat bench is folded down.
Note:
Installation can be performed by opening the rear doors.
For instructions on folding down rear seat bench, see
page 171.
Caution!
While the partition net will help protect you from
smaller objects, it cannot prevent the movement of
large, heavier objects into the passenger area in an
accident. Such items must be properly secured using
the cargo tie-down rings in the cargo area floor.Installation behind rear seat bench:
To install, fold the rear seat bench cushion forward. It
cannot be done by folding the rear seat backrest
forward.
J_G463.book Seite 175 Mittwoch, 19. September 2001 8:06 08
Page 179 of 385
176 Interior equipment
Te ch n i c a l
data Instruments
and controlsOperationDrivingInstrument
cluster displayPractical hints Car care Index
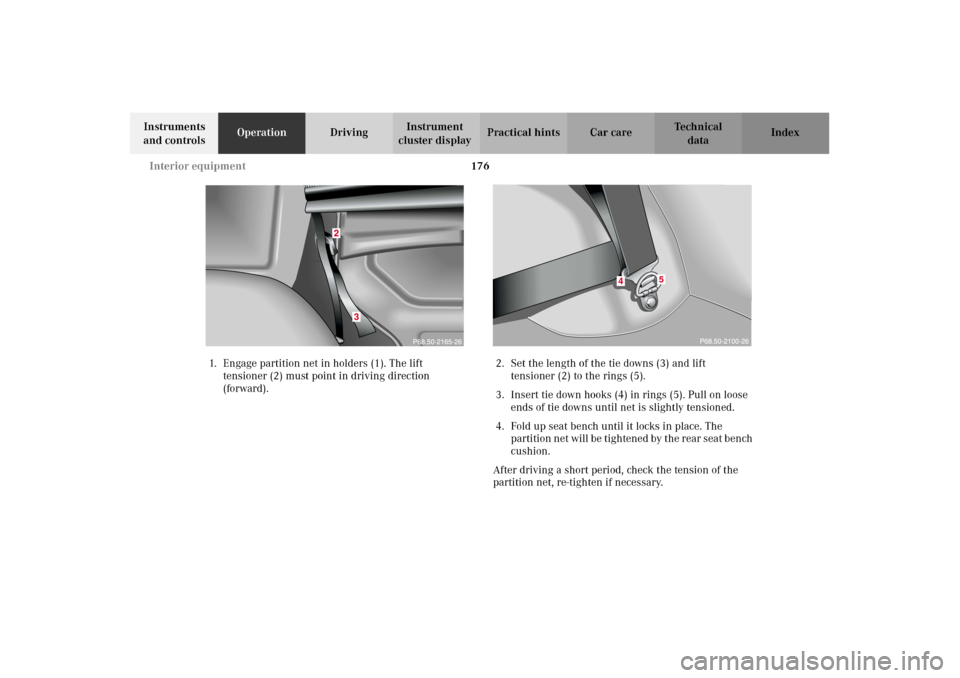
1. Engage partition net in holders (1). The lift
tensioner (2) must point in driving direction
(forward).2. Set the length of the tie downs (3) and lift
tensioner (2) to the rings (5).
3. Insert tie down hooks (4) in rings (5). Pull on loose
ends of tie downs until net is slightly tensioned.
4. Fold up seat bench until it locks in place. The
p artition n et will be tightene d by t he r ear s eat b en ch
cushion.
After driving a short period, check the tension of the
partition net, re-tighten if necessary.
4
5
J_G463.book Seite 176 Mittwoch, 19. September 2001 8:06 08
Page 180 of 385
177 Interior equipment
Te ch n i c a l
data Instruments
and controlsOperationDrivingInstrument
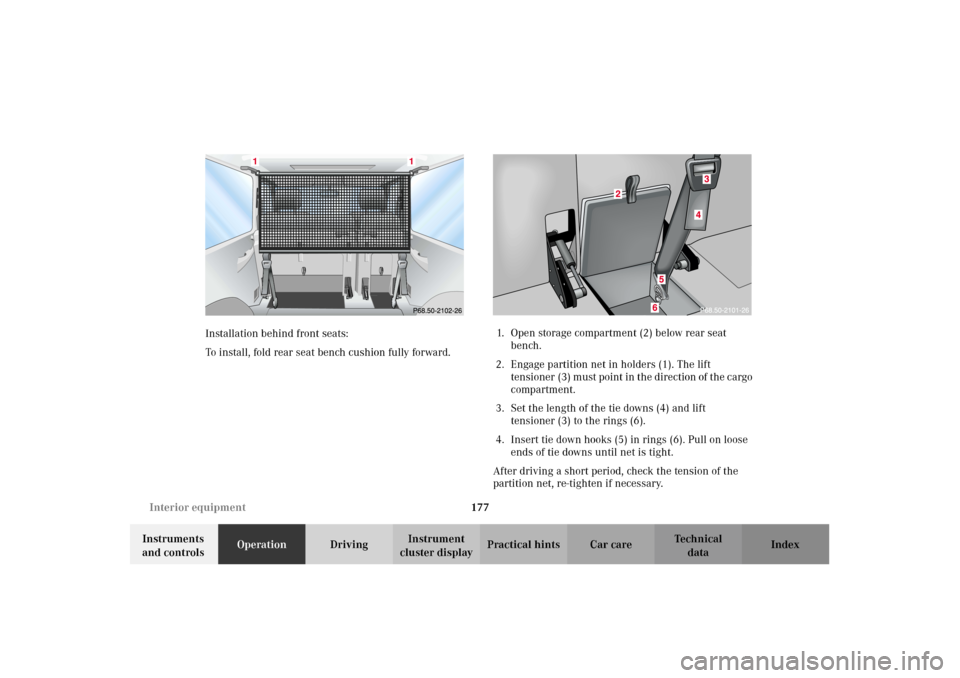
cluster displayPractical hints Car care Index Installation behind front seats:
To install, fold rear seat bench cushion fully forward.1. Open storage compartment (2) below rear seat
bench.
2. Engage partition net in holders (1). The lift
tensioner (3) must point in the direction of the cargo
compartment.
3. Set the length of the tie downs (4) and lift
tensioner (3) to the rings (6).
4. Insert tie down hooks (5) in rings (6). Pull on loose
ends of tie downs until net is tight.
After driving a short period, check the tension of the
partition net, re-tighten if necessary.
1
1
J_G463.book Seite 177 Mittwoch, 19. September 2001 8:06 08